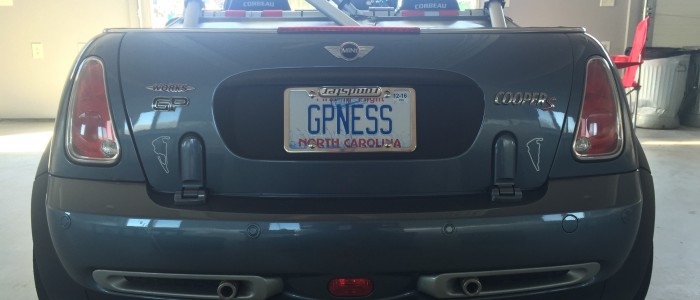
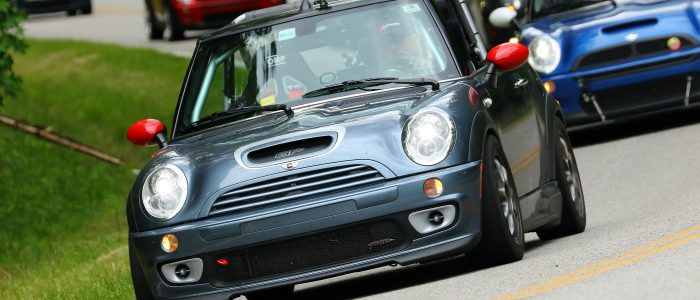
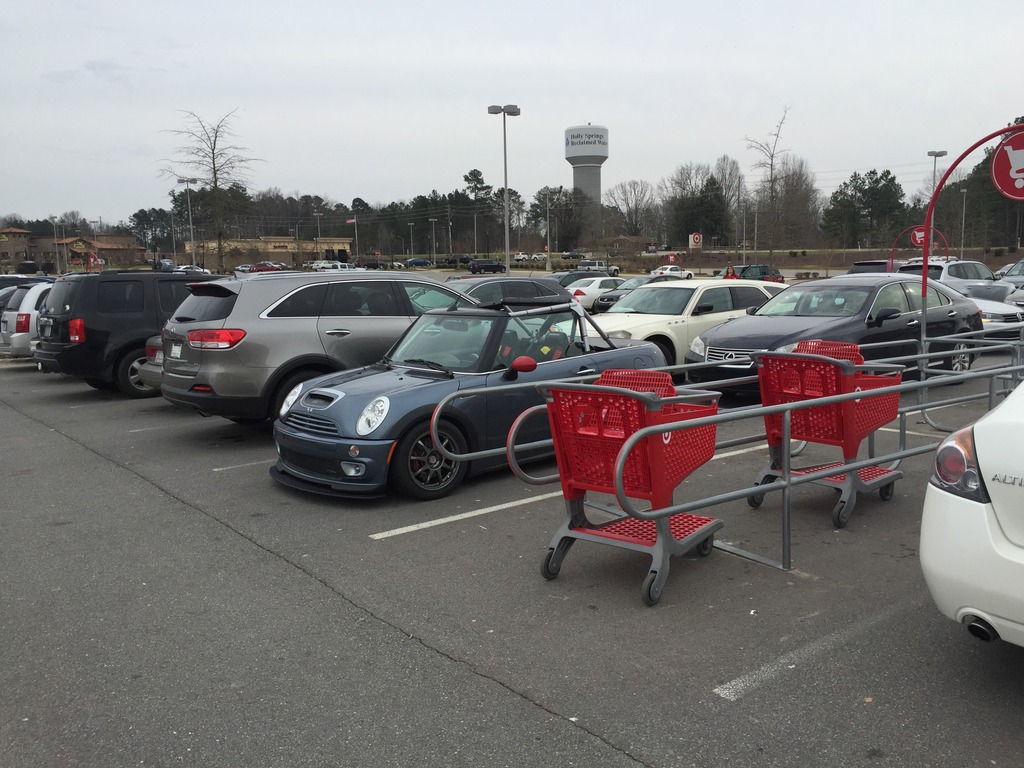
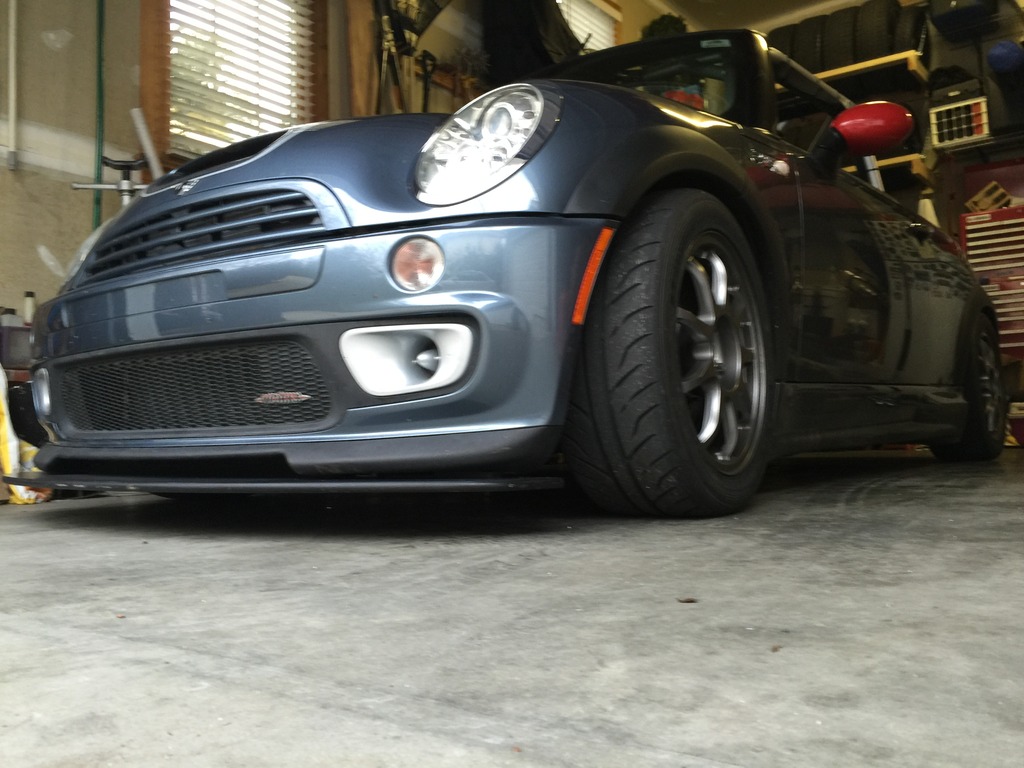
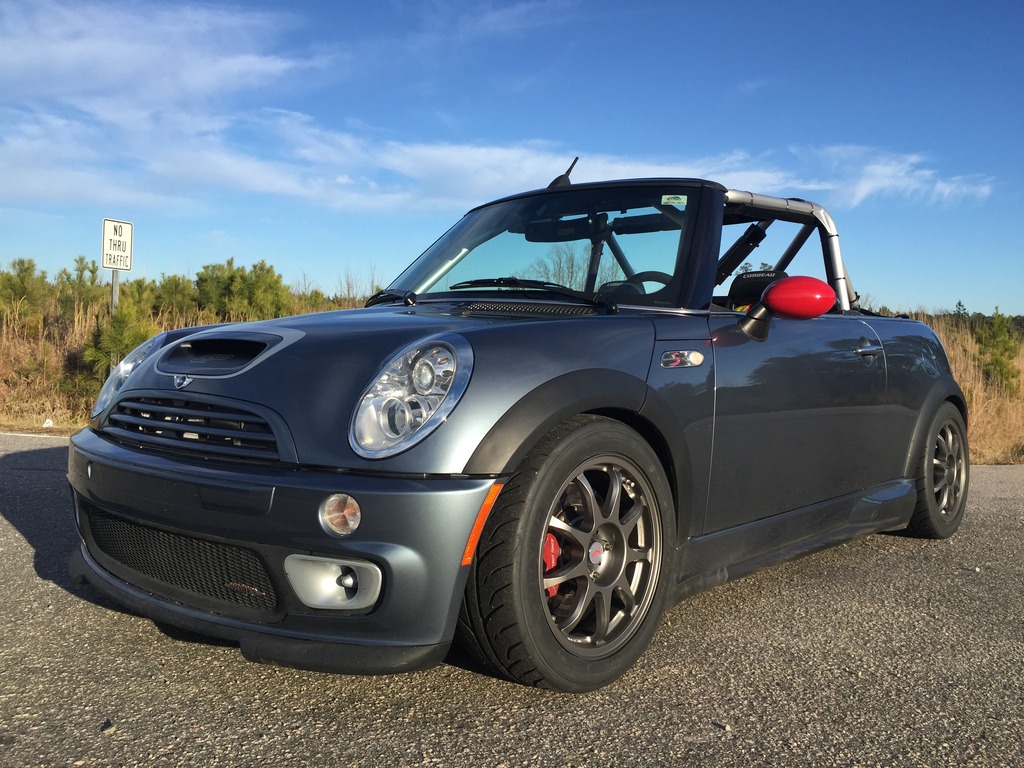
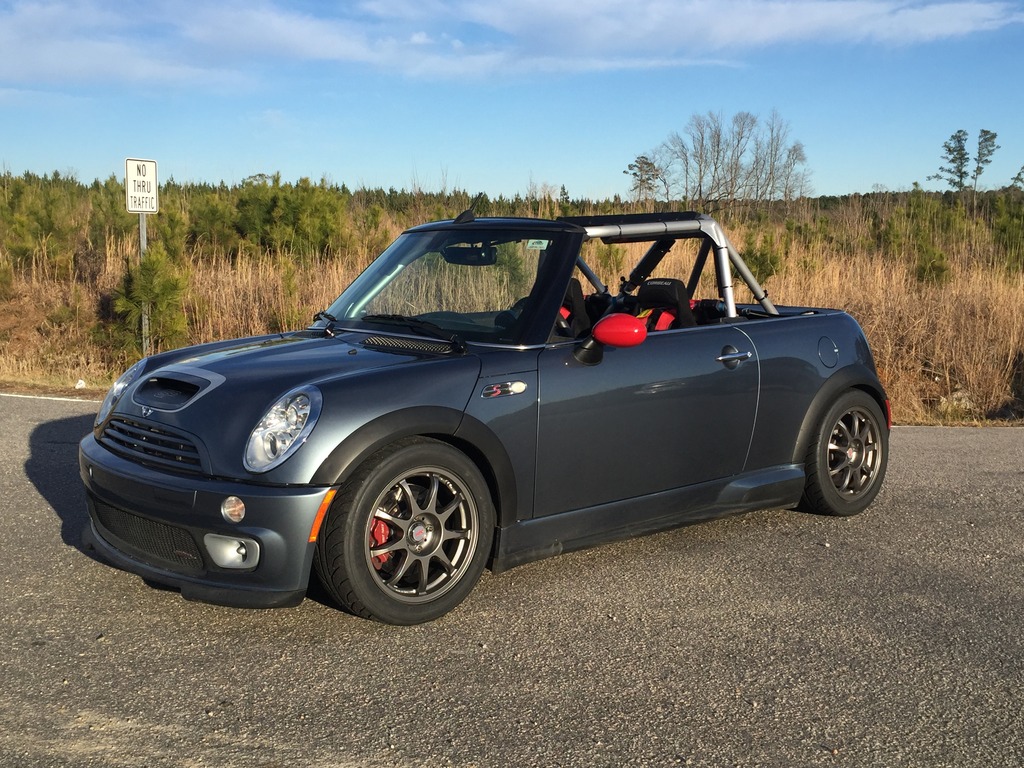
Getting ready for the track, and mad scientist cruise control

Rainy week here, but should be nice at VIR this weekend. Getting ready to hit the road Friday.

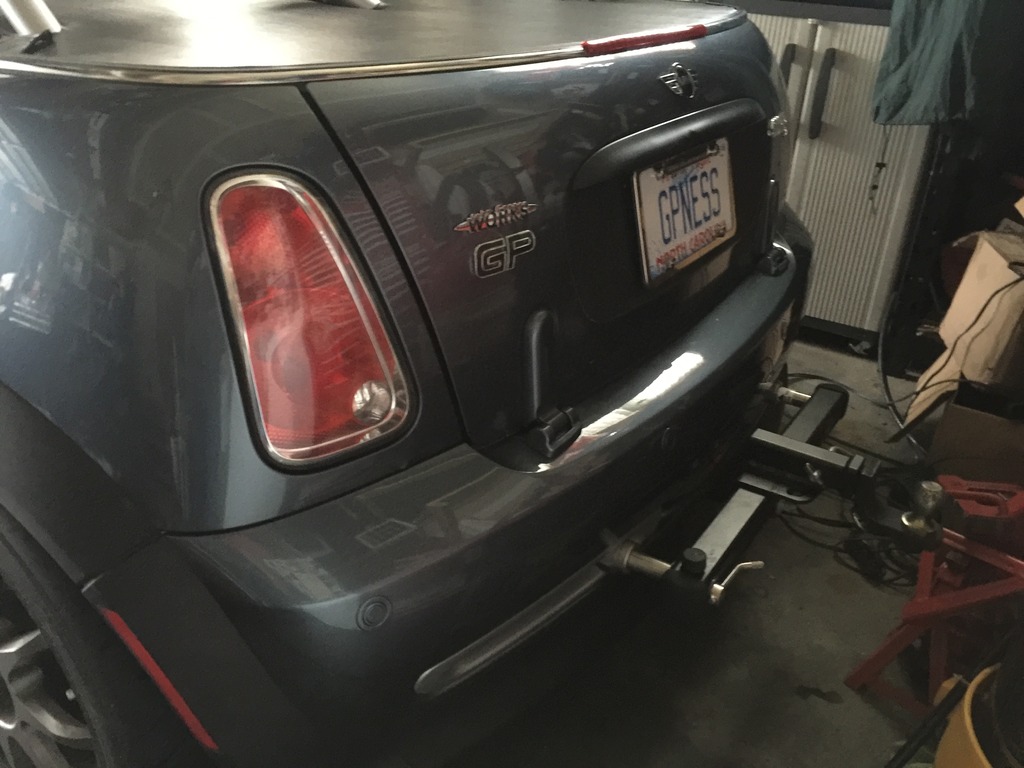
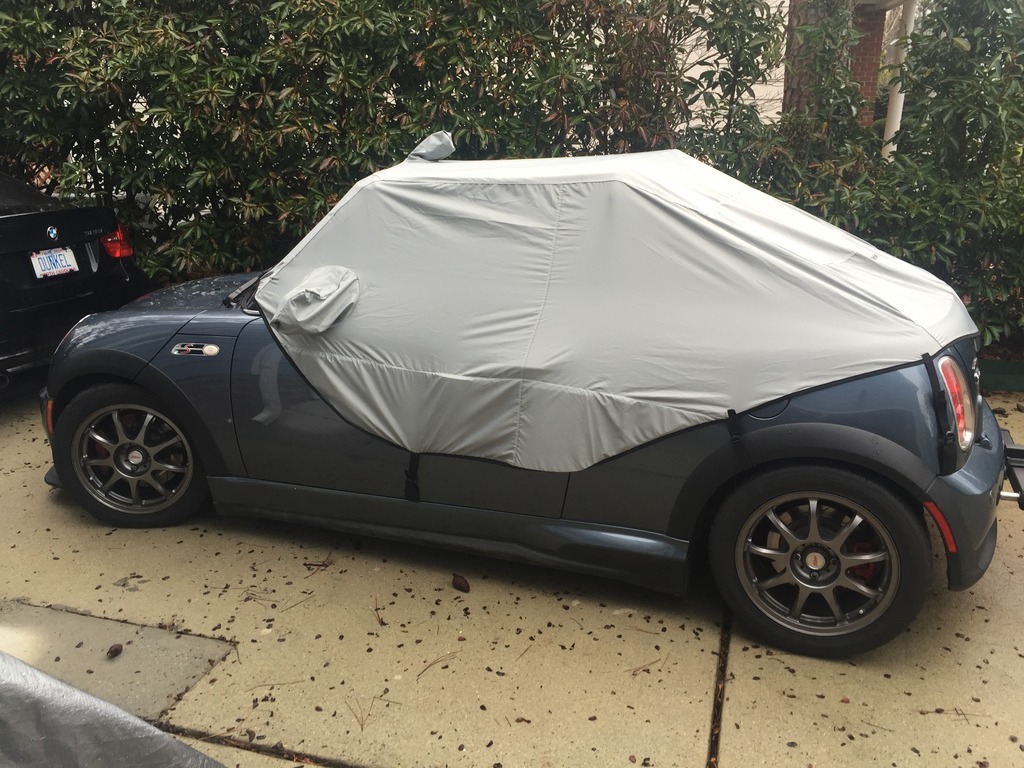
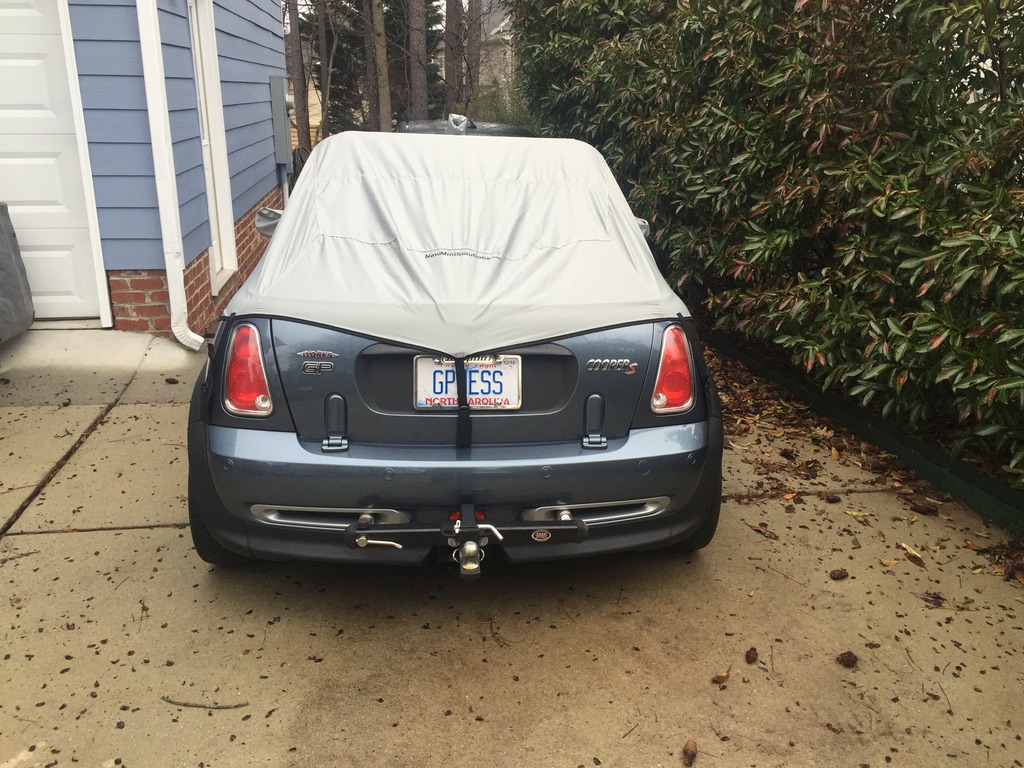
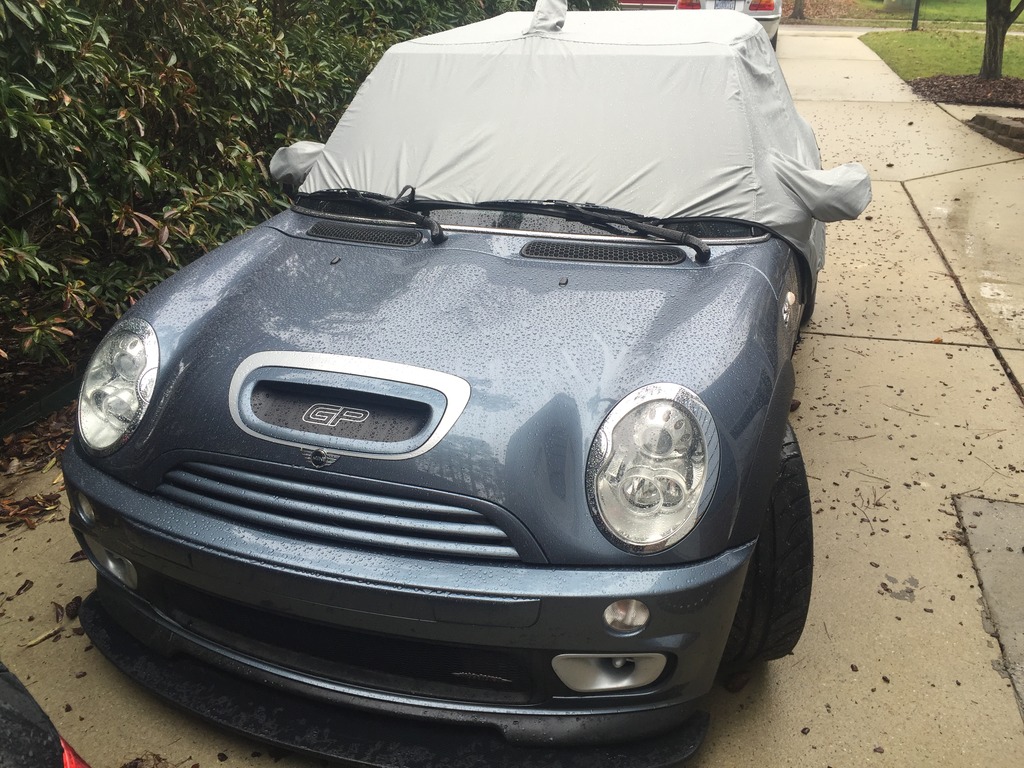
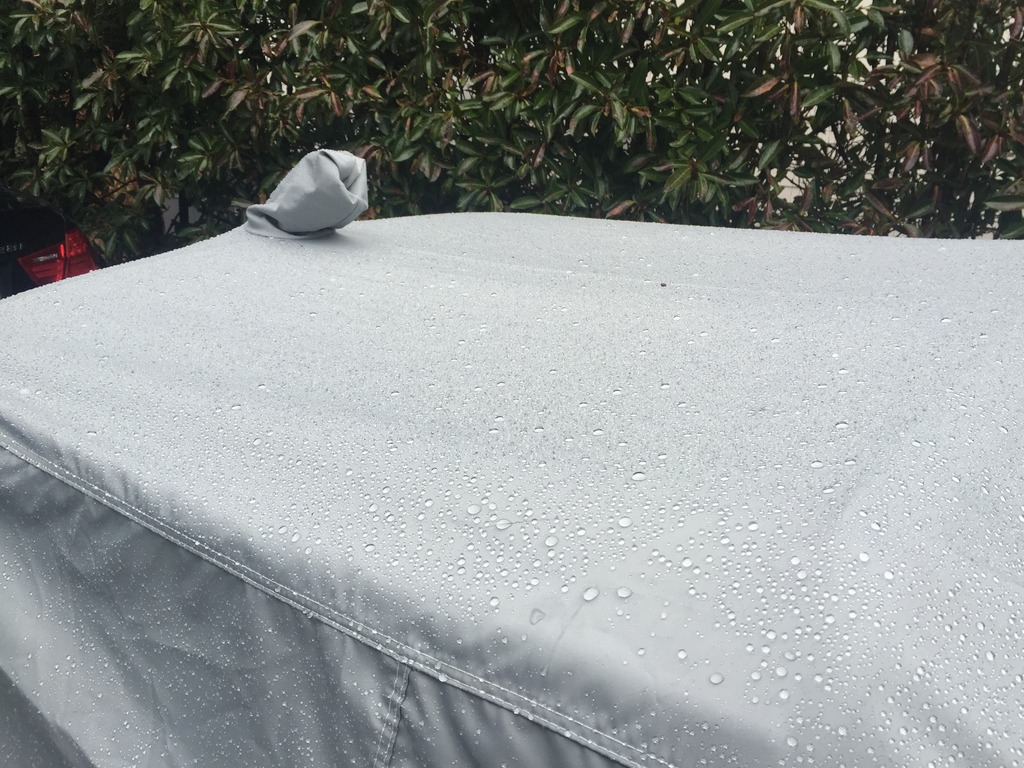
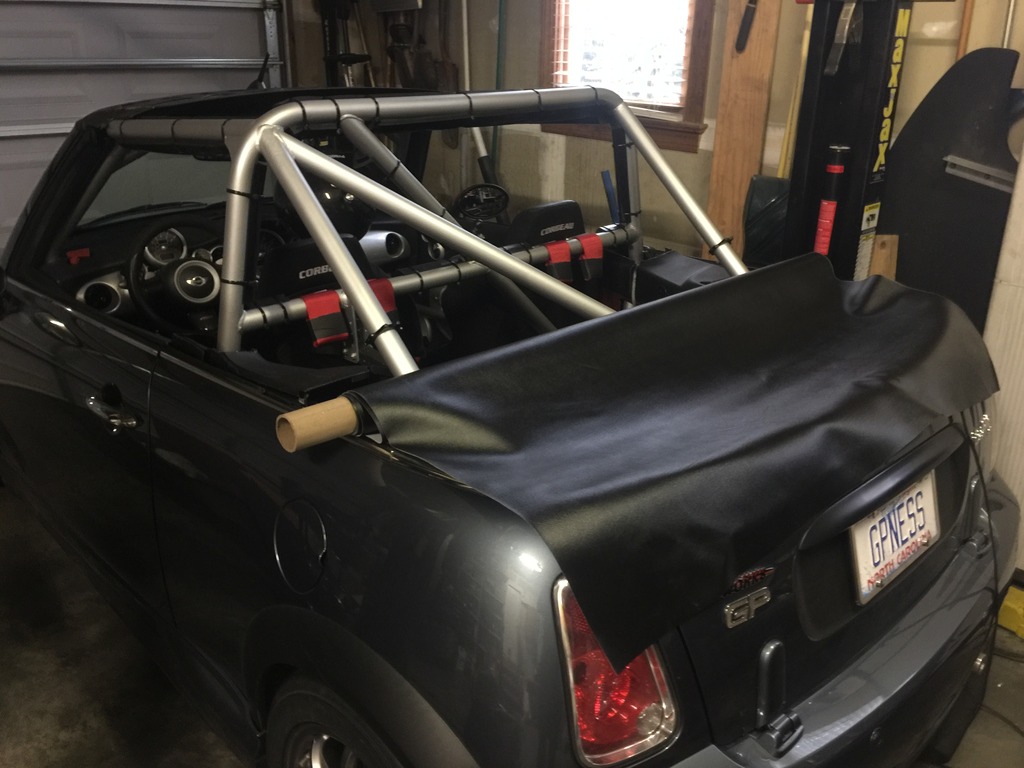
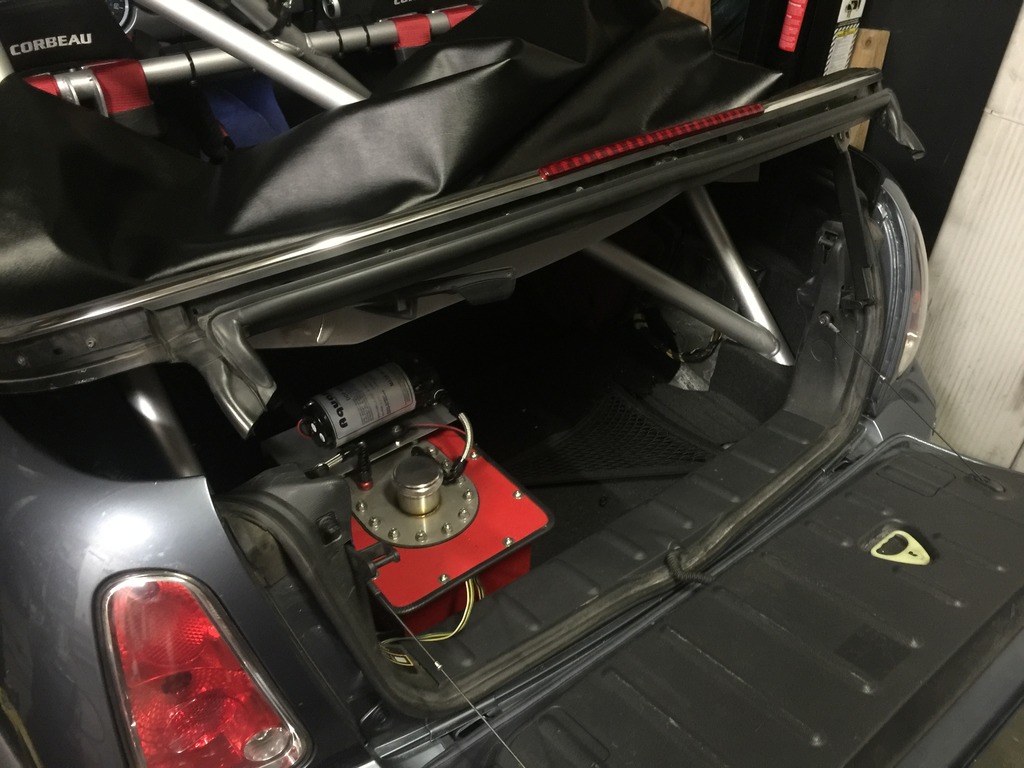
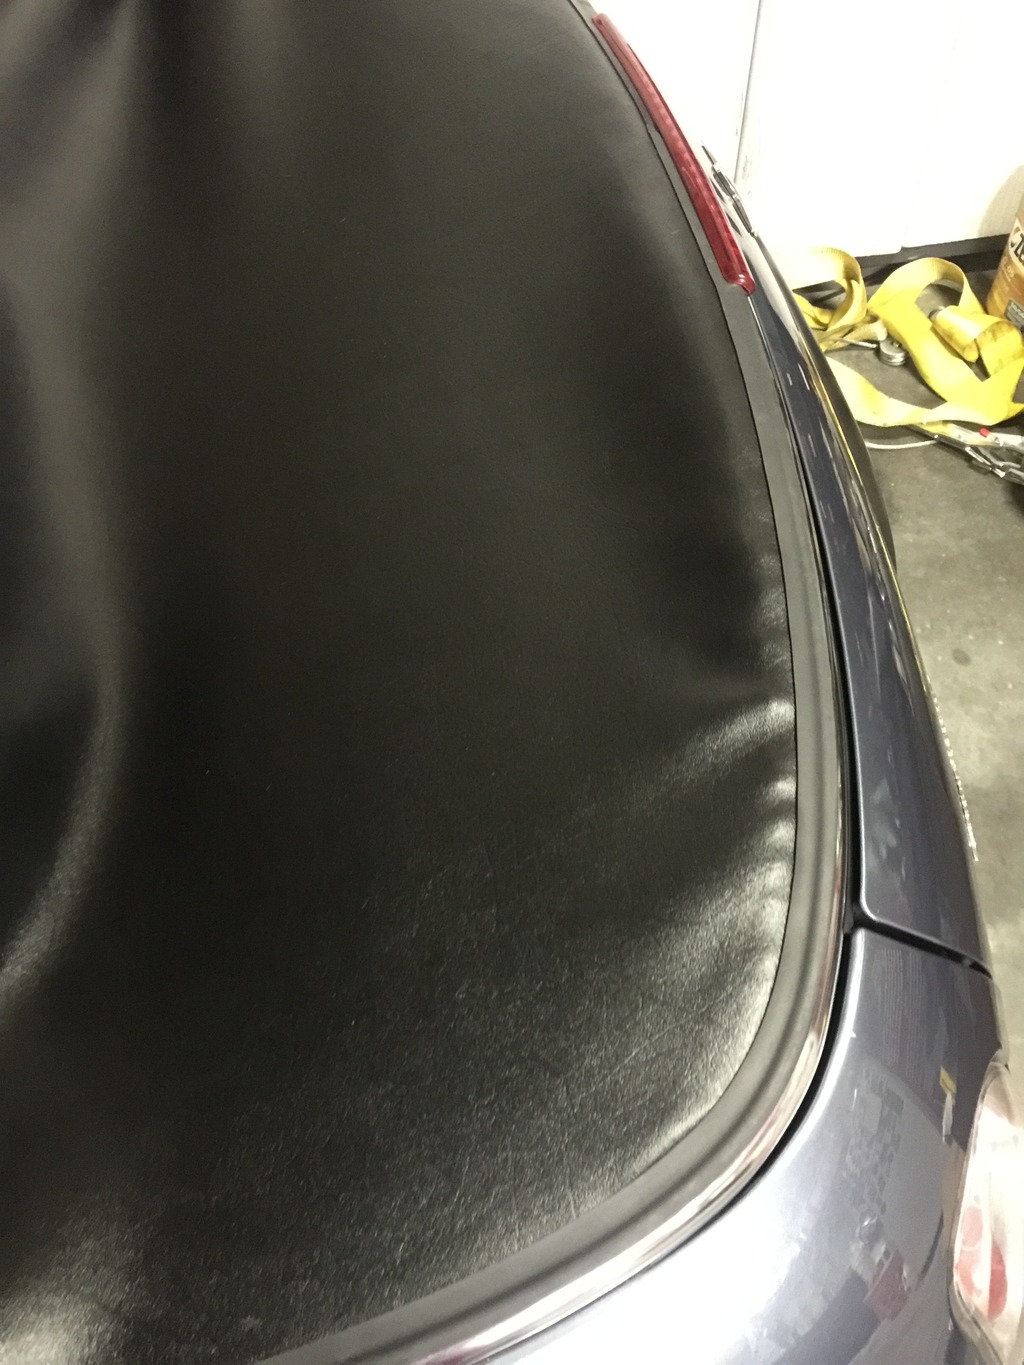
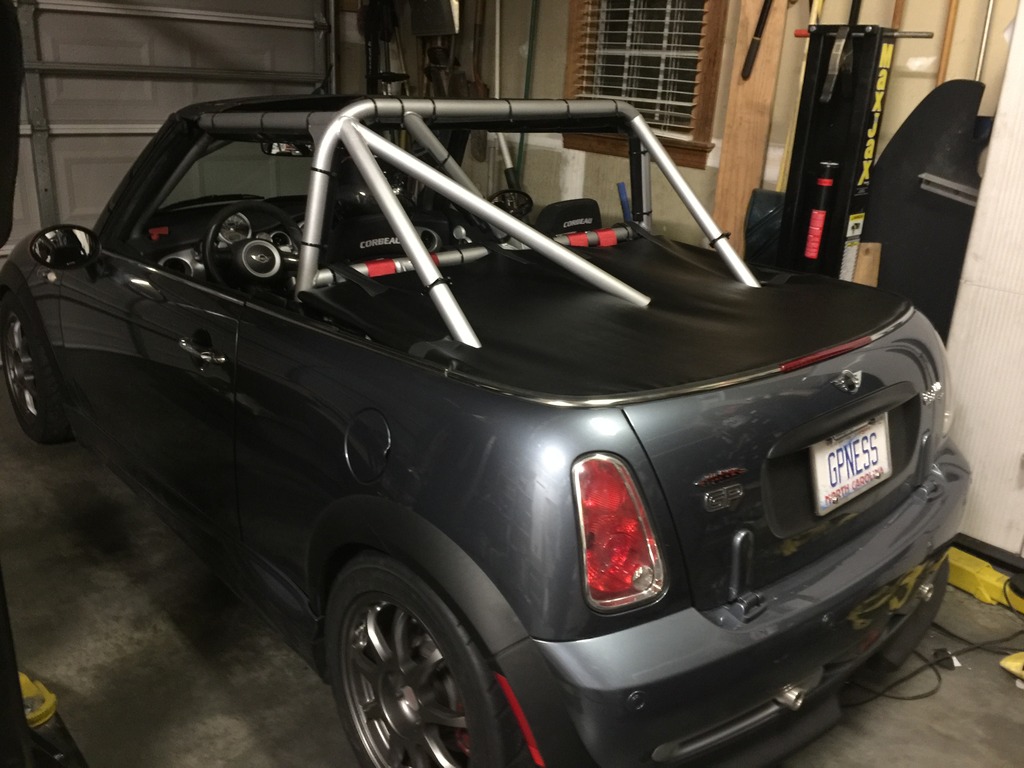
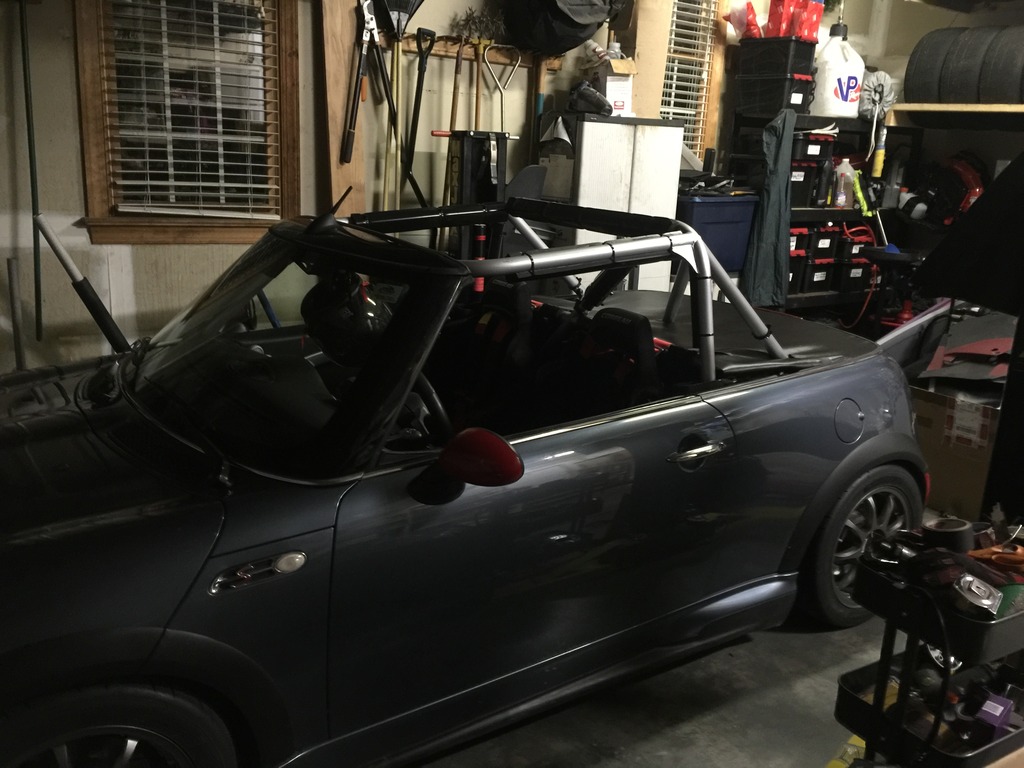
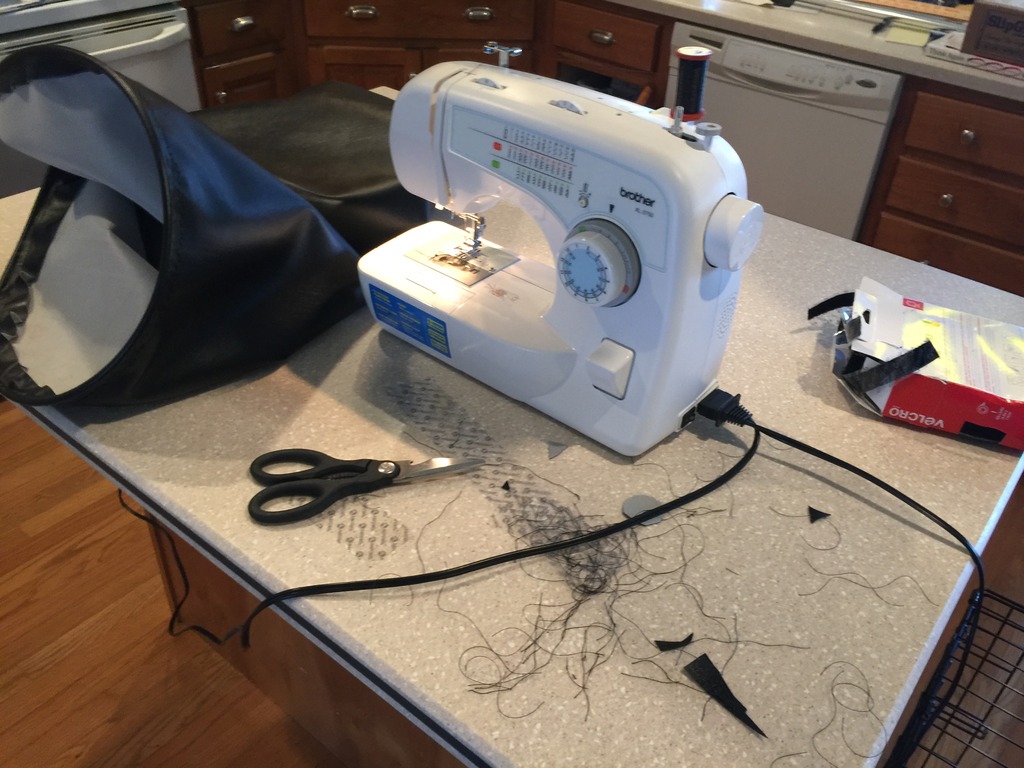
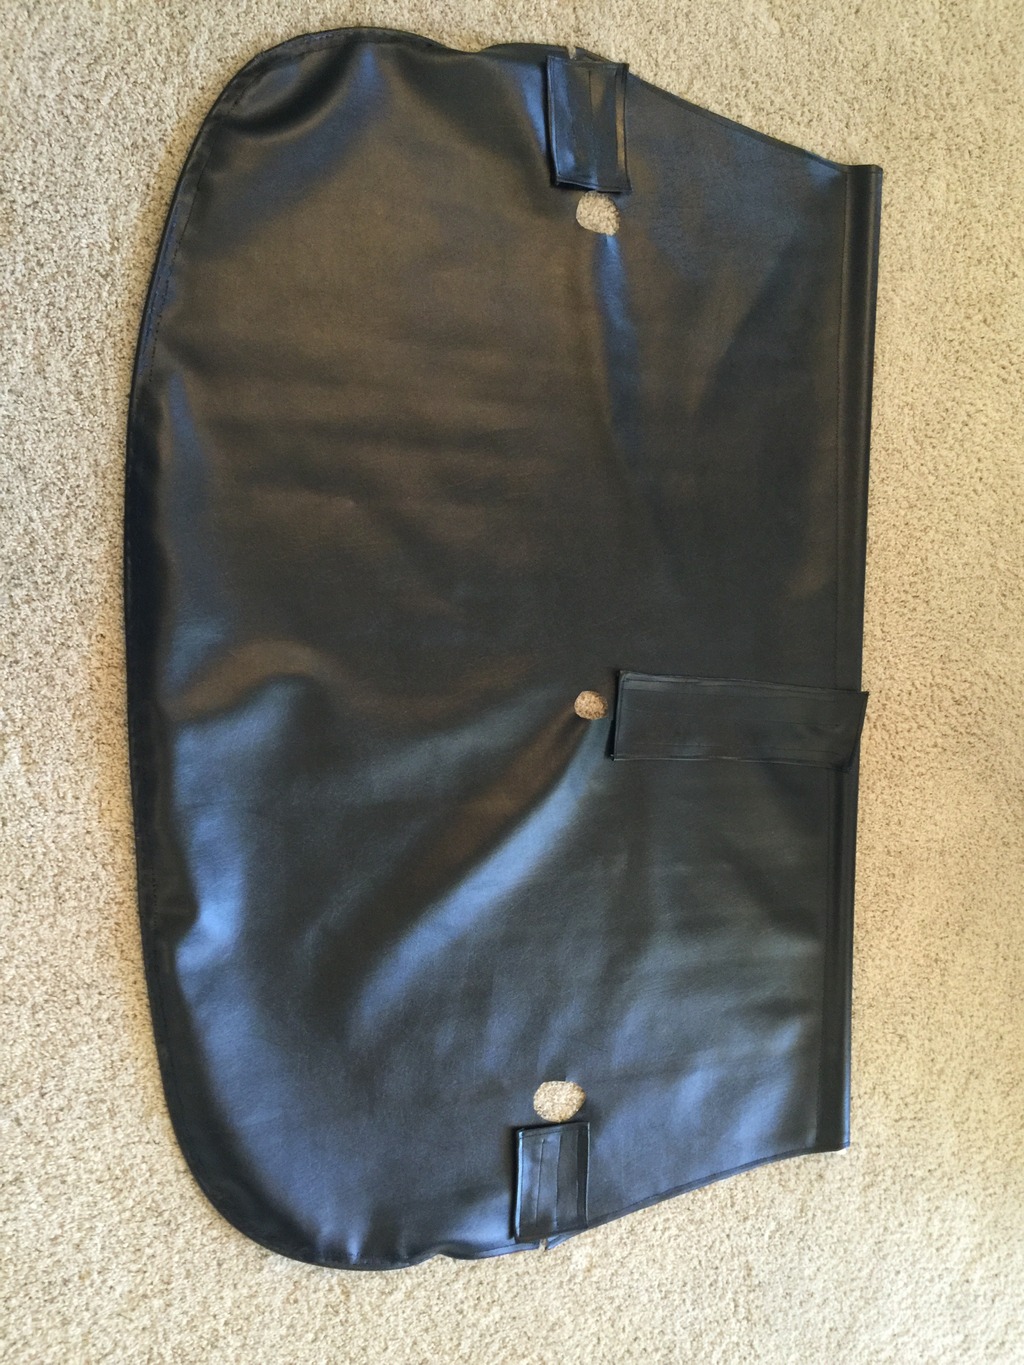
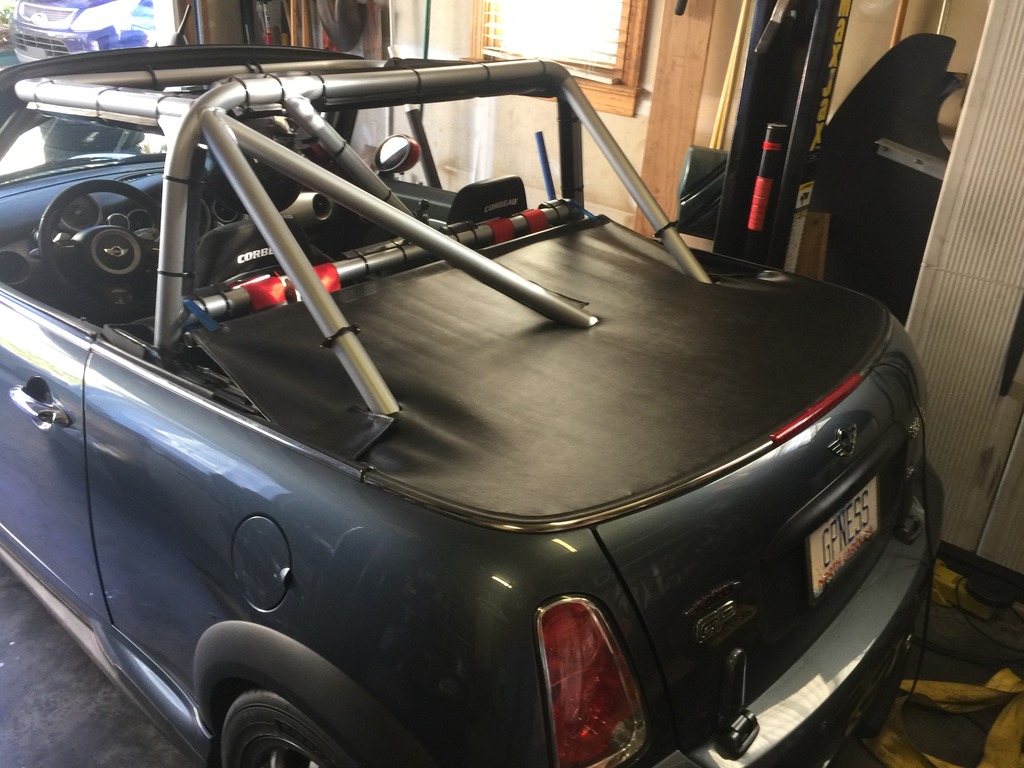
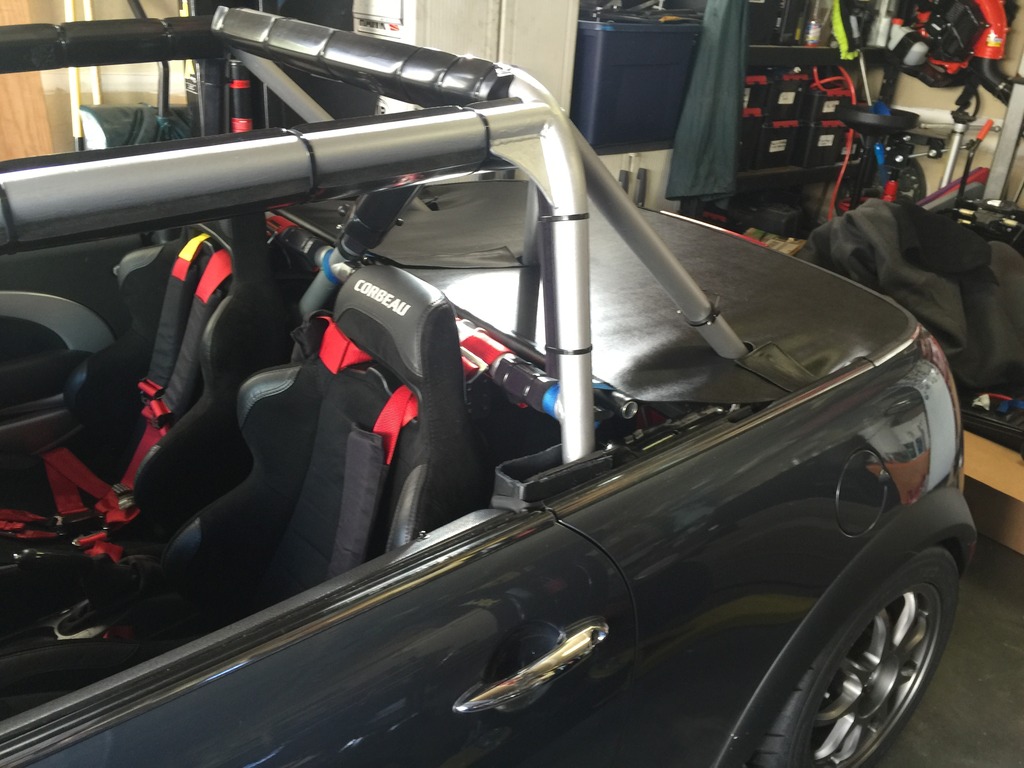
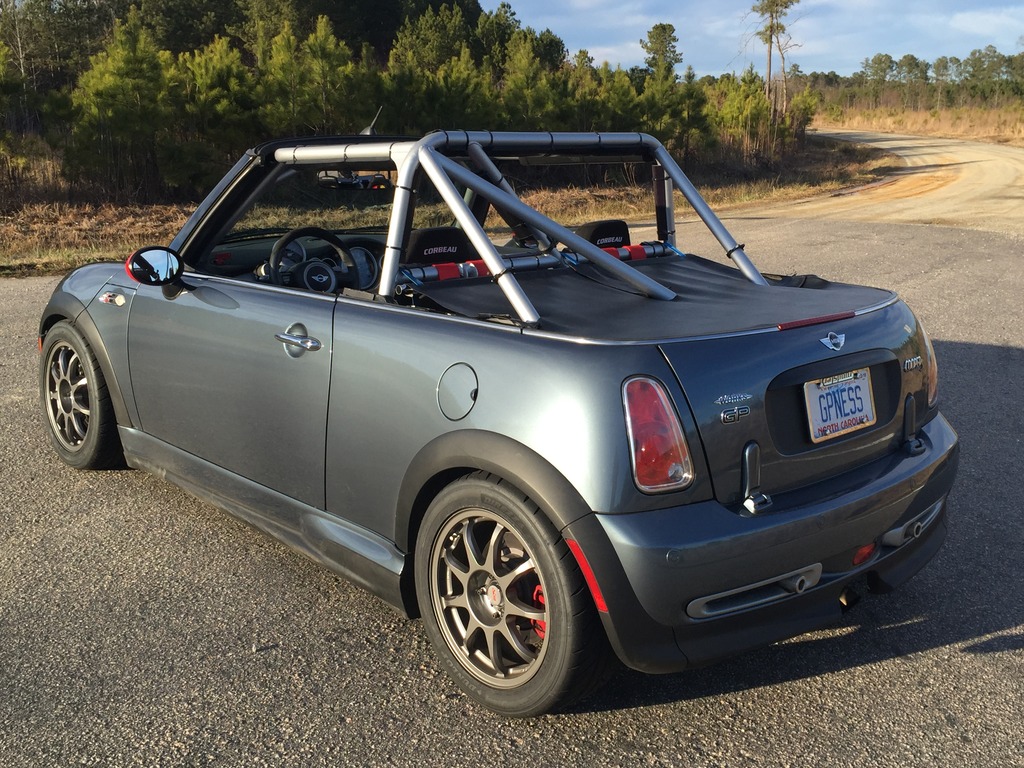
First, make sure the GPness Poncho is good to go. I bought this cover from Roadster Solutions. It’s designed to fit a MINI cabrio, with top up or down. But not with NO top. I tested it previously, and it just needed something (“garters”) to hold it in place on the “hips” of the car. The Roadster Solutions folks sold me a few extra hold down straps with bendable padded hooks, and I sewed two of them on yesterday. Works perfectly.

Click the image to open in full size.

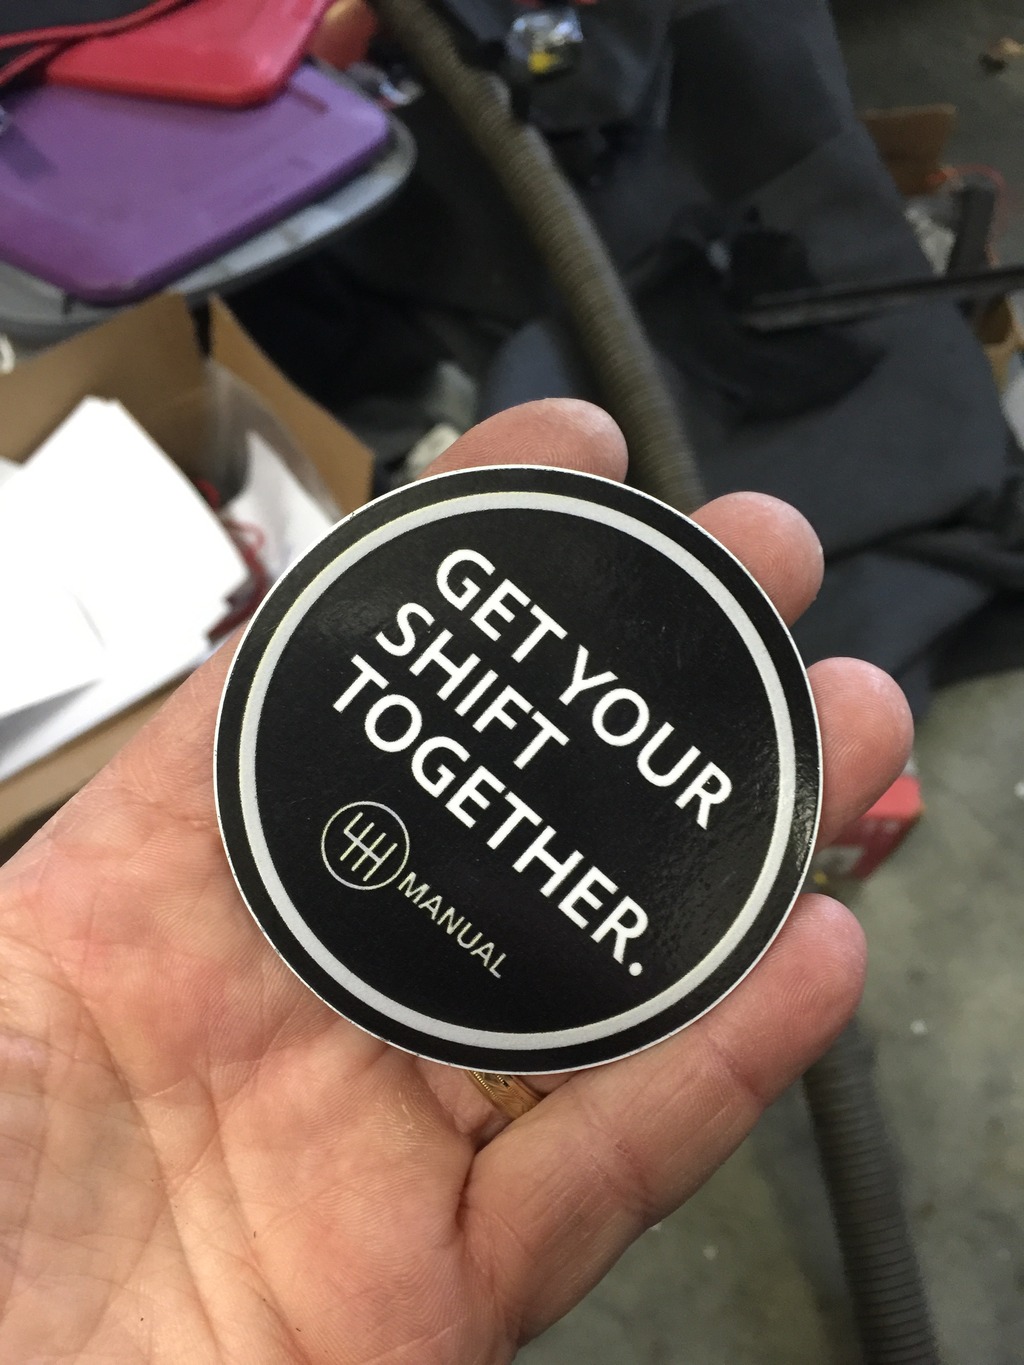
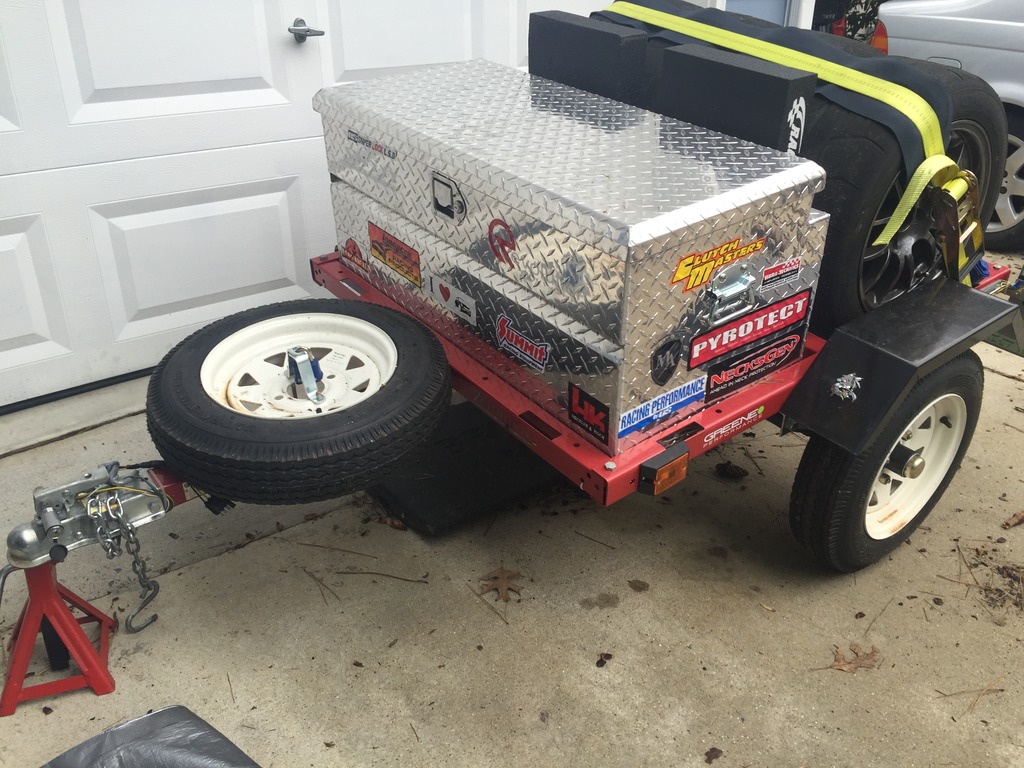
Getting the track trailer packed and ready to roll. Stickers are important.
Click the image to open in full size.

Finally, if I’m going to be driving a lot of miles to and from places, cruise control would be nice.

On the old car, I gave up cruise when I did the transmission swap. With the auto body harness, there were key bits missing (like clutch pedal switch wiring) that are necessary to support cruise. But with the new car, theoretically, cruise should be an option again.

But… I still want to keep my pretty carbon fiber steering wheel trim, instead of the ugly multifunction steering wheel (MFSW) buttons. Some of you may recall, on the old car, I did a hardware hack to use my old automatic shift paddles to control stereo volume. I decided to try a variant of this, to use the paddles to run the cruise control system…

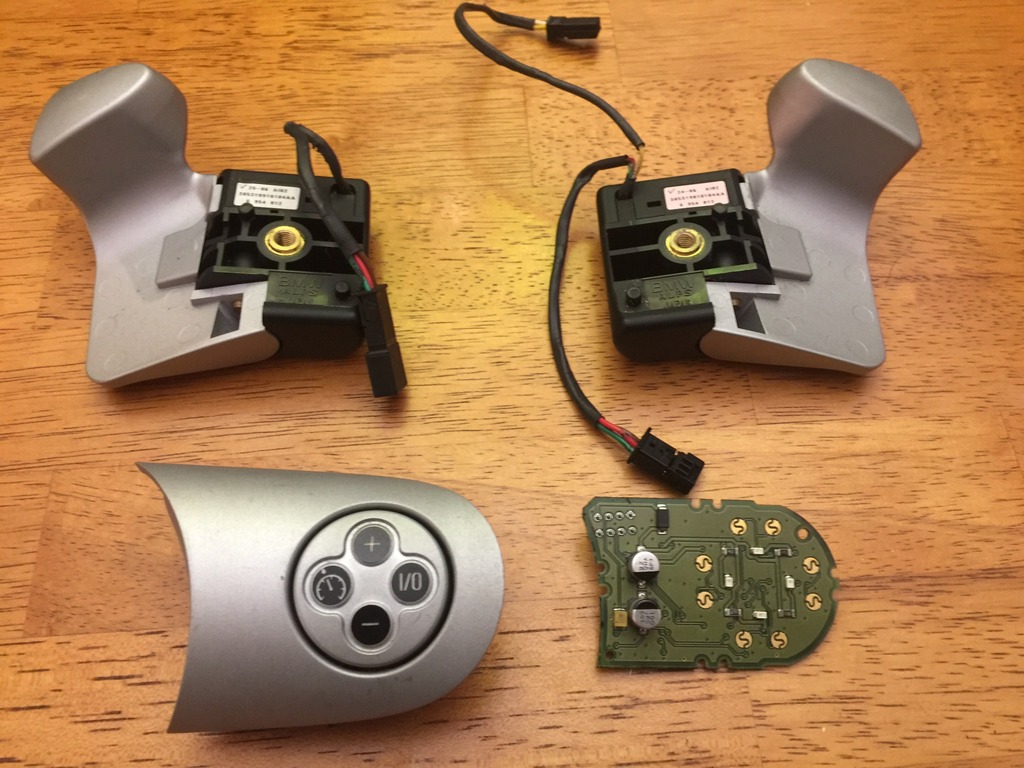
Here are the important parts: the paddles, and a disassembled cruise control pod.
Click the image to open in full size.

The paddles are designed to connect together and act interchangeably, so pushing or pulling either one would close one of two circuits. For the cruise, I need to simulate four button presses, so I’ll need to separate the paddles and wire them independently.

The MFSW pods work in sort of a master/slave configuration. The right side with cruise is the master with most of the electronics on it (e.g. for translating button presses to bus messages), and the steering wheel MFSW harness plugs into this. Then it has a connection to the left side audio/bluetooth pod, which is really just sort of a “dumb” board with buttons.

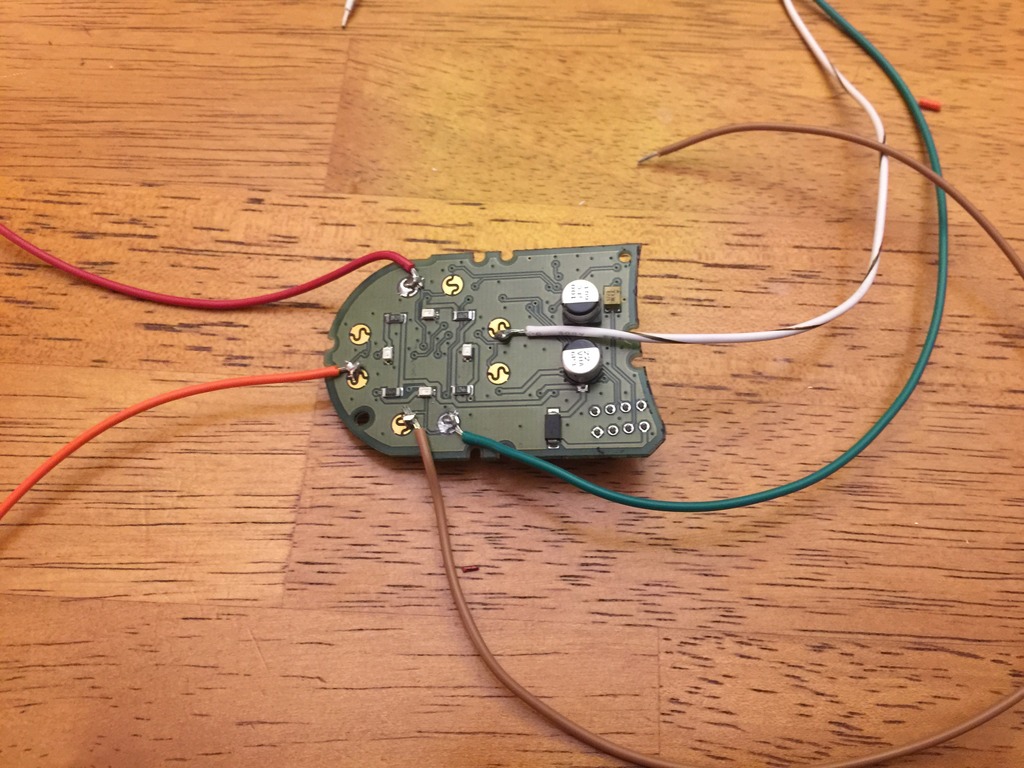
Buttons on both pods work the same way. The circuit board has two pairs of contact pads under each button (the things that look like gold circles with an “S” through them). On each pair of contact pads, the “outer” half of the contacts is a common ground shared by all the pads; the “inner” half is the “signal” pad.
Pressing the button shorts across one or both pairs of contacts with a conductive rubber button. I’m replacing the “shorting” action of the rubber button, with a circuit through the appropriate shift paddle. I do this by very carefully soldering jumper wires to the appropriate contact pads, and wiring these to the paddles.

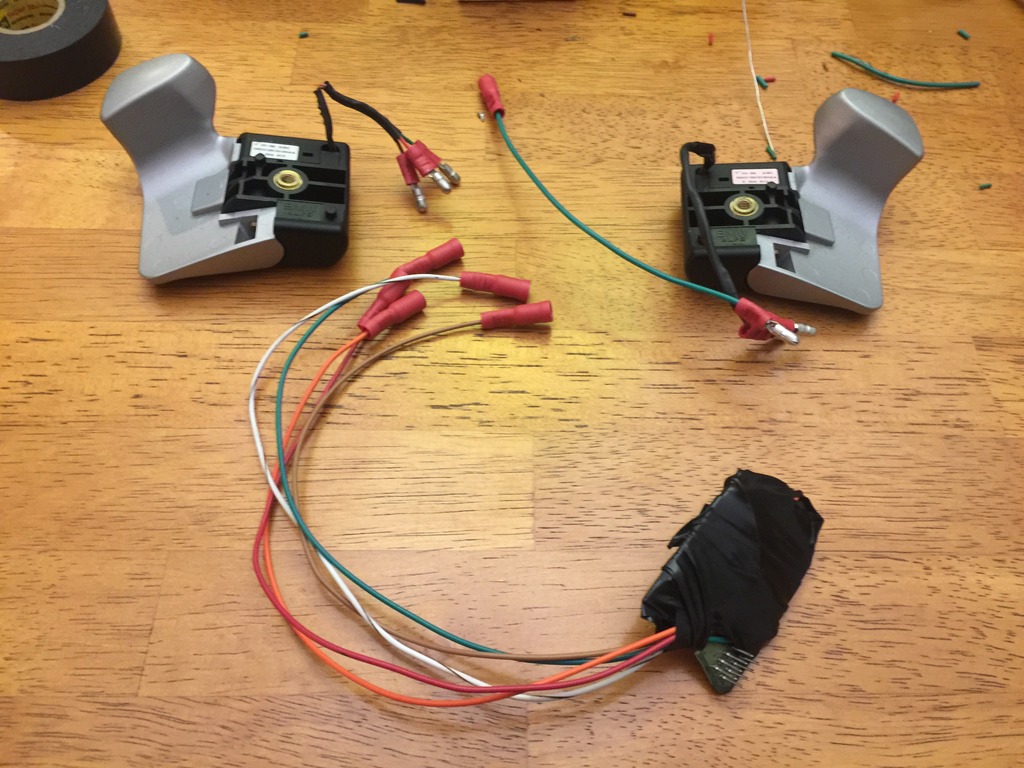
On each paddle, there are three wires connected to the paddle switch: Red, Green and Brown. Pulling a paddle closes a circuit on the Green and Brown wires. Pushing a paddle closes a circuit on the Green and Red wires. So Green acts as a common ground for the switch.

Separate the paddles, tie green from both sides to one of the “ground” pads on the MFSW cruise button pod, and tie the other four wires to the signal pads as appropriate. In my case, I’m making the left paddle do on/off (push) and resume (pull), and the right paddle does +/accel (pull) and -/coast (push).

Click the image to open in full size.

After testing circuits with a multi-meter to ensure I don’t have any inadvertent shorts, I carefully routed the wires, added plug connectors, and wrapped the board in electrical tape.
Click the image to open in full size.

Install in the wheel, carefully routing all the wires to avoid pinches…
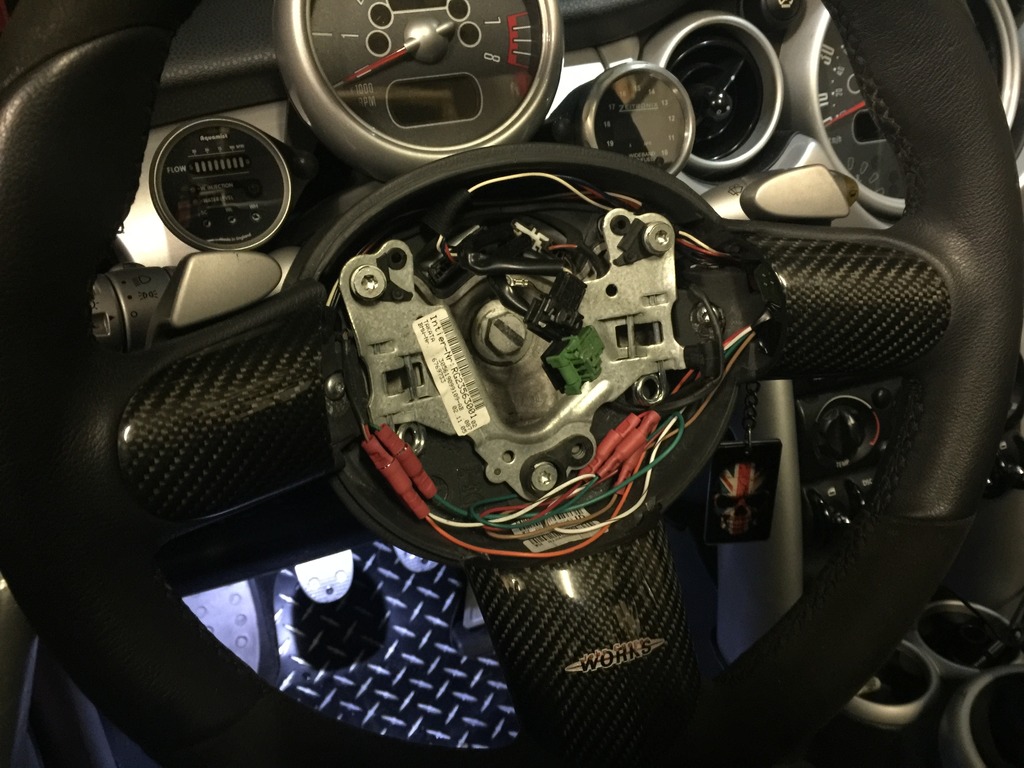
Click the image to open in full size.

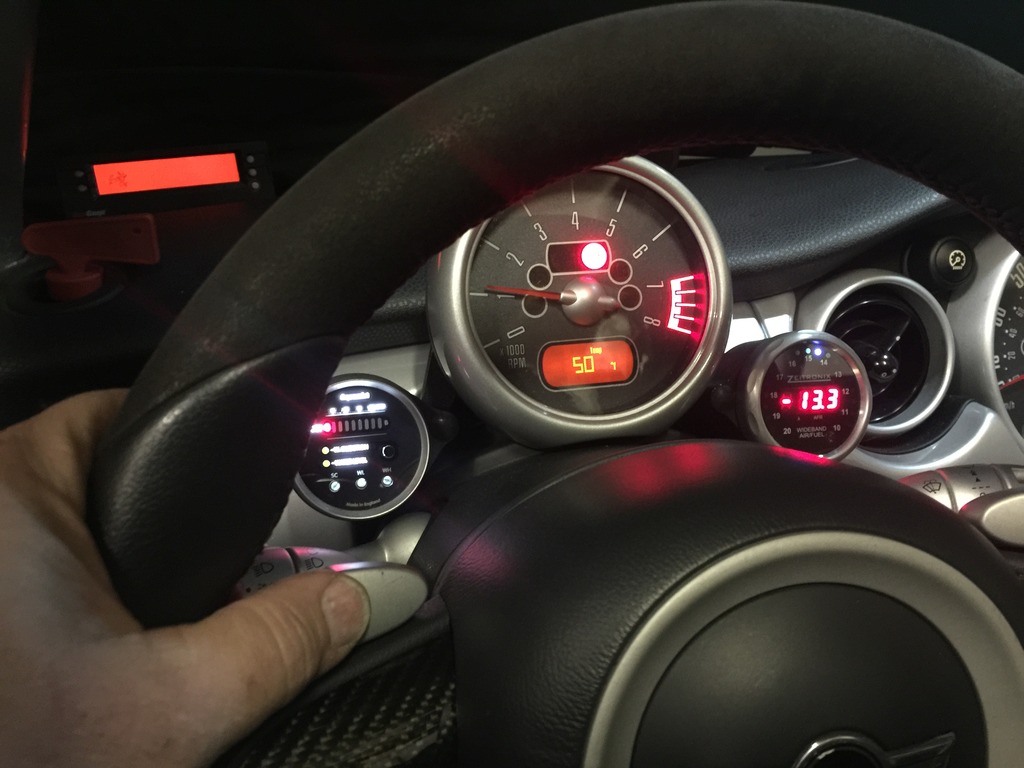
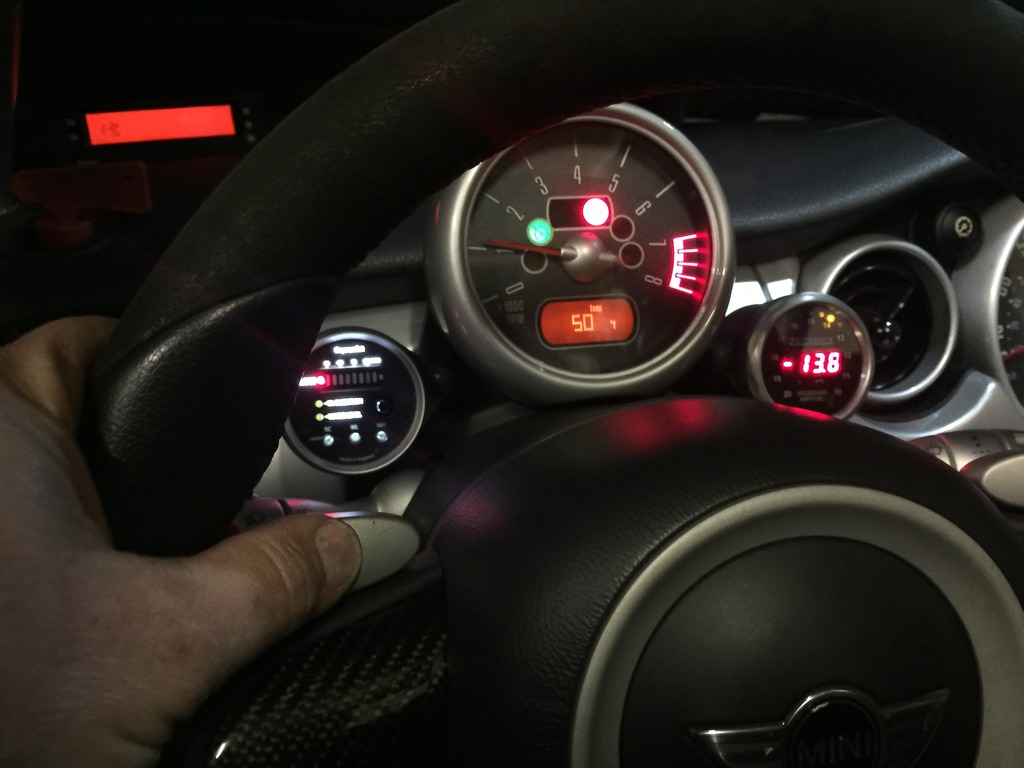
Moment of truth… start the car…
Click the image to open in full size.

Press the “on/off” paddle…
Click the image to open in full size.

Buwahahahahaha!!!

That’s a good sign. On/off works as it should. I’ll do a full operational test as soon as it stops raining.

Hardwired my V1 and mounted it on the cabrio windshield header panel.

Ran charging cable for my roll cage iPhone mount, that I use with Harry’s Lap Timer.

Test drove between storms here. Stark Industries flappy paddle cruise control TOTALLY WORKS, first attempt. Amazing.
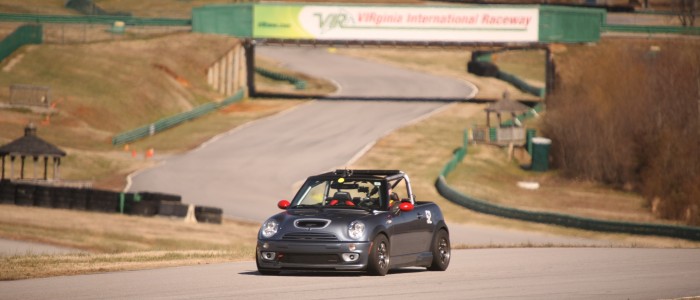
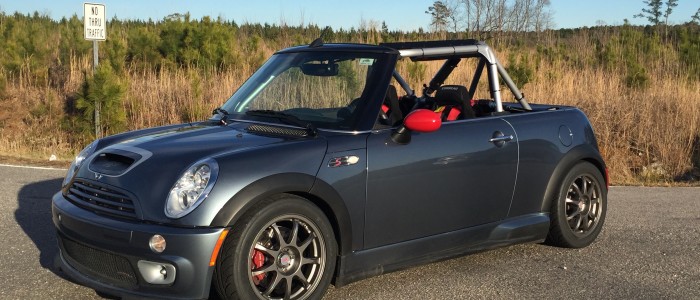
Click the image to open in full size.

Alignment and RAIN!!!

Crazy good topless car T-shirt weather today, 70 degrees.

I spend about 6 hours fiddling with my suspension and alignment. I got the alignment PERFECT… then realized that my ride height was uneven, right side was about half an inch higher than the left, even though my coils were set to the same height on both sides. Argh.

So I got the ride height evened out, then had to do the alignment all over again. Because everything changes when you tilt the entire car half an inch to the right.

And with the fancy Greene Performance camber/caster plates, I have to drop the strut and plate to adjust camber. But it’s totally worth it, because the added caster is incredible.

So… many iterations of tweaking camber front and rear, drop the car off the lift, shake and roll, measure, put it back on the lift, repeat. Probably 10 iterations. But finally got camber and toe right where I wanted, front and rear. And I took REALLY GOOD notes, so now I have a pretty good cookbook for “X adjustment yields Y change in camber or toe”. I’m getting really good at toe adjustments, and rear camber.

Needed to drive, so decided to head down to visit my mom at the homestead, about half an hour away. Was having a nice visit, then looked outside and it was getting PRETTY DARK. Uh… why is that? Pulled up Dark Sky… and “rain starting in 30 minutes”. WTF? it wasn’t supposed to rain today… I’m in a car with no roof. And i left my car cover at home… Ugh. Looked at the radar… the rain is coming from the direction of home… meaning I’m going to be driving into the rain to get home… Double Ugh.

So I told my mom “Sorry, but I gotta go NOW…” and bolted.

Click the image to open in full size.

Just some sprinkles and a light shower for the last few miles before I got home. The sky opened up just as I was backing into the driveway… LUCKY.

Click the image to open in full size.

But now I know the wipers work. And as long as I’m moving and the windows are up, not much rain actually comes into the passenger compartment.

I’ll keep the cover in the car, from now on…

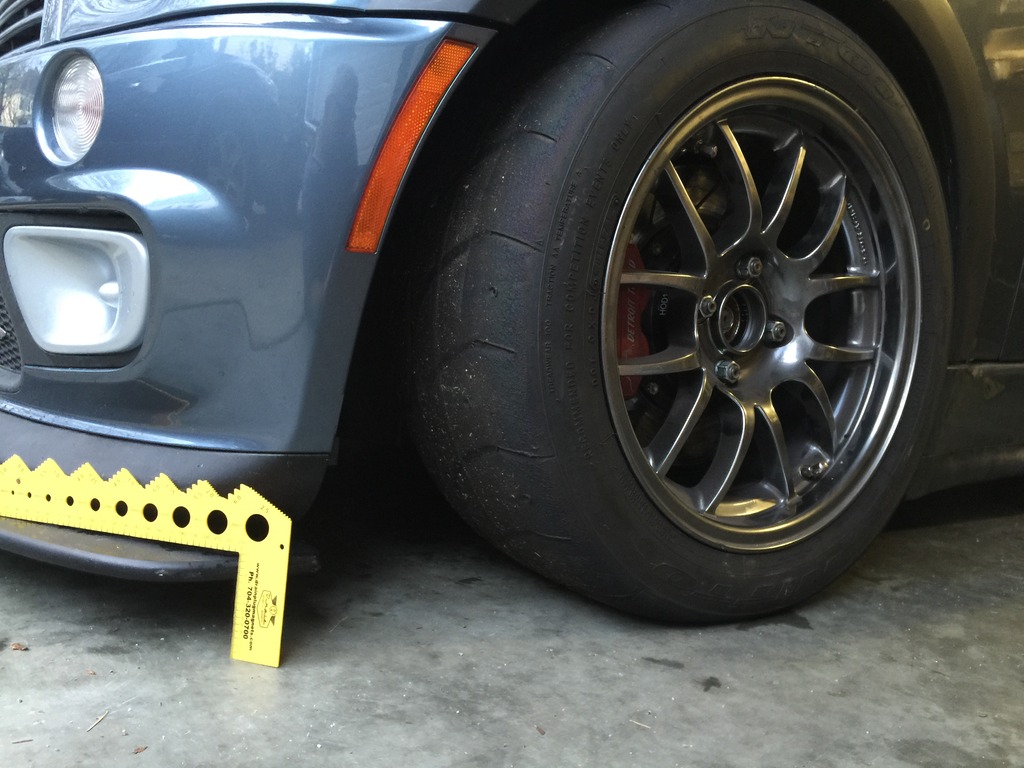
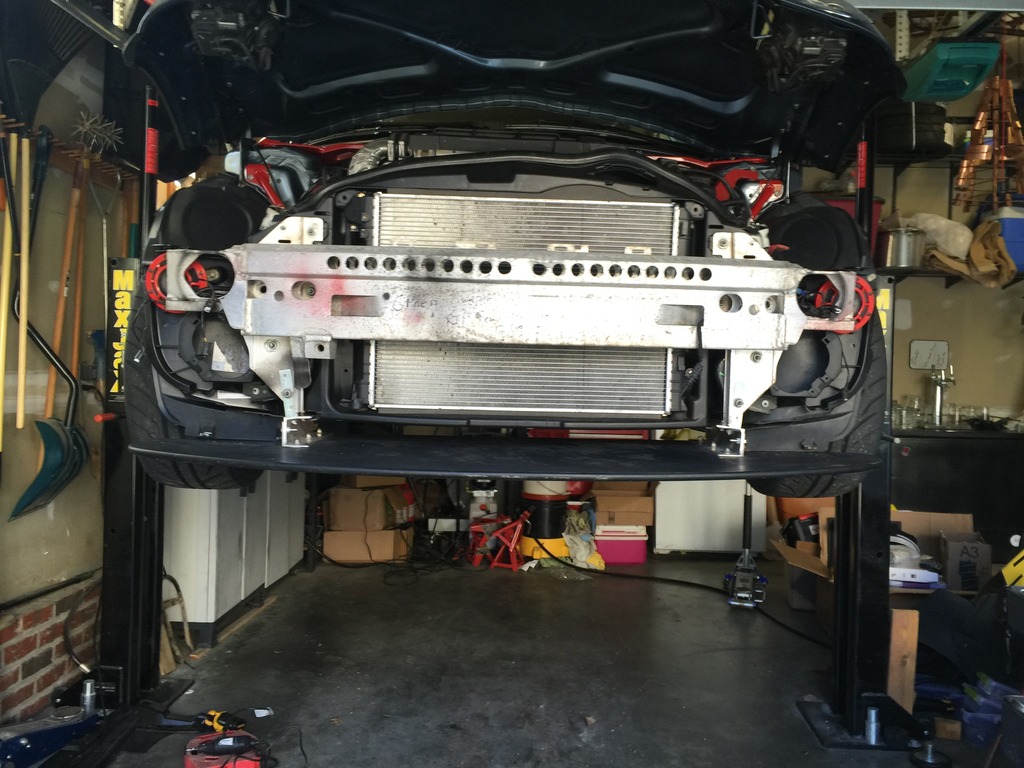
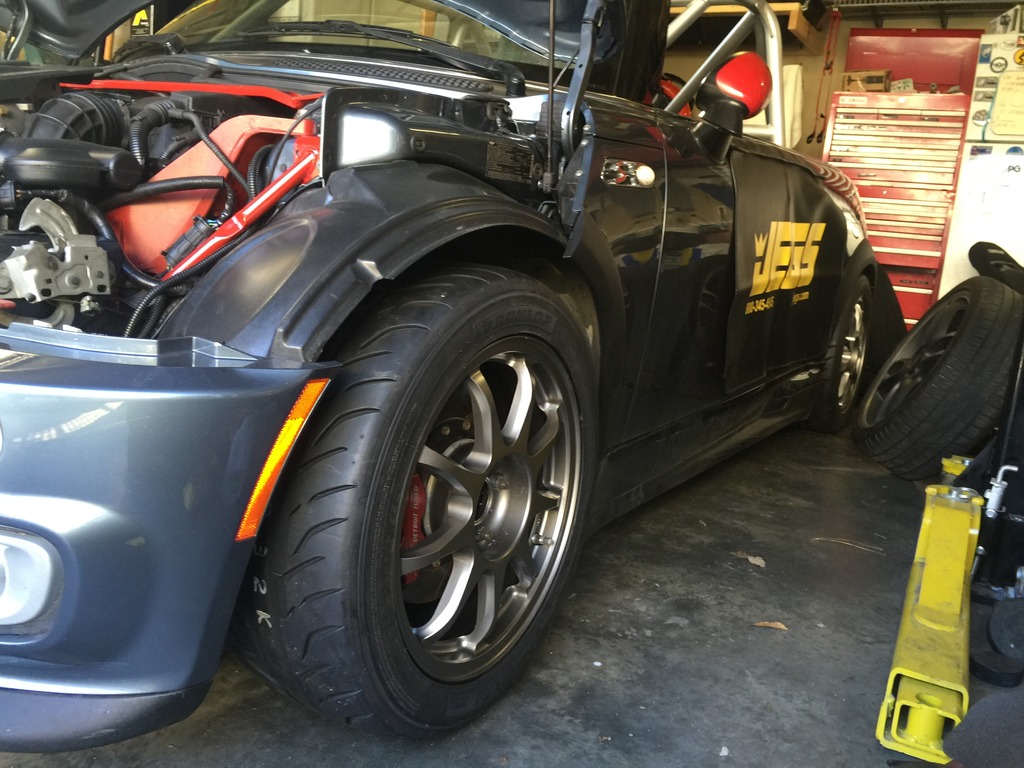
Then decided to test-fit my track wheels and tires one more time, since I’ve adjusted so much stuff and added the splitter, just to make sure the car isn’t too low for the track.

Click the image to open in full size.

Glad I tried it, because I needed a few more mm of spacing on the rear to clear the trailing arm strut mount. Otherwise all as I expected. FWIW, I’m running 12mm front and 8mm rear spacers with the 6ULs, DT front brakes and 2nd gen JCW rear brakes, and BC/Greene Performance coilovers.

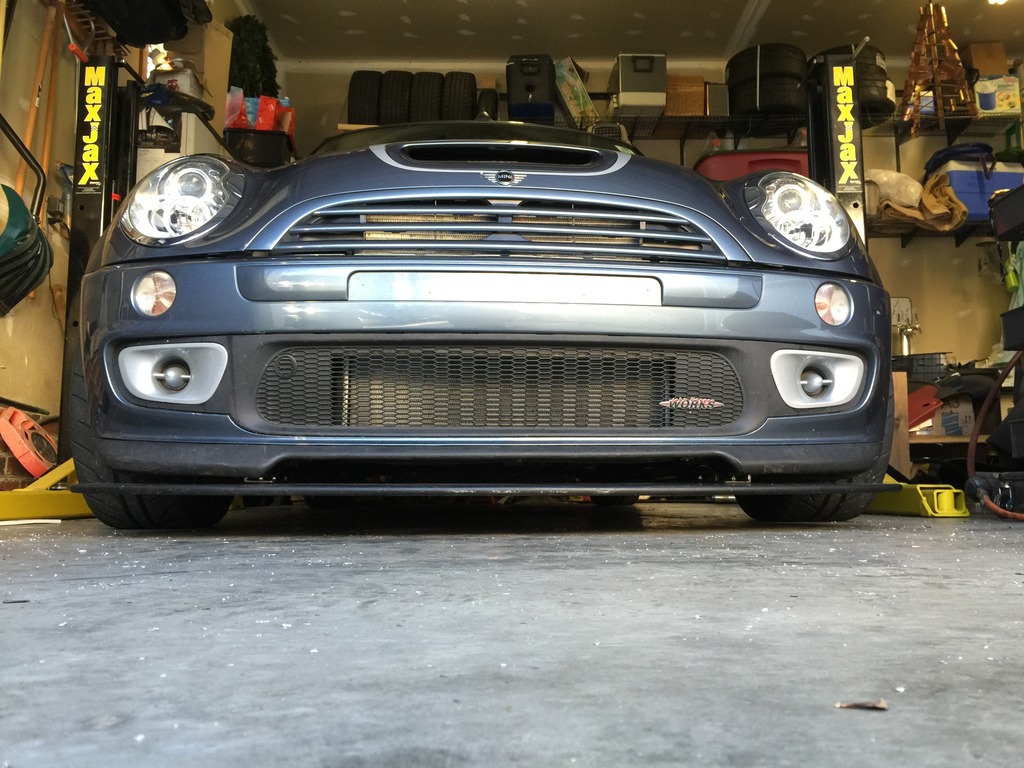
But the splitter is pretty darn low.

Click the image to open in full size.

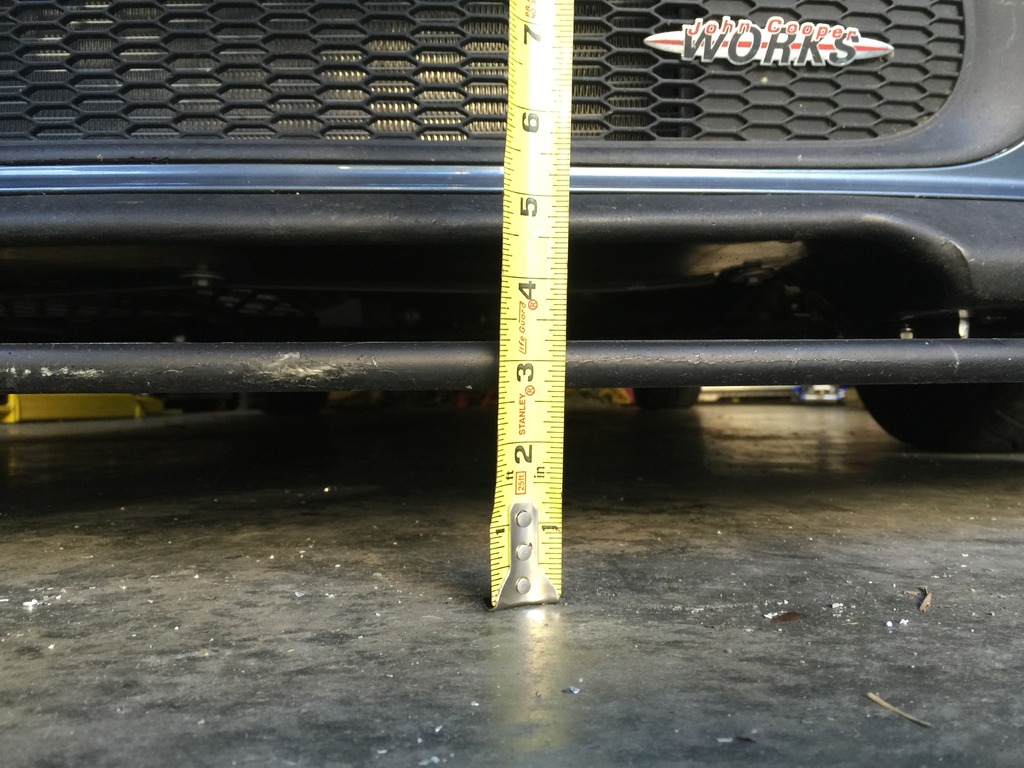
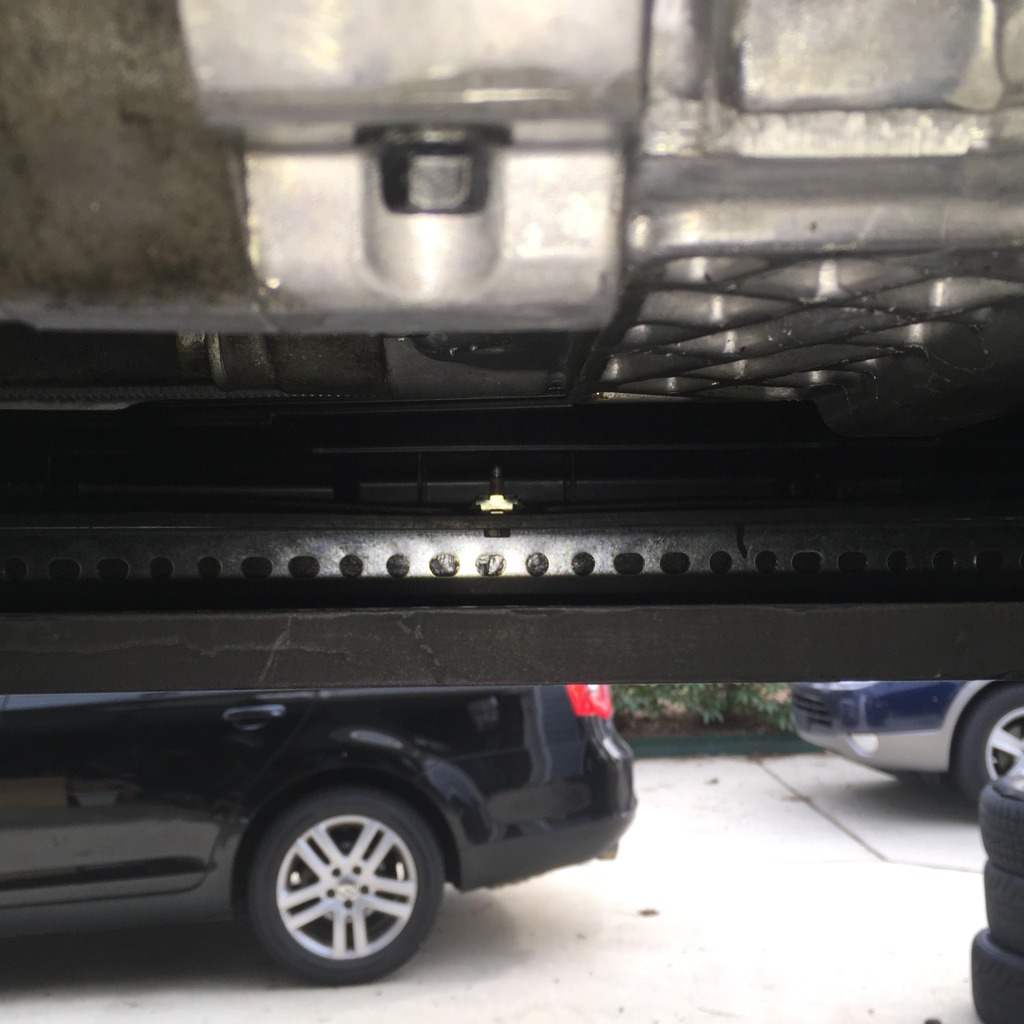
About 50mm after the car settled; 2″ of ground clearance. cct1 says he ran even a little lower than this at the track and had no issues with riding the curbing on the corners. So should be good. But it’s definitely not a street-friendly setup. I drove about 5 miles just to make sure everything was happy, and didn’t drag anywhere… but also avoided potholes and speed bumps and parking curbs.

Safe and RMW Splitter

Yesterday was beautiful, so I took the car out and ran errands all afternoon, like it was a real car, or something. It was blissful.
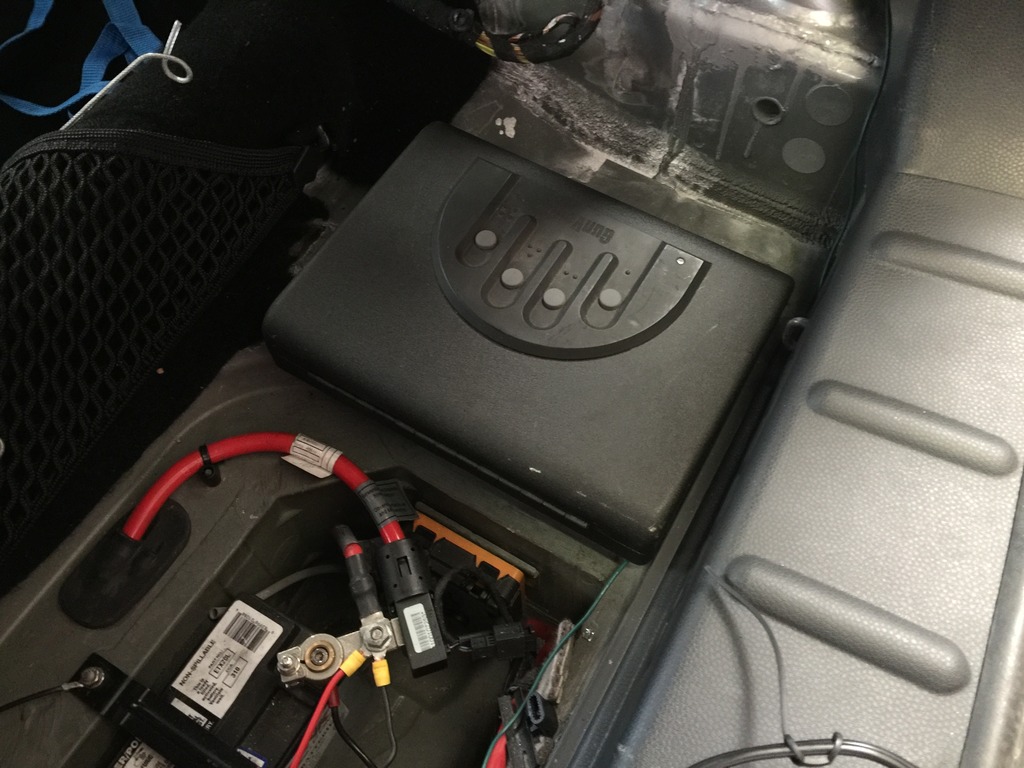
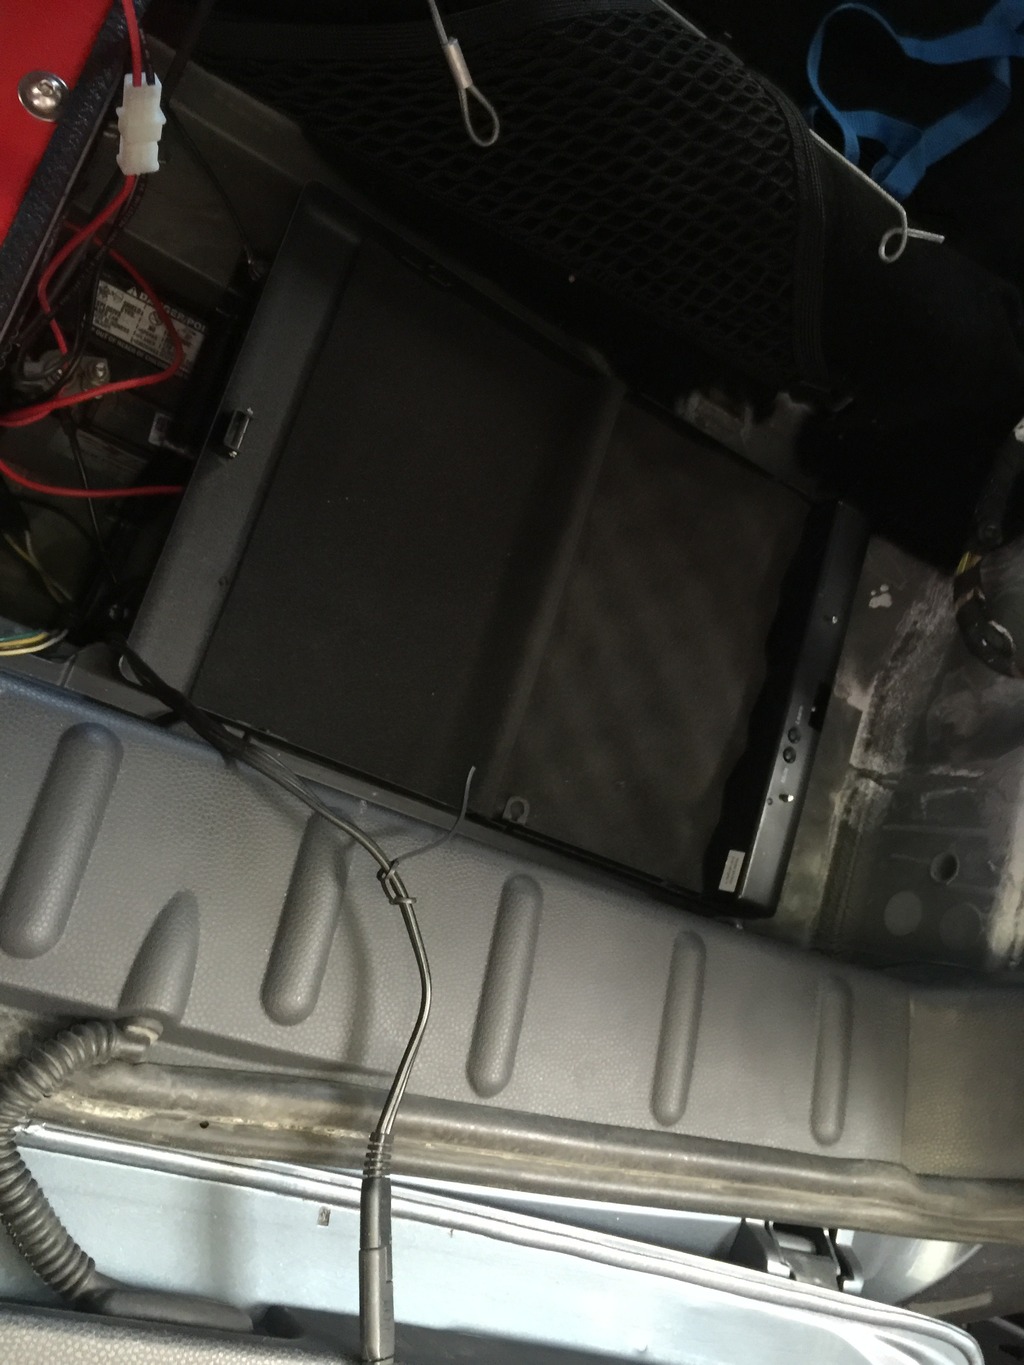
One downside of having the dual front parcel shelves and no real trunk… the car has ZERO secure, lockable storage now. Occasionally I might need to stash a radar detector, or firearm, or drug money, or something. So I fixed that.
Click the image to open in full size.

Screwed down to the floor. I’ll pull it back out and put the carpeted floor panel under it, split so I can access the battery when needed.

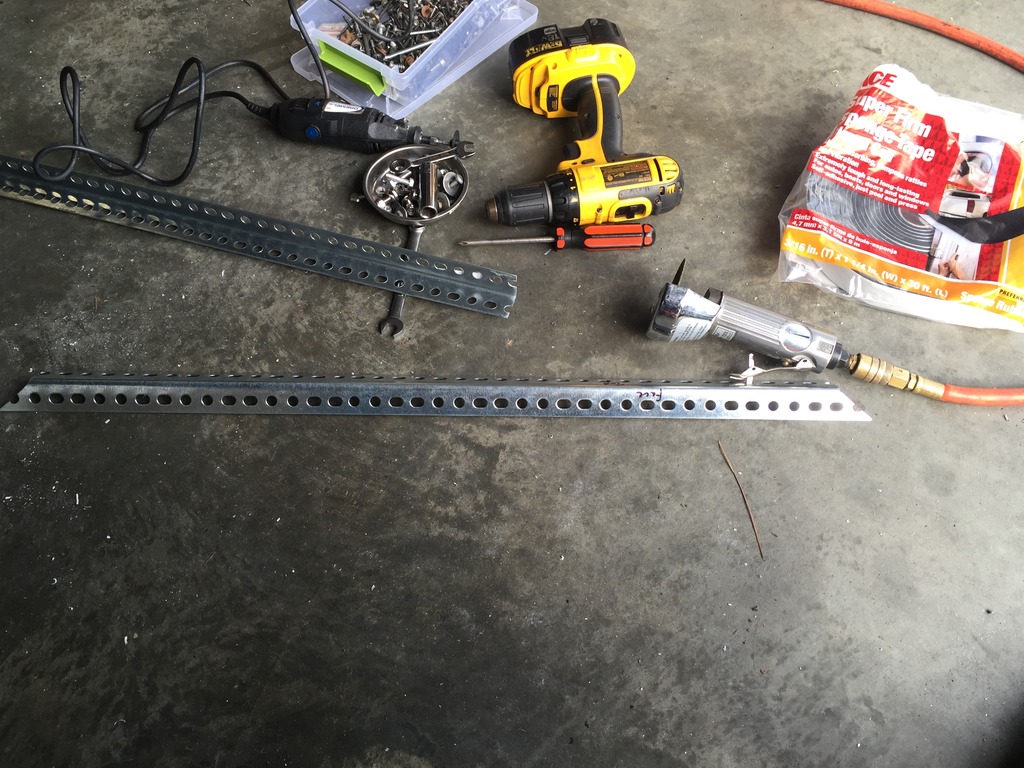
Today, worked on installing my new-to-me RMW splitter. The brackets for mounting it never materialized, so I fabbed up a new set. Because it’s always more fun to make something, than to just “get” something. 
The splitter uses two-part aluminum brackets, connected with aluminum bolts mounted in shear. So if you hit something hard enough, the bolts shear off and the splitter drops before breaking something important.
Click the image to open in full size.

The brackets mount to the crush tube bolts on the subframe, and the lowest bumper mount studs. This provides a VERY solid connection to the car. Nothing is connected to the bumper cover. You can shove the splitter with your foot, and the entire car moves. It’s insanely stiff and solid, like a real splitter should be.

Done!

Click the image to open in full size.

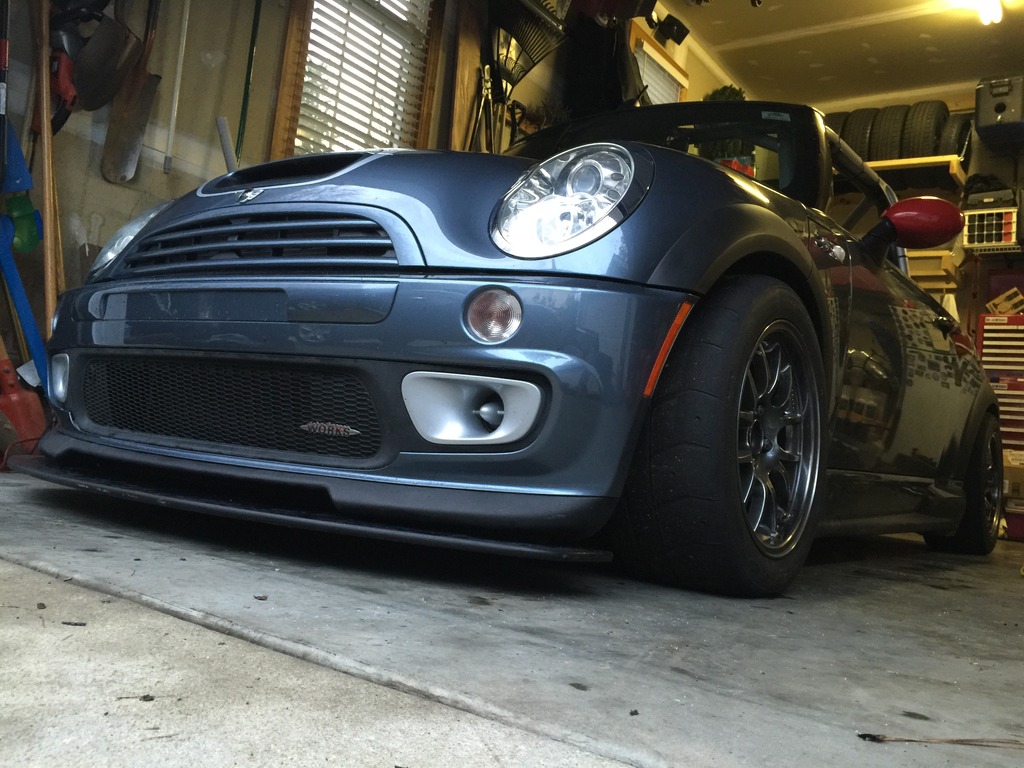
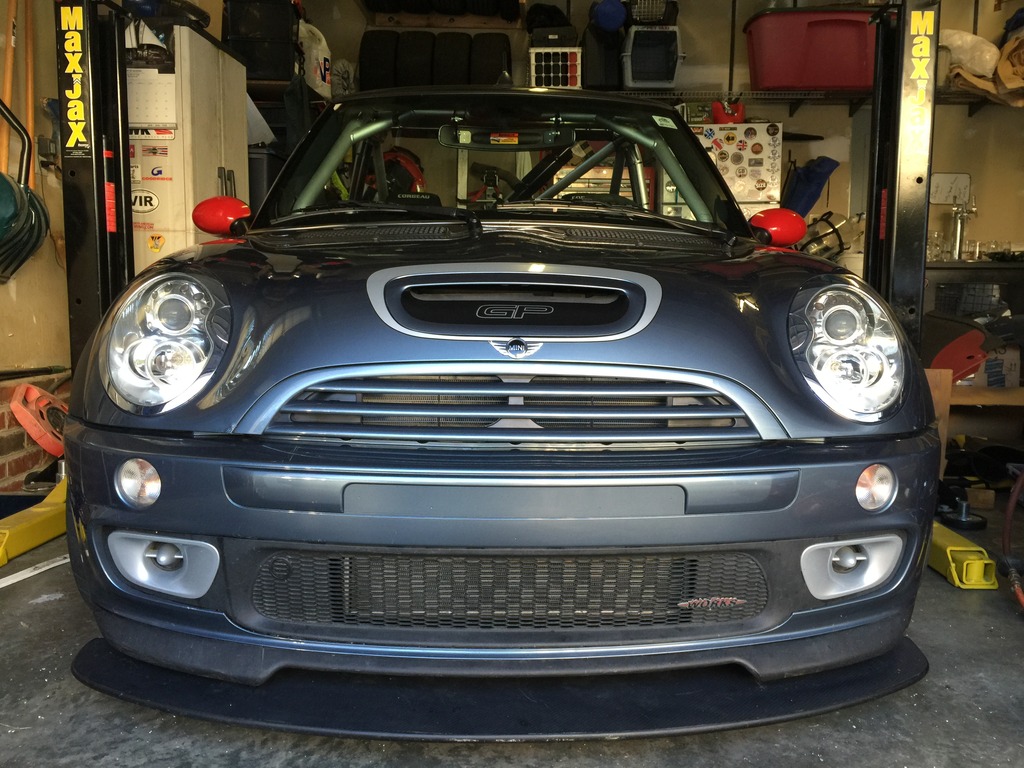
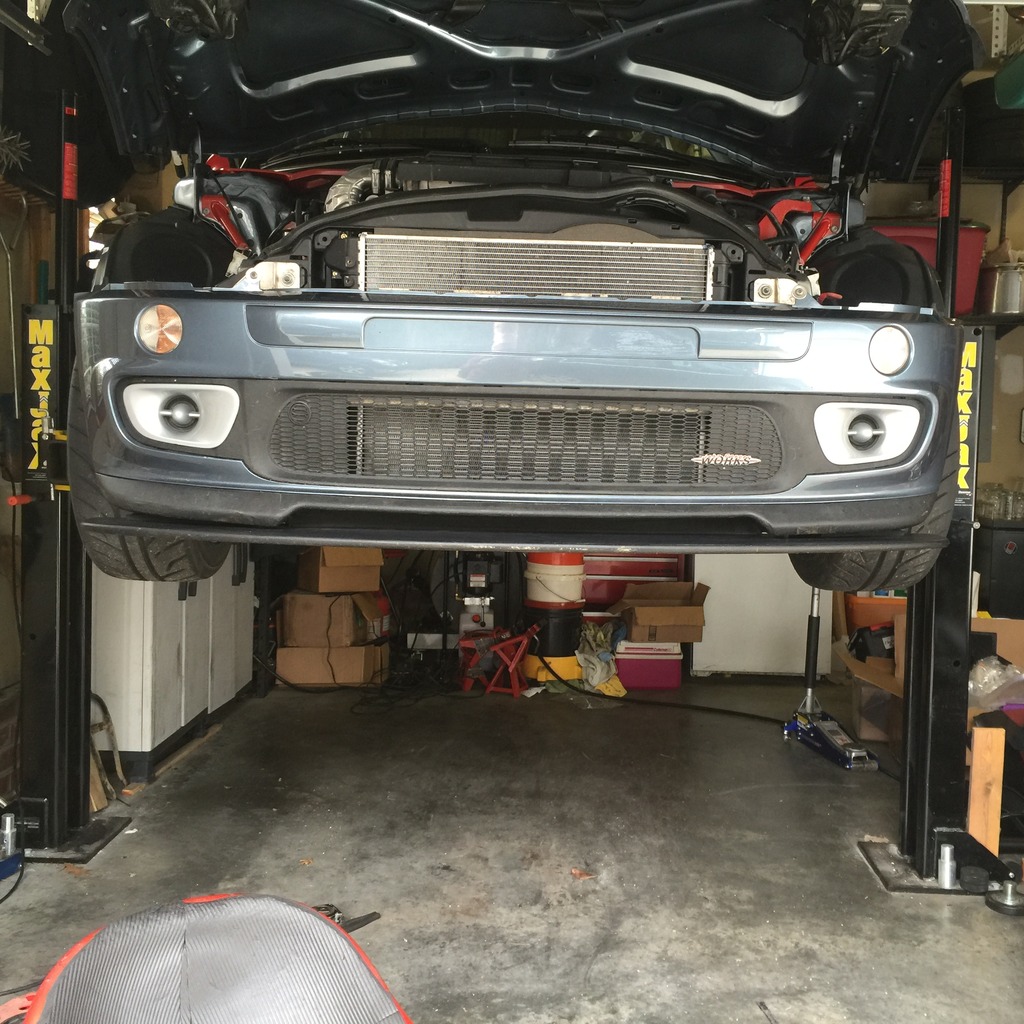
It’s VERY low. And this is on my 16″ wheels. It will be even lower on my 15″ track wheels.

Click the image to open in full size.

I can’t wait to get it to the track next weekend. The aero on this car was already sooooo much better than my old car, with the GP underbody panels and the tonneau. Plus the vastly superior suspension, the car is gonna be a monster at the track, I predict. I just need to raise my game considerably, to be able to take advantage of it.

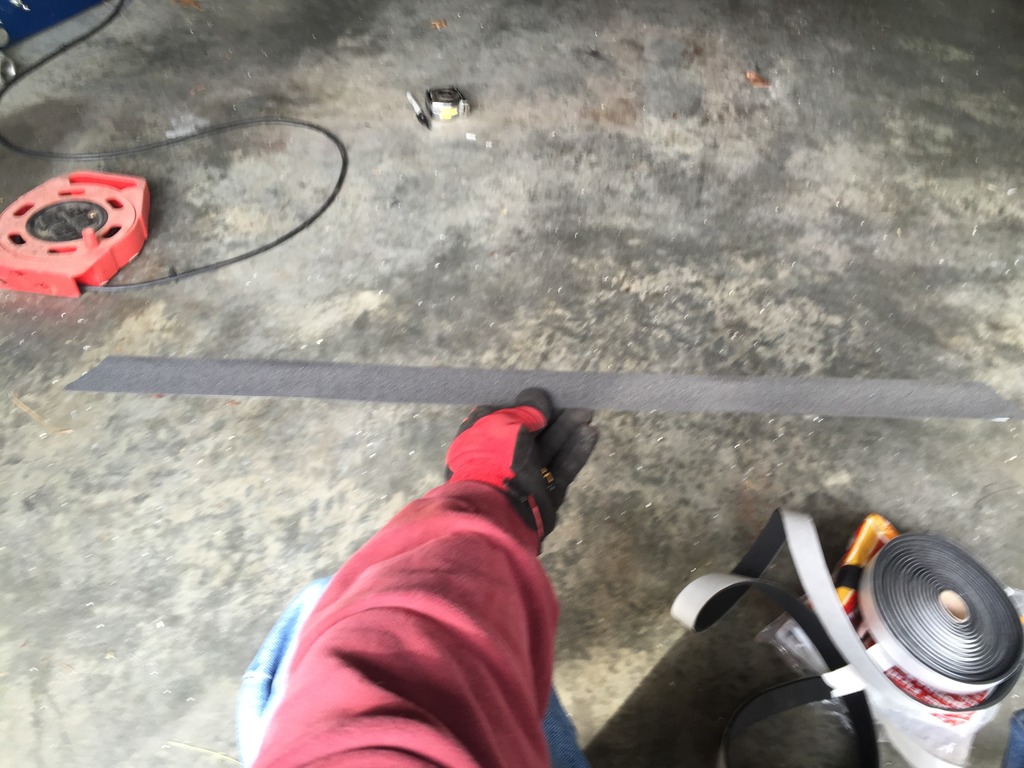
Adjusted brackets, moved the splitter up about 3/8″. Fabbed a filler panel to seal the gap in the bumper. Put some weather stripping on the top of the splitter to seal in the area in front of the wheels.
Click the image to open in full size.

I think I got my money’s worth out of this wheel…
Click the image to open in full size.

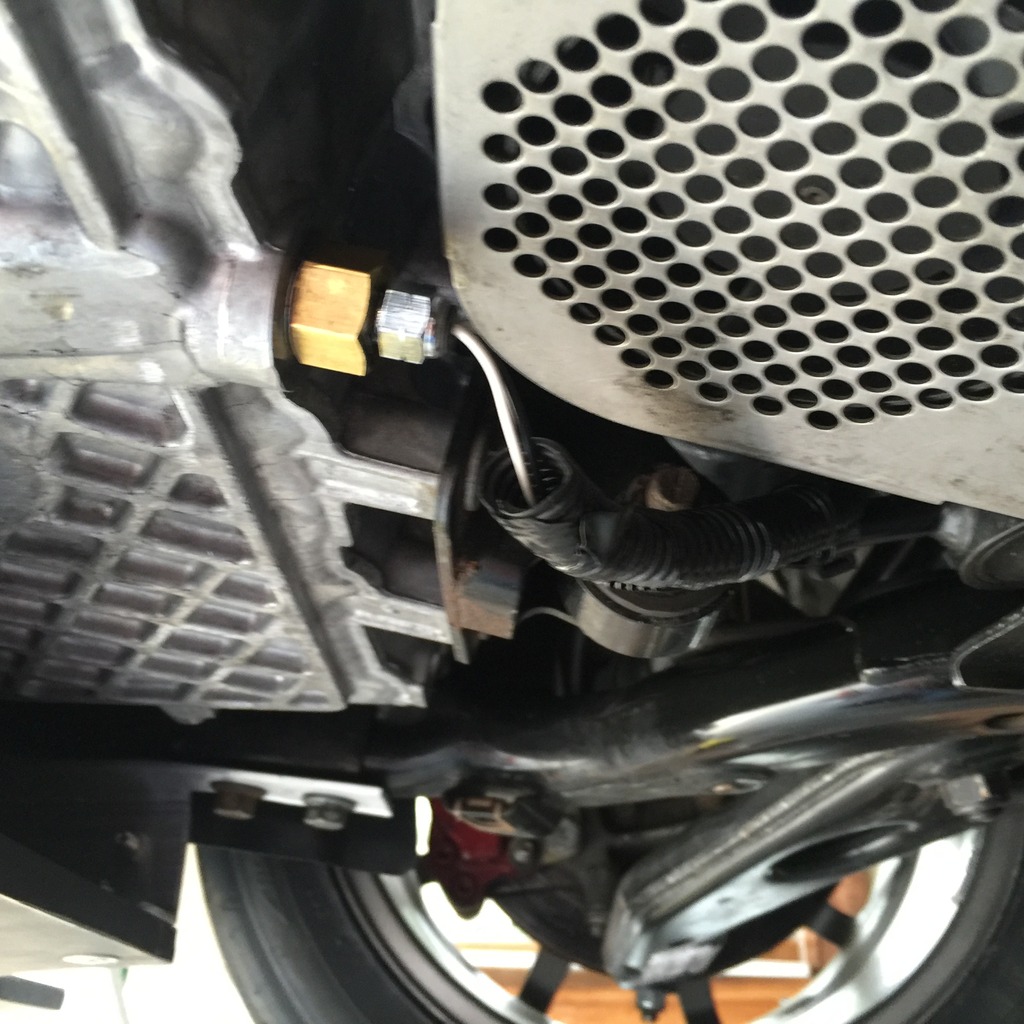
Changed oil, wired oil temp sensor. Used the plug adapter for now, I’ll drill and tap the pan later. Pulled an oil sample to take to the lab.
Click the image to open in full size.

Then took it out and drove the everlovin snot outta it.
OMG, it’s crazy how much difference the splitter makes above 70mph. The faster you go (over 70), the more planted the front end gets. I took some nice sweepers and esses at <speed redacted>, and had WAY more margin available. It will be beastly at VIR next week. The car is much, much better than the driver, right now.

I have the Aquamist system setup like I want, for now. Spraying just a little at high load, my IATs never went over 120F today, and recover almost instantly. But have only burned about half a gallon of meth in three hours of hammering on it, and it doesn’t materially impact my AFR.

Even RaceCars go shopping, sometimes.
Click the image to open in full size.

Back home. Beast mode complete.
Click the image to open in full size.

Gotta do one more test fit of the 15’s tomorrow, and get the track trailer packed.

Zeitronix data logging

Fiddled with data logging for a couple of hours today.

Since folks will ask, here’s what I have:
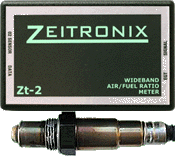
Zeitronix ZT-2 Wideband system
plus sensors for EGT, boost, oil pressure, oil temp (not connected yet), and connections for RPM and throttle position
Click the image to open in full size.

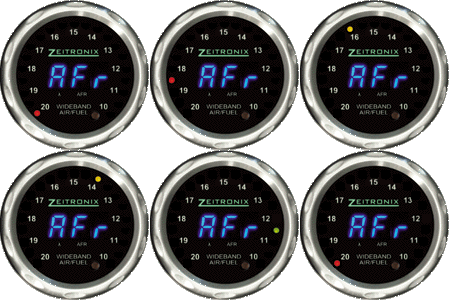
ZR-2 multi-gauge
Click the image to open in full size.

Black Box Data Logger
Click the image to open in full size.

I also have the LCD Display, but I don’t know if I’m going to really use it. It’s not as flexible as I expected, so I can’t really display all the data on it I had hoped. I may end up disconnecting the oil pressure and temp sensors from the ZT-2 and installing dedicated gauges for those.

The ZT-2 comes with software and a serial interface cable to allow data logging with a Windows PC. Modern PCs with no serial interface will need a 3rd party USB/serial adapter cable. The Black Box Logger enables you to capture data logs directly to microSD card, without a computer connected, then load and analyze the logs on the PC when you’re back home. Dead simple to log, one button to press to start and stop, and a status LED to let you know it’s working.

I thought I captured logs when I was driving yesterday, but there was nothing on the SD card. Finally managed to download the recommended formatting utility and format the card properly. Tested logging in the garage and had files! But was getting no RPM signal. Hunted around under the dash and determined that the RPM signal wire had come unplugged from the tap at the OBD port. Found that wire and plugged it back in.

Fought with drivers for my USB-to-Serial interface cable for about an hour, finally got that fixed, so I could run the Zeitronix software and do live logging on the laptop. Very cool.

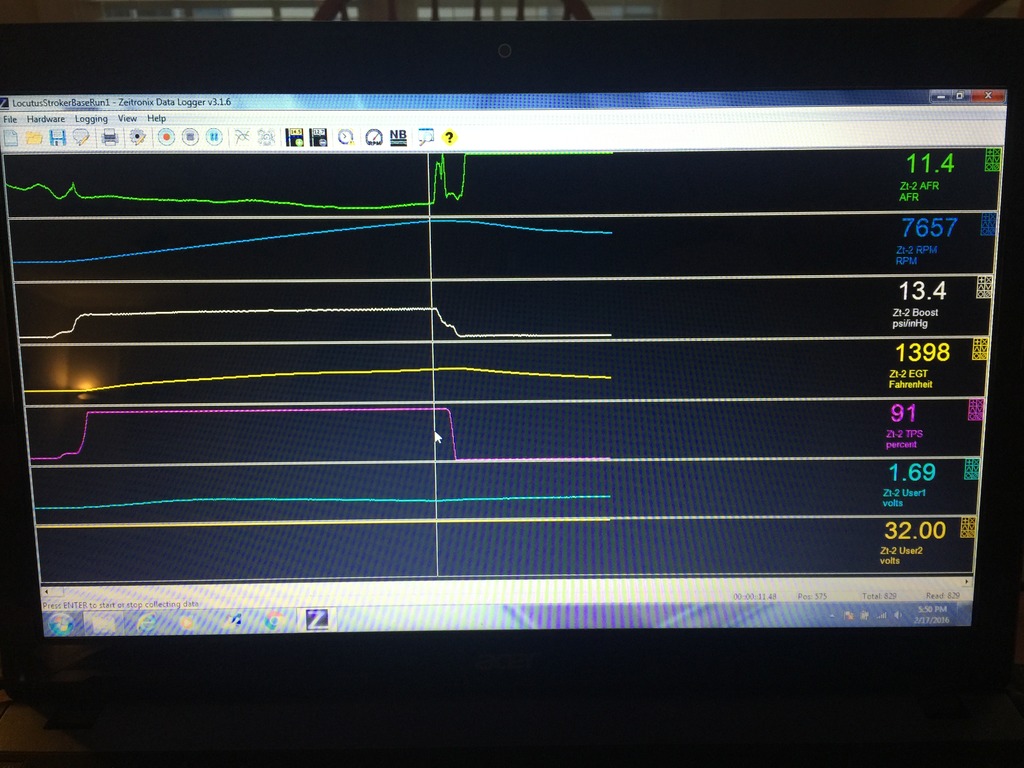
Went for a drive and logged a few pulls to redline, to send to Jan to verify my tune and tweak if necessary. Came back home, loaded them up and looked at them. Very very cool.

Click the image to open in full size.

The graphs show: Air/Fuel ratio, RPM, boost, exhaust gas temp, pedal position (91 is wide open), voltage from the oil pressure sensor, and voltage from the (not yet connected) oil temperature sensor. When capturing live on the PC, the oil pressure or temp can be scaled to show actual values. Basically this shows a pull from about 3200 to 7700 RPM (redline with my current setup), you can tell when I started and ended the pull by the throttle pedal position curve.

Sent this to Jan, and he confirmed that the current tune is right on the money. So we’ll stick with this, until the TVS is on.

Also pulled the stereo face back off, and checked wiring of my bluetooth interface, which wasn’t working. Unplugging and plugging it back in fixed it. All good.

My mod to secure the side flaps on the tonneau seems to be effective, they stayed put for an hour of driving today.

Looking at what it’s going to take to install my RMW splitter tonight. Might need to fab up some more brackets, as the original brackets have never materialized. No big deal.

And, from the ashes…

So the first attempt at building the GP Roadster, I named Locutus. Because my cabrio was being assimilated by GPness, or something.

I kept Locutus Mk2 as the working name of the new car, because I liked it.

But one of my friends just suggested something more fitting, I think, now that it’s fully baked…

Click the image to open in full size.

Thoughts? I’m not afraid of it being a harbinger for a fiery death. The car has already risen from the ashes, at least metaphorically, of three lost MINIs….

More fiddling… and the tonneau prototype

Spent a few hours today fiddling with stuff.

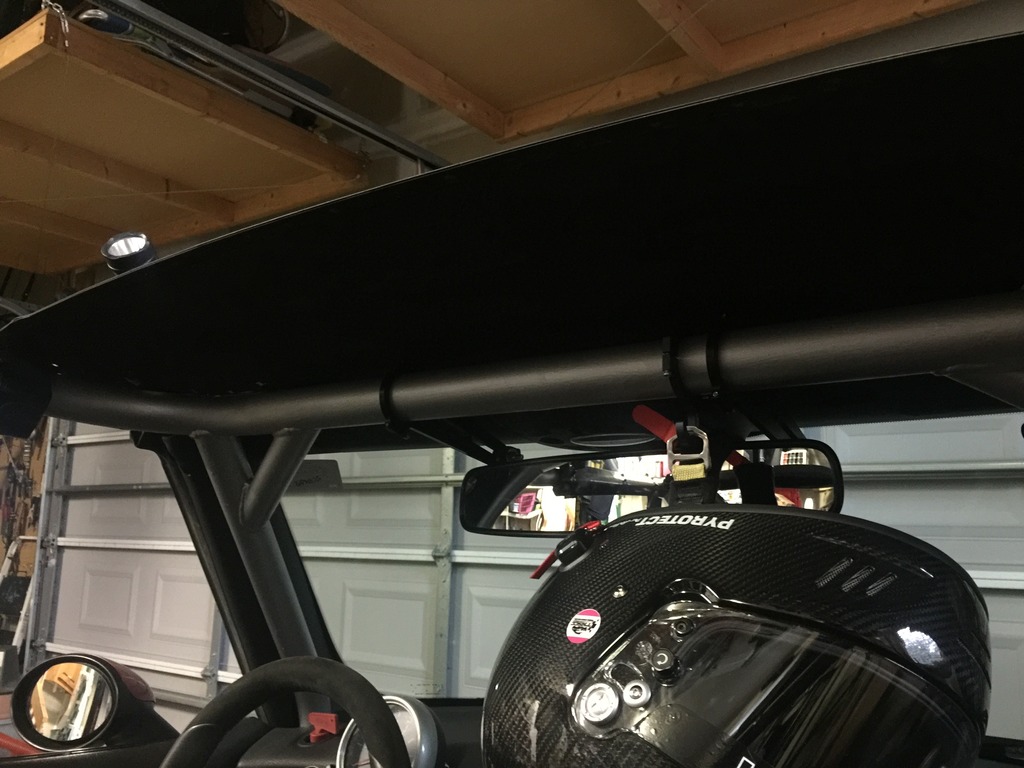
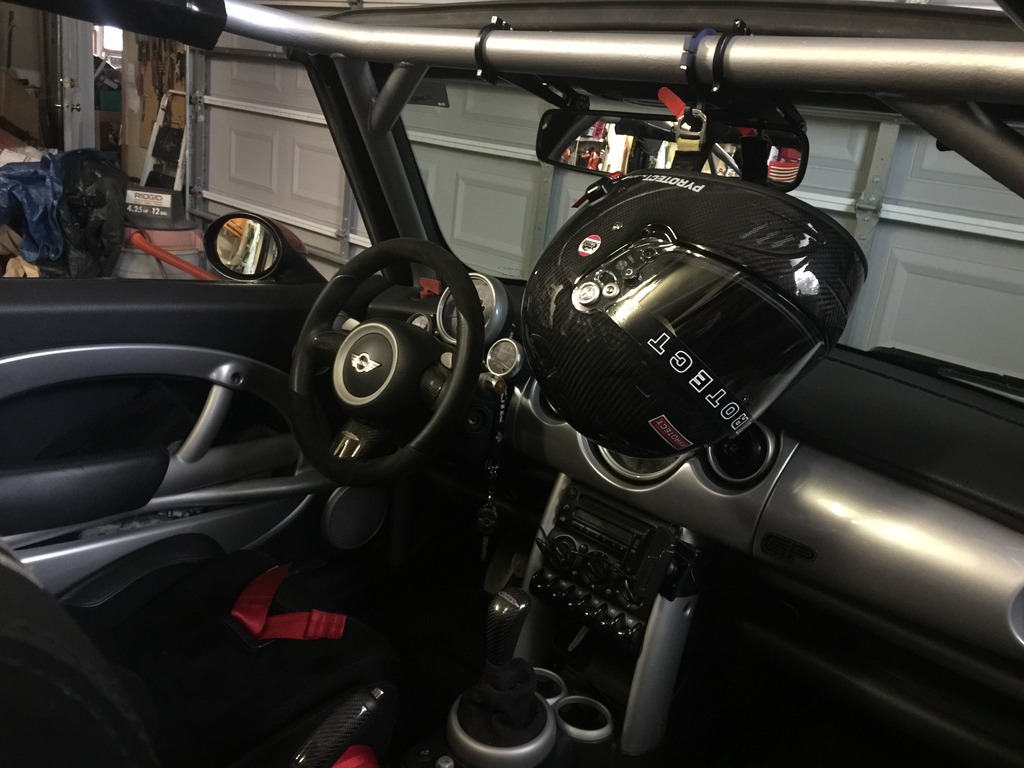
Installed my helmet hook. Because, Racecar.
Click the image to open in full size.

I have a steering wheel hook also, but I’ll wait until I get the Momo QR wheel to figure out placement for that.

Then I installed the brackets that will ultimately hold the tie-downs for the rear of the bikini top.

Click the image to open in full size.

Then I figured, “hey, I may as well work on the top a bit”

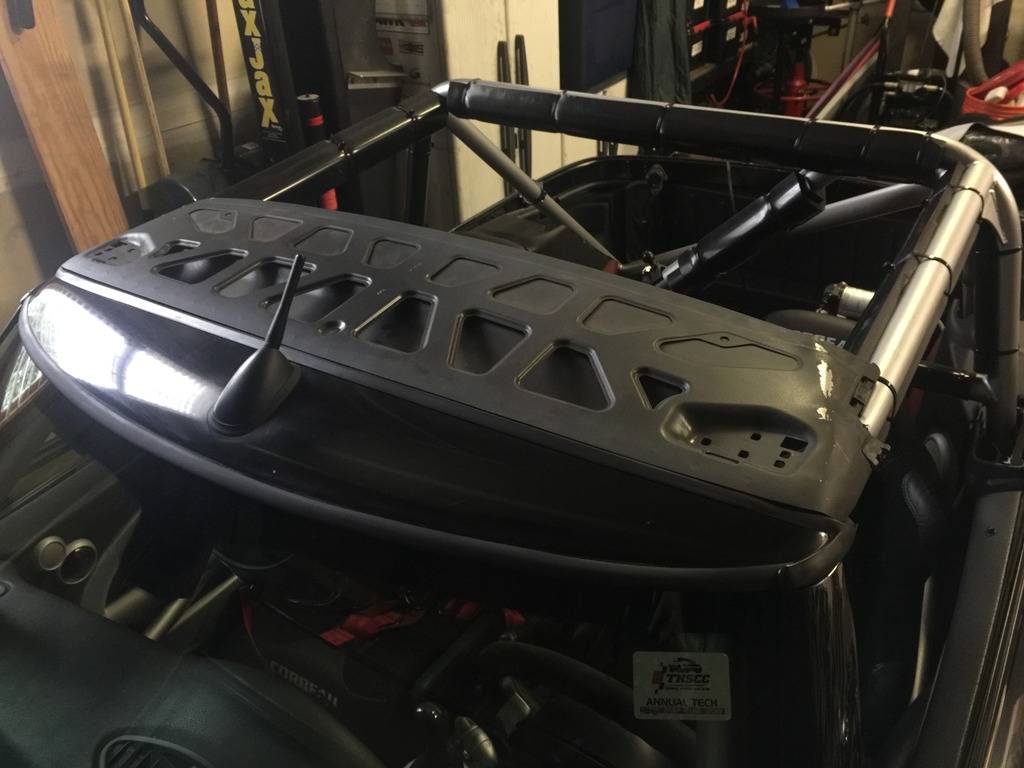
So I spent some time fitting the old cabrio sunroof panel to use as the structure for the front of the new top.

Click the image to open in full size.

Sits on the cage at the perfect position and angle, like it was designed to do so. Because it was. 

Click the image to open in full size.

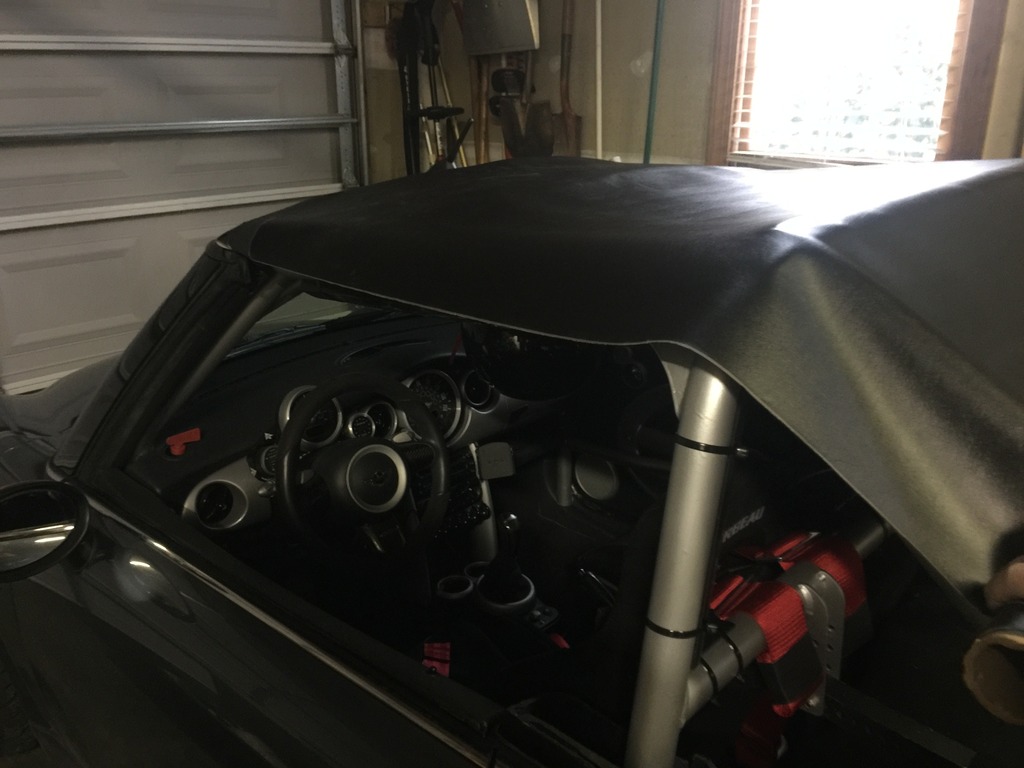
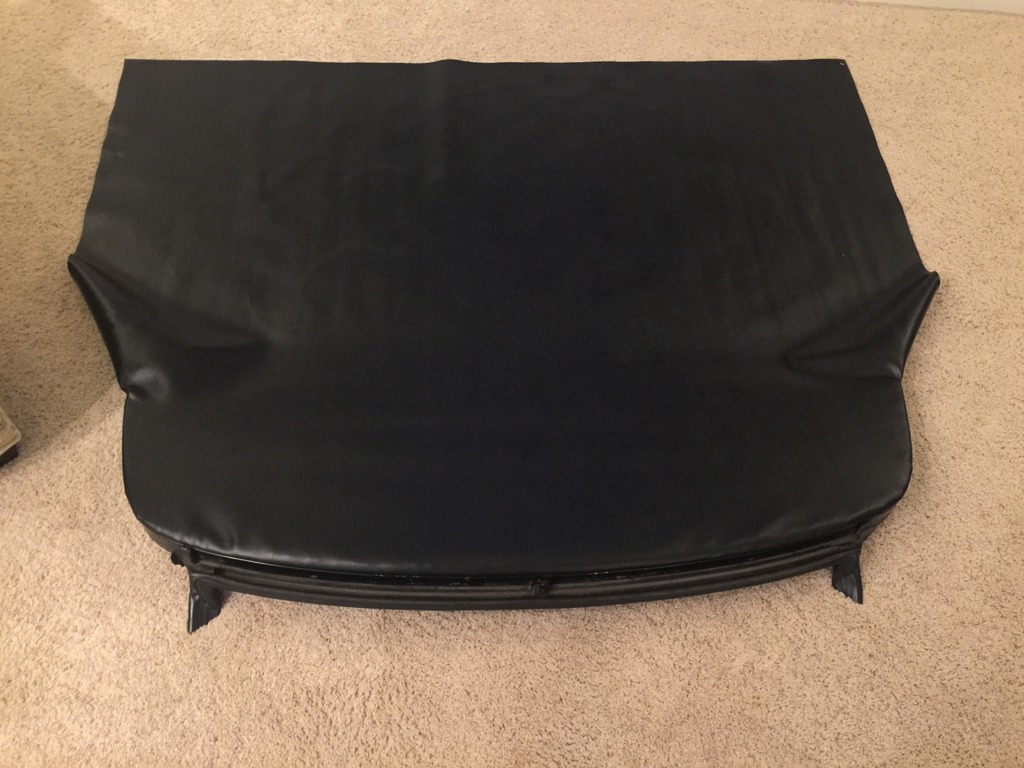
I bought some upholstery vinyl to prototype the tonneau cover. Figured I stretch that on, just to see what it looked like…

Click the image to open in full size.

Click the image to open in full size.

I likey… more to come on that.

Then decided to play with the tonneau a bit.

Click the image to open in full size.

Oh, what the hell, let’s play some more. I plan to have the final one made from the same black multilayer material that the OEM convertible top uses. But I’ll build a proper prototype in vinyl first, and may run it for a while for testing.

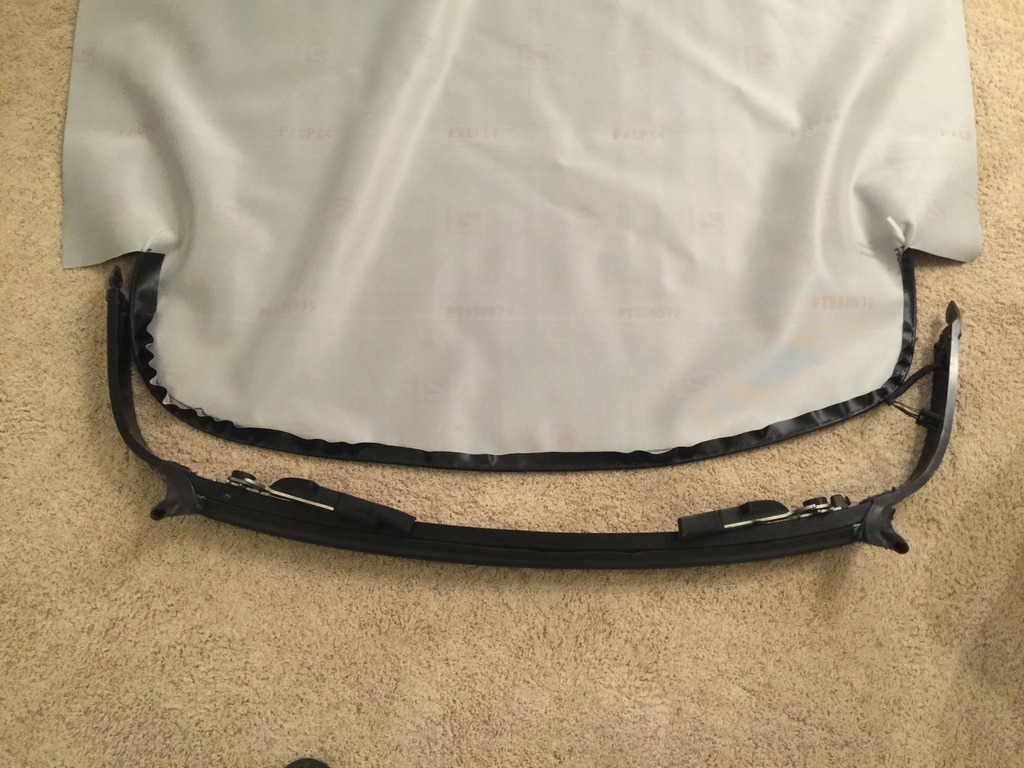
The OEM convertible top attached to the rear structural bow. The bow has a slot near the top of the outer face. The top had a plastic or nylon spline sewn into a pocket. That slid into the slot to hold it in place. My tonneau design uses the same attachment method.

Just happened to have some nylon tubing exactly the right diameter, left over from my methanol kit. Marked the material in the shape of the bow, then cut it and loosely stitched in the spline.

Click the image to open in full size.

Then slid it into place. Not easy, because it’s designed to be both snug in the slot and taut on the frame, but it worked.

Click the image to open in full size.

Installed the box back onto the car…
Click the image to open in full size.

Flips open, like the OEM top.
Click the image to open in full size.

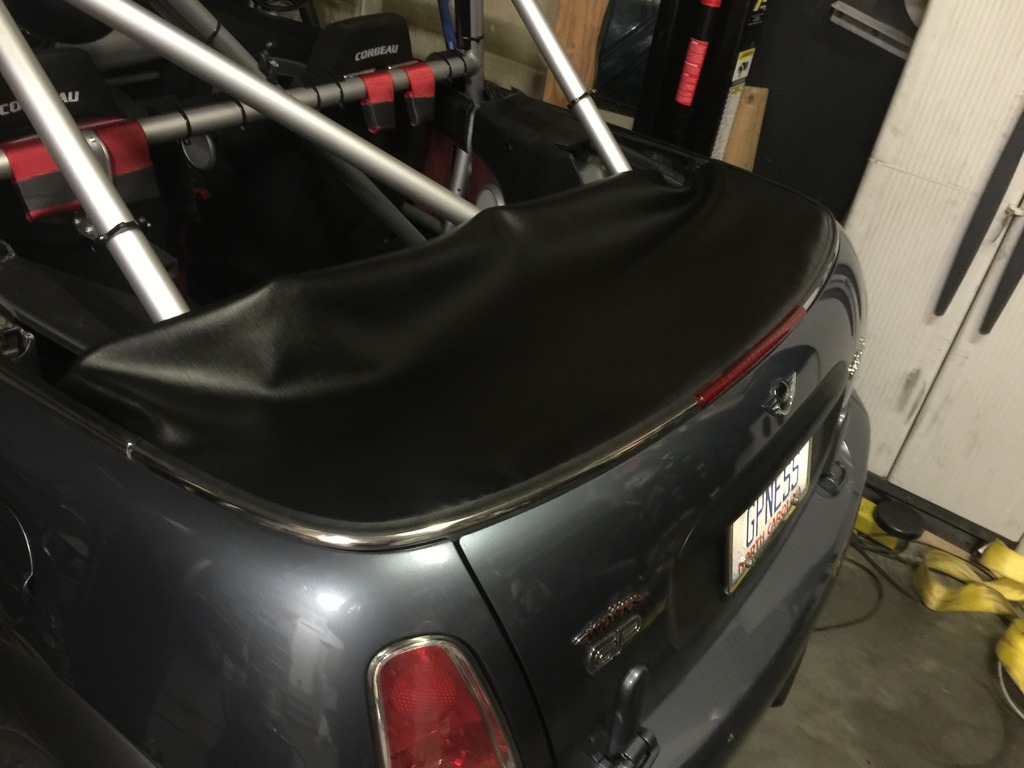
The OEM beltline trim, weatherstrip and 3rd brake light install just like with the OEM top. Weatherstrip provides a seal against the tonneau, like it was made to work that way…
Click the image to open in full size.

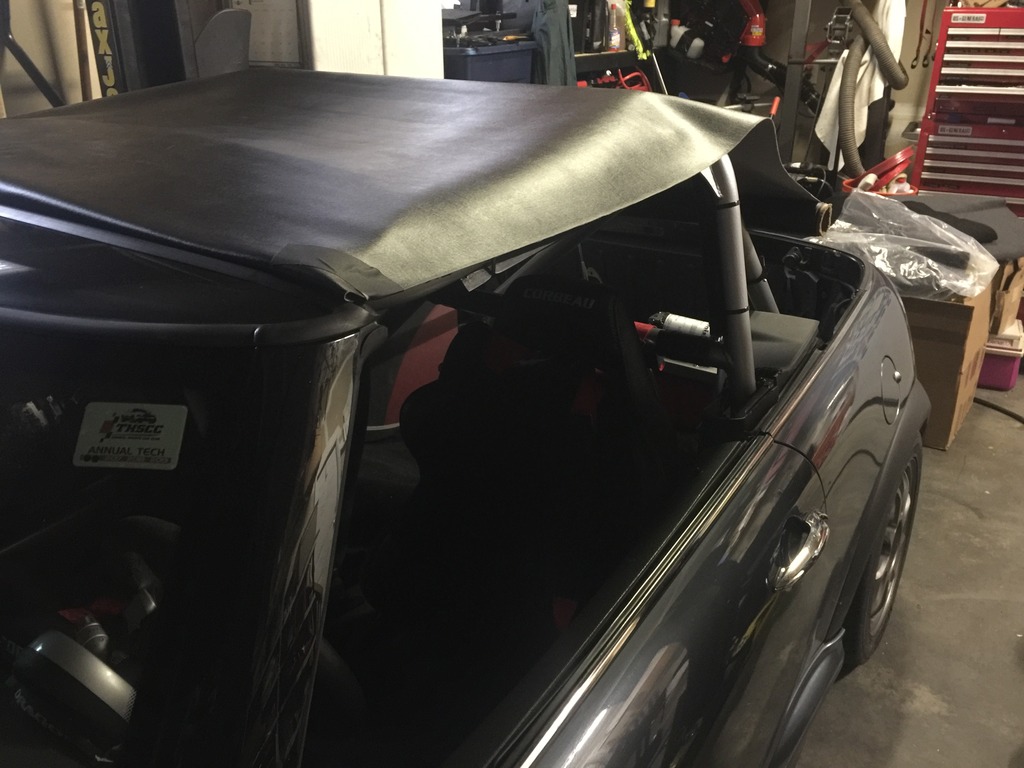
Decided how I wanted to slit the tonneau around the cage, and cut away! Stretched it into position, and just taped it together and to the cage, temporarily, to mock it up. Later I’ll add proper flaps over the slits, and straps to cinch it tight to the cage.

Me likey….
Click the image to open in full size.

It’s exactly the way I had envisioned it…

After confirming that I could get our sewing machine to actually sew this stuff, I pulled it back off the car, and practiced my mad sewing skillz.

Click the image to open in full size.

Hemmed the edges, sewed a pocket at the front edge to hold a tube to stiffen and stretch it, made some flaps to cover the three slits, sewed them into place, and added some velcro to hold them shut. Didn’t worry too much about making it pretty, just shooting for functional right now… it’s a prototype.

Done!

Click the image to open in full size.

Back on the car…
Click the image to open in full size.

Still need to figure out how to stretch or hold down the “wings” on the sides, but otherwise it’s just about perfect.

Yesterday, it was 25 degrees and sleeting. Today, 60 and sunny. So, time to test it. Worked! And didn’t come off at speed. Significantly less buffeting and wind noise. And looks good.

Click the image to open in full size.

Really nice day. The car drives sooooooo much better with summer wheels and tires, and with more brake pad bite. I’m starting to finally get a feel for it… but am being pretty careful, still.

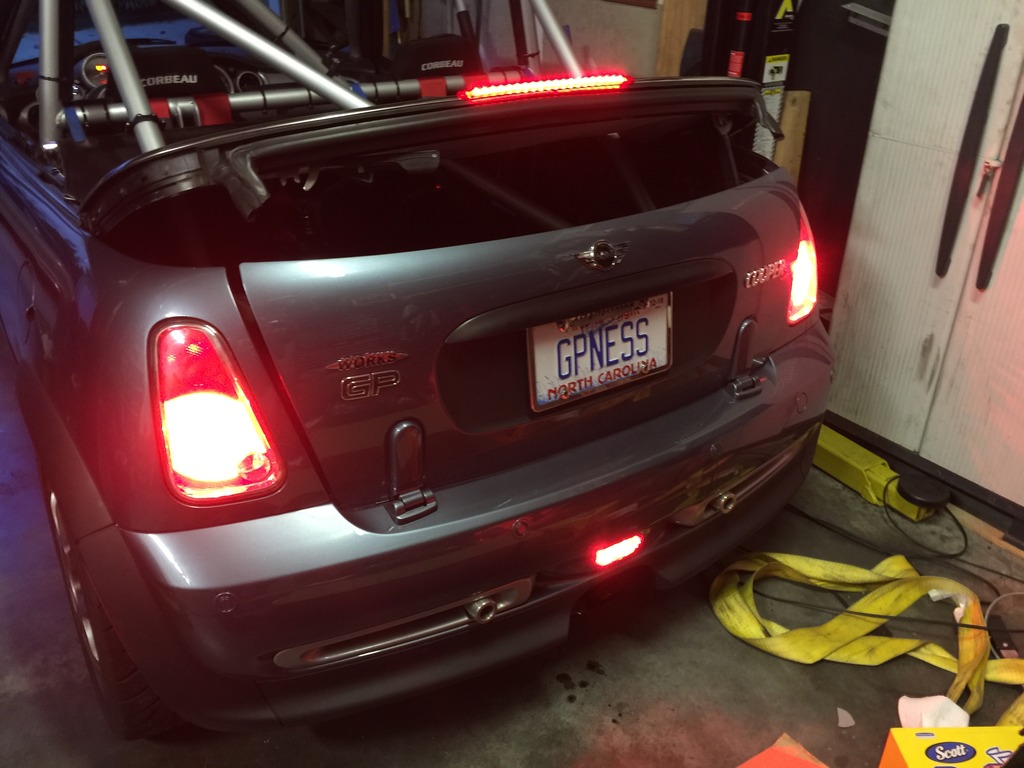
Just can’t stop doing stuff… so I reinstalled my rear fog brake light mod after I got home.

Click the image to open in full size.

Also figured out an approach for fastening the sides. I’ll see how that holds up tomorrow.

Tidying up a bit

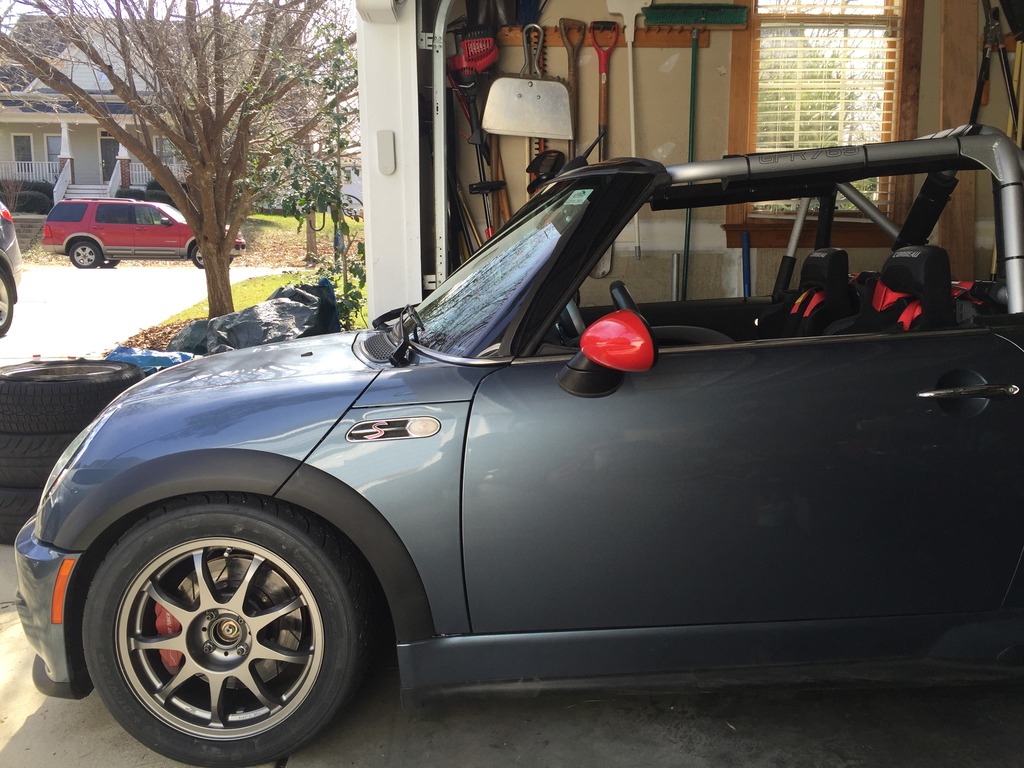
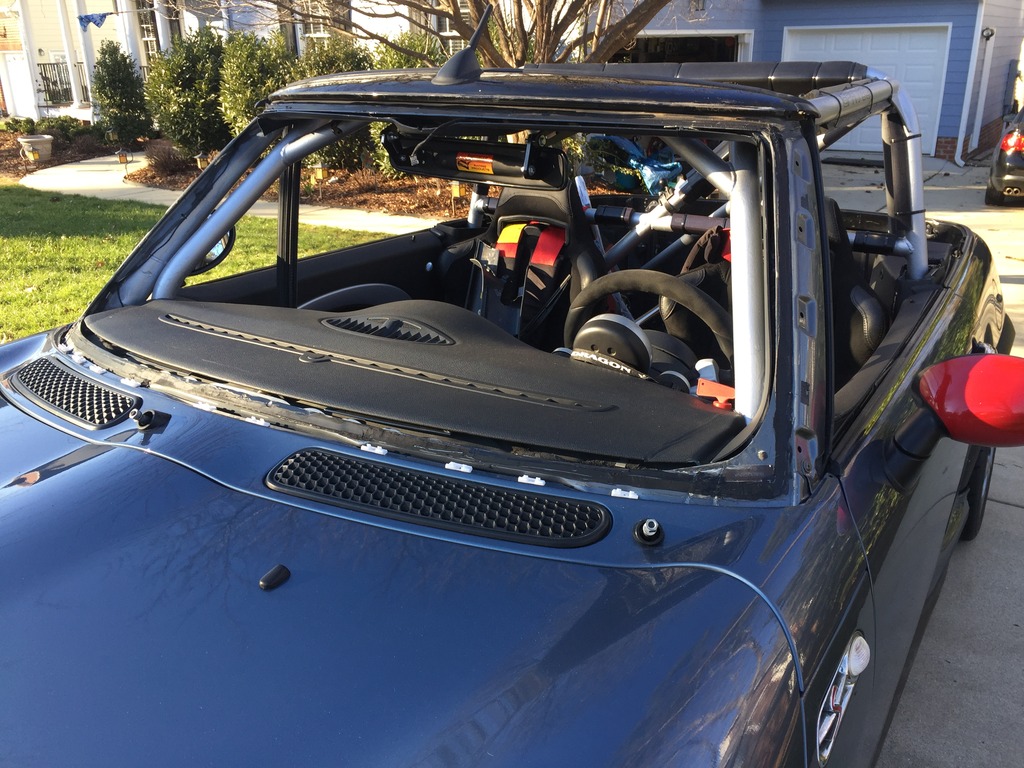
This morning, got the windshield trim and wipers back on. Good to go.

One thing I noticed, is that something about the lines on this car make the windshield look more sloped (to me) than what I remember the old car looking like. I know it isn’t, just a visual thing.

Click the image to open in full size.

Spent the rest of the day organizing the garage, making space to move over stuff from the OTHER garage, so I can sort all that.

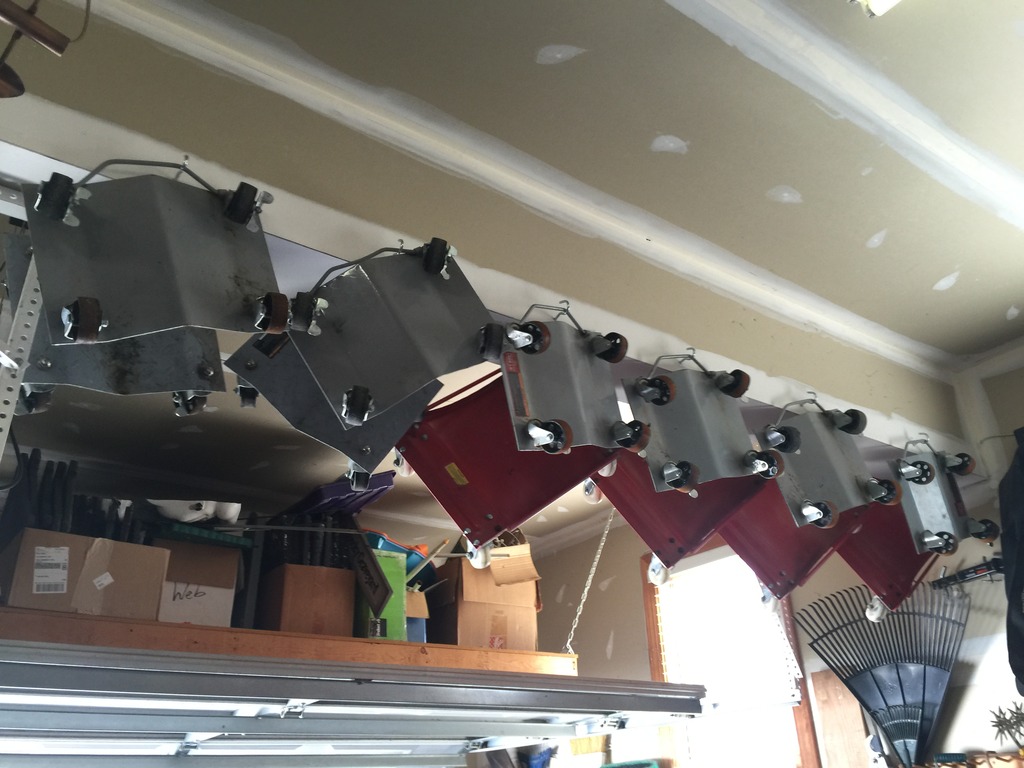
First, hung up my 12 wheel dollies. Because that’s how many it takes when you have three non-running MINIs to push around.

Click the image to open in full size.

While standing on the 8ft ladder, I happened to glance down and realized this was a pretty cool view. So I took a pic.

Click the image to open in full size.

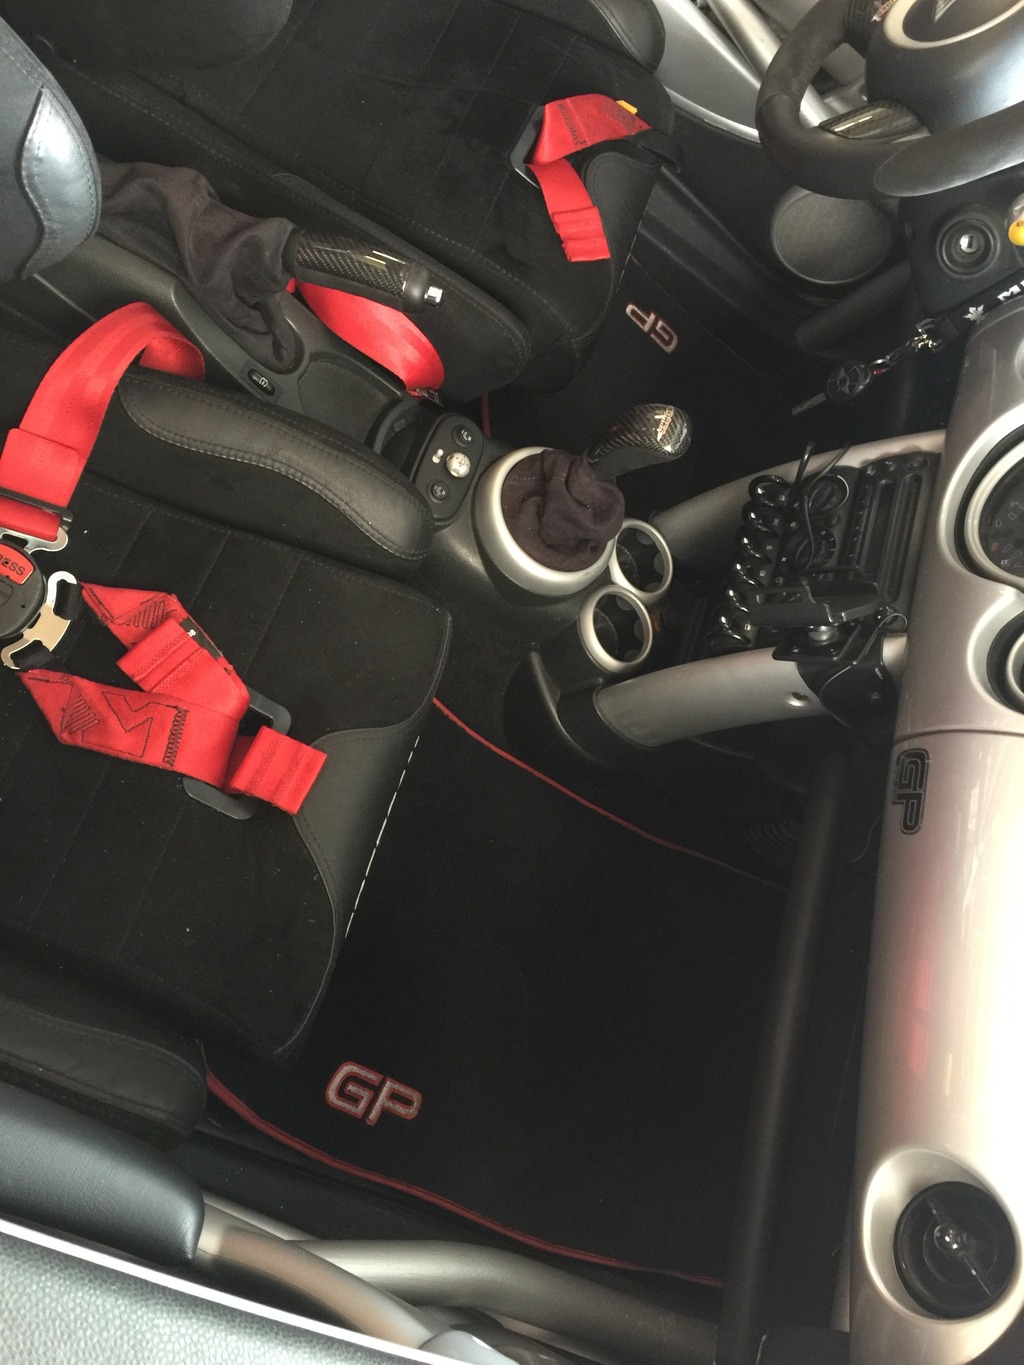
While sorting things out, I decided to put my rubber mats and my GP mats in the car, on top of the diamond plate mats. Just to get them out of the way. First time I’ve had the GP mats in the car. Sexy.

Click the image to open in full size.

Found another treasure that Stephen at eMINIparts.com had included in a parts box, at some point.

Click the image to open in full size.

Finally, an open space…

Click the image to open in full size.

Of course, it had to go somewhere…
Click the image to open in full size.

But at least all the stuff in those boxes is sorted and ready to do something with, now.

This week, when I’m not working, I may play around with prototyping a tonneau cover for the rear… stay tuned…

Tech, glass and stuff

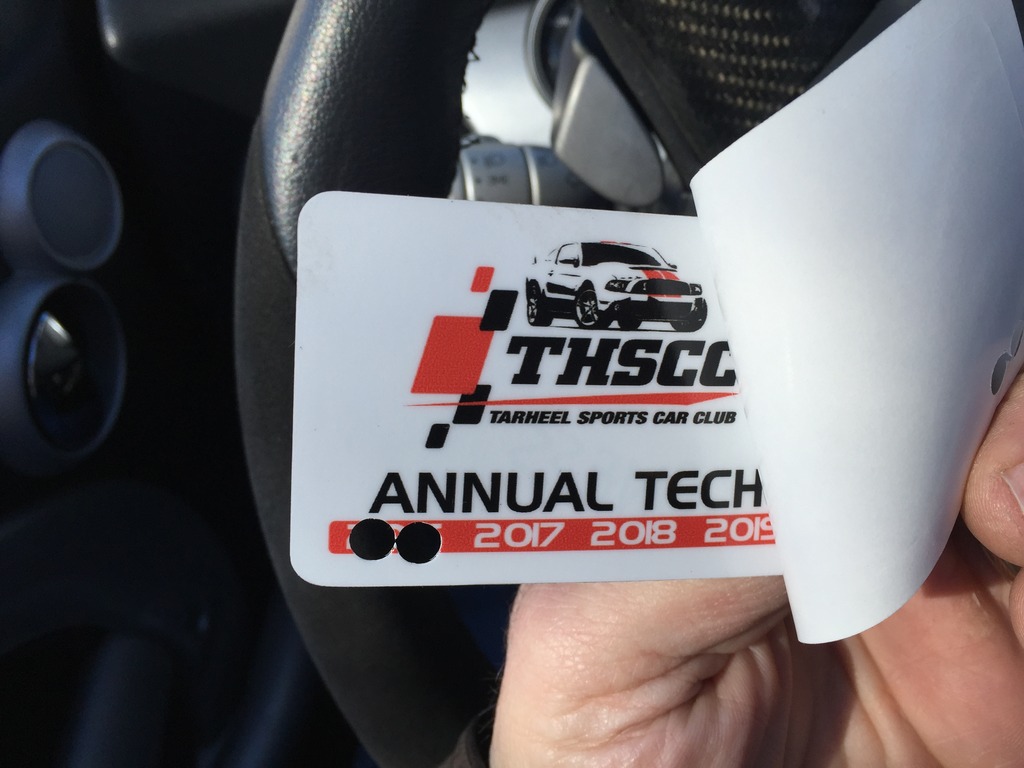
Got up this morning, lowered the front end about half to 3/4 of an inch, torqued the wheels, did a few odds and ends, dressed in 5 layers top and bottom, and drove in 25F weather to town to Tar Heel Sports Car Club tech day.

Click the image to open in full size.

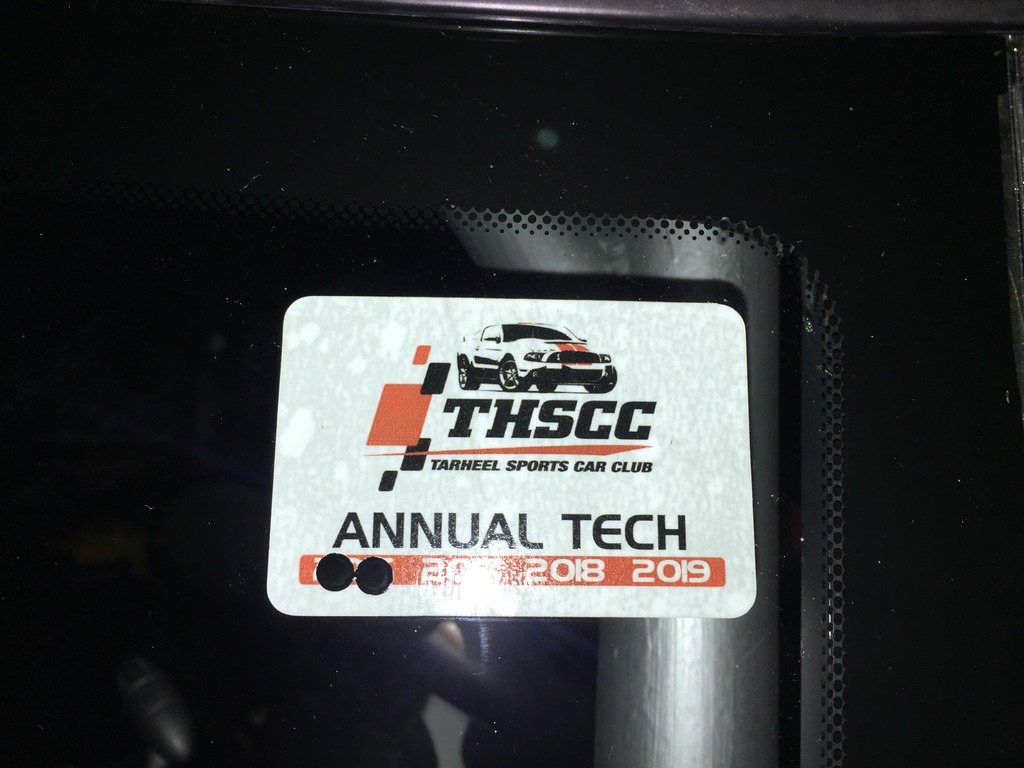
Car got A LOT of attention at tech, everyone was coming over to check it out and ask questions. Passed! Saved the sticker, to put on new glass…

Click the image to open in full size.

Went for a drive on the way home, to test out the Auto-Blip. OMG, I love it. It’s not a street thing. I was simulating track braking and shifting, and for that it was AWESOME. Took a couple of minutes to get the delay and duration set properly, but then it JUST WORKED. Makes downshifts so dead simple, so I can concentrate on things like braking, steering, shifting…

And the car drives great with the summer wheels/tires on it (even in freezing weather) and with the new EBC Red pads front and rear.

YES I said EBC RED front and rear. It’s what I ran as daily pads on my old car, and I love them. I tried to go back to Carbotech 1521’s on the new car, but I just can’t stand how little bite they have, especially with sticky tires. Much happier now.

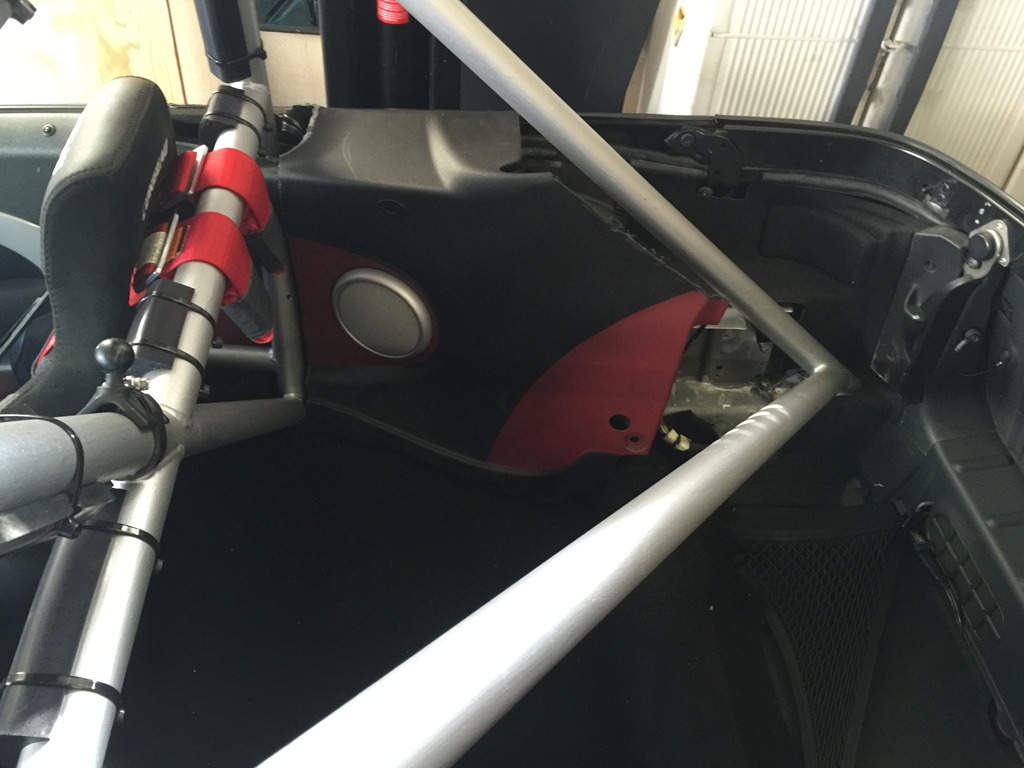
Then went home and played around with the rear interior a bit. Cut down my GP-ized cabrio rear interior panels, to fit around the cage, and threw the old carpet in to dress it up a little.
Click the image to open in full size.

I’m going to work on these some more, I’ll probably hack them down a good bit and mainly use the parts that cover the rear of the door jamb, and the area immediately around the speaker grilles. The rest eats too much space, I’ll probably just wrap everything else back there in gray carpet.

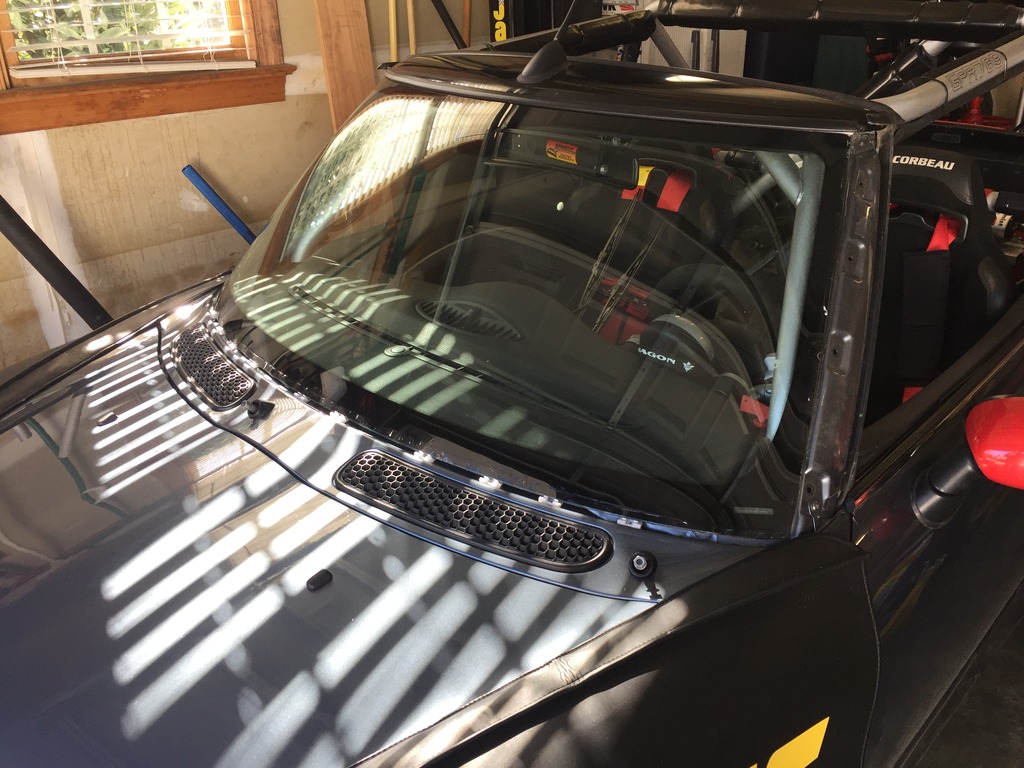
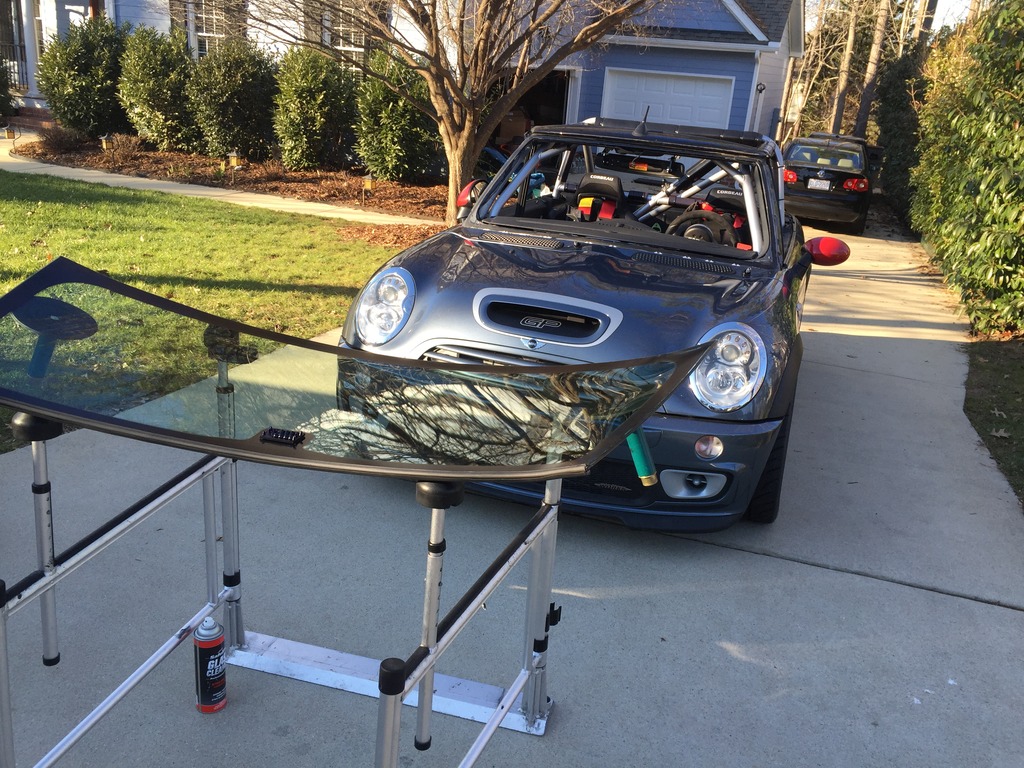
Then I pulled all the trim and wipers off, waiting for the windshield guy to arrive.
Click the image to open in full size.

I’ve had lots of windshields replaced, but have never stayed around to watch. Today I watched and helped.

I should just drive it like this. More aero.
Click the image to open in full size.

But, wasn’t meant to be.
Click the image to open in full size.

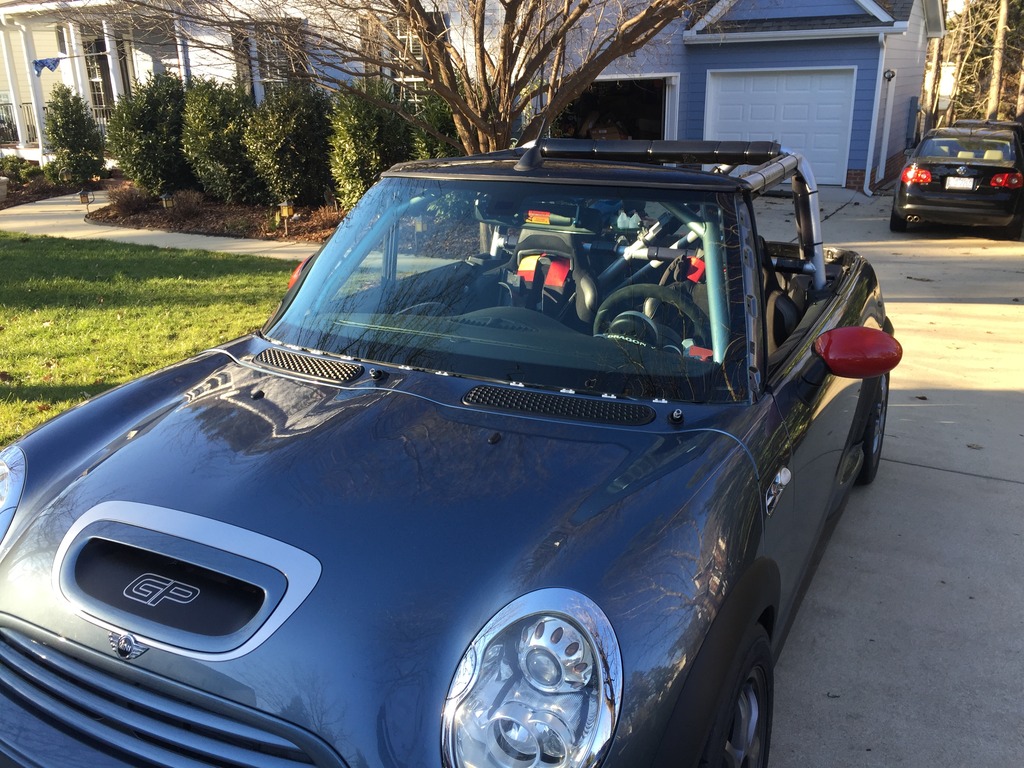
Nice to have new, unpitted glass in the GPness. Really like a new car now. Need to put the trim and wipers back on tomorrow.

Oh yeah, haz sticker.
Click the image to open in full size.

Getting ready for tech inspection

Finished up fitting the A-pillar trim, wet sanded and polished the black windshield header panel, and reinstalled the weather strip.

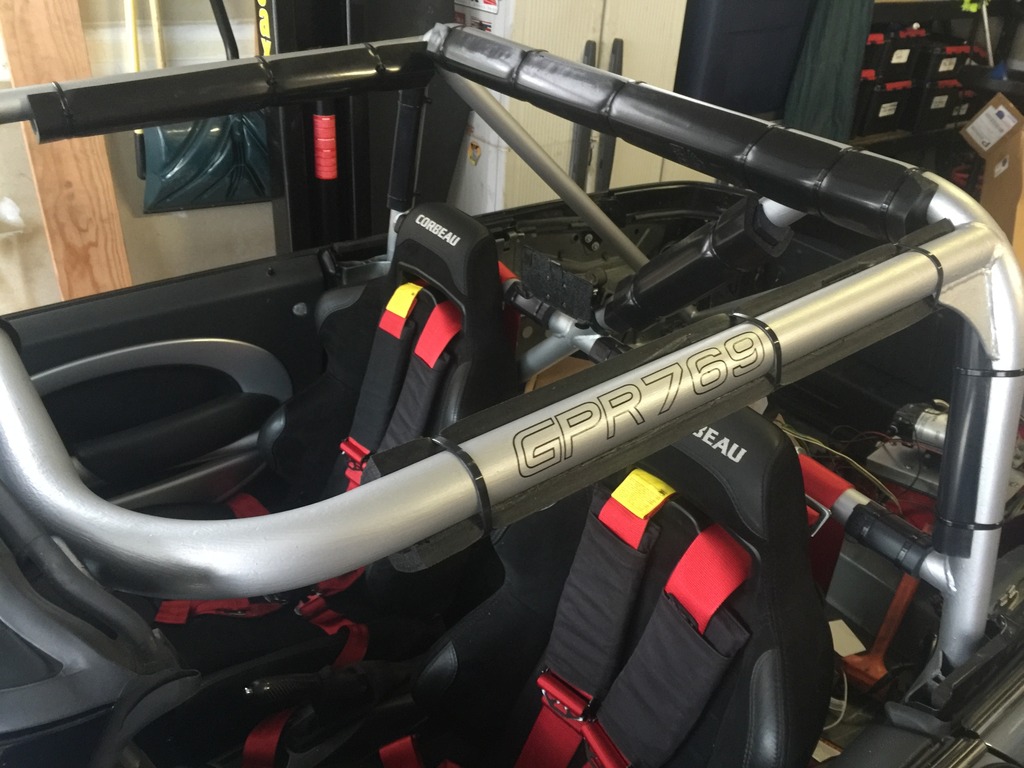
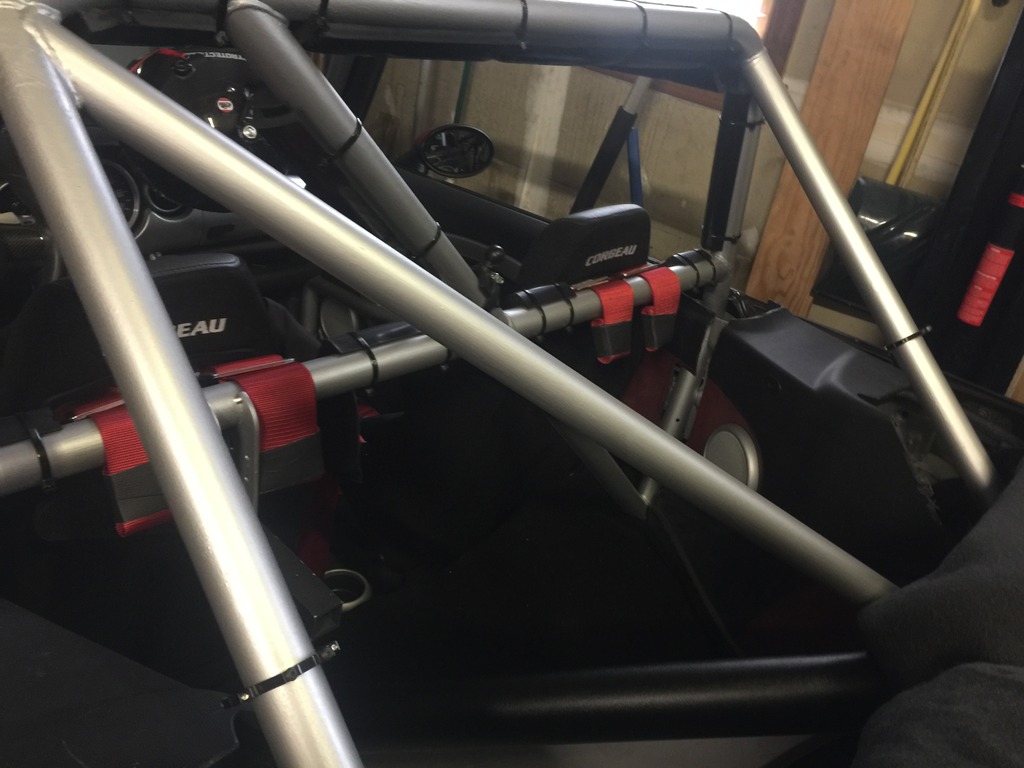
Padded the roll cage, everywhere a helmet (or bare head) might hit it. The most likely contact spots use dual-durometer padding, so it’s softish if I hit it climbing in and out of the car (or in a fender bender on the street), but has a high density core so it does something in a crash with a helmet. Added a new GPR760 sticker.

Click the image to open in full size.

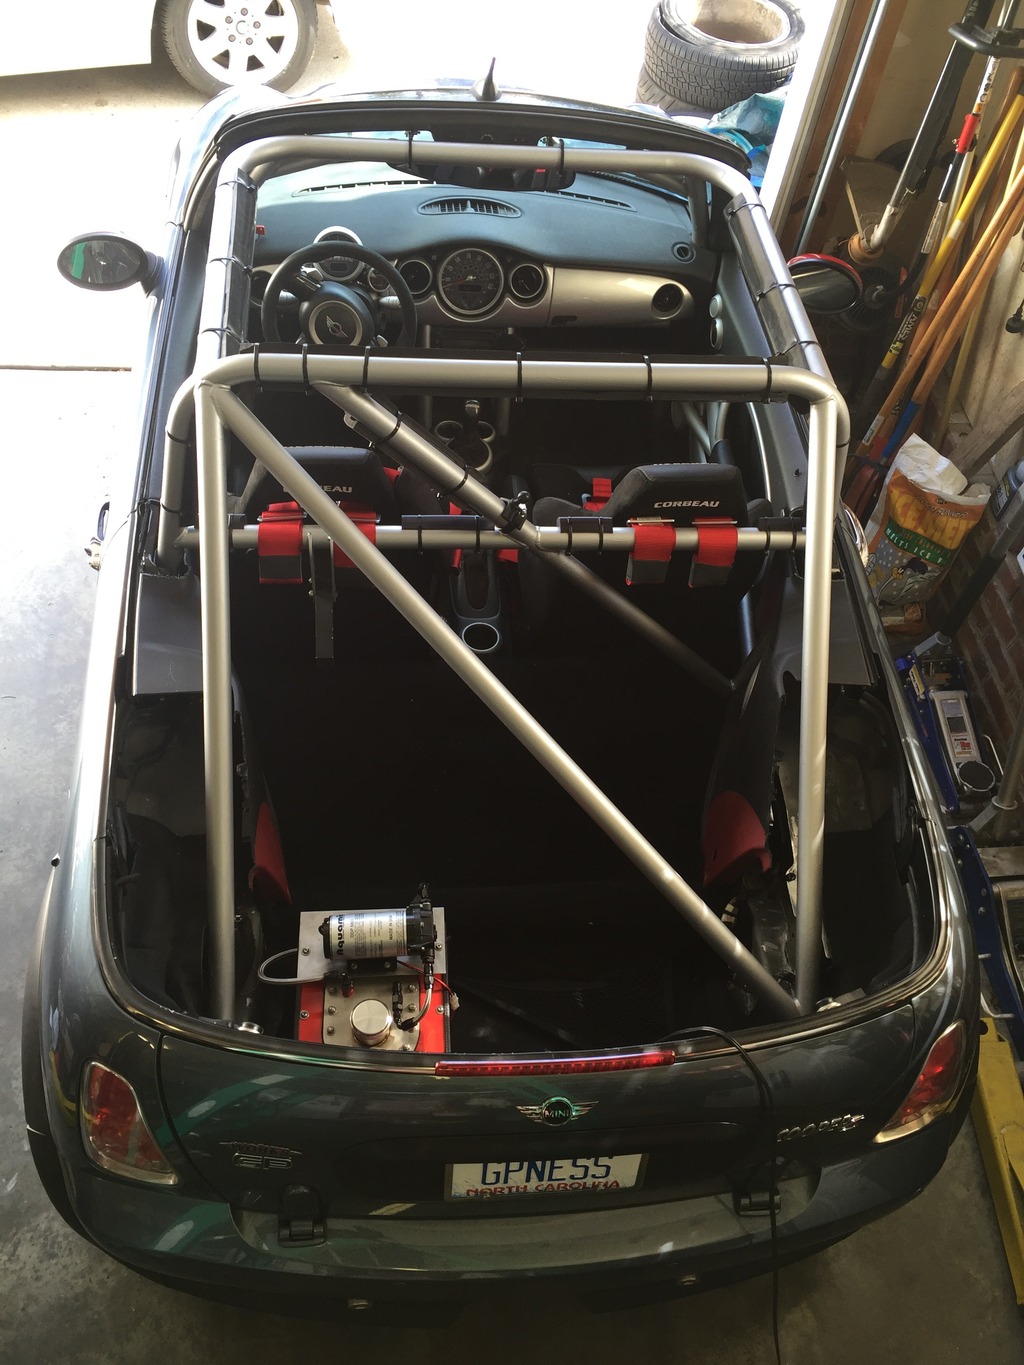
Finished wiring and plumbing the Aquamist HFS-3 and Howerton custom fuel cell. Ran through the startup / test procedure, no problems. Filled with meth and ready to run.

Swapped out my drivers side mirror housing for a spare (the old one was kinda floppy).

Wired the harness for my trailer lights.

Swapped my Necksgen latches from my old SA2005 helmet, onto my new helmet.

Cleaned things up a bit. Ready to go for track inspection tomorrow. Might play with my front ride height in the morning before I go, if I have time. Safelite is supposed to come out tomorrow afternoon and install a new windshield. Car will be looking good after that…

Summer in February

Oh yeah, and I installed my summer wheels. Because it’s going to be 25 when I drive to the shop for inspection on Saturday.

Click the image to open in full size.

May need to lower the suspension a bit more with these on. I’ll set it for these 16’s, then I’ll have plenty of room when I put the 15’s on at the track, and it will be even closer to the ground.