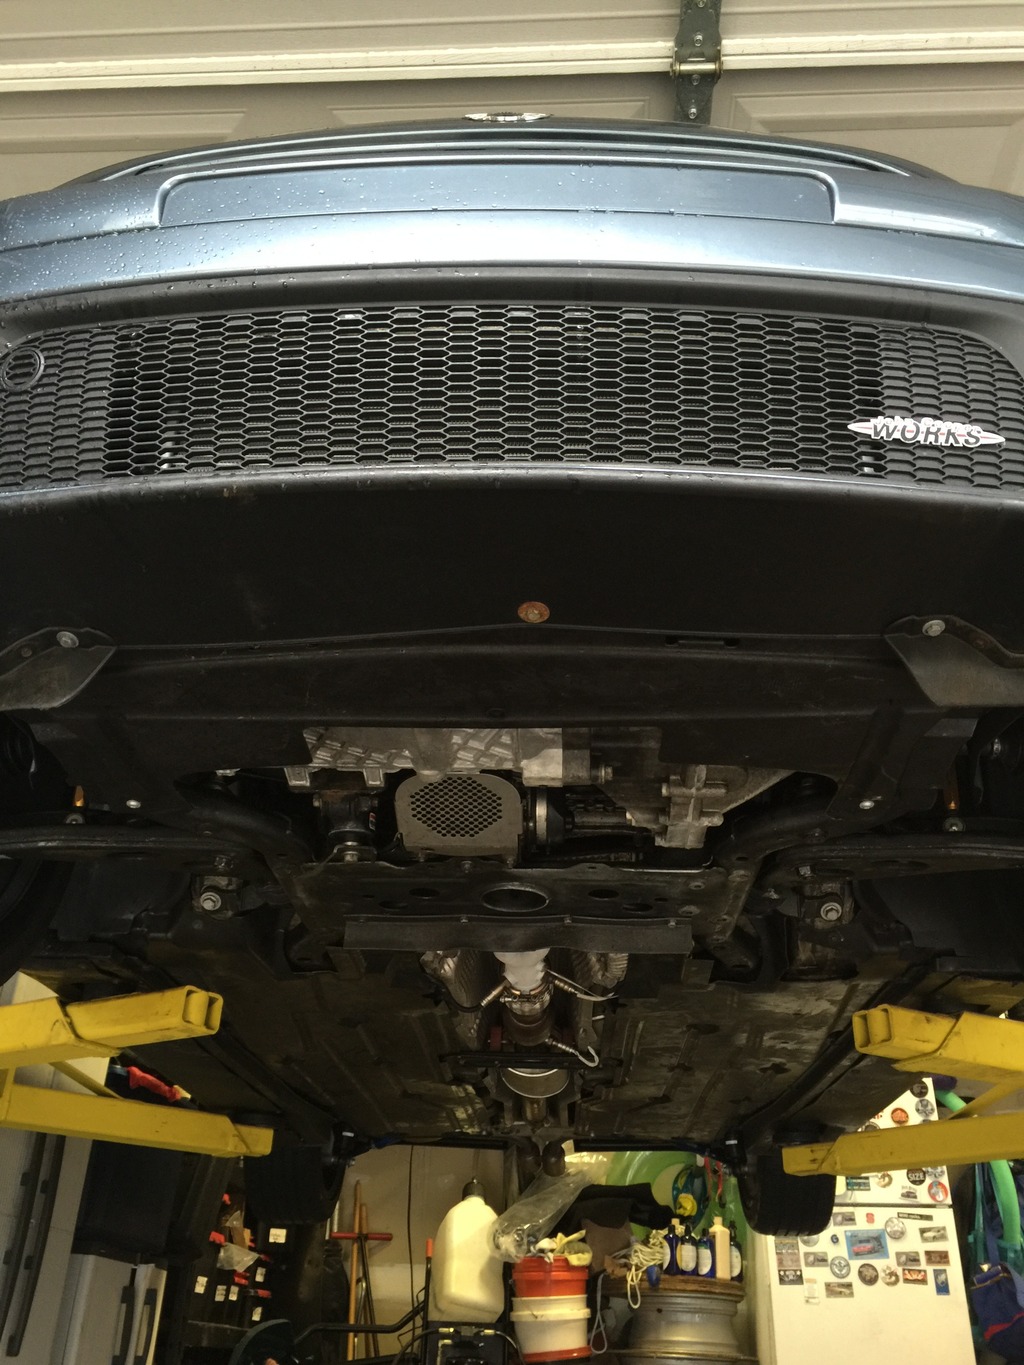
Putting it back together, with more wiring

Needed to complete wiring for my Zeitronix gauge/data logging system, and my Aquamist methanol injection. While I was at it, decided to give this a try…
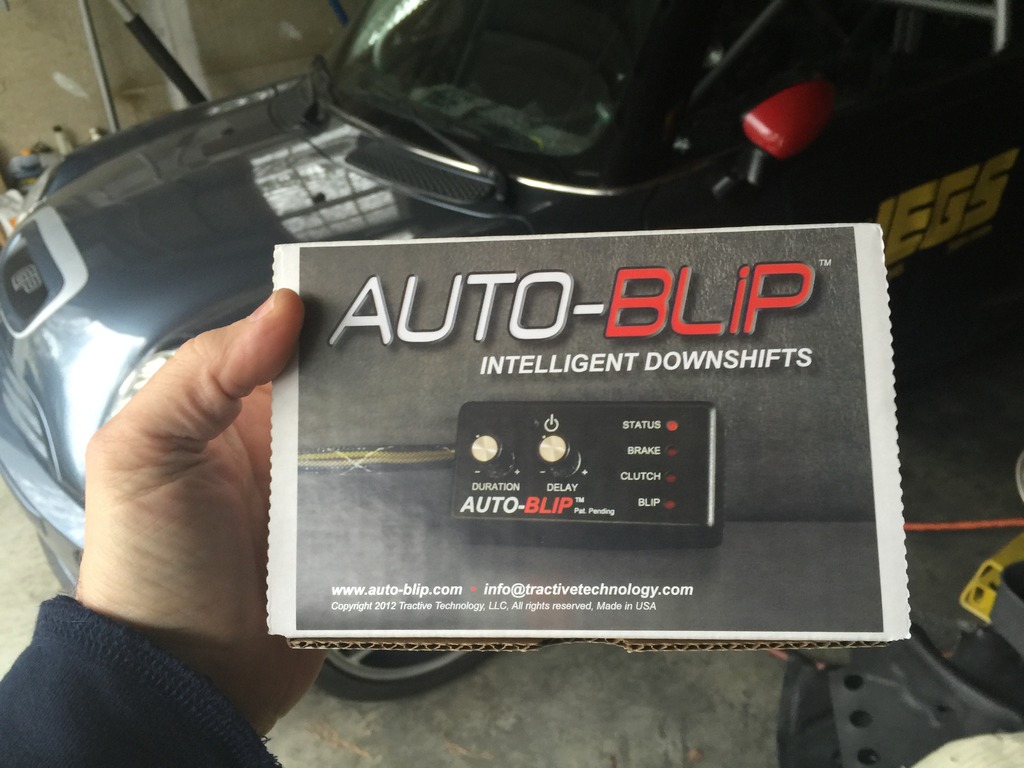
Click the image to open in full size.

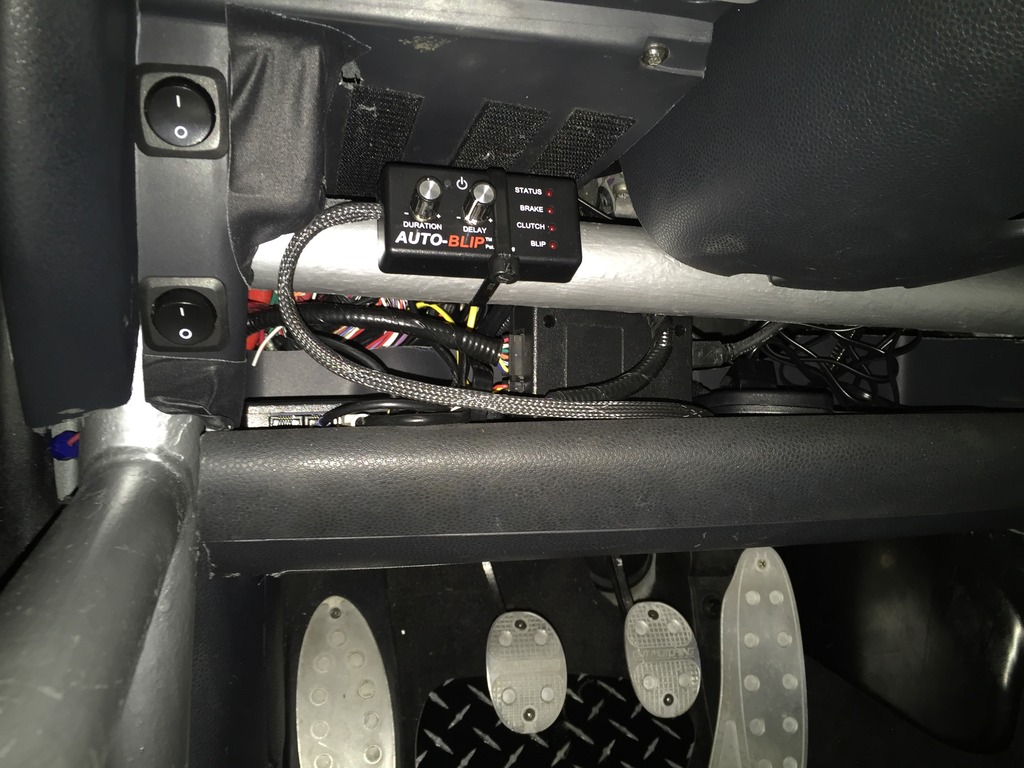
Because my heel-toe action SUCKS. The Auto-Blip connects to the brake and clutch switches, and the accelerator pedal circuit. It detects when you (1) have the brake depressed and then (2) press the clutch all the way in to shift. It assumes this means you’re downshifting. So it then waits from zero to .5 seconds from when the clutch hits bottom (settable), and blips the throttle an amount that you set. Takes a little trial and error to get the delay and duration of the blip just right, but once it’s setup, it’s supposed to be a good thing. We’ll see.
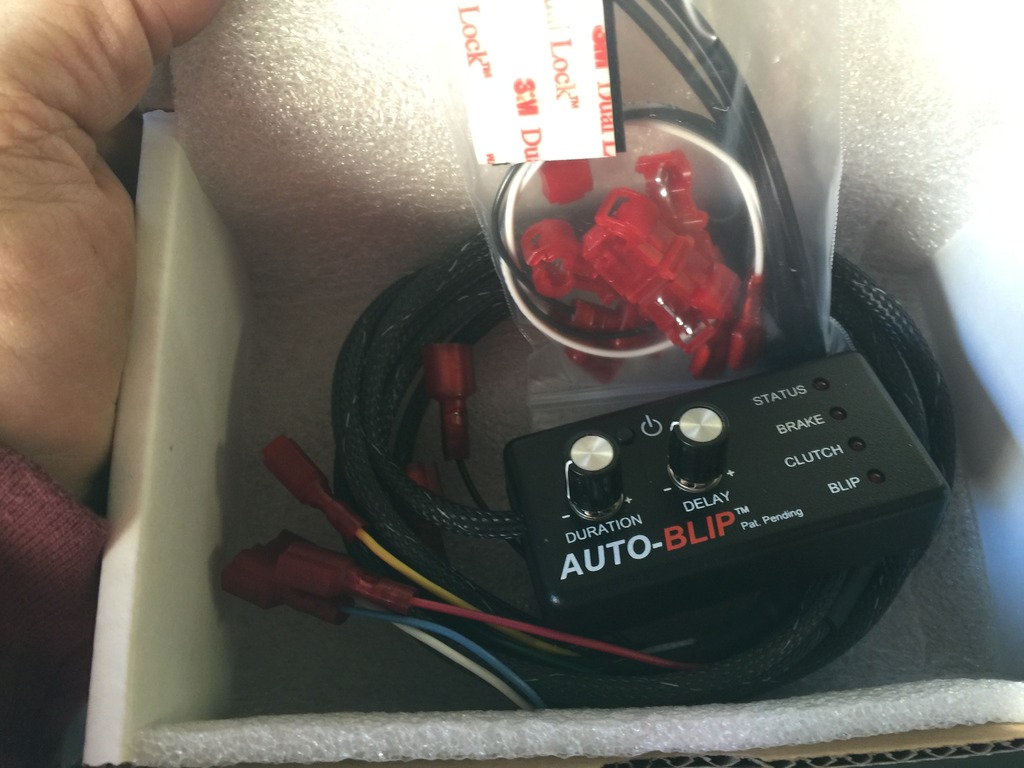
Click the image to open in full size.

I wired everything in the engine bay, pulled everything back through to the footwell, bundled stuff up out of the way, and cut everything I could to length. Crimped on dozens of connectors. The auto-blip was easy… the harness has spade connectors already on it, just need to snap taps on the right wires, and connect it up.

This is almost done… just doesn’t look like it.
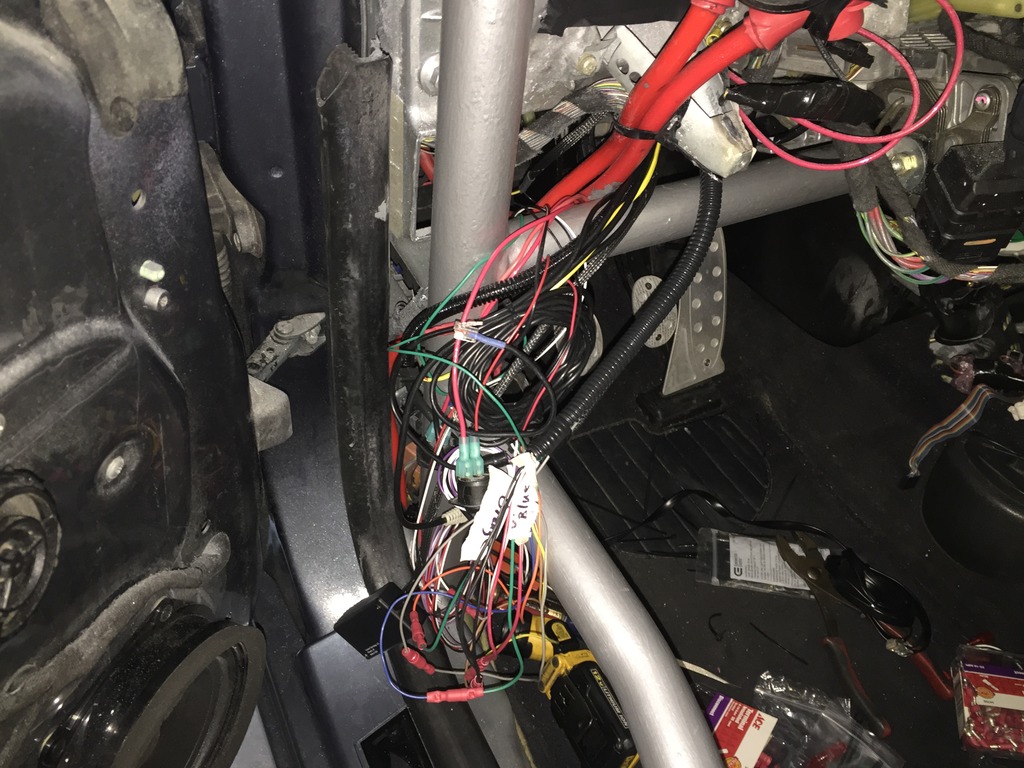
Click the image to open in full size.

Got the wire bundles up behind the parcel shelf, with the controllers for the Zeitronix, Aquamist, and Auto-Blip in the shelf. Wired master on/off switches for the Auto-Blip and Aquamist, so I can shut those down when not needed.
Click the image to open in full size.

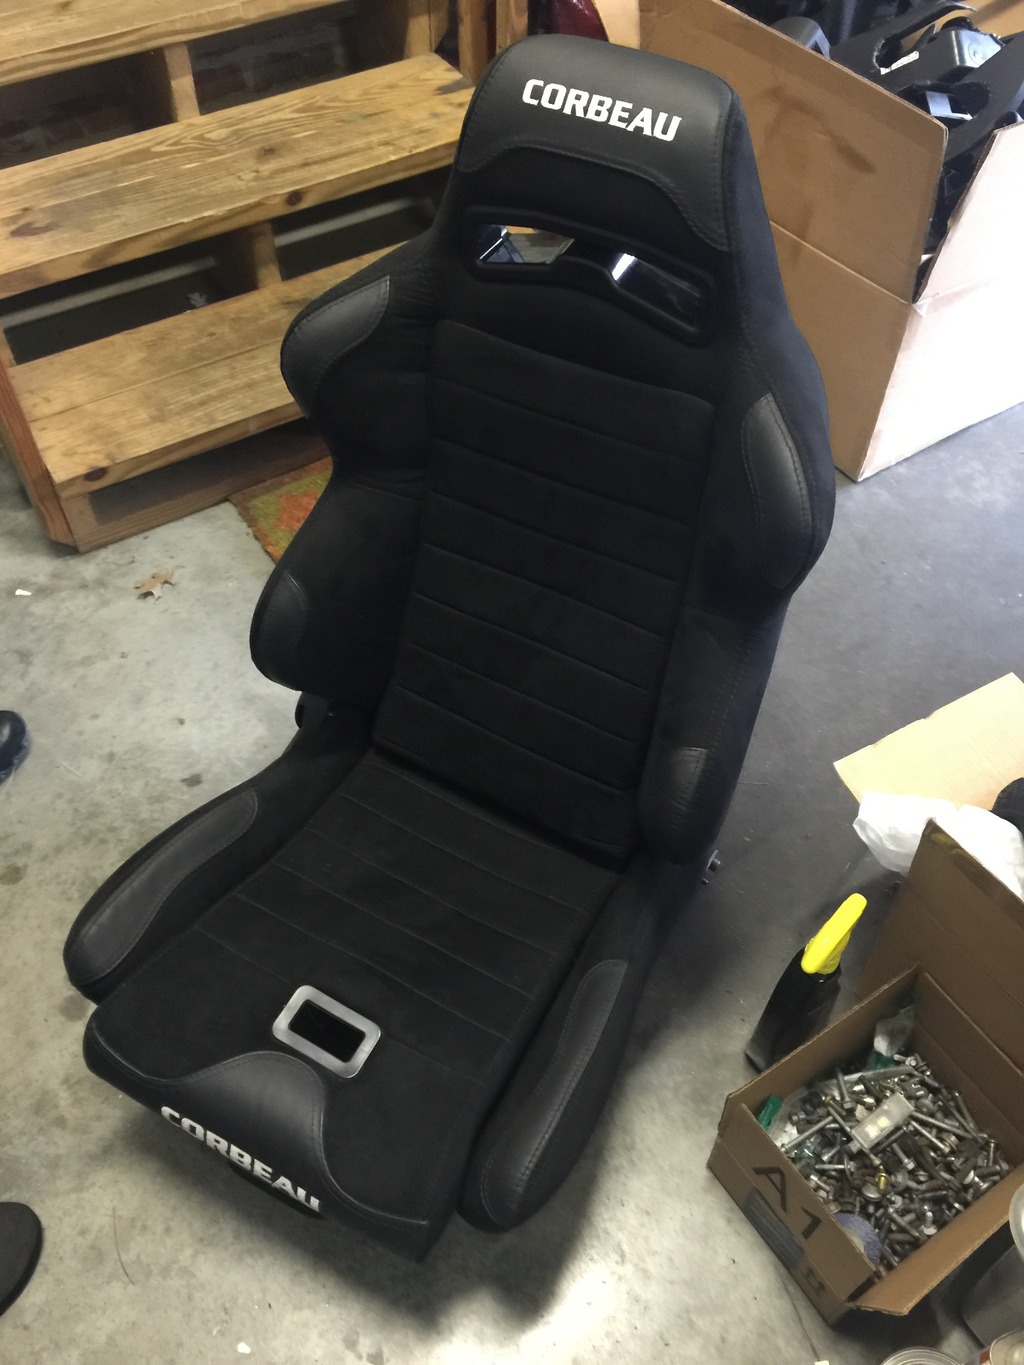
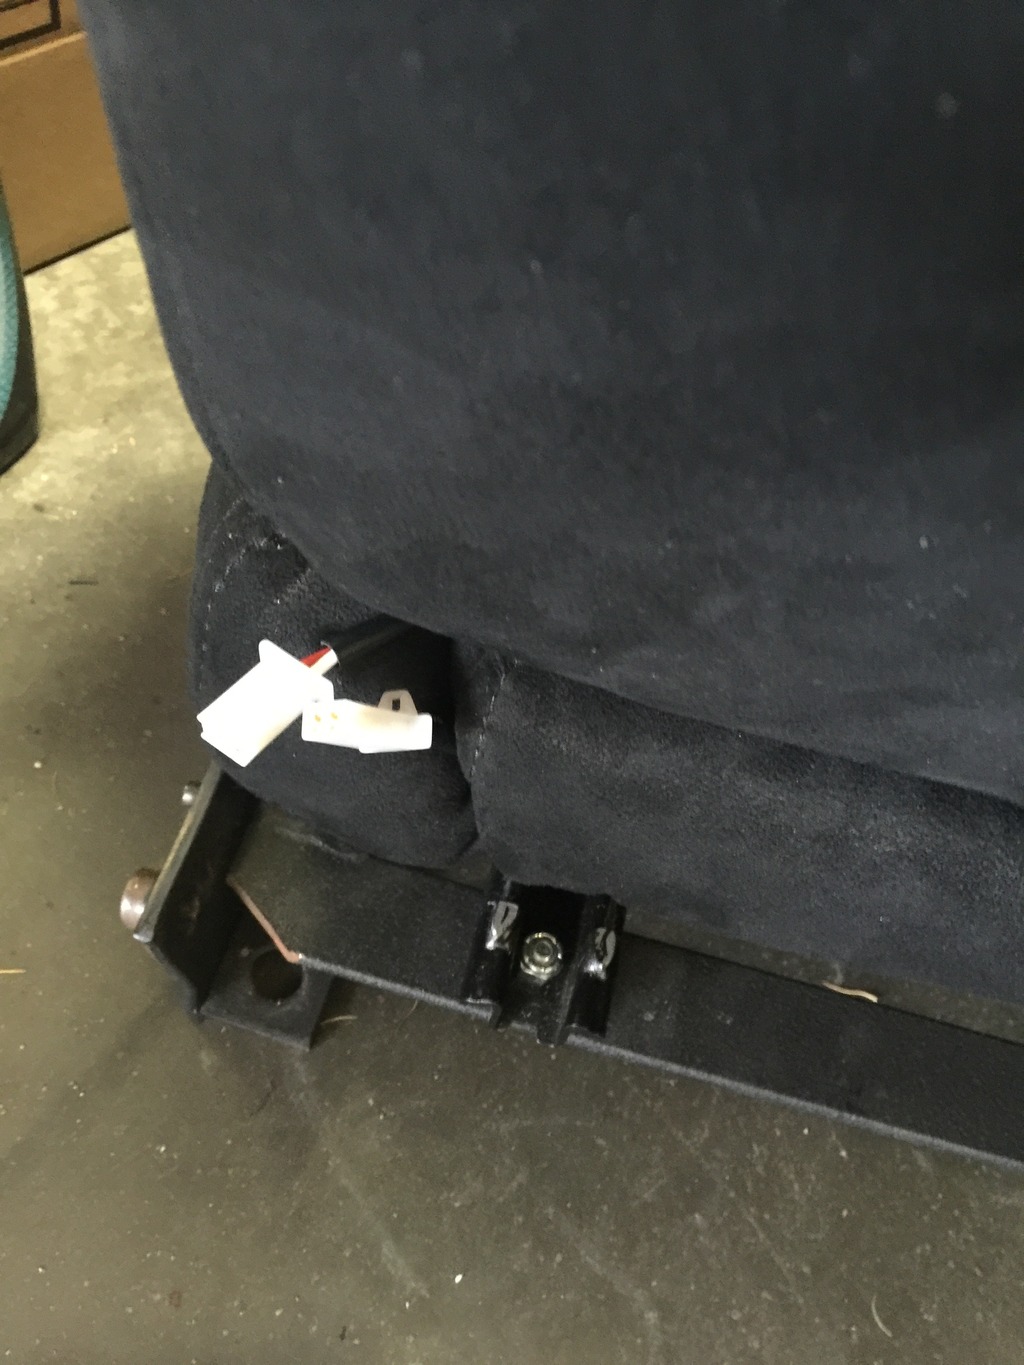
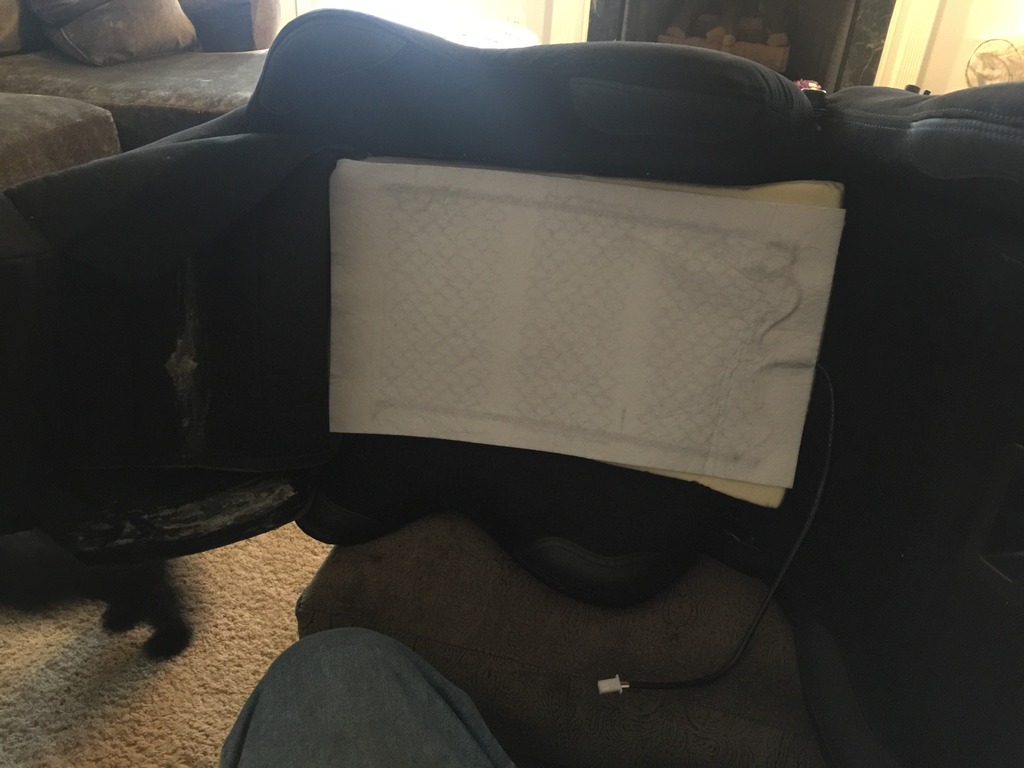
Installed seat heater in the passenger seat, to match my factory-installed driver’s seat heater.
Click the image to open in full size.

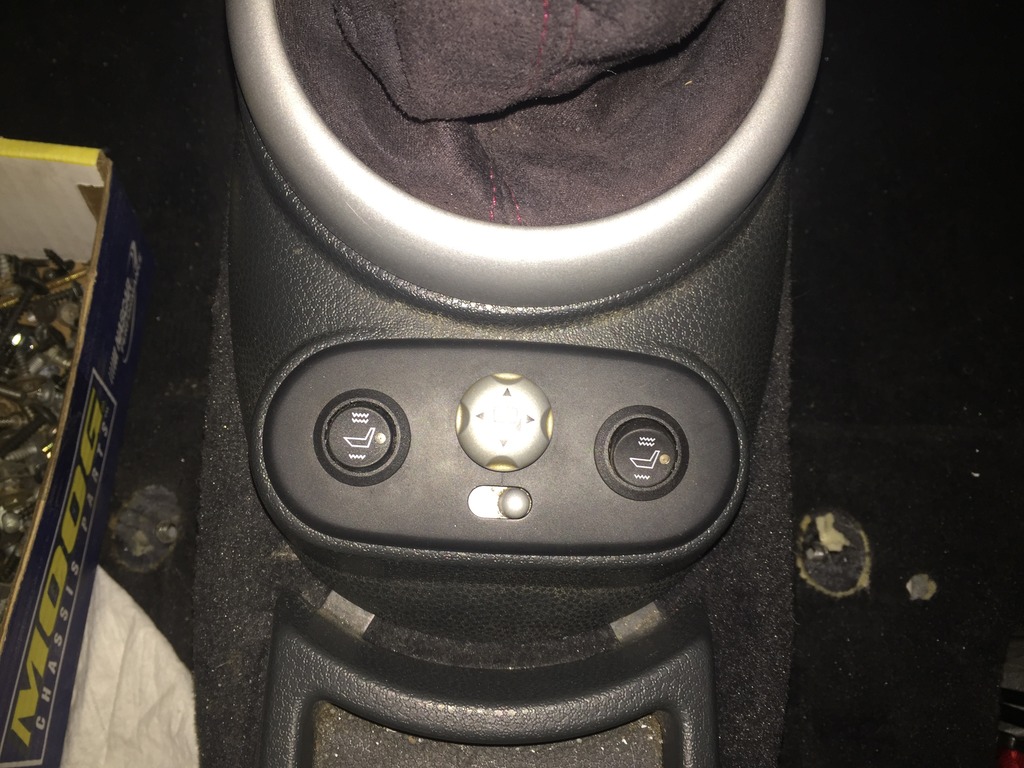
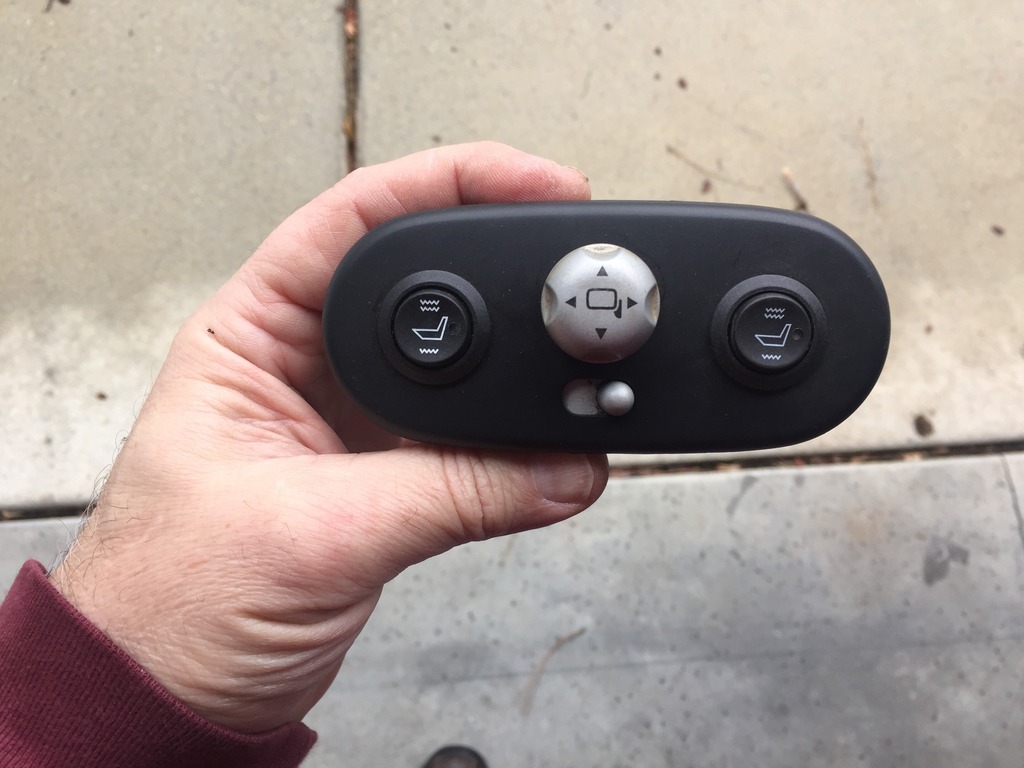
Removed the switches for the OEM seat heaters, drilled out the housing, and installed the aftermarket heater switches. Routed cables and wired into the OEM heater circuits, so they use the existing fused seat heater circuit.
Click the image to open in full size.

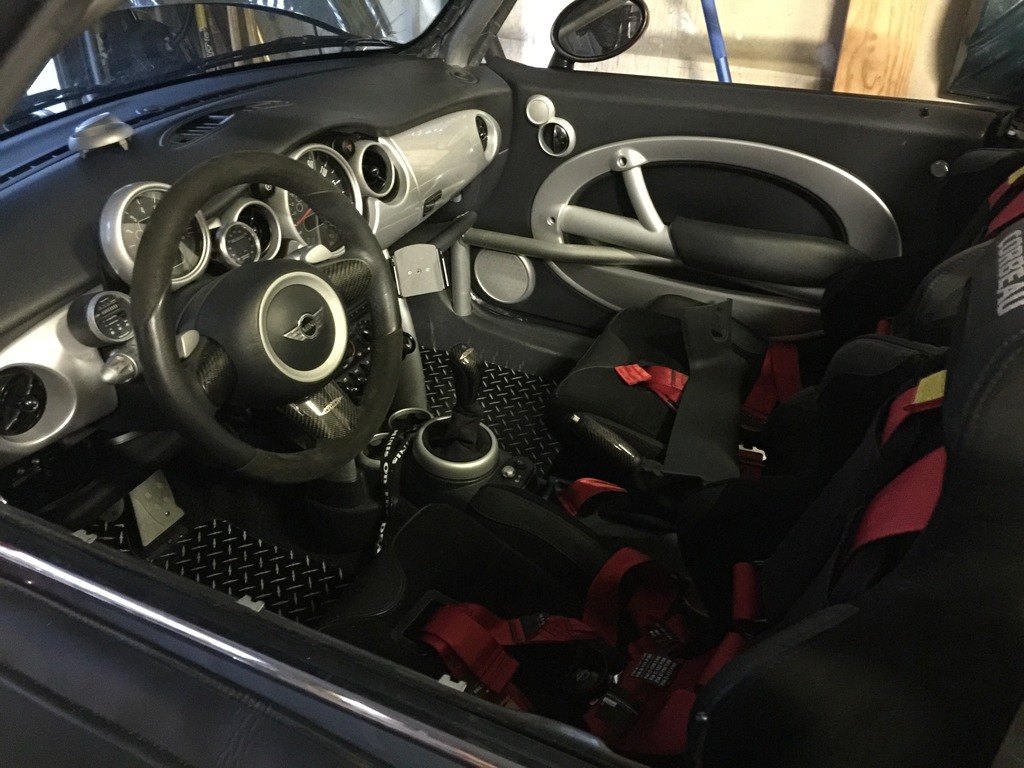
Reinstalled the interior, almost all done. I didn’t like the way the first set of sill covers fit around the cage, so I fit another pair, much better. Also figured out how to fit the A-pillar covers and have one of those done so far. Routed the microphone for the Dension bluetooth kit to the factory location in the overhead panel. Test fit my new diamond plate floor mats for the track.
Click the image to open in full size.

A few more hours in the next couple of days to get the last A-pillar cover done, solder a broken wire on a speaker, install the driver’s interior door panel, pad the cage, reinstall some weather strips, finish plumbing the Aquamist, and finish up installing my new boost sensor under the hood. Then will be ready for track inspection and new windshield on Saturday

You know, just more cut-and-paste.

Quote:
Originally Posted by cct1 View Post
Didn’t take you long on the auto blip, lol….

Glad it was an easy install. I don’t think anyone has done it on a MINI yet. Setting duration and delay is going to have to be done at threshold braking, but you knew that already…

Have you tested the lights yet? Some people have had to switch wires around; they haven’t always correctly corresponded, although is should be straightforward, but then again you might be the first person who’s installed it on a MINI.

Yep, the guys at Tractive said this was the first MINI install they’re aware of.
Once I worked through the MINI wiring diagrams and figured out what to tap into, everything was easy.

There’s a “calibration” routine you do when you first fire it up, basically put it in calibration mode and then go through a sequence of button presses and pedal presses and releases, so it verifies the connections and learns what “pressed” looks like for each pedal, and learns what the range is on the accelerator.

I did that, and everything just worked. Once done, the brake and clutch lights come on as they should when those pedals are pressed.

I wired in a master on/off switch so I can normally leave it off. Otherwise the Auto-Blip comes on by default when the car is turned on. You have to manually switch it off if you don’t want it active.
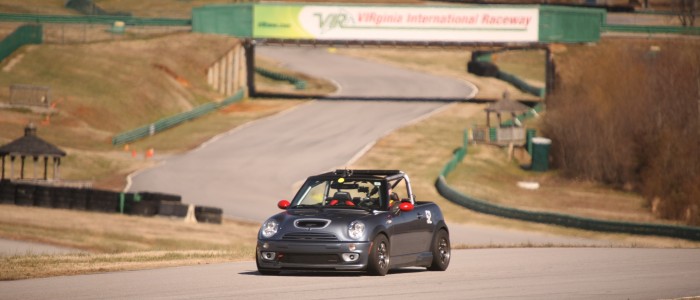
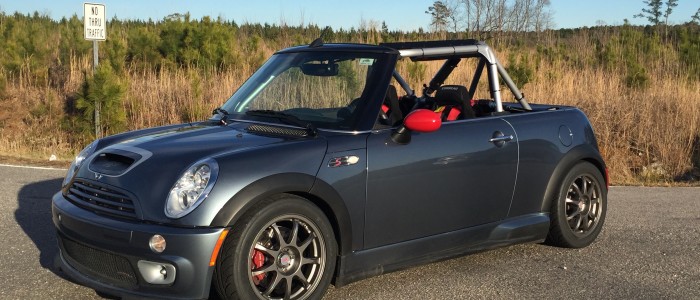
Pretty cage, Take Two

Back to business.

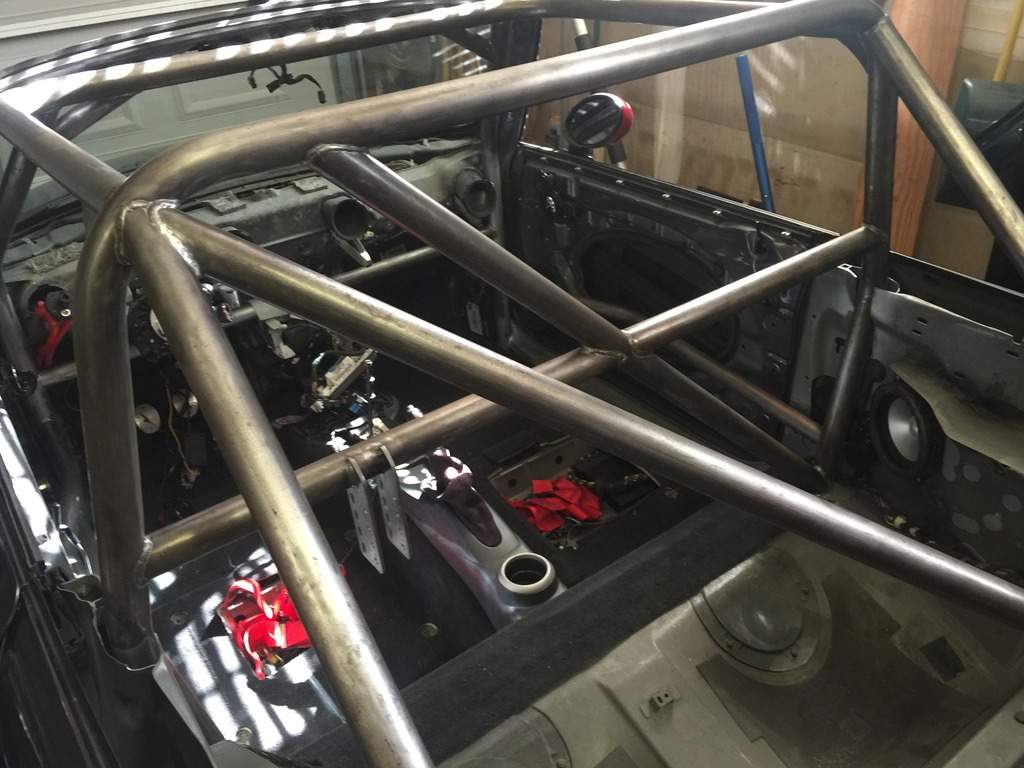
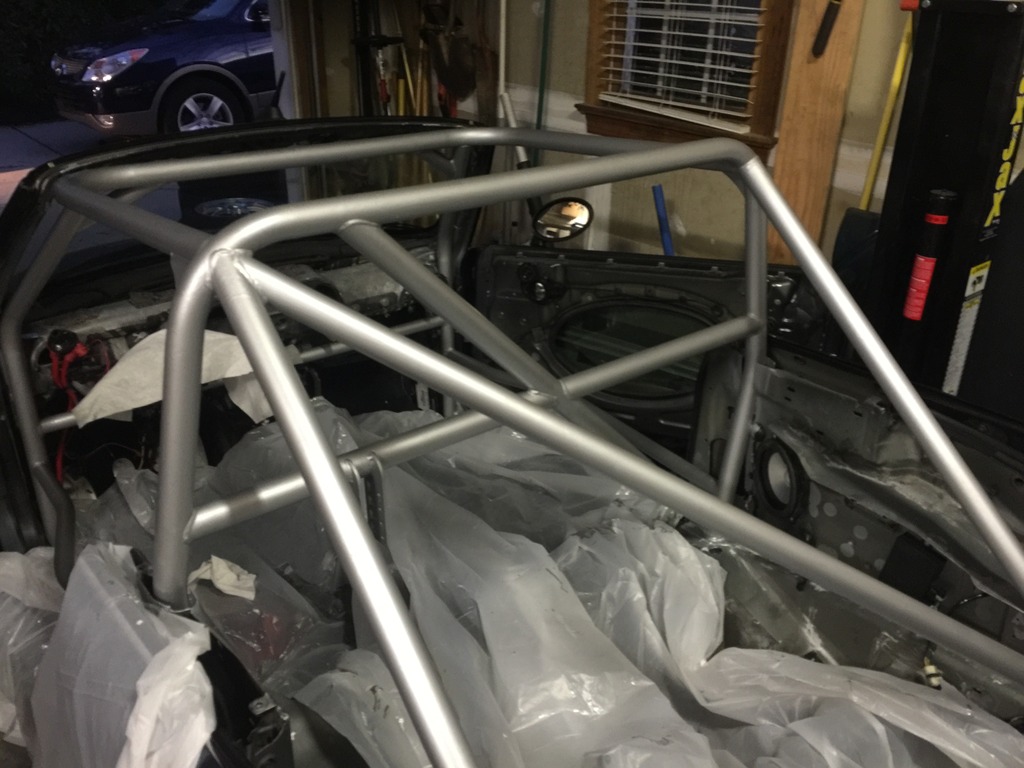
As my intrepid readers may recall, I had beautiful Pure Silver base+clear paint on the cage. Alas, such beautiful things do not last.

Click the image to open in full size.

I’m pretty sure the VHT self-etching primer, didn’t. Followed all the directions, and it was great for a little while, but eventually the paint came off in sheets.

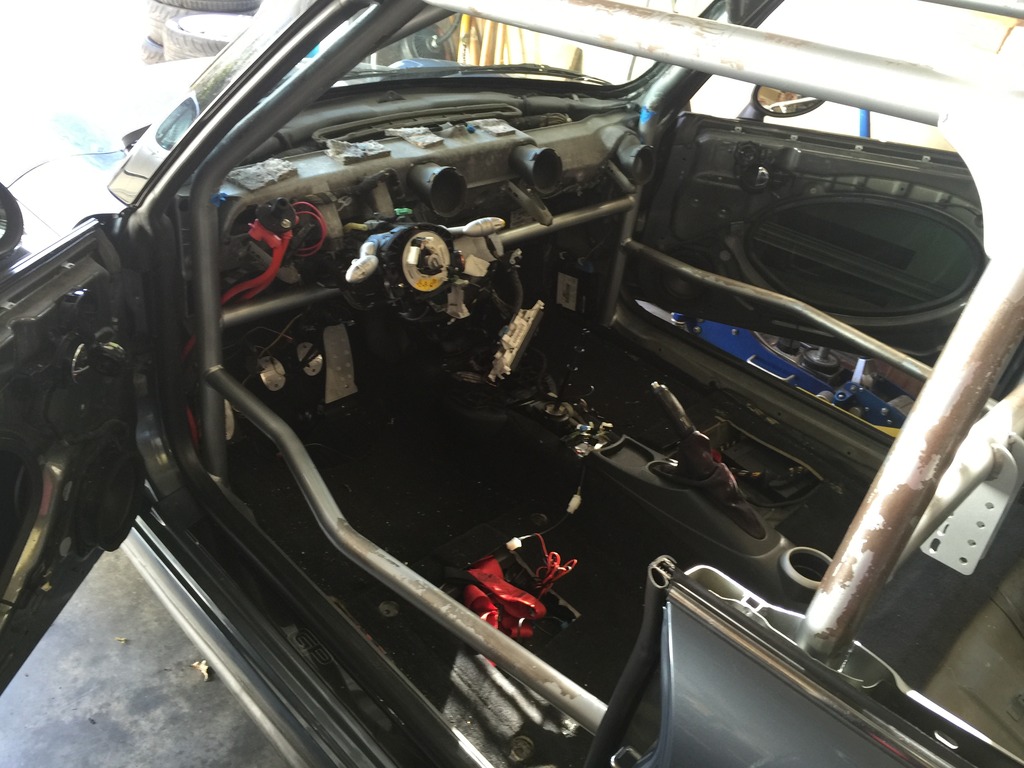
So, time to pull the interior out AGAIN, and strip and repaint the cage.

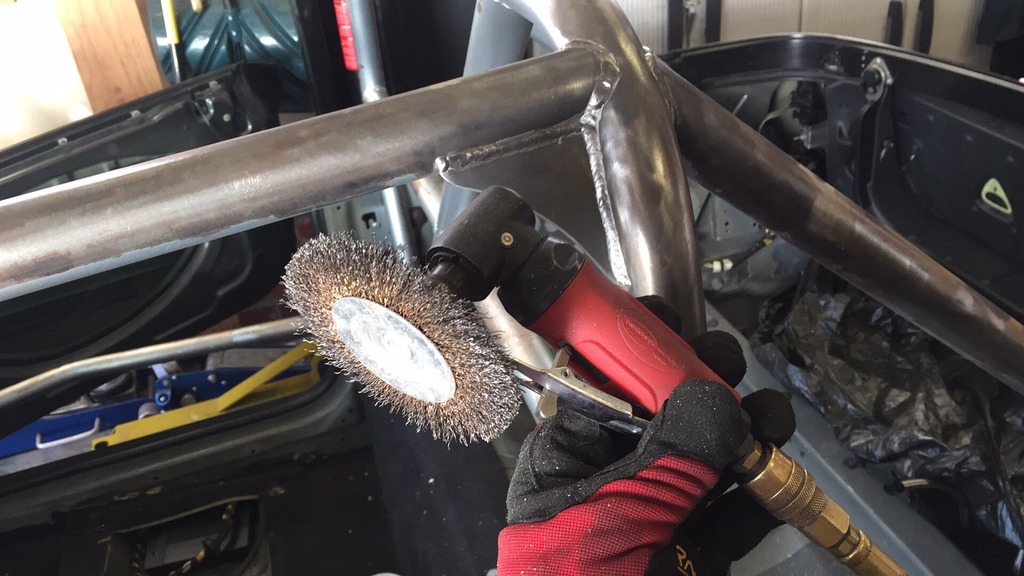
Time to get out my trusty 90 degree die grinder, with 4″ brass brush.

Click the image to open in full size.

As luck would have it, only about half the paint was loose. The other half was pretty well adhered. But it all needed to come off… That took probably 6 hours spread over a week and a half. It SUCKED.

But, finally, was done.

Click the image to open in full size.

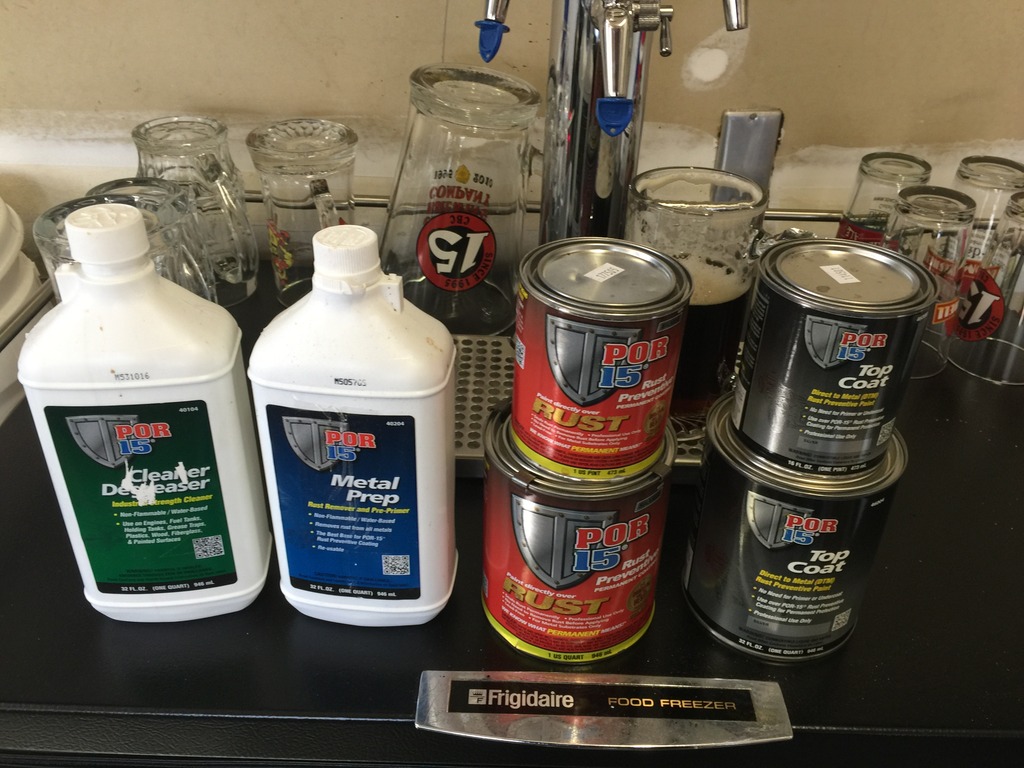
Then time to prep and paint. This time, I decided to try the POR (Paint Over Rust) system.

Click the image to open in full size.

All this is serious stuff. Use gloves, goggles and respirator for the cleaner/degreaser and the metal prep. Put down good heavy plastic drop cloths to catch the excess stuff. Remove anything you’re worried about getting it on, first. Sprayed on the degreaser (diluted about 2 parts water / 1 part solvent), then scrubbed and rinsed with water and wiped down with wet shop towels until towels came off clean.

Let it air dry, then used the Metal Prep. This stuff is phosphoric acid and zinc phosphate. It etches the steel, and leaves behind a zinc phosphate coating. You spray on the metal prep full strength, and need to keep the steel wet with it for 20-30 minutes. For something like a roll cage, that means you’re pretty much spraying it continuously; by the time you get the whole thing sprayed, you need to go back and start over again, to keep it wet. Then rinse with water (also from a spray bottle, in my case) and let it dry. When it dries, it leaves behind a dull gray zinc coating, almost looks galvanized. This step is critical; the POR will not adhere well to clean, unrusted steel unless it’s properly prepped.

Click the image to open in full size.

Let it dry overnight (until “bone dry” per the instructions) then apply the POR-15. This stuff is pretty awesome. The silver color is a nice bright metallic silver, and dries to a high gloss, almost looks like it has a clear coat on it, but doesn’t. When fully cured, it is VERY hard, almost like powder coat, but maybe harder. Unfortunately, it’s UV sensitive, and will dull if exposed to sunlight. So for anything that’s going to get much sun, you need to cover the POR-15 with the POR Top Coat, which is less pretty.

When applying the POR-15, follow some rules:

  • Always wear disposable gloves
  • Never wear nice clothing, watches, eyeglasses, or anything else you don’t want to get the stuff on, because it will NEVER come off, once dry.
  • Never get it on anything you don’t want it on. If you do, remove it immediately while wet, using a solvent to clean up. Because, once dry, it will NEVER COME OFF.

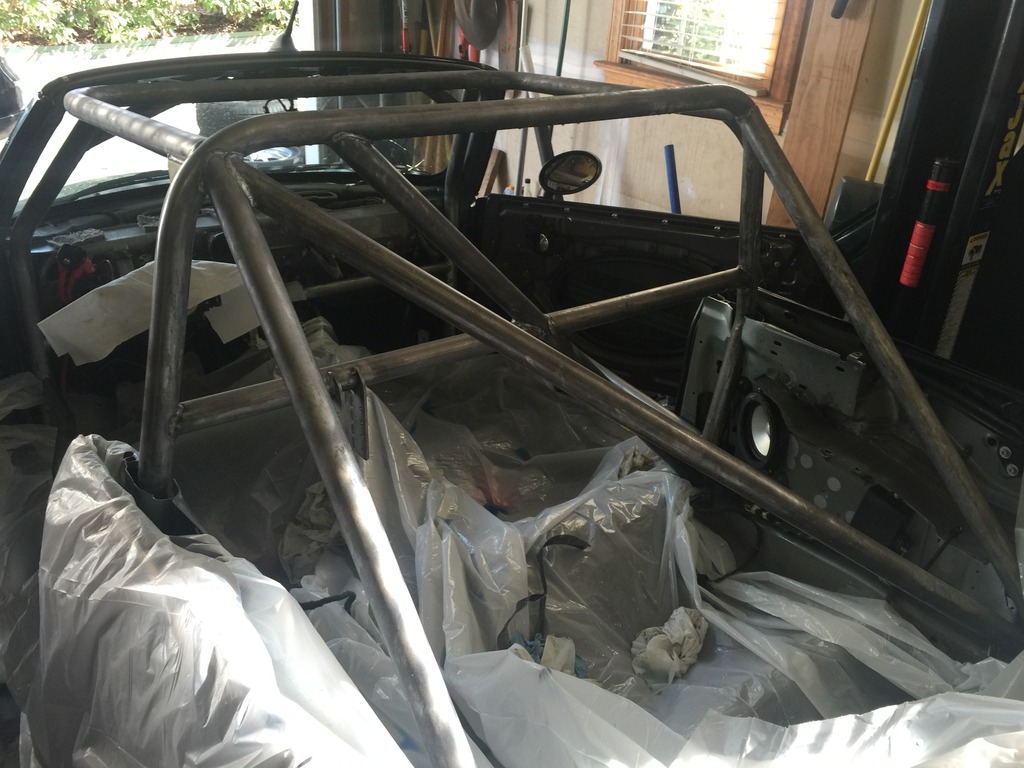
Stirred the POR-15 well, then brushed it on using a cheap synthetic bristle brush. Don’t bother trying to clean the brush. Just use ones you can throw away, and start each coat with a fresh brush. Applied two coats, about 2 hours apart. The stuff flows out very nicely, but it also tends to run and sag if you don’t use very thin coats. I put it on a bit heavy, and have some sags, but don’t really care. It’s a roll cage, and most of it will be covered with pads, harnesses, etc.

After about 4 hours, the second coat was dry to the touch, and pretty hard. Then applied first coat of Top Coat, waited about an hour, and applied a second coat. The Top Coat has more of a satin silver finish, which I like. Again, used a fresh bristle brush for each coat. With both paints, pour about 4-8 oz in a cup and use that to paint, don’t paint from the can, and don’t put unused paint back in the can. You need to clean the rim of the can thoroughly before putting the lid back on, or it will be cemented in place when dry.

Click the image to open in full size.

I’ll let it cure for a few days, then will refit the interior. Hopefully for the last time for a while.

Occasionally, I get carried away

Quote:
Originally Posted by minintrigue View Post
He said kegerator

Indeed, I did.

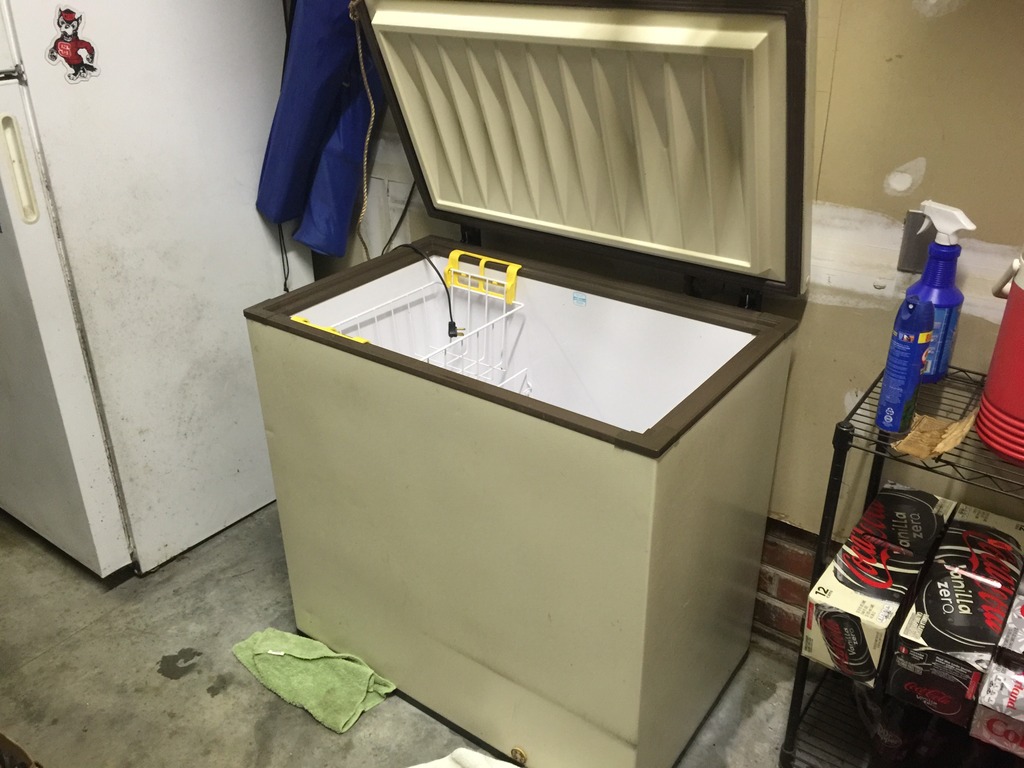
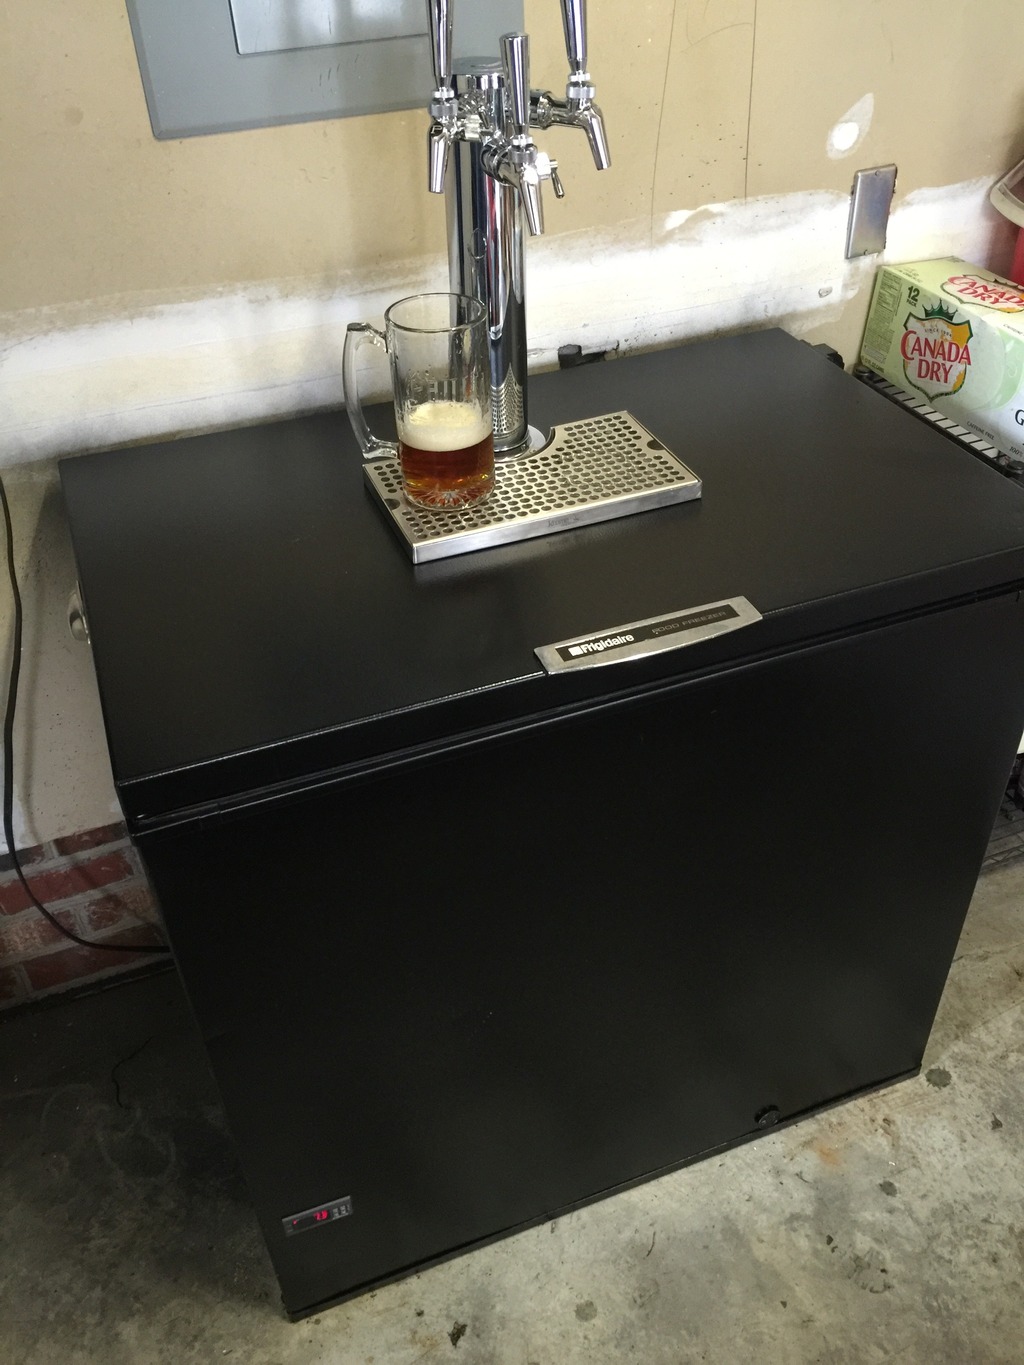
I’ve had a converted fridge for about 10 years… but it’s on its last legs. Took a couple of days off from working on the Mini this week, to build a new one…

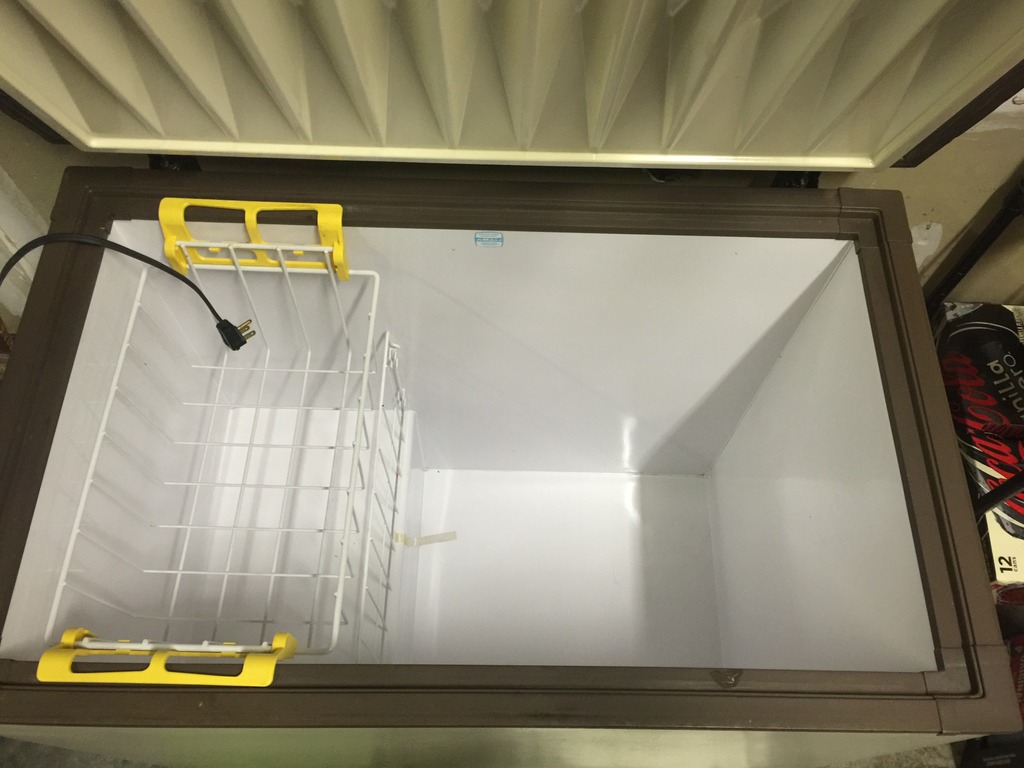
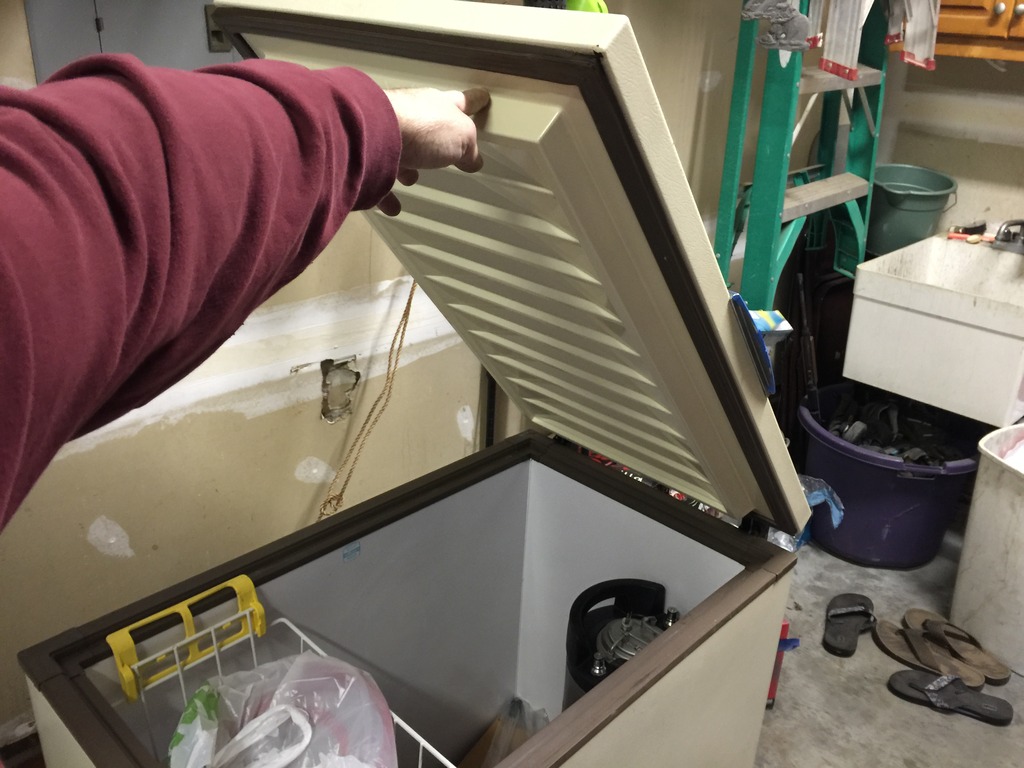
Had an old compact chest freezer that was full of old food that we’ll never eat…
So cleaned it out and gave it an extreme makeover.
Click the image to open in full size.

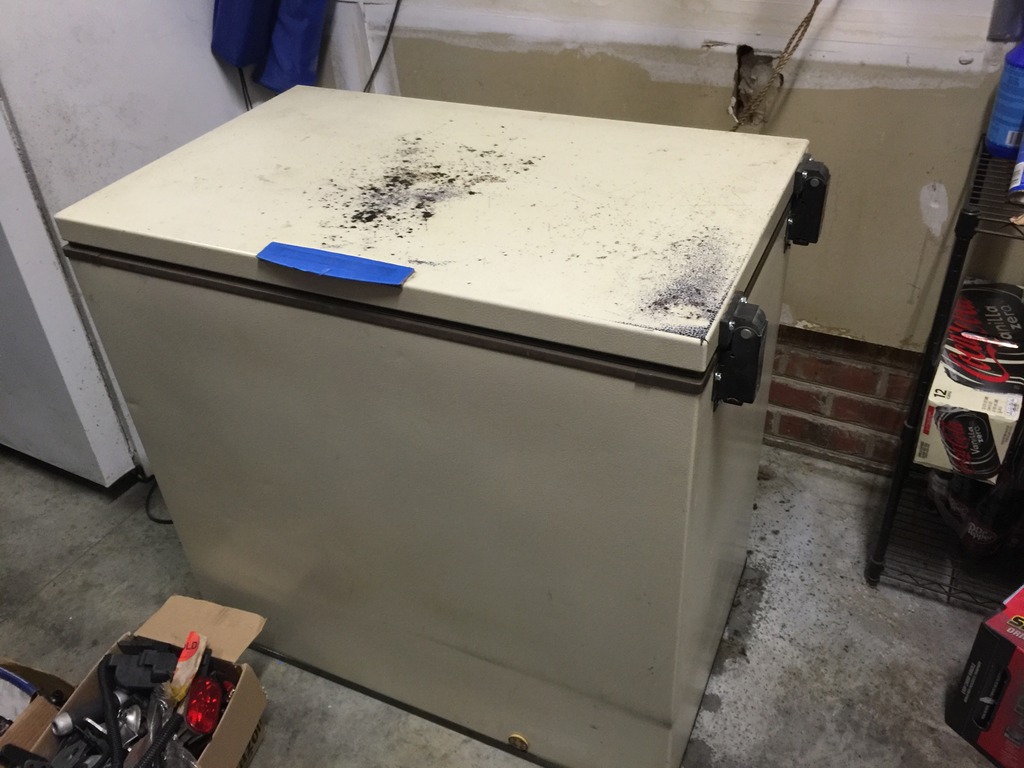
Swapped the hinges so the lid opens to the side, sanded and treated rust.
Click the image to open in full size.

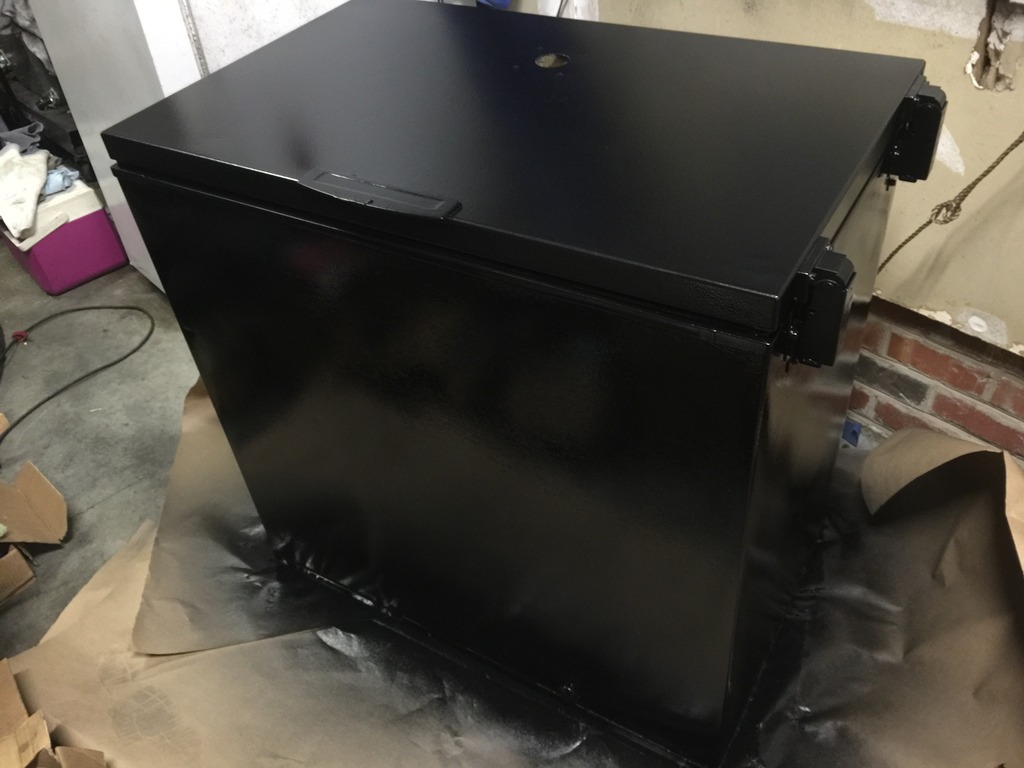
Repainted it satin black…
Click the image to open in full size.

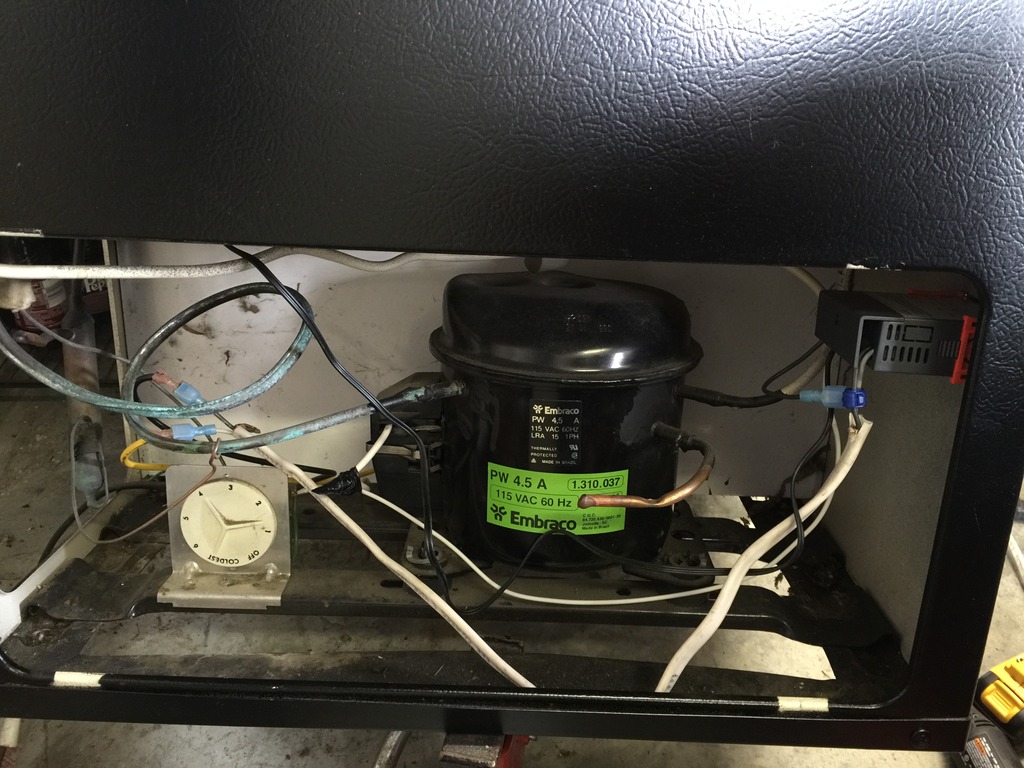
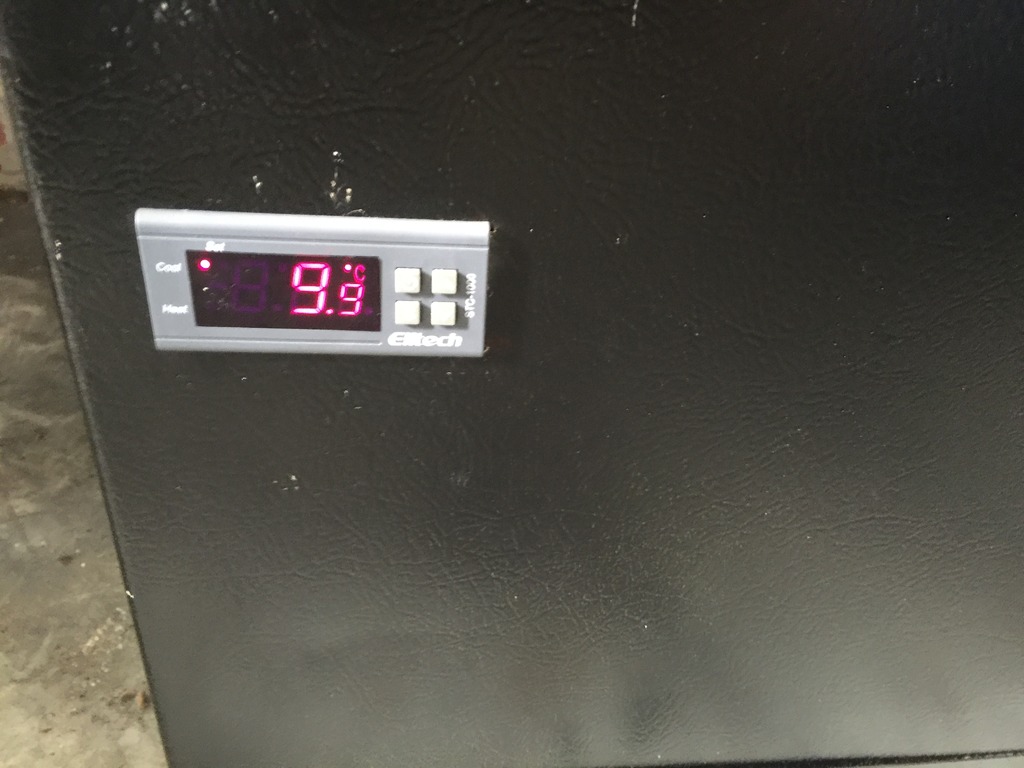
Rewired the compressor, added a digital temperature controller.
Click the image to open in full size.

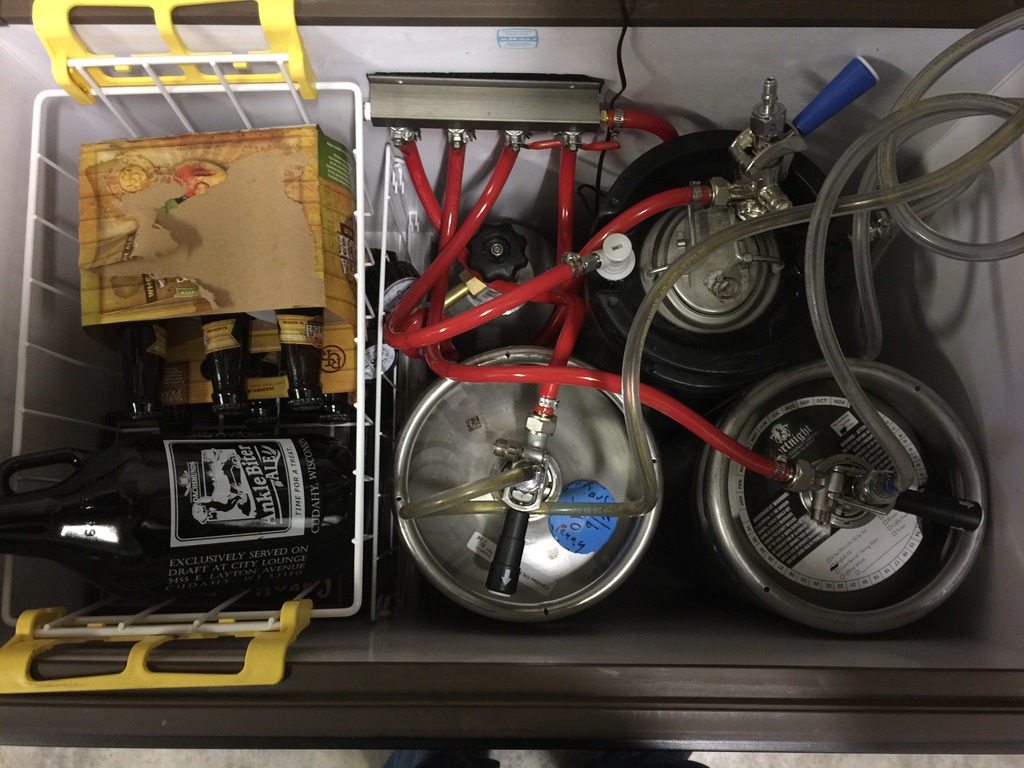
Upgraded my existing 2-way picnic faucet 10 pound CO2 system with new 4-way manifold, and additional couplers for a third keg (either Sankey or Cornelius ball lock).
Click the image to open in full size.

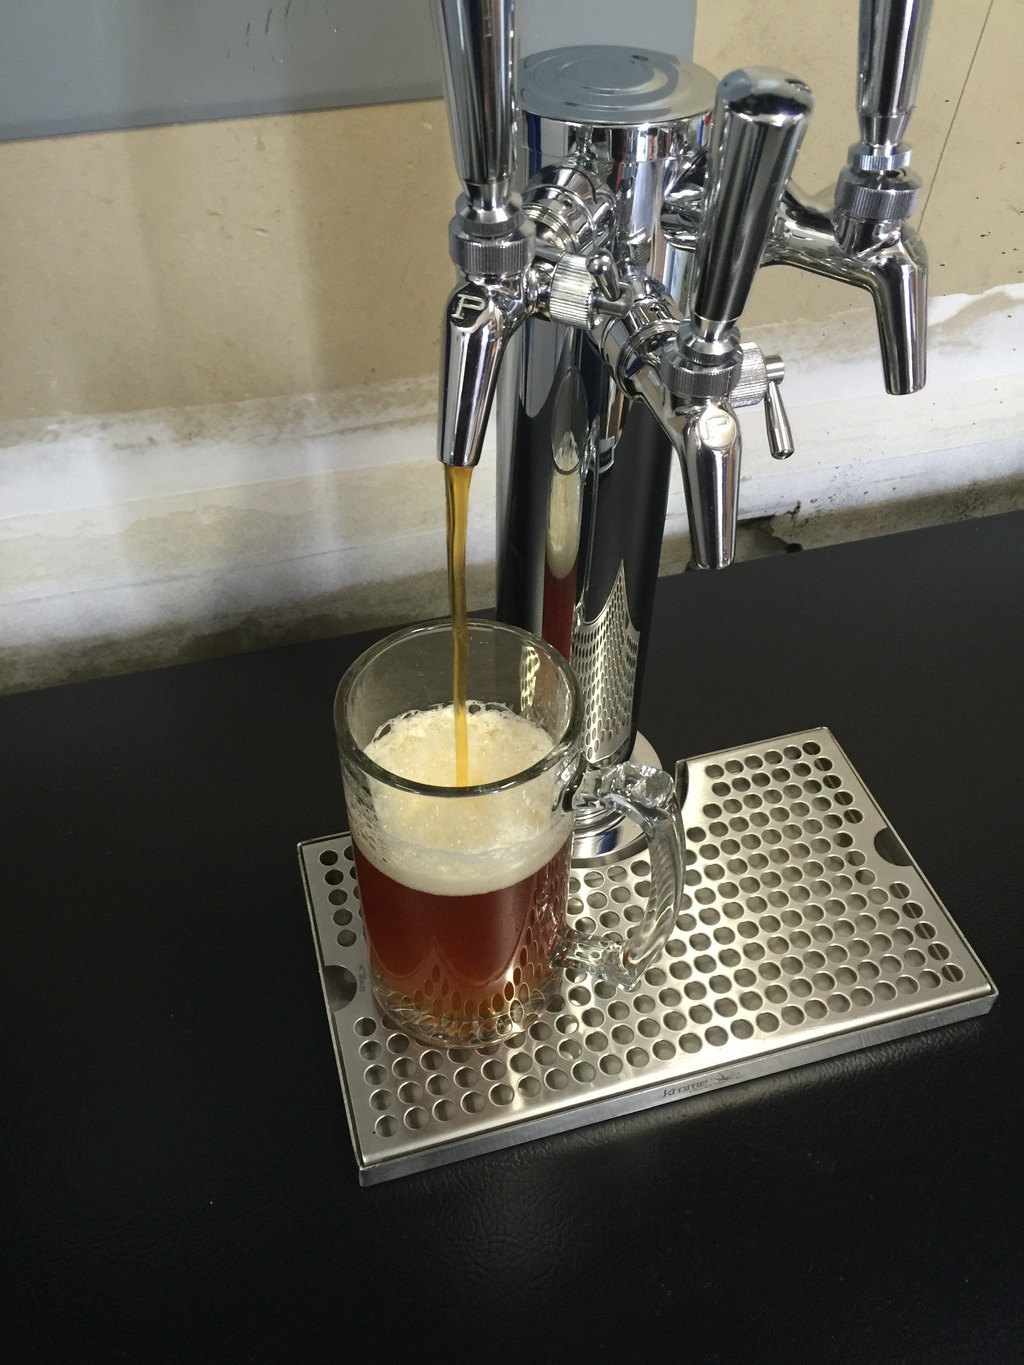
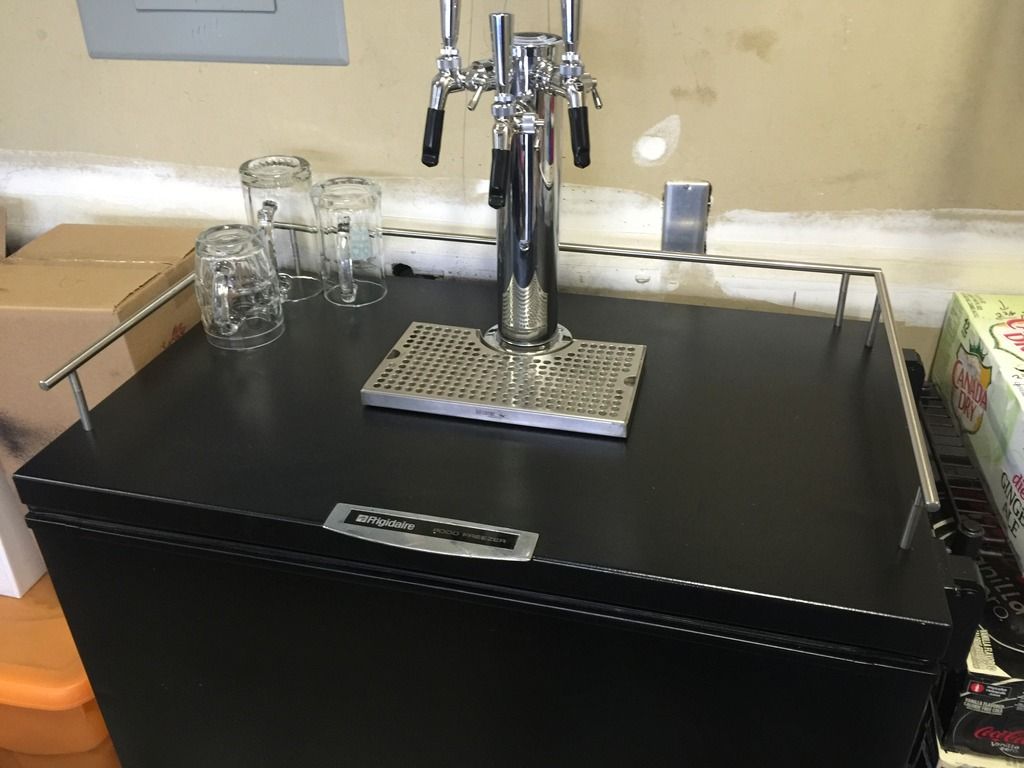
Installed new air cooled tap tower, with three Perlick flow control faucets, and drip tray.
Click the image to open in full size.

Have some stainless rails I’m going to add around the top tomorrow. Then will be done.

I kinda get carried away, sometimes. 

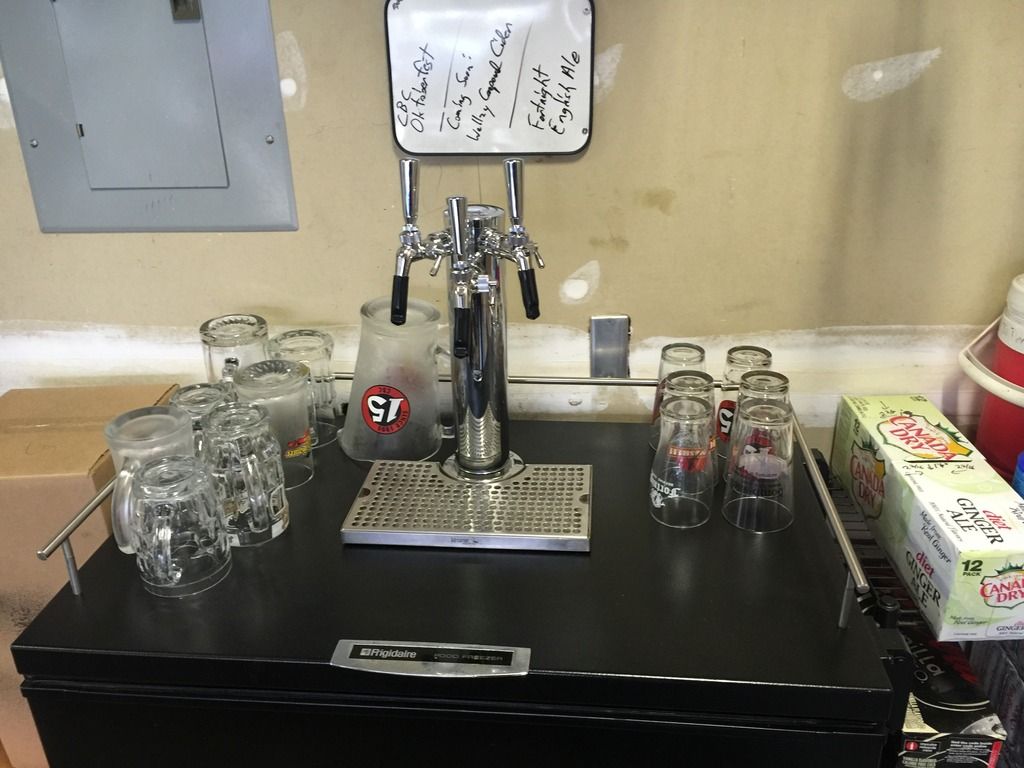
It’s hella nice. Have Carolina Brewing Company Oktoberfest, and Fortnight Brewing Company English Ale on tap now. Started a batch of Wellzy Compound cider and will have that on tap in a couple of weeks. Will empty out the old fridge and it will go bye-bye. More space for garage gear!

In classic “me” form, I told the wife on Saturday that I would do it over a couple of months.

Monday, it was operational.

Wednesday, it was pretty much complete.

Friday, it was done.

Haz Railz.

Click the image to open in full size.

So drunken glassware won’t fall off.

Click the image to open in full size.

Wheelz and Hitchez

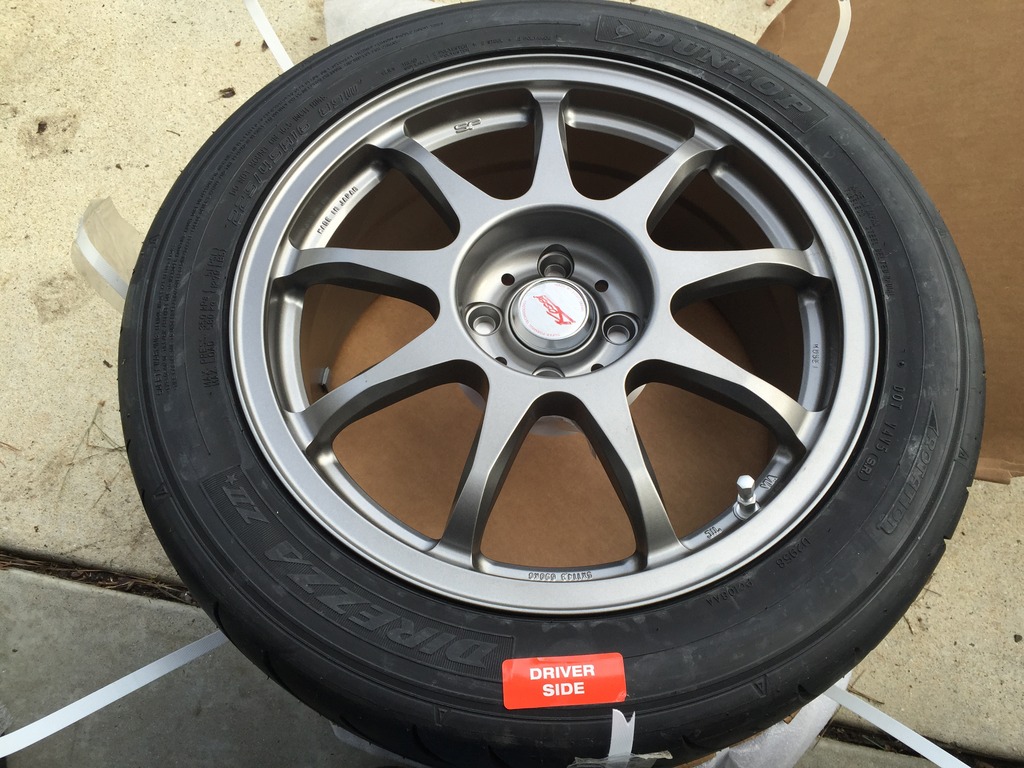
Summer sandals came! Because, January.
Complete with idiot stickers.

Click the image to open in full size.

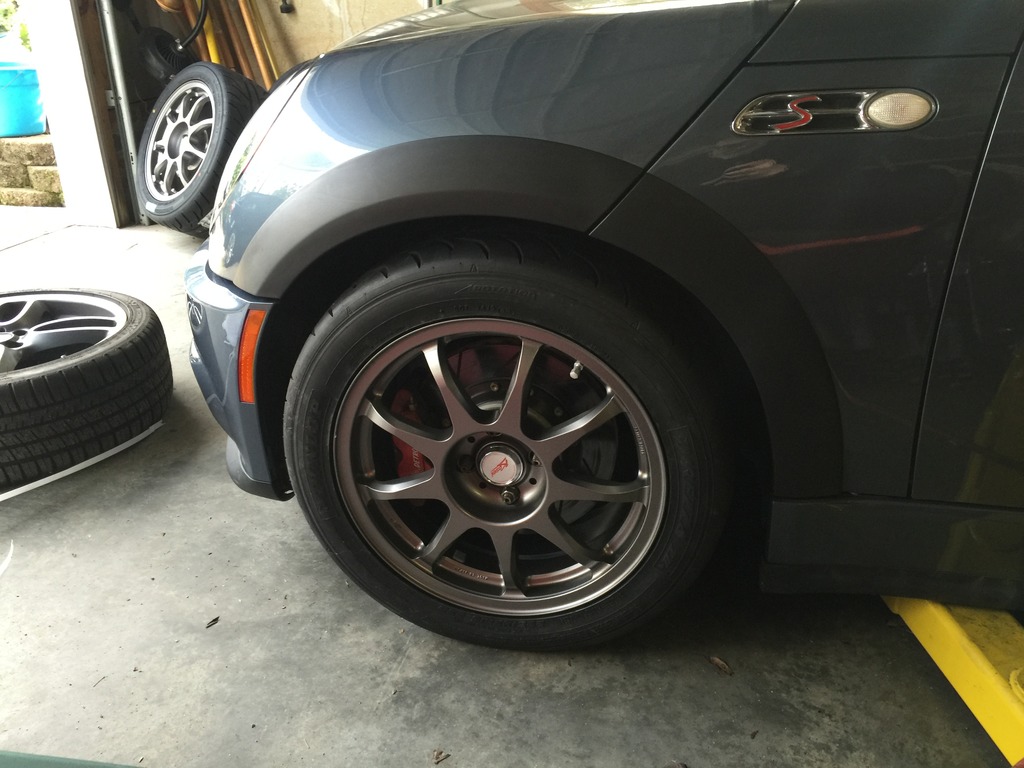
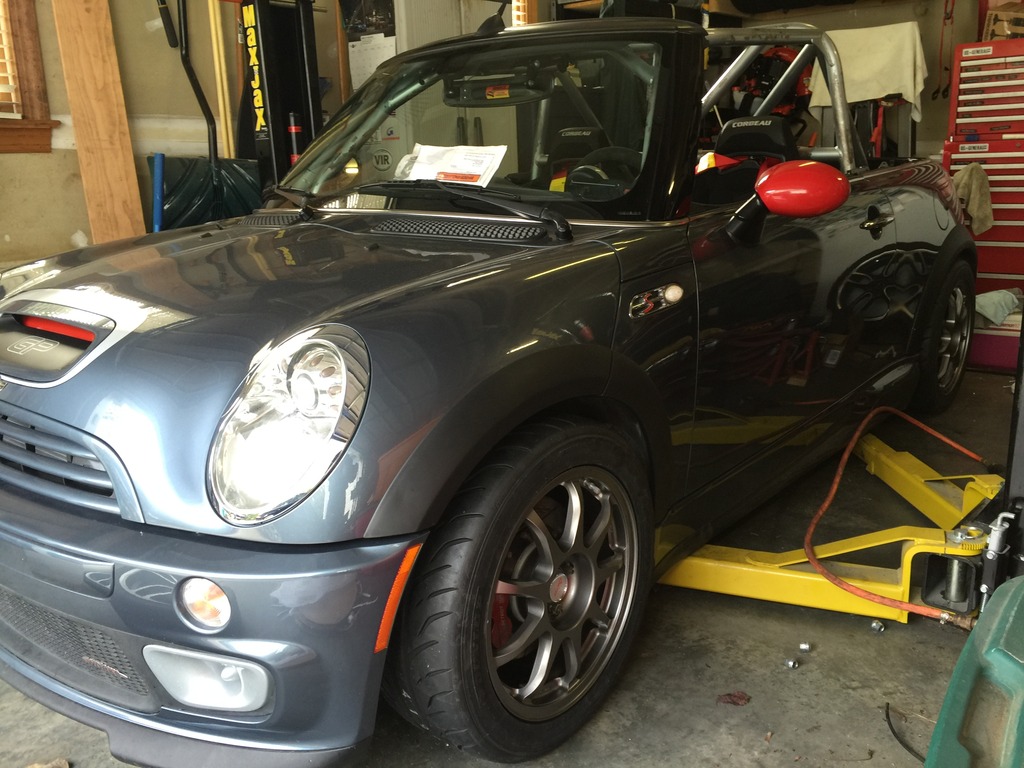
Kosei K4R in dark gray, 16×7.5, shod in Dunlop Direzza ZII Star Specs, 225/45R16

I like how they look in person, even more than how they looked in pics. More aggressive than I expected. And tons of clearance for brakes and struts, when used with 10mm spacers up front. Could probably get away with 7mm.

Ride height isn’t set for them here, and I didn’t settle the suspension. Just dropped the lift a bit to get an idea of how they will look.

Click the image to open in full size.

And, light.
Click the image to open in full size.

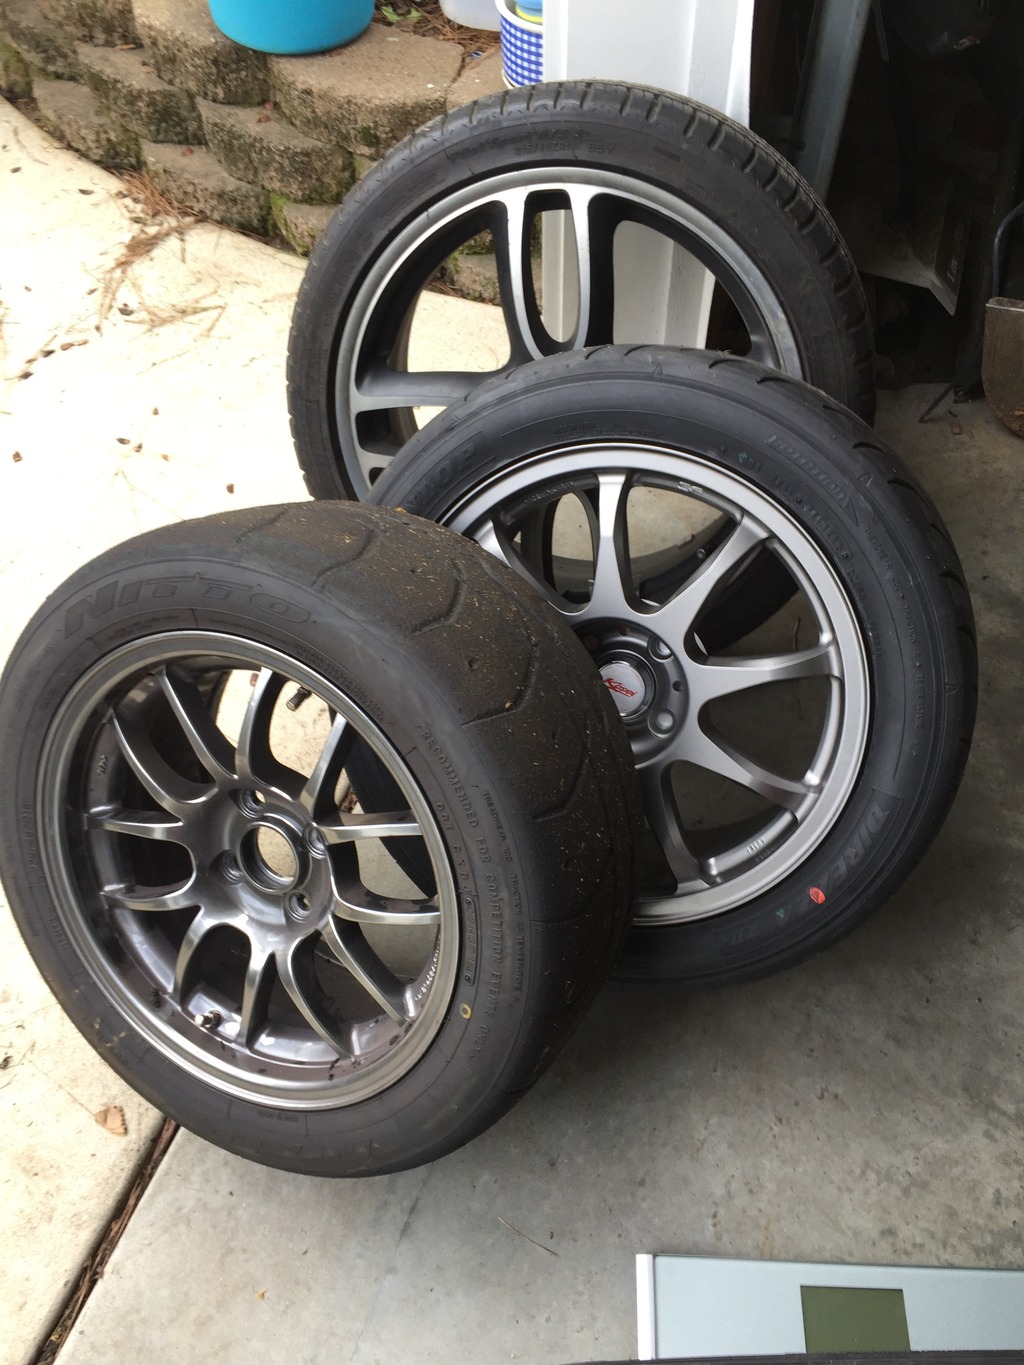
So here’s the full collection of wheels for the GP Roadster: GP 18″ wheels w/ 225/18R40 Michelin Pilot Sports for winter, the K4R / Star Specs for Summer, and 949 Racing 6UL 15×8 with Nitto NT01 225/45R15 for the track.

Click the image to open in full size.

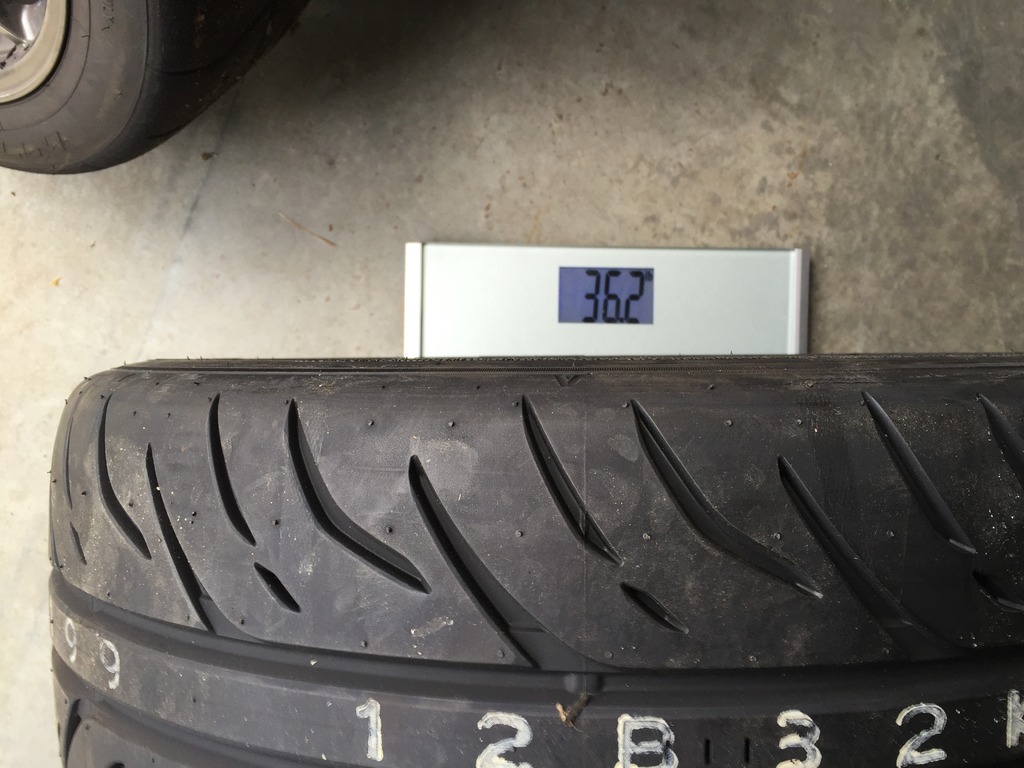
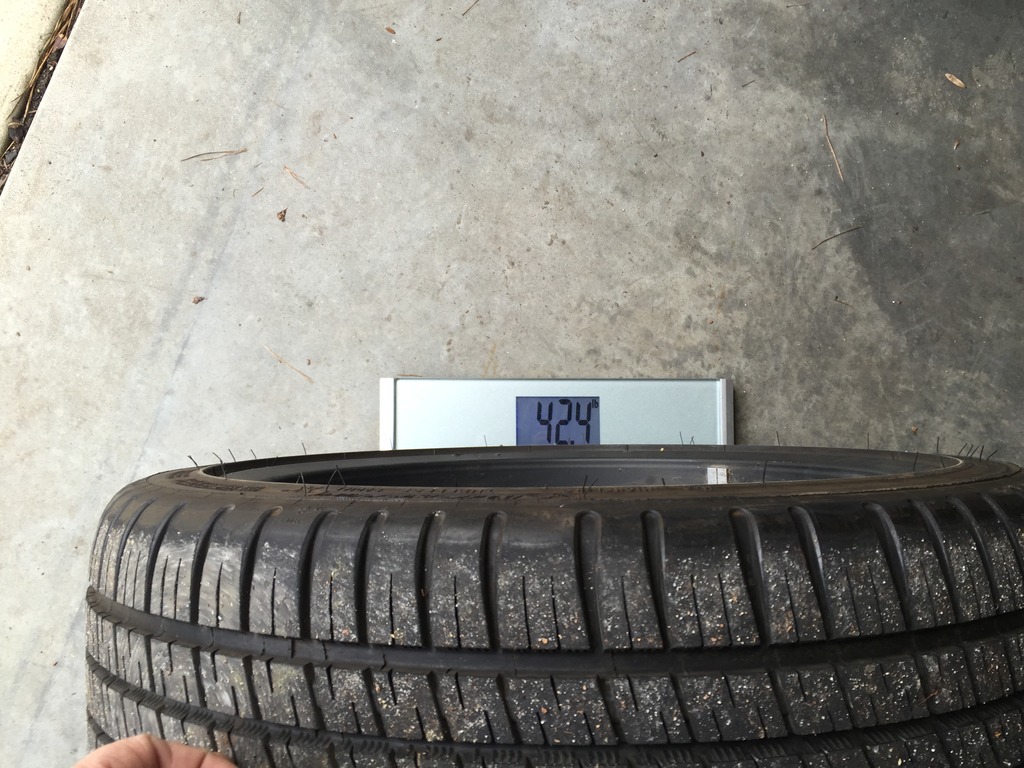
The GP wheel / tire combo is 6 pounds per corner heavier than the summers:
Click the image to open in full size.

And the track combo is 4 pounds per corner lighter!
Click the image to open in full size.

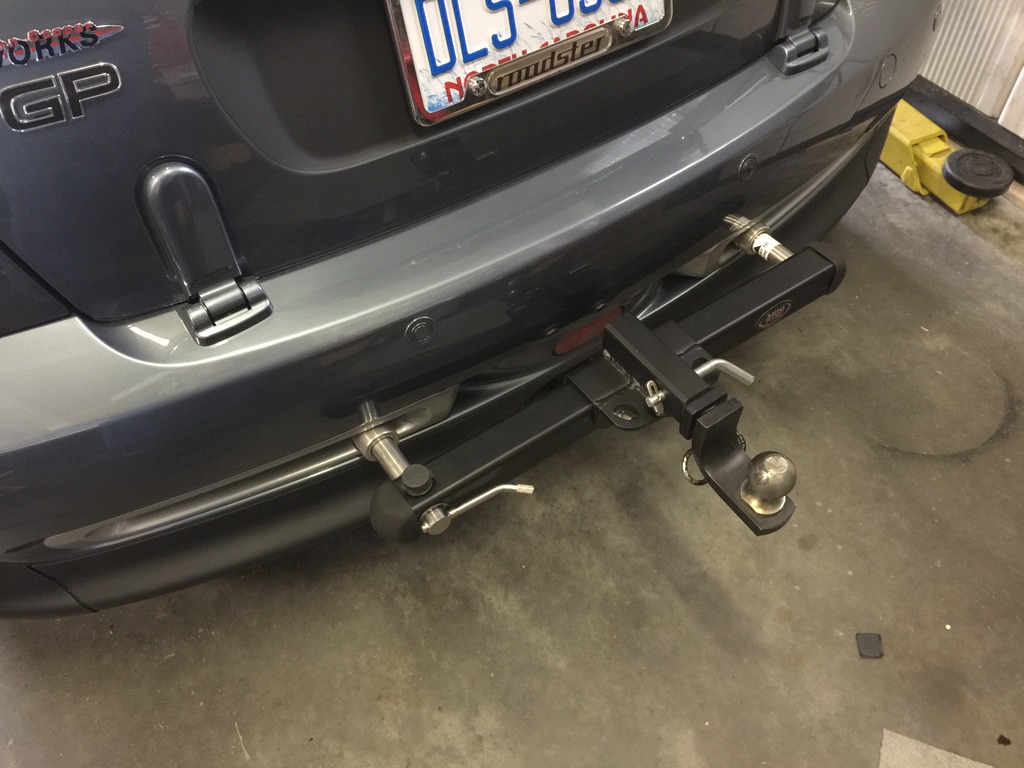
And the rest of my Mini Fini hitch arrived. This is nice stuff. My old car had a MiniDoMore hitch. I never really paid attention to how the Mini Fini stuff attached. It’s really well thought out. I cut down and re-drilled the drawbar from my old hitch, to minimize extension.

Click the image to open in full size.

And now… the build video

For those with the patience to watch 100+ hours of labor, over 6 weeks, compressed into 15 minutes, I bring you the GPR build time lapse! This begins after the shell was stripped, caged, painted. I missed shooting video of a few things (like the clutch swap), and I spared you a lot of the fiddly stuff, but it’s complete enough to be interesting. Many times, you will say “WTF is he doing?” or “why is he taking the suspension apart for the fourth time, now?” or something like that. But it’s a pretty honest view of the process. Lots of trial and error is required.

Enjoy.

Back on the road!

Had a glorious drive today…
Click the image to open in full size.

50 degrees, seat heater works. 🙂
Drove about 50 spirited miles. Clutch didn’t slip, axles didn’t pop out, no parts got pulled off the car, and I didn’t take flight.

The car handles great with the added caster. Steering feel is fantastic, turn-in is even more direct.

And the car is crazy fast. I can’t adequately describe it, because that would incriminate me. I can’t imagine what it’s going to be like when the TVS and Vipec are on… I kinda love it. 

I’ve spent the last couple of days organizing the garage, getting it ready to actually be a place where two cars can park. First complete garage clean out and re-org in 15 years. Still have 2-3 days of work to do, it’s a big job. And then have to do my workshop, probably a few more days in there. But, eventually, the Mini will park in there like it did before all this foolishness started.

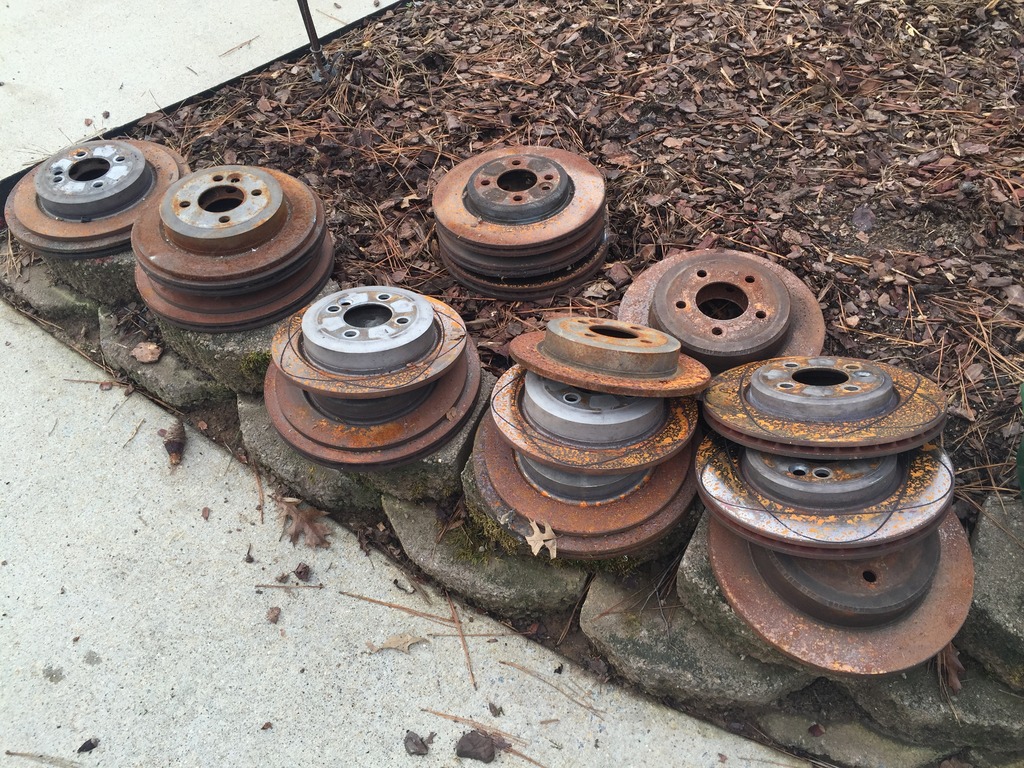
Just a sample of the wonders that were in there… 10 years worth of brake rotors for several Minis, BMWs, Chryslers, Hyundais…
Click the image to open in full size.

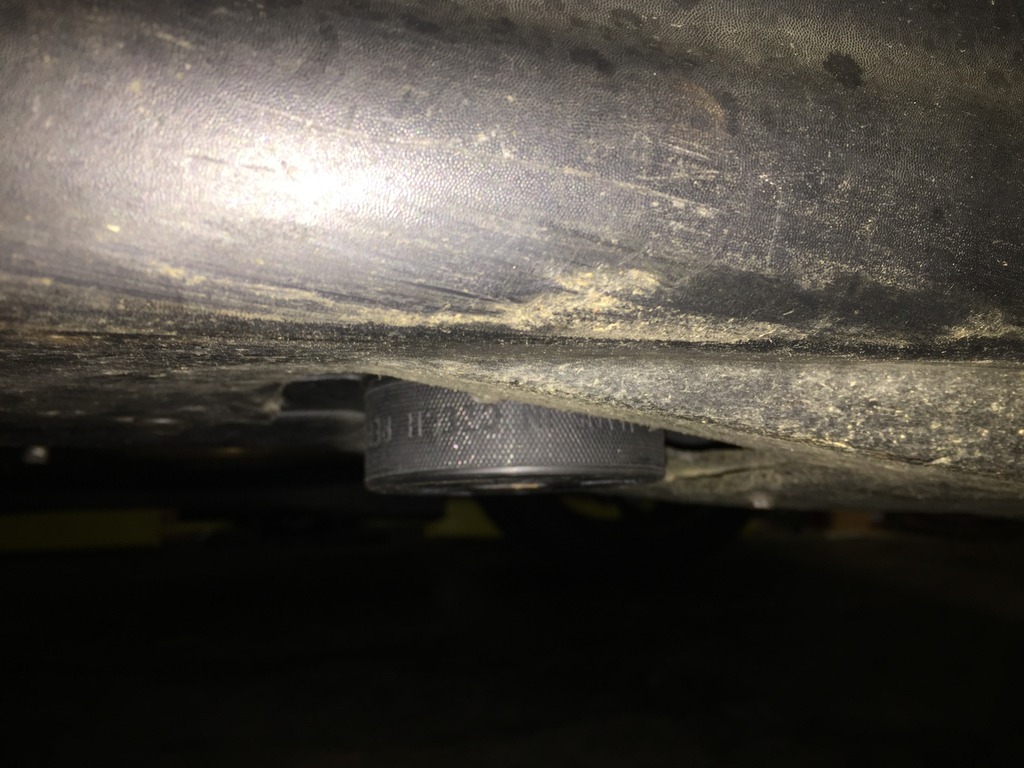
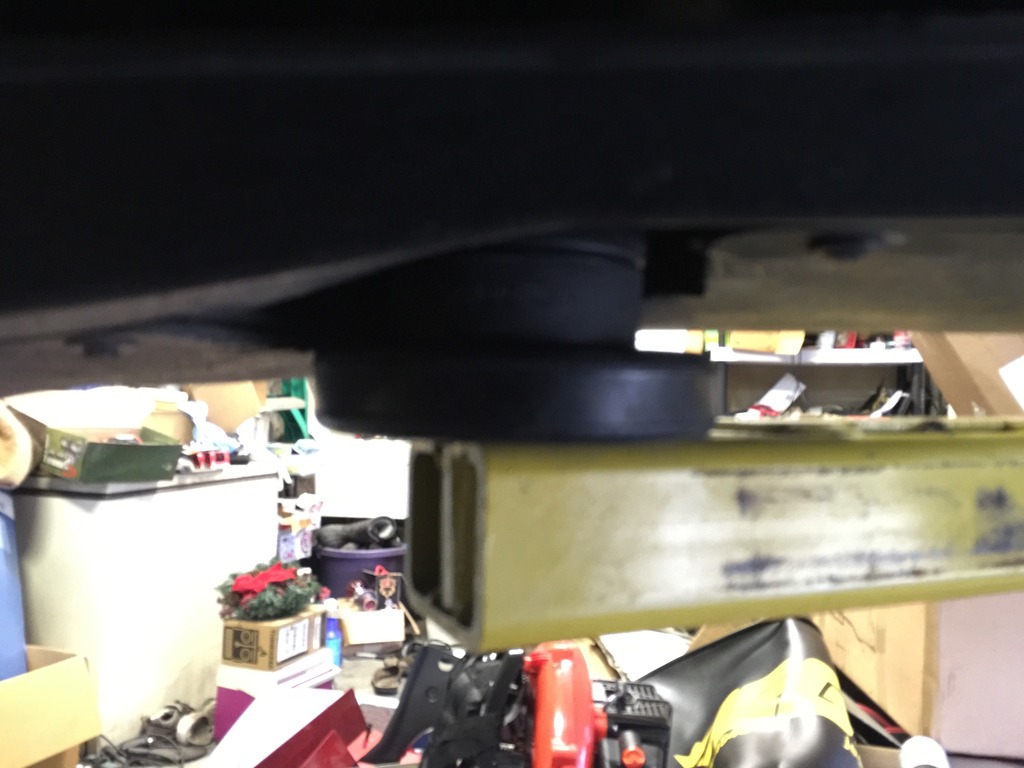
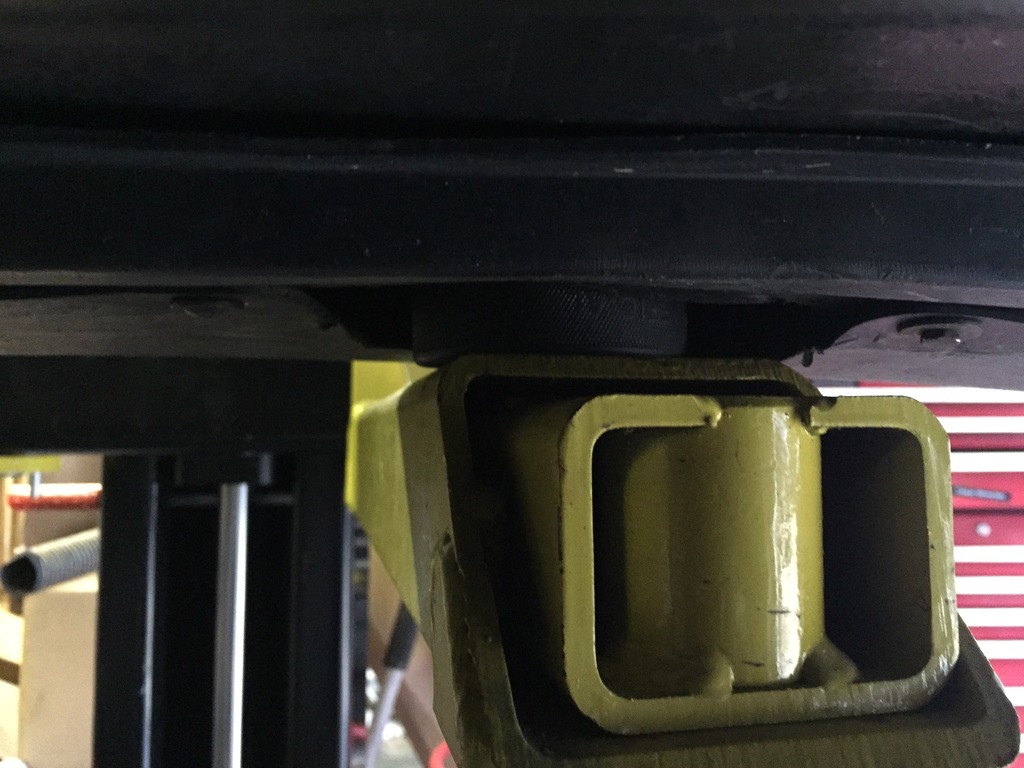
Custom jack blocks

So I installed these:
Click the image to open in full size.

Drilled out the center pin on the old rattling plastic OEM points, and pulled them off.
Mounted the new ones…
Front:
Click the image to open in full size.

Rear:
Click the image to open in full size.

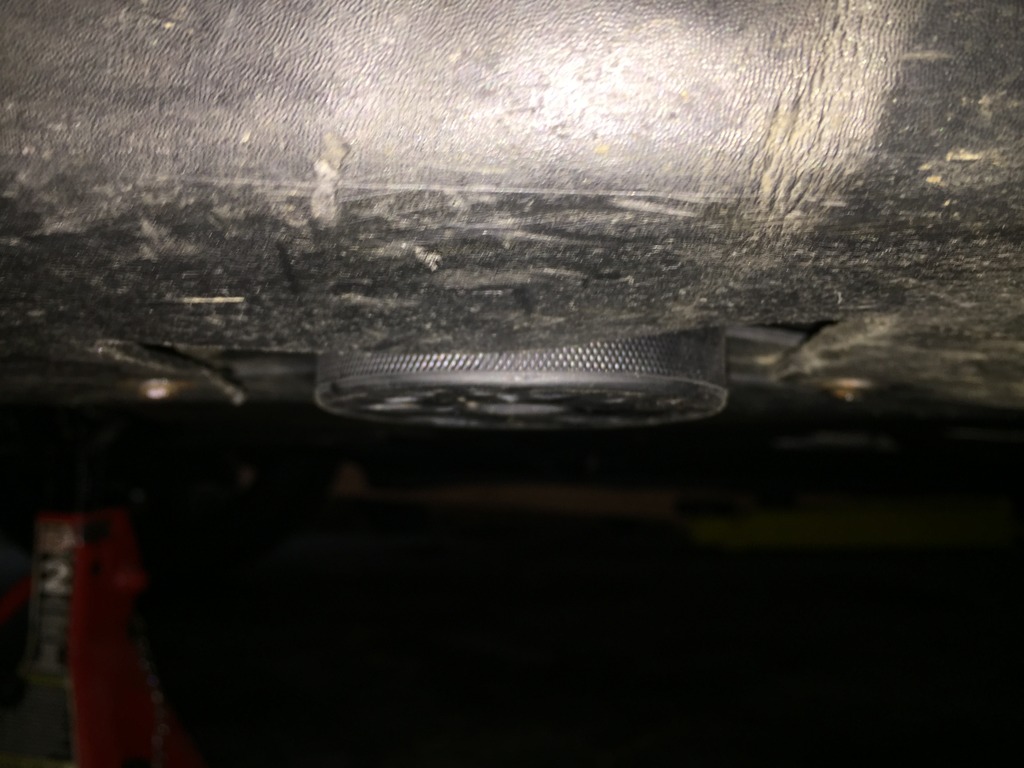
PERFECT. So much easier to get on the lift, with no danger to the skirts.
Click the image to open in full size.

Highly recommended mod, if you have aero or GP skirts.

Also fixed the passenger side hood latch and cable, so everything latches like it should now. And red-dipped my driver’s side latch handle, and oil dipstick. No more yellow in the engine bay, except for the oil fill cap label.

Adjusted my front and rear camber, now that I have the caster plates installed. I’m going to try running -1.25 F / -1.0 R static camber. With the caster set to +7degrees, I get added dynamic camber when I turn in. Measures -1.65deg on outside wheel, with steering wheel turned 1/4 turn, and -2.0deg with 1/2 turn of steering. I might bump front camber up a bit more, but want to see how little I can get away with.

Christmas break is over… back to work!

OK, Christmas break is over…

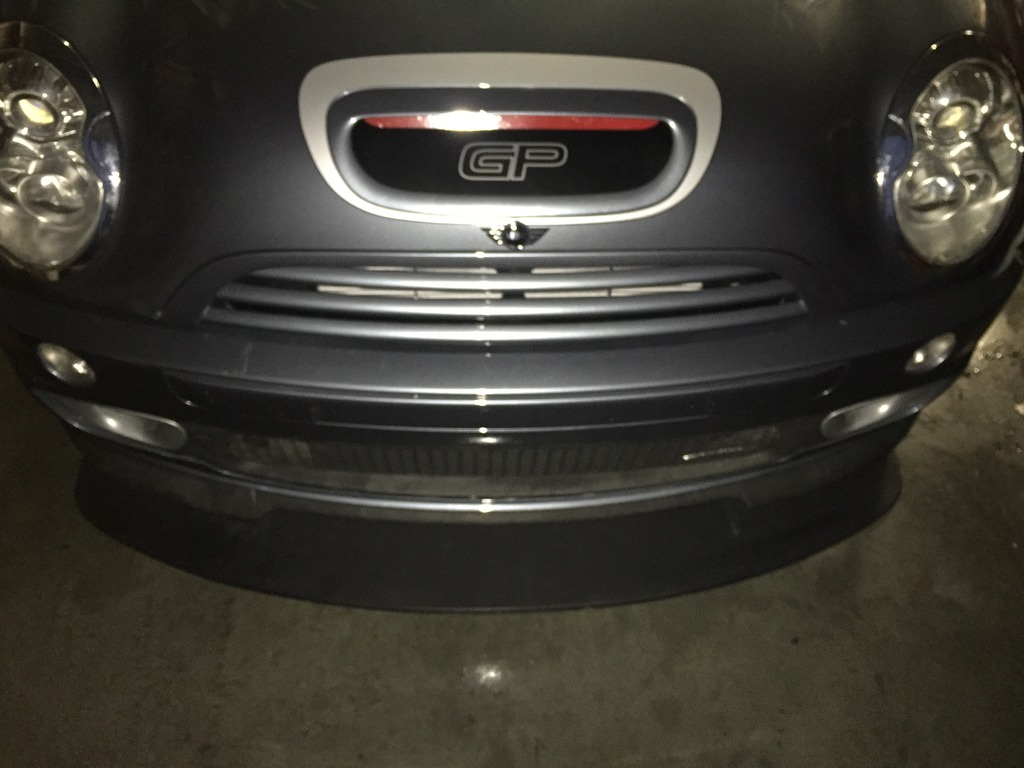
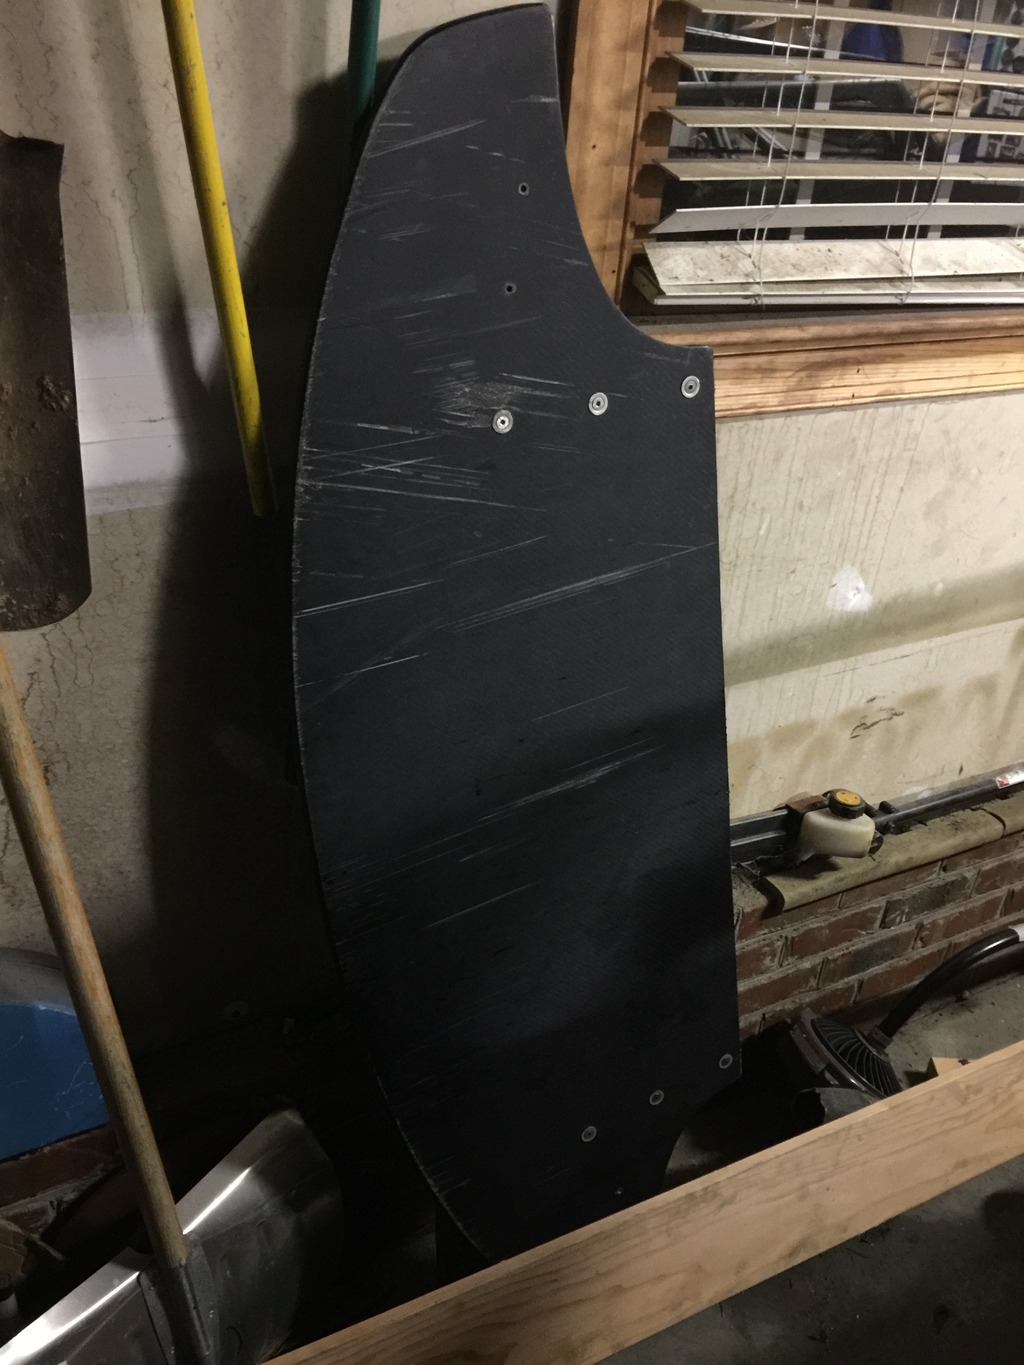
Reconstituted the front end, at least structurally. All back together in one piece. Still have some paint repair to do, but that’s low on the priority list right now. Looks fine for a 10 year old car… you can see some scuffs and such, in this pic of my new-to-me gently used RMW splitter.
Click the image to open in full size.

This splitter is beastly. It’s one massive solid panel. I could snowboard on it. It may be the strongest thing I’ve ever held…
Click the image to open in full size.

A few scuffs on the bottom because… it’s a splitter. This will go on for track days only. Definitely not made for mountain twisties. But, with the underbody panels and the GP skirts, I’m hoping this will give me a little more stability at speed… I need all the help I can get, at triple-digit speed.

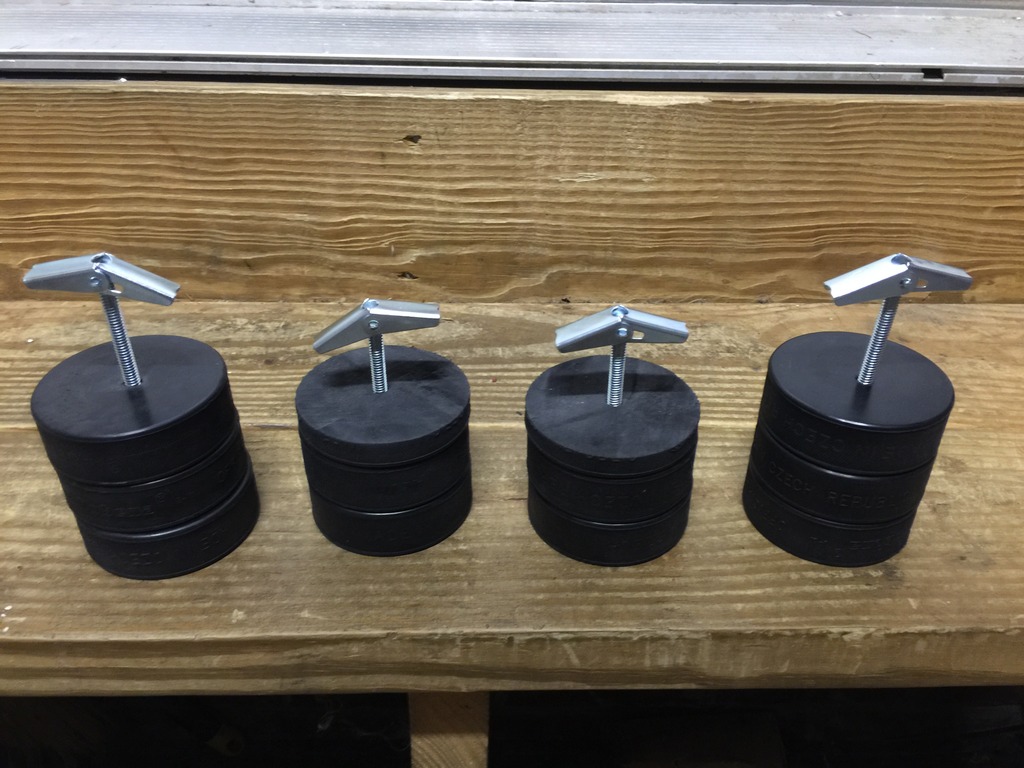
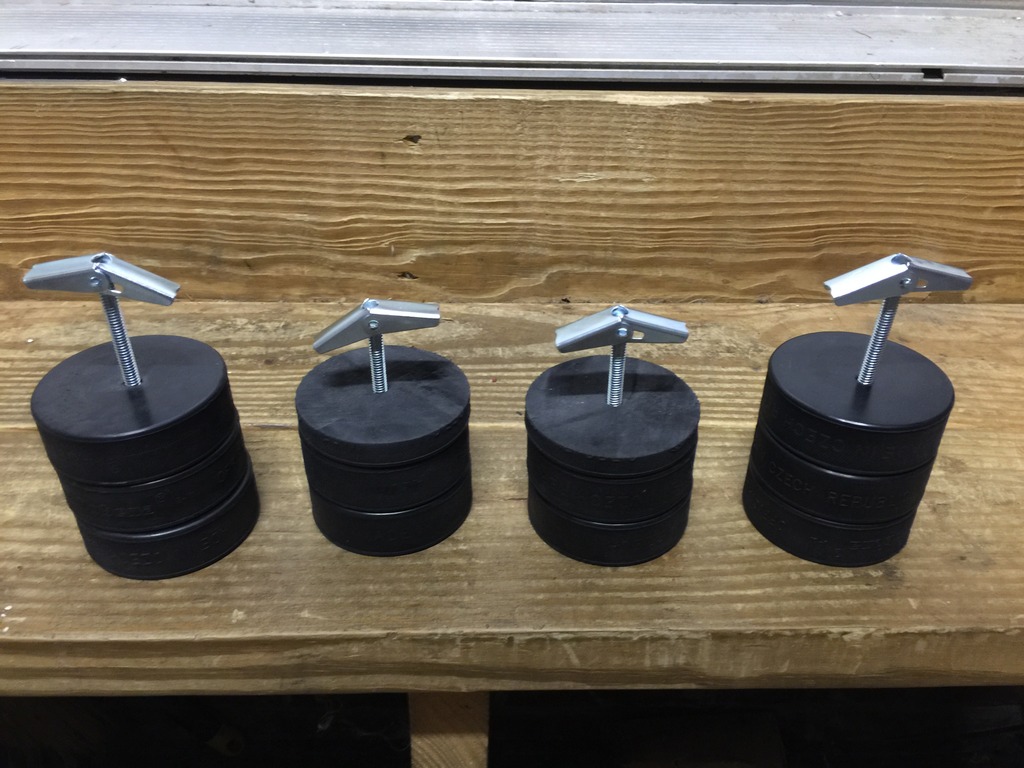
Built some custom jack points, to replace the factory points, so I can roll right on and off the lift with the GP skirts, without fooling with the jack point extension blocks, hockey pucks, etc.
Click the image to open in full size.

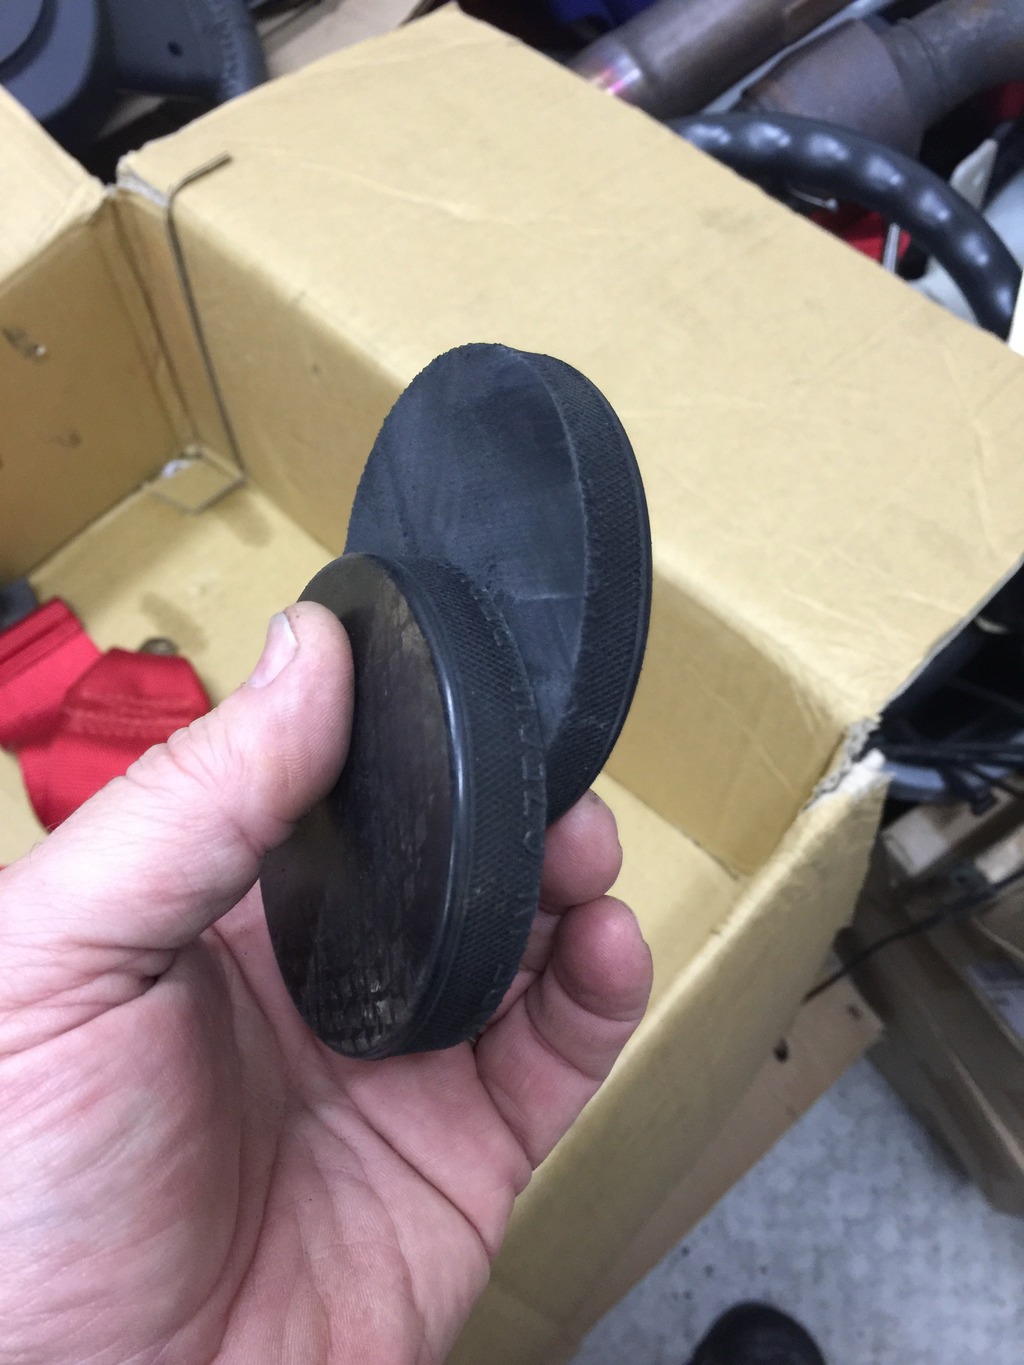
Yes, I cut a hockey puck in half.
Click the image to open in full size.

Sure, I could have some custom jack points machined. Maybe I will at some point. But these will work fine, and don’t weight much, and were easy. Three hockey pucks (75mm) rear, 2.5 hockey pucks (62mm) front. Should protrude just a few mm below the skirts. I don’t use the little trap doors anyway, so the skirts should be more aero than usual, with the holes mostly plugged by these. I’ll pull off the factory points and install them today. Need to test with the factory jack for roadside repairs, I may need to get a small flat-top scissor jack to use instead, since the factory jack can’t engage these like the factory points.

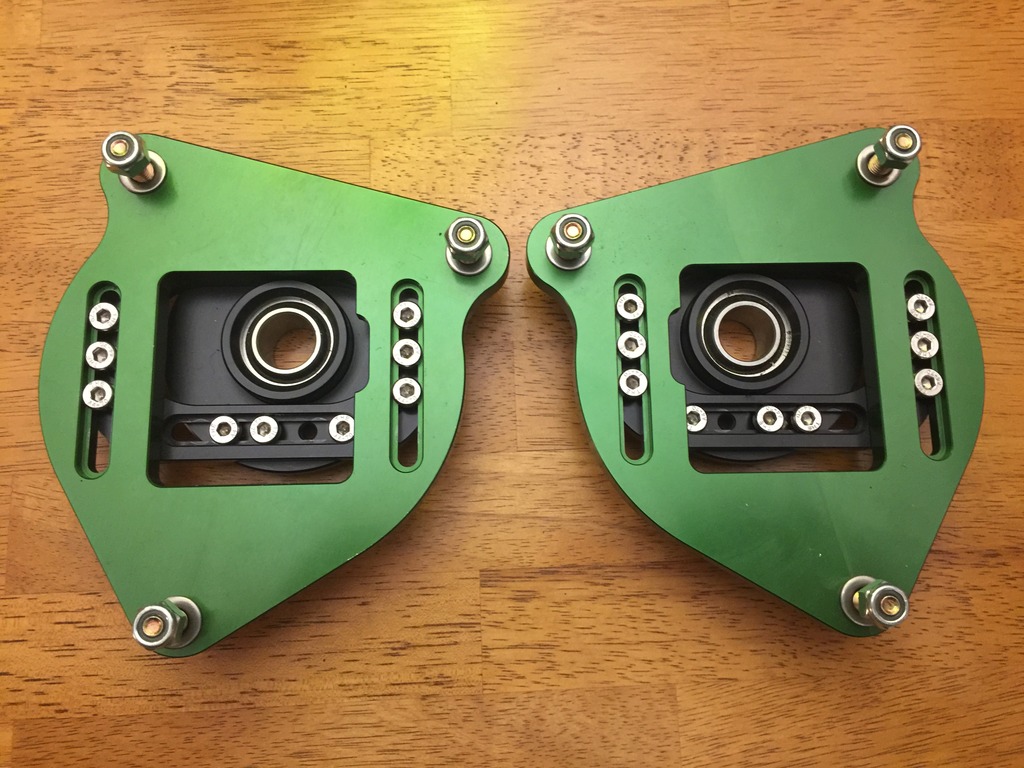
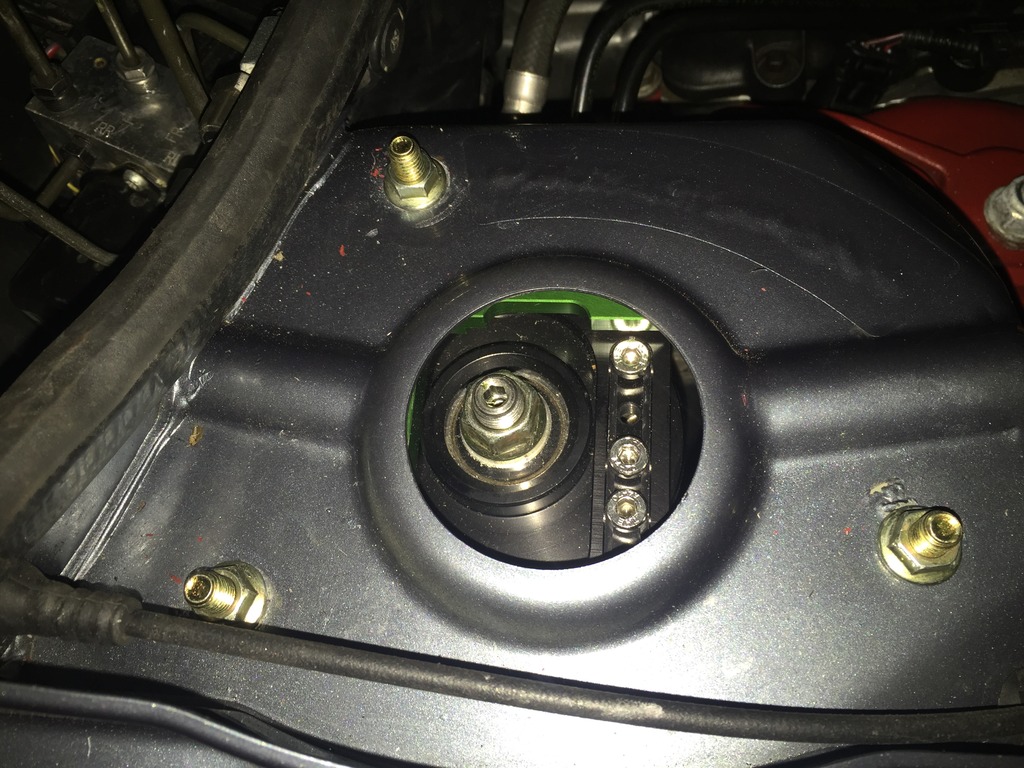
Installed my Greene Performance camber/caster plates, once I figured out that the BC coilovers had a top nut with integrated bushing that’s close enough to fit.
I started with them adjusted like this. Max caster, and about half max negative camber. I’ll tweak them a bit as needed. If I’m reading the gauge right. looks like I have about 7 degrees of caster with these. Haven’t driven the car at speed yet to evaluate, but it definitely has more “on center” feel than before. I can tell that just driving around the neighborhood.
Click the image to open in full size.

Annnnnnnddddddd…. Yesterday was a huge day.
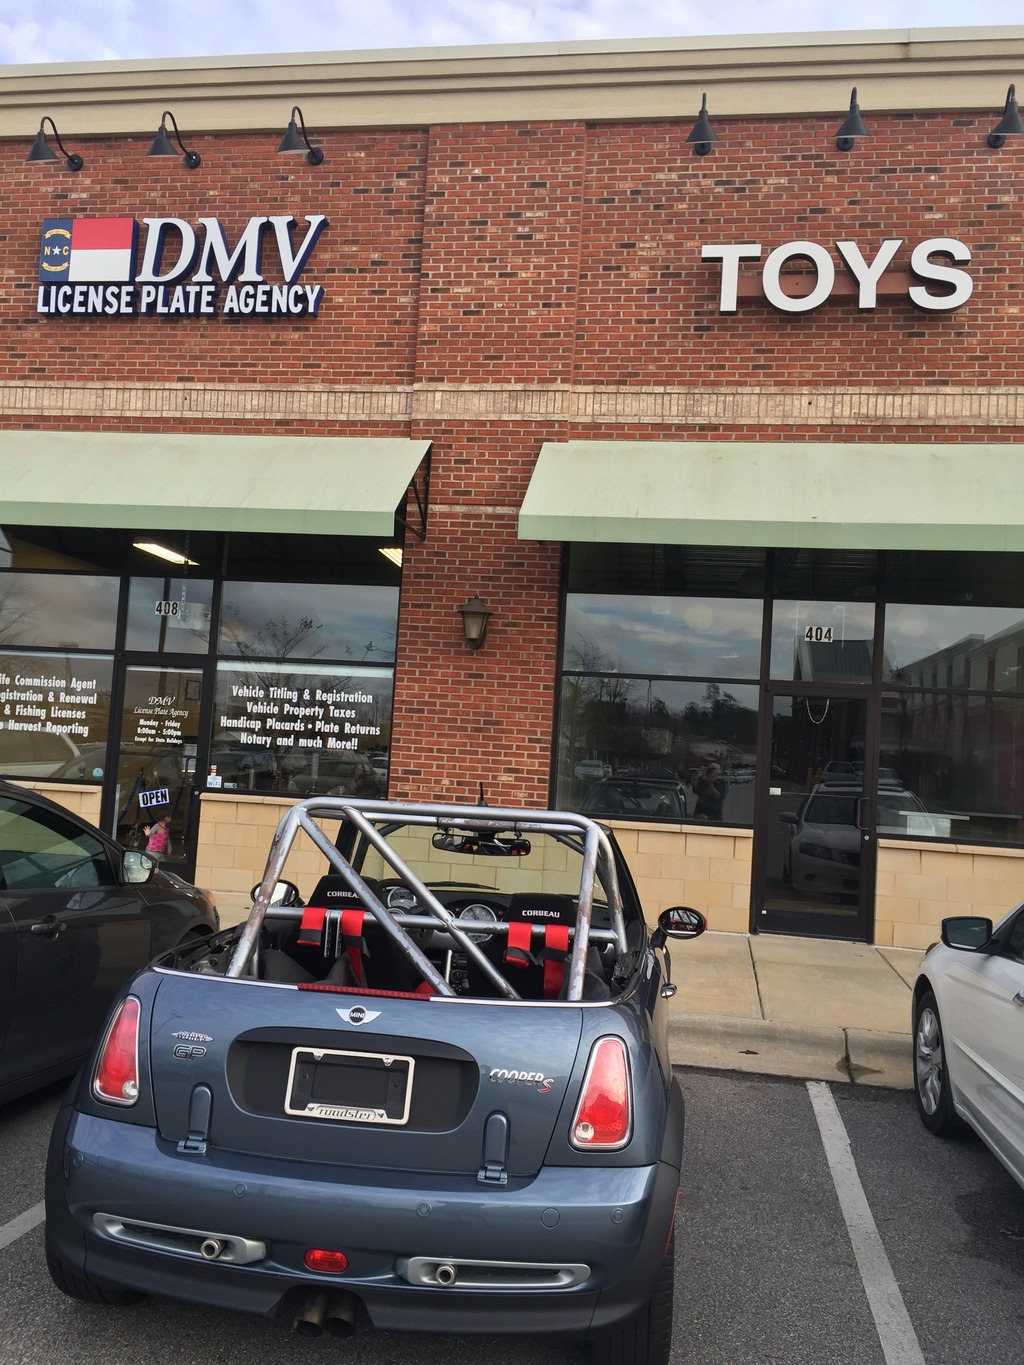
After a couple of failed attempts to get the car titled… I got’er done.

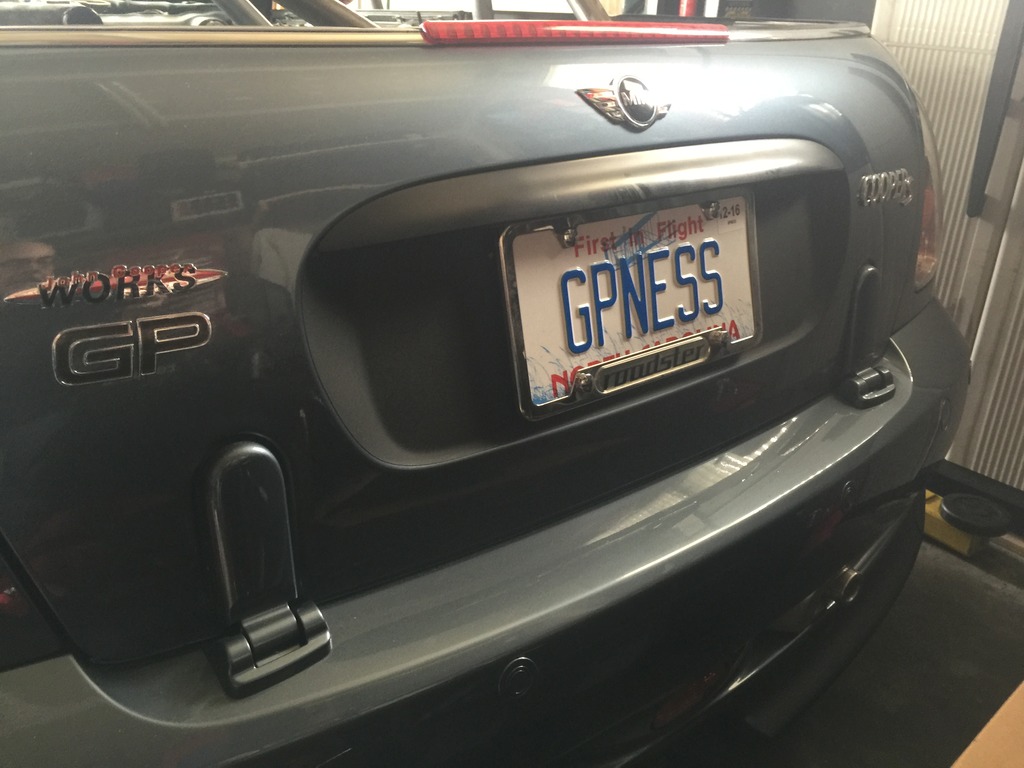
A truly amazing day. Went to the main NC DMV office in Raleigh early. Successfully titled the car in the name of the guy who bought it at insurance auction (via power of attorney), then transferred that title to me (via power of attorney), then titled it in my name. Then called DMV theft inspection unit, and (incredibly) they had an appointment available at 2PM. Went home and buttoned things up to be ready for the inspector. Inspector arrived at 2, was done by 2:30. I took inspection report to the local DMV office 10 minutes from my house, got a 10 day permit for the car. Back home at 3:00, drove the car to the local safety/emissions inspection shop. They were slow today, done about 4:00, passed first try. Drove the car back across town to the DMV office with the safety/emissions inspection report and registered the car, got a plate, and ordered personalized plate.

Click the image to open in full size.

Emailed my insurance agent and added the car to my policy. DONE. Street legal!

Taxes and fees were almost exactly the same amount I paid for the car (or at least, the shell). YOLO.

Now time to schedule all the other stuff I need to have done… exhaust repair, windshield replacement, paint repairs, top and tonneau fabrication, etc. Which is fun to schedule, when the car has no roof and we’re in a El Nino rainy pattern… And I need several dry-ish days to pull out the interior, strip and repaint the cage, give it a few days to cure, and re-install interior. And the rest of the TVS stuff should arrive in a couple of weeks… and I have a weekend at VIR in late February… still lots of work to get it ready.

And then this happened

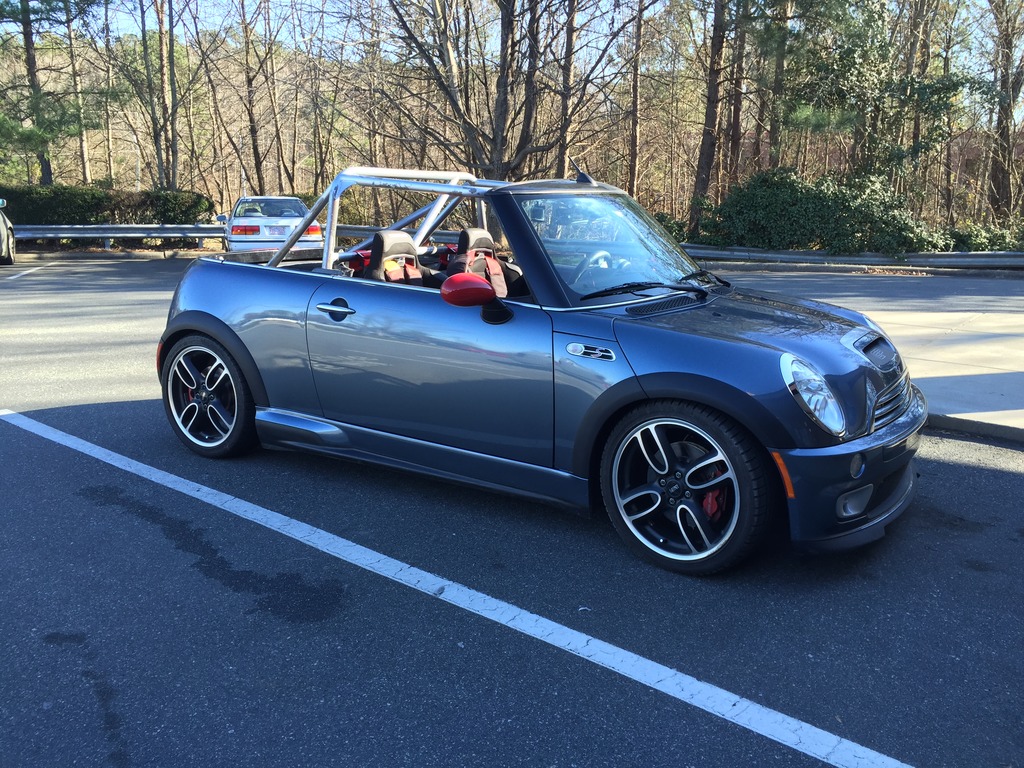
Sunday, I went for a spectacular drive. Car was fantastic. And looked fantastic.
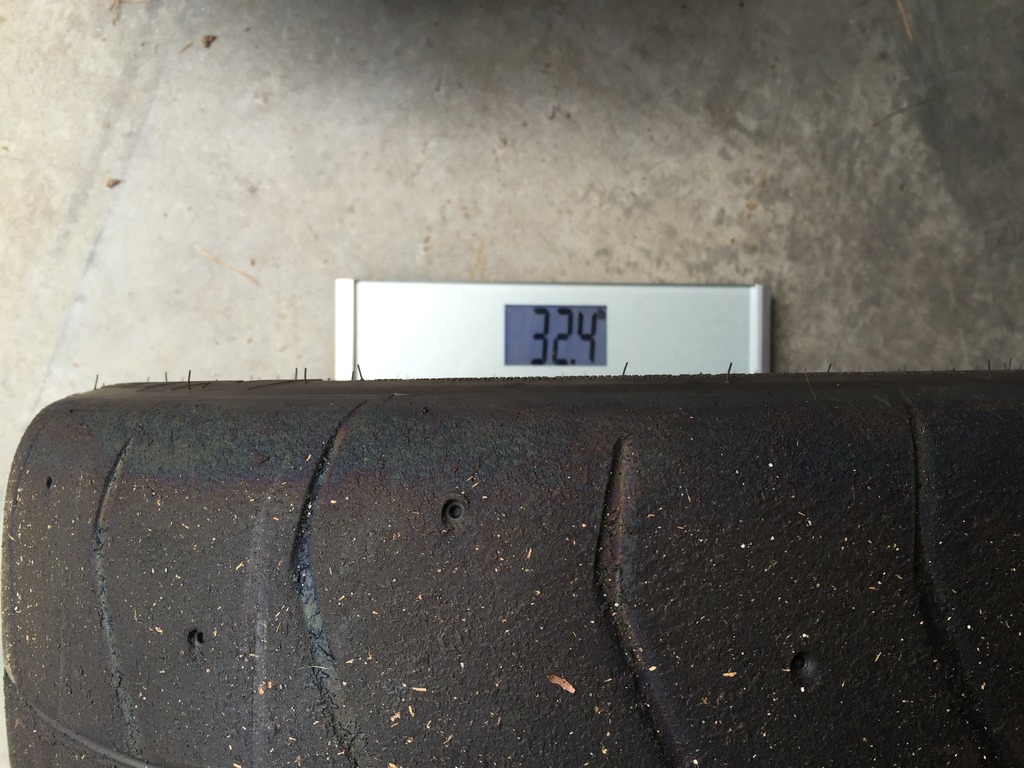
Click the image to open in full size.
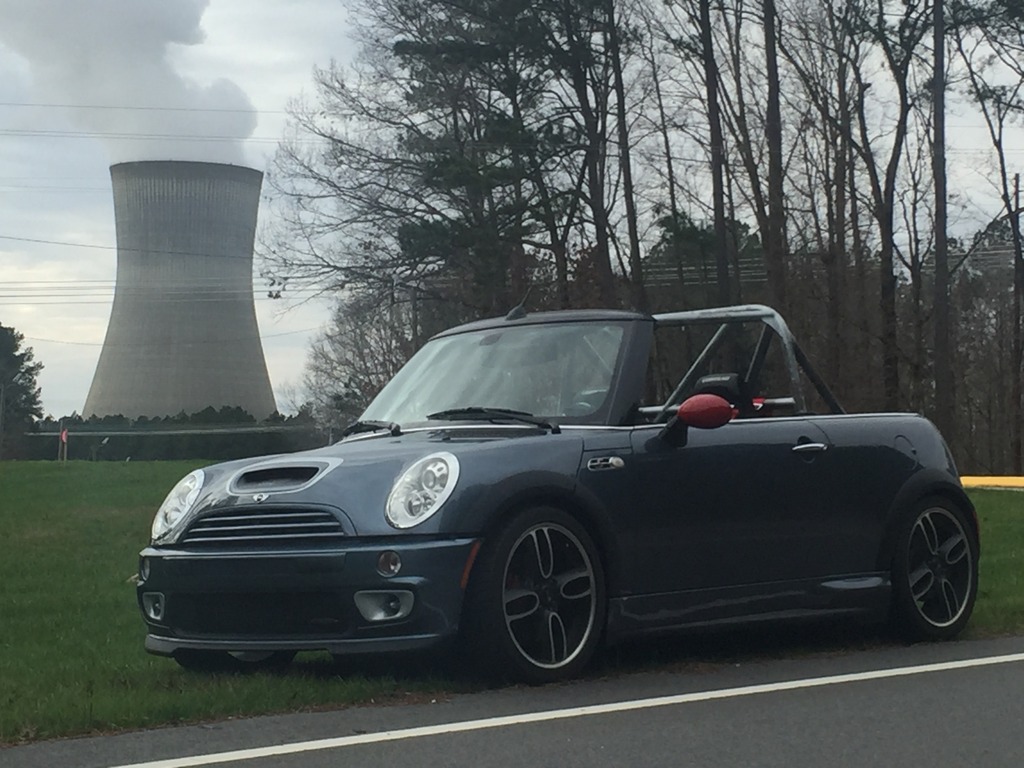
Drives like a dream. 

Remember, the last time I built a car, the new motor was in it for THREE DAYS before I tore it up.

Well, we have a new record. ONE DAY. 
Click the image to open in full size.

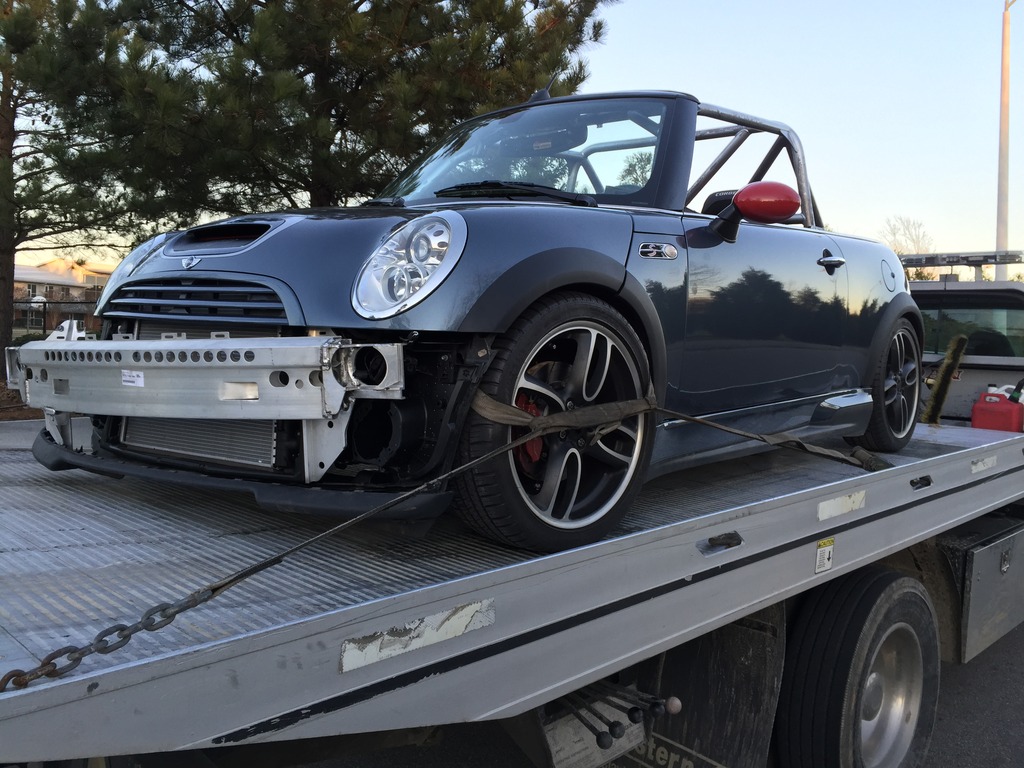
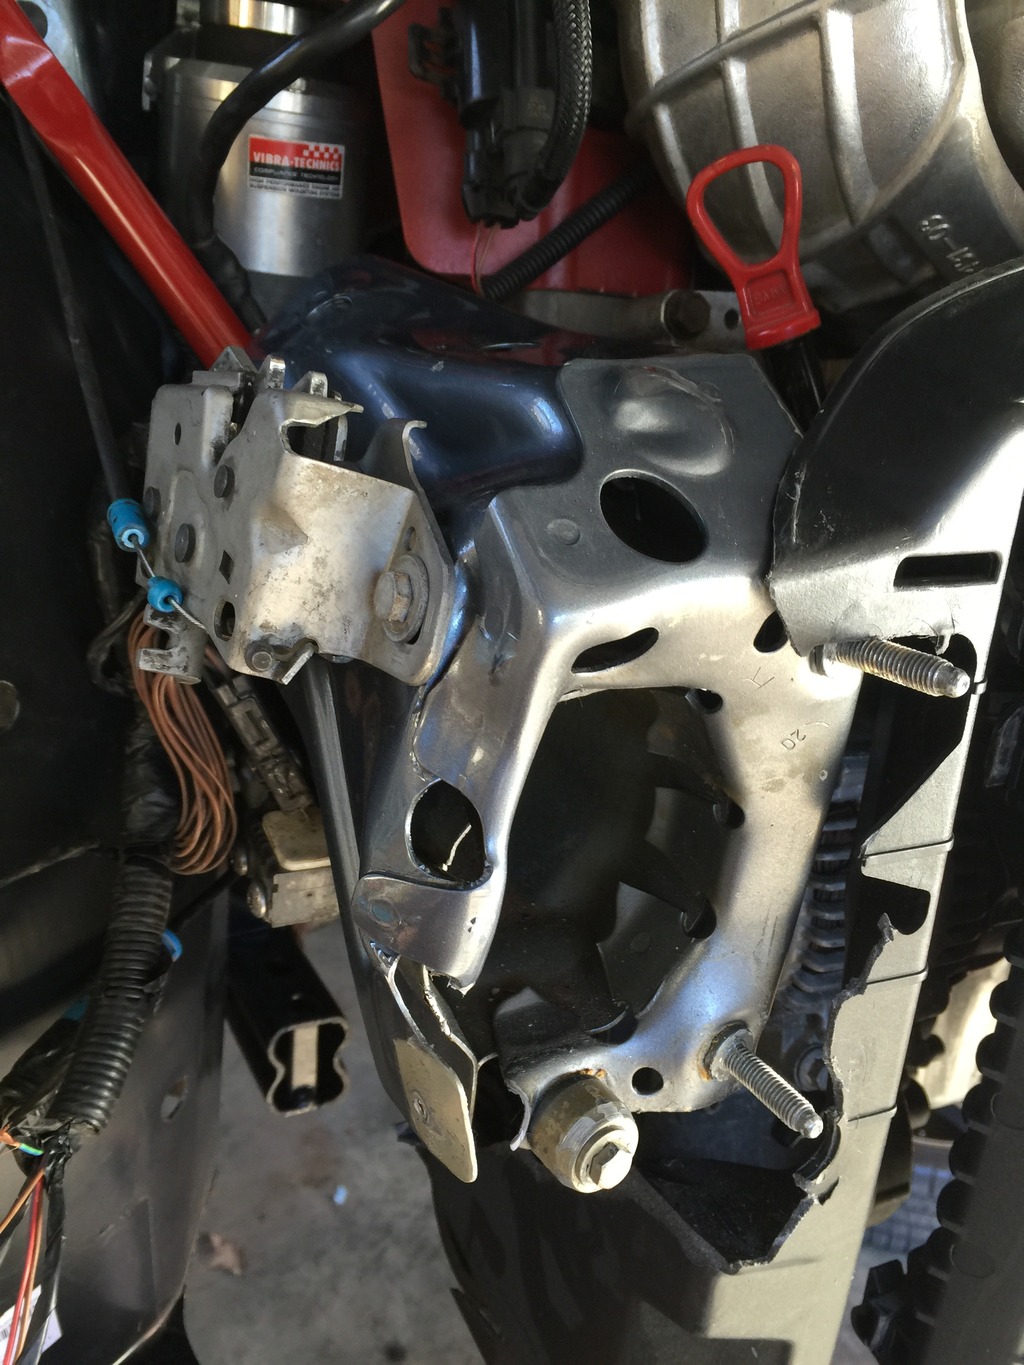
Greek Tragedy of Epic Fail. Short version, do not attempt to pull your car by the tow hook if the crush tubes aren’t installed to support the bumper frame. I already knew that. But now it’s been reinforced a bit. 

Destroyed the brand new bumper frame, brand new radiator frame, and brand new right wheel liner. Scuffed up the brand new bumper cover and broke some clips that hold in the grille. Broke a couple of tabs off the grill trim strip and the grill base, and tweaked a little corner of the new bonnet. Pretty much destroyed the bumper mount bracket on the right engine rail.
Click the image to open in full size.

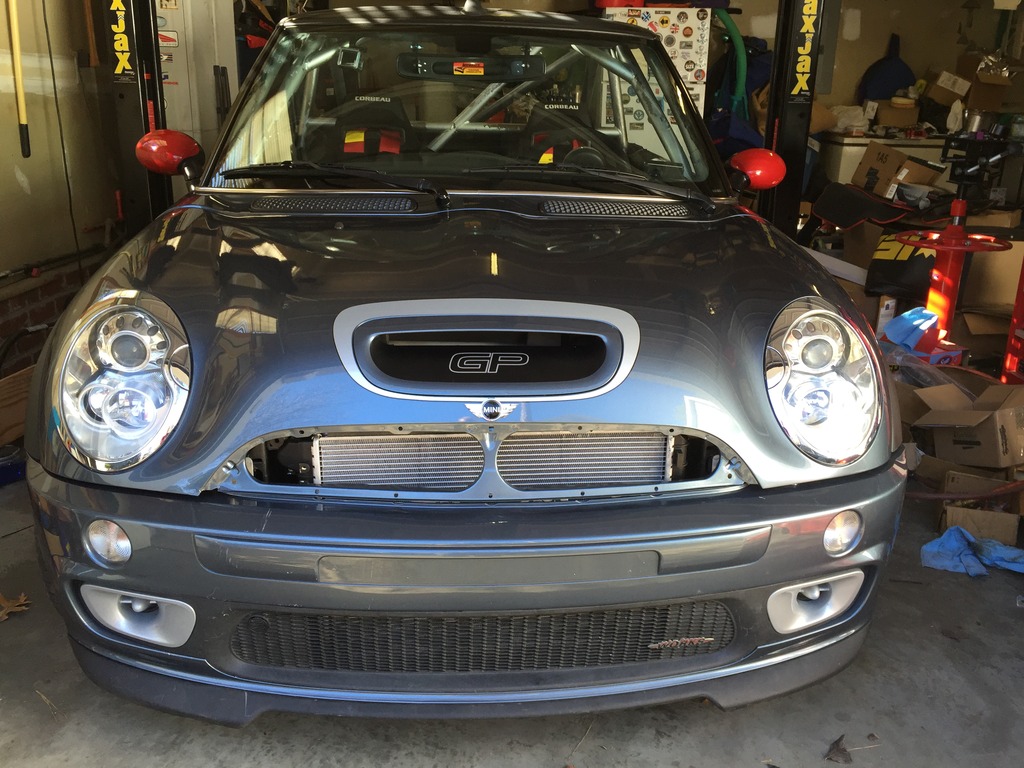
Anyway, after going home, drinking a beer, and curling up in a fetal position to sleep it off, I got up the next day and pretty much fixed it. Or at least got it drivable again.

Click the image to open in full size.

It looks meaner that way, anyway. I have the grilles back on it now, and from 30 feet away, you don’t notice anything. Only flesh wounds, replacement parts are already purchased, I’ll get the paint and body fixed in January and it’ll be good as new.

Just a speed bump in the build. And builds character, or something.

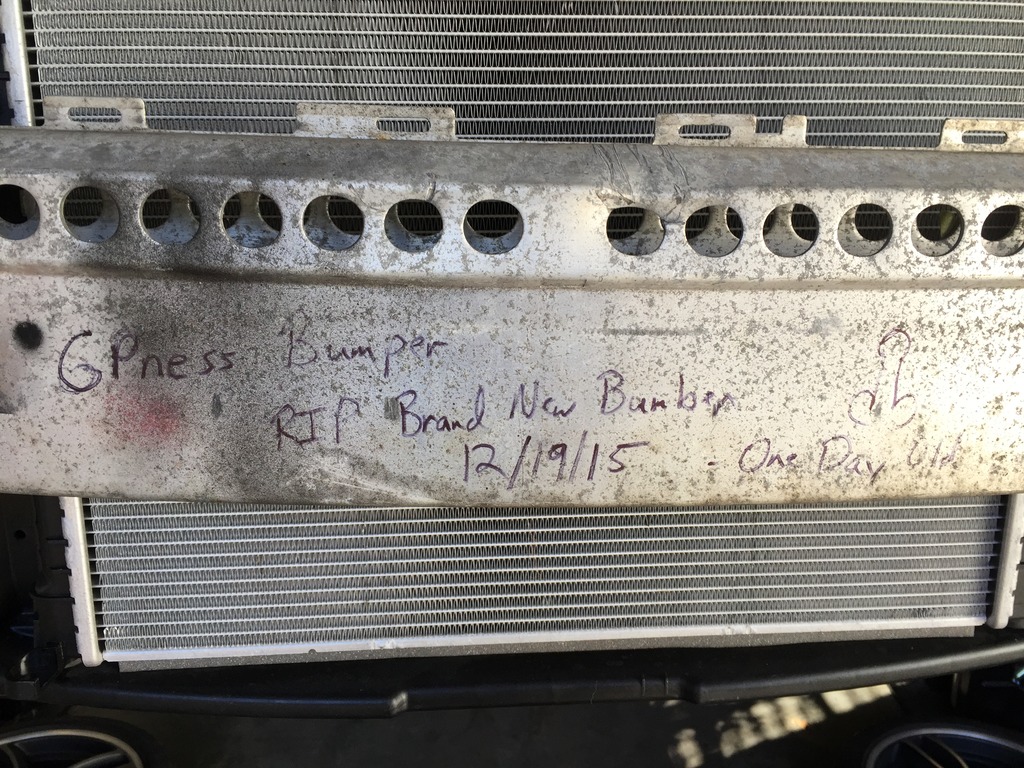
I chose to re-use the original bumper frame from GP0769 (MOAR GPness) and, at Art’s request, wrote a little epitaph on it.
Click the image to open in full size.

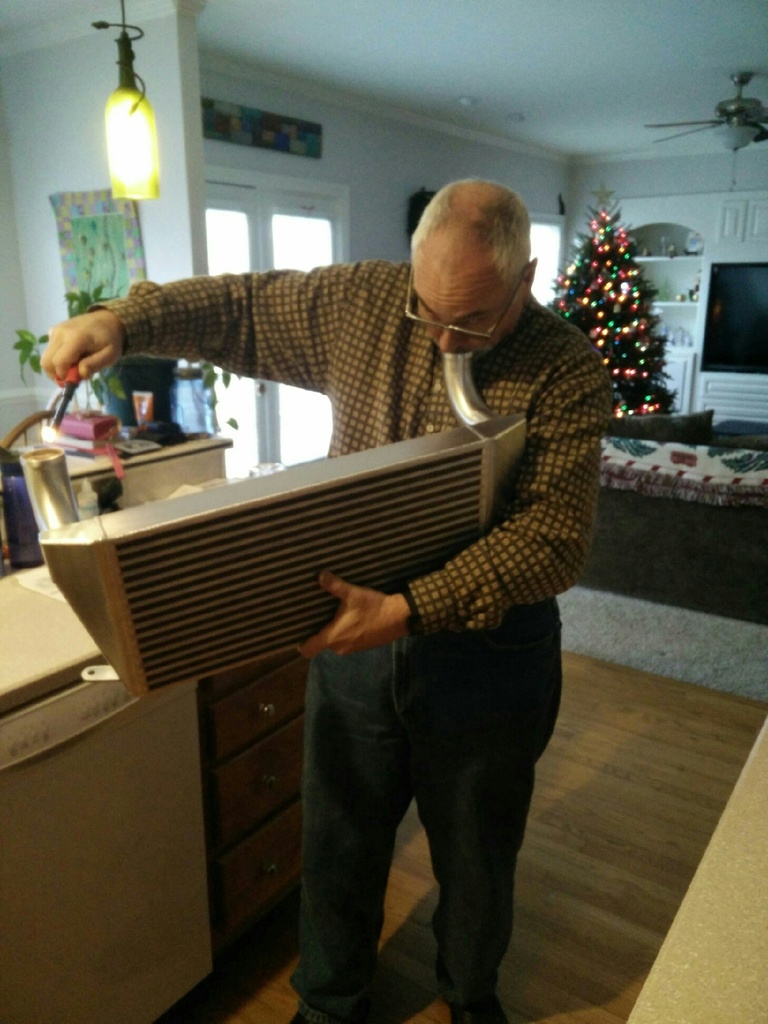
My RMW front mount intercooler for the TVS system arrived direct from Bell. Being in an, uh, INTERESTING mood, I had my daughter snap a pic.
Click the image to open in full size.

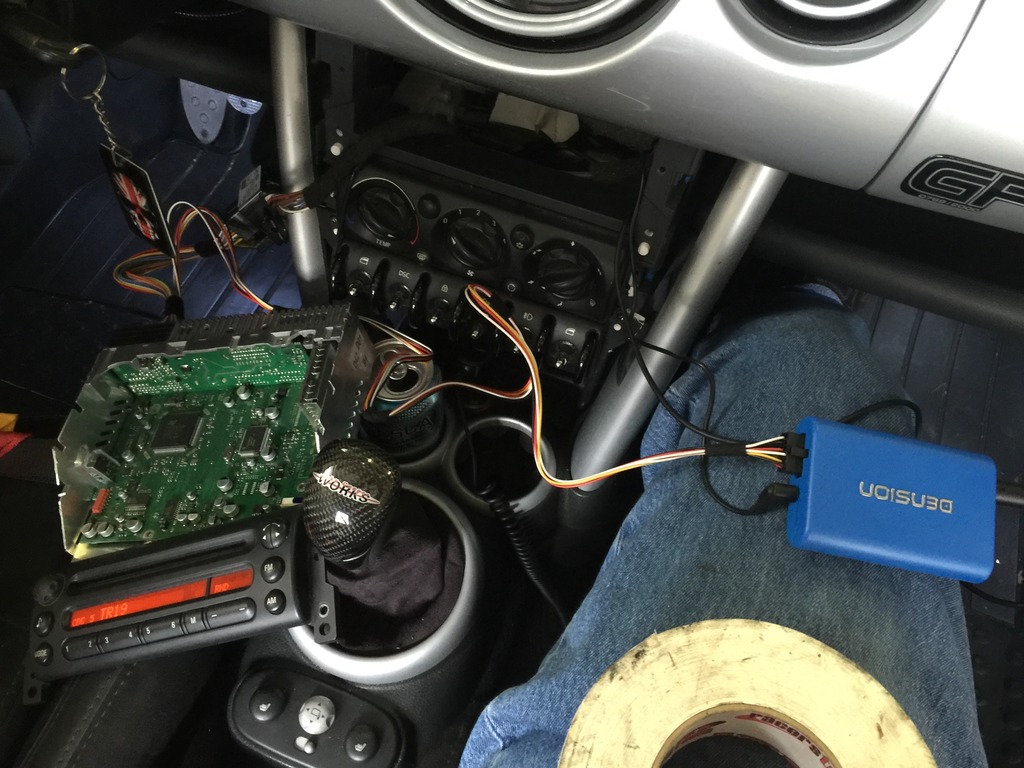
Bluetooth kit arrived, so I installed it. Now the CDless GPness haz bluetooth.
Click the image to open in full size.

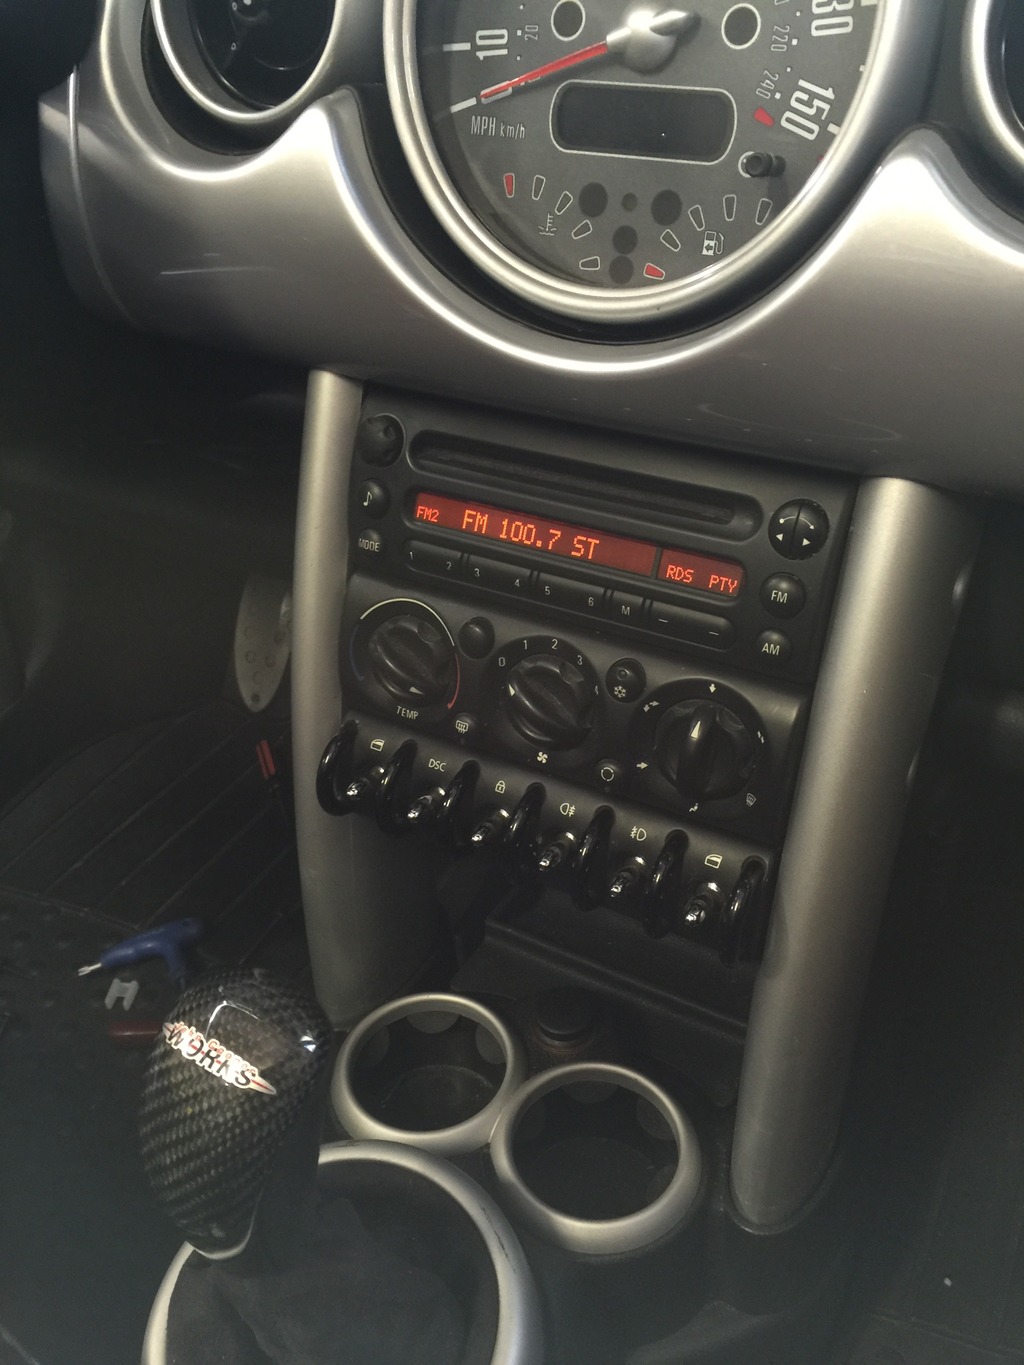
Radio is all back together and looks totally stock.
Click the image to open in full size.

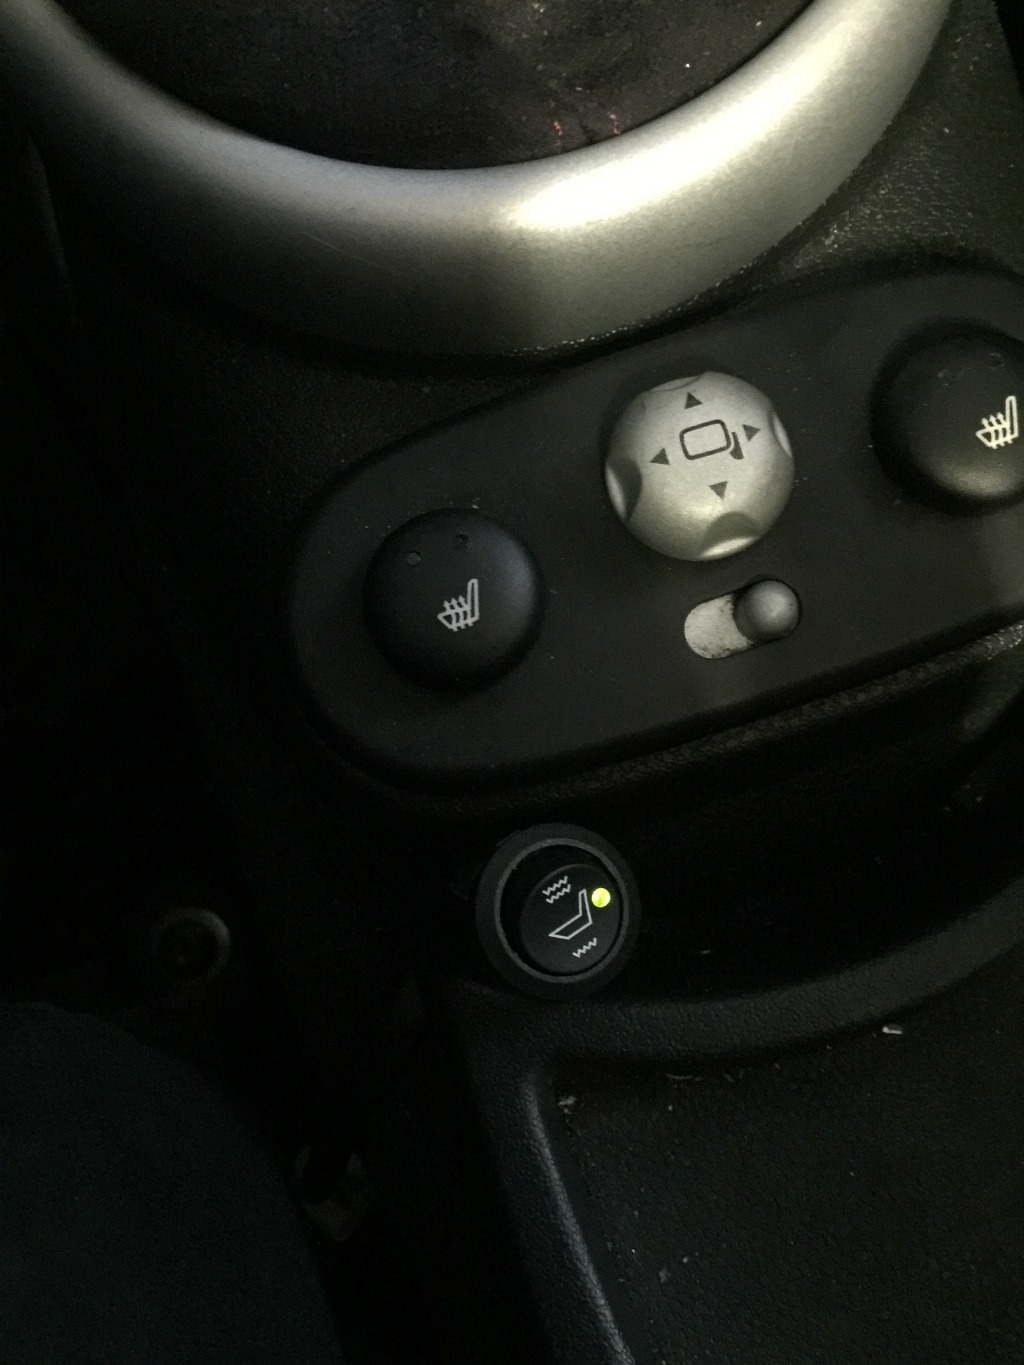
Fixed the fubar passenger seat slider, and also wired my driver’s seat heater. Not possible to control it with the OEM button, the circuit is very different, but it IS wired into the proper switched and fused seat heater circuit. I’ll find the OEM GP mirror control pod and add the new heater button to that. I think it’s at the bottom of my parts mountain.
Click the image to open in full size.

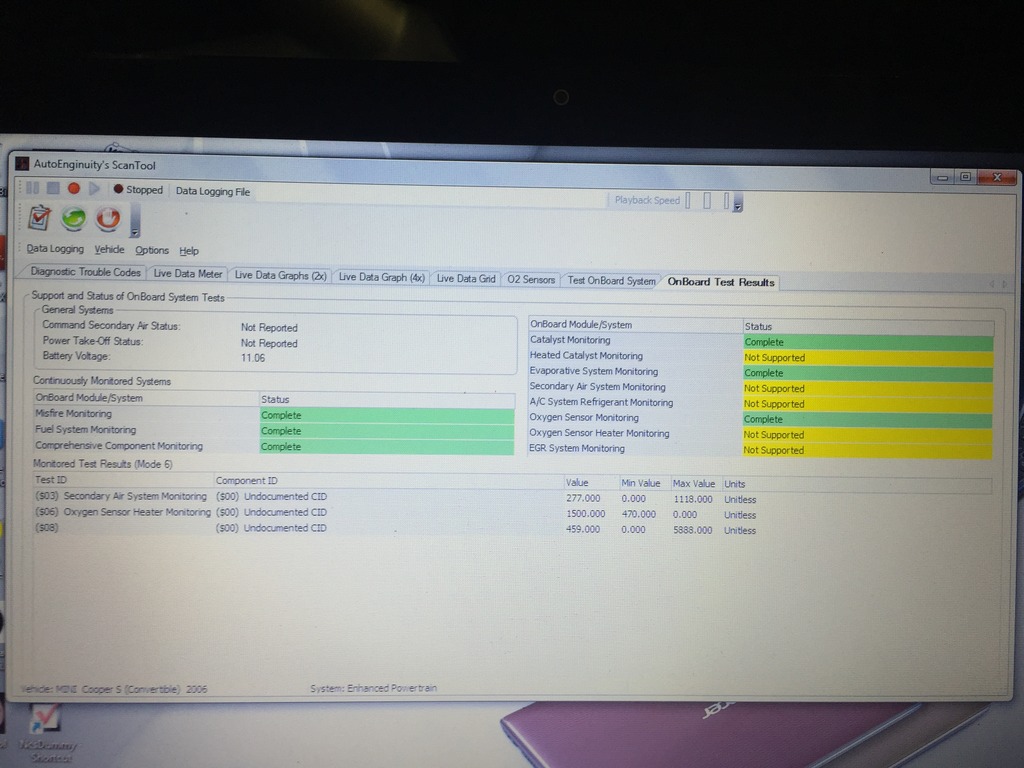
Good news is, I drove the car enough to get all the OBD emissions stuff “green”. So the car is ready to pass inspection, whenever I can get all the paperwork issues resolved.
Click the image to open in full size.

Today, decided to install the GP underbody panels. Figured out how to mod them to coexist with the cabrio subframe (which is different). Done.
Click the image to open in full size.

More replacement parts will arrive tomorrow. Also bought some vinyl upholstery fabric to prototype the tonneau cover. Still waiting on the last of the paint to arrive, to repaint my roll cage. Will work on that stuff over the holidays, when I’m not traveling. And might drive some more, if the monsoon here ever ends.