HA-LO-o-o-o-o!

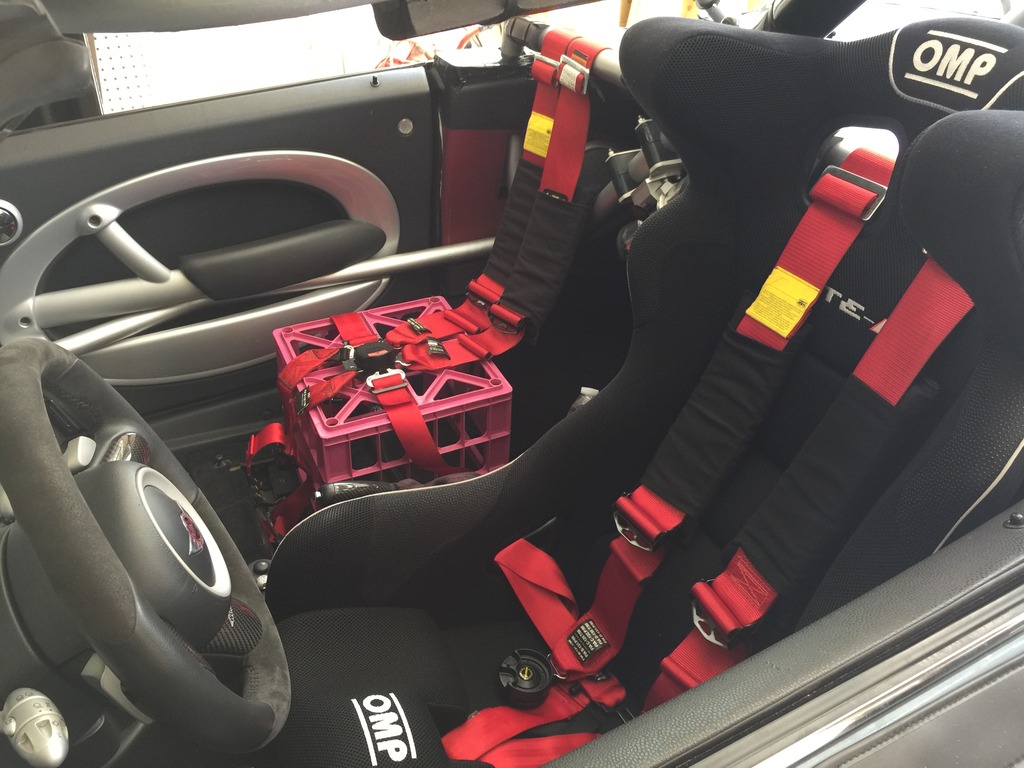
So Chris talked me into caring about the life of my instructor, when on the track.

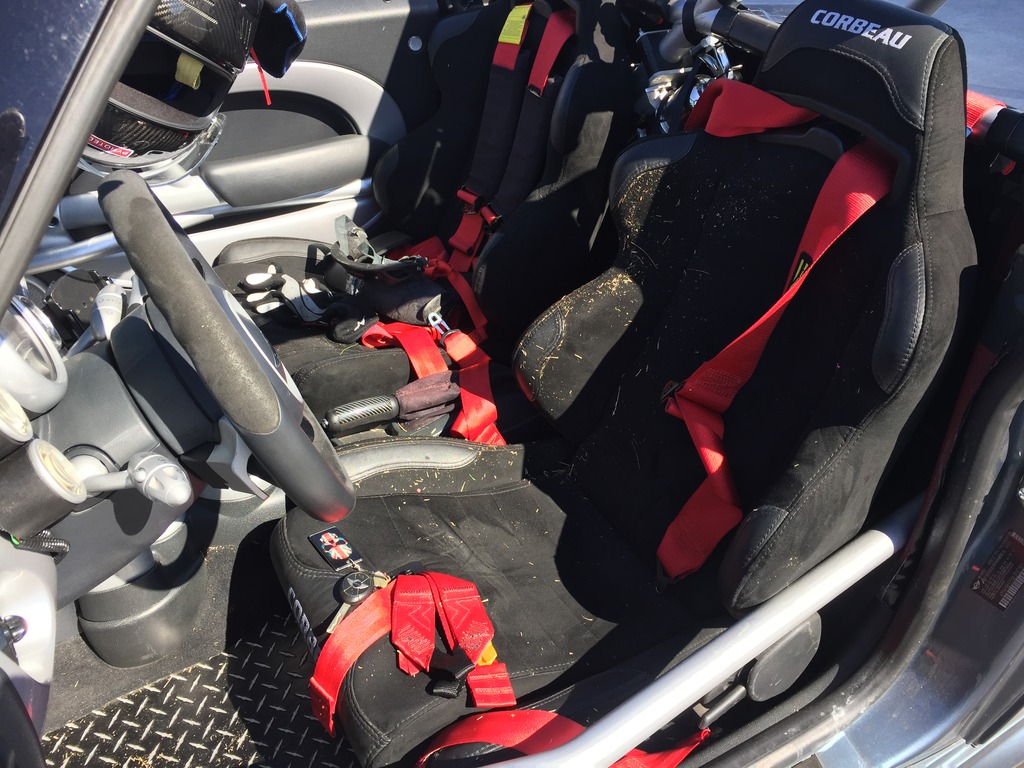
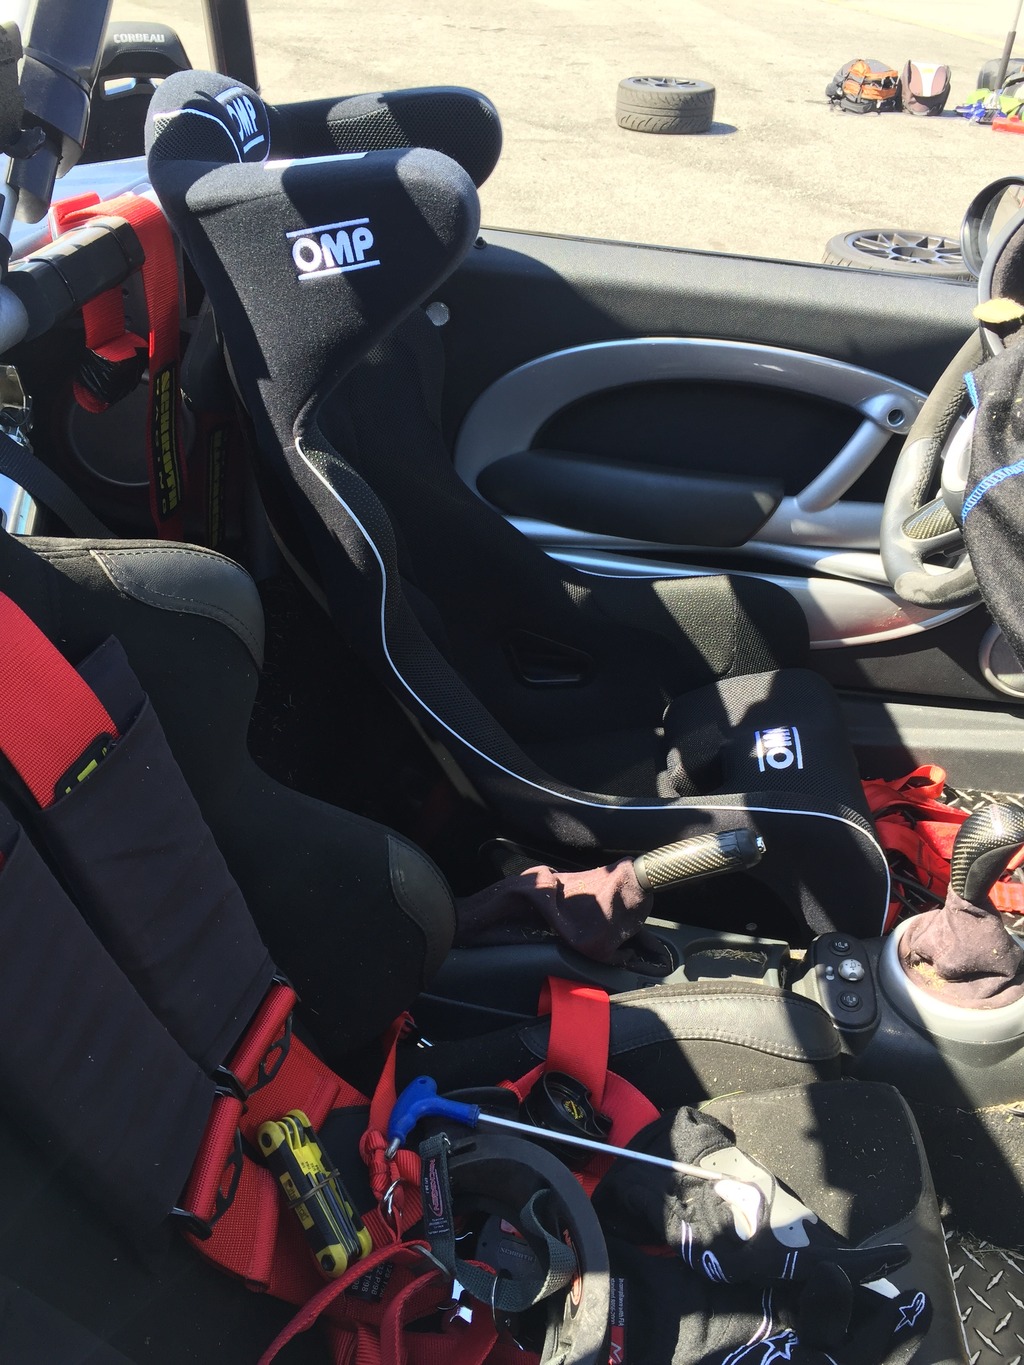
While the OMP tuner seat is idea as a street passenger seat, Chris was completely correct that I bought my halo driver’s seat for a reason… to make me safer. And it really wouldn’t be cool to turn an instructor into a quadriplegic. So I posted up on my local track club forum, looking for a gently used halo seat that would suit this purpose. Within 30 minutes, one turned up.

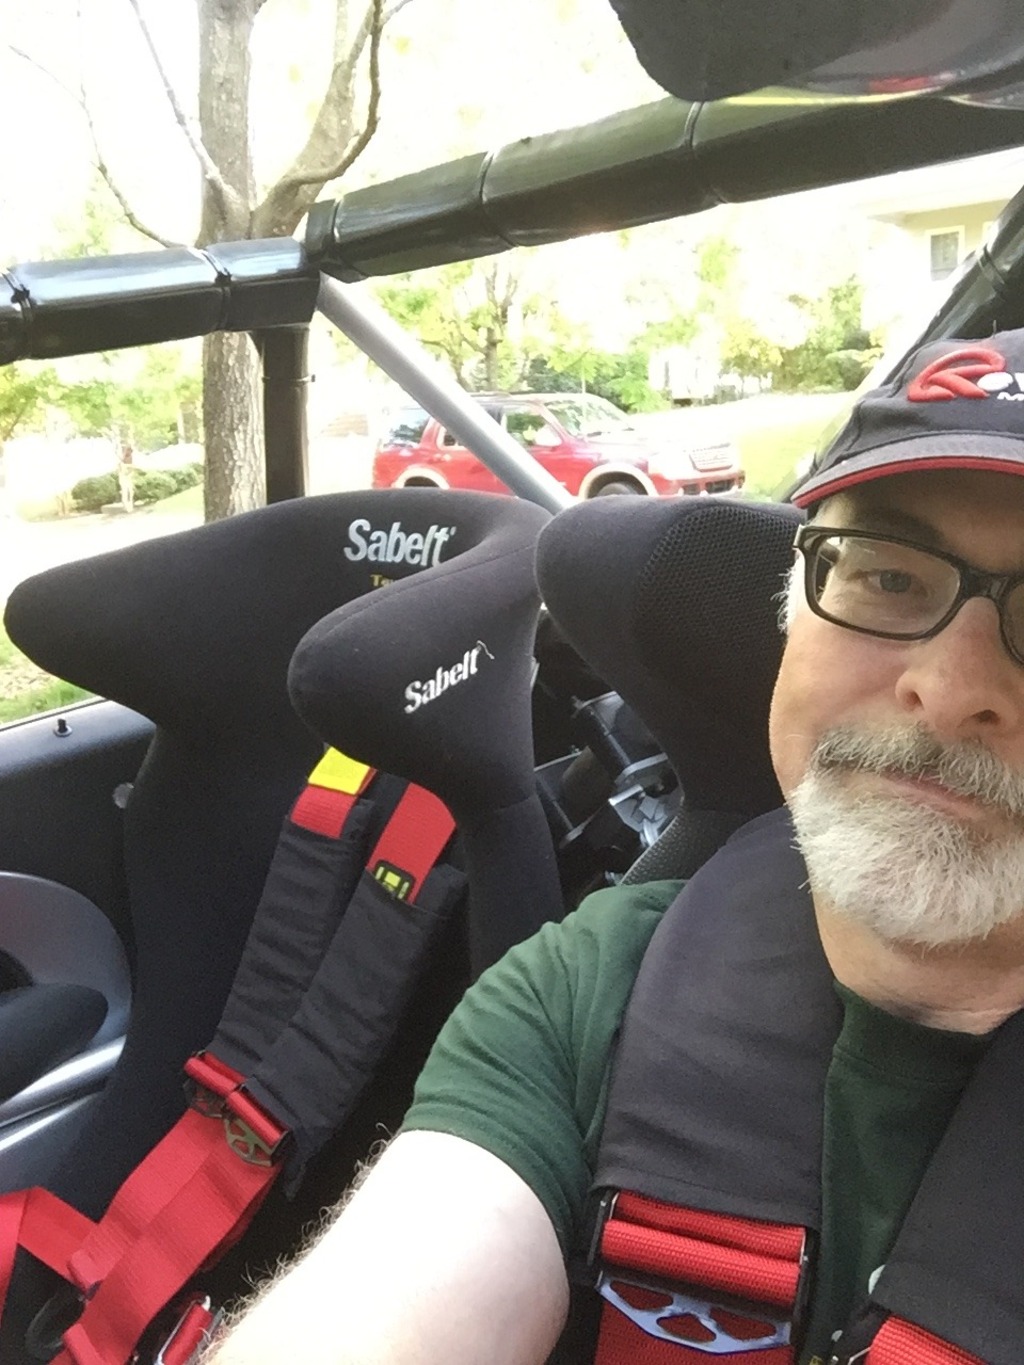
So I bought it. Sabelt Taurus. Just need to add some brackets, then I can swap this in for track days, with a clear conscience.

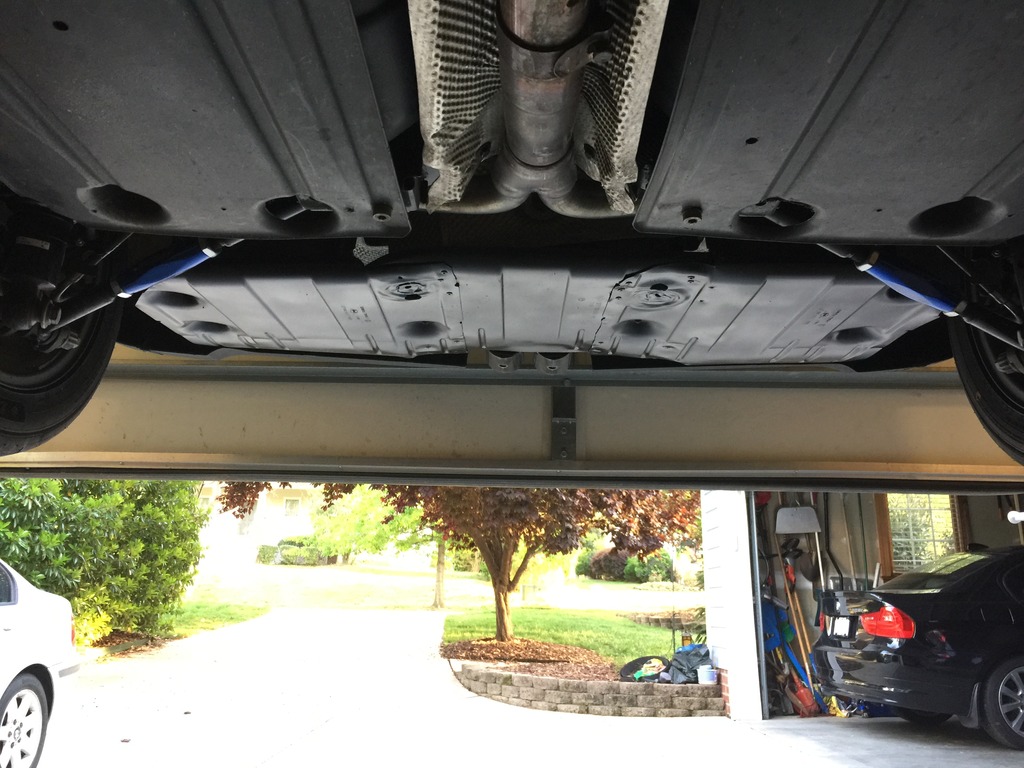
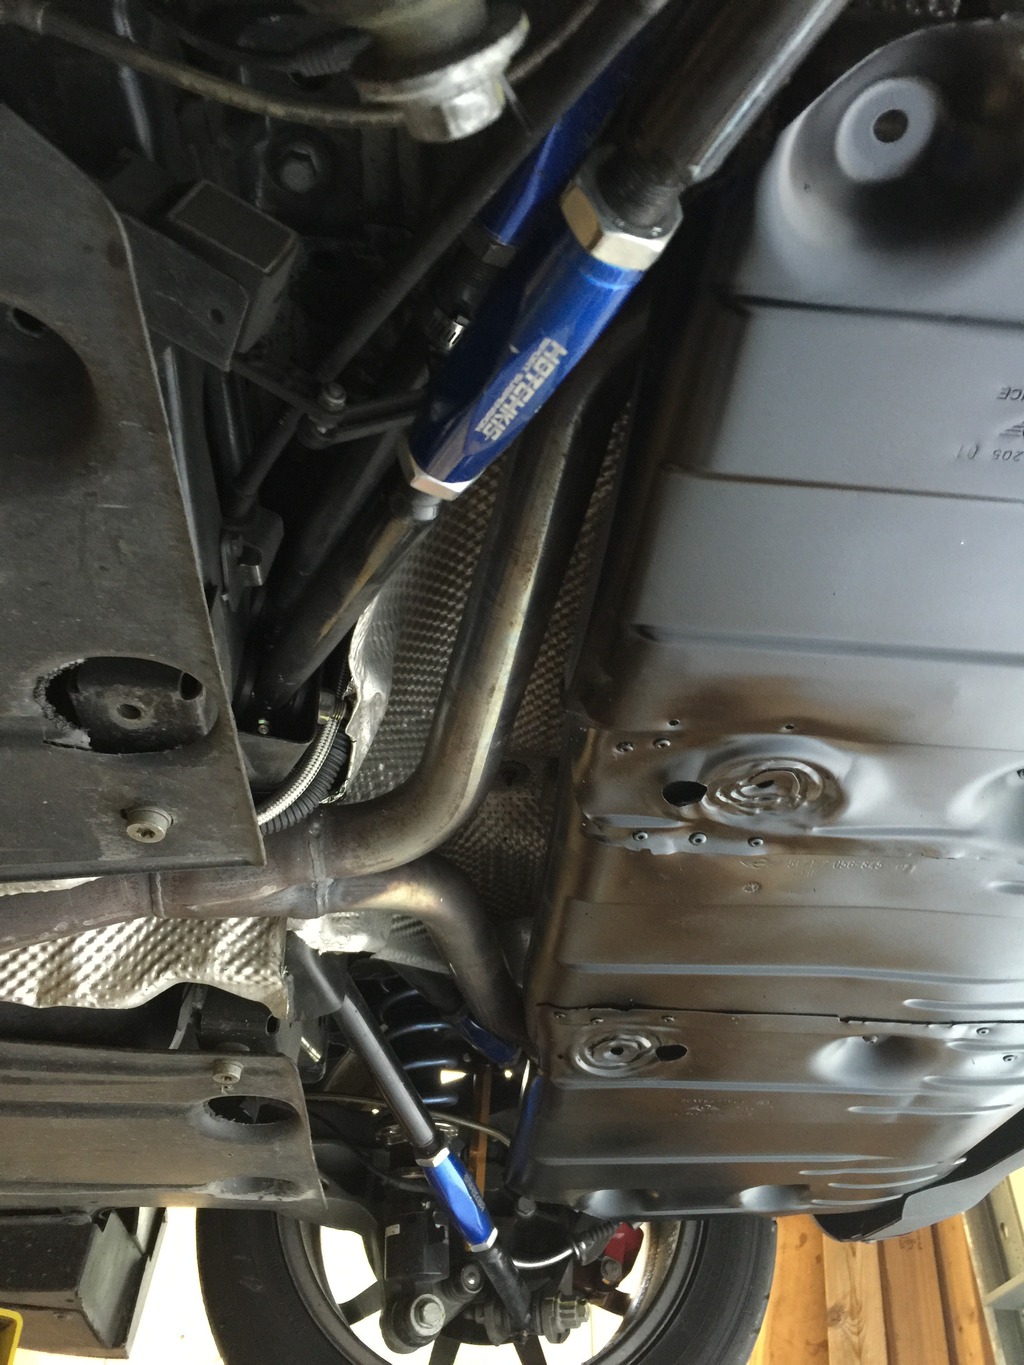
Ghetto Diffuser Thingy From Hell

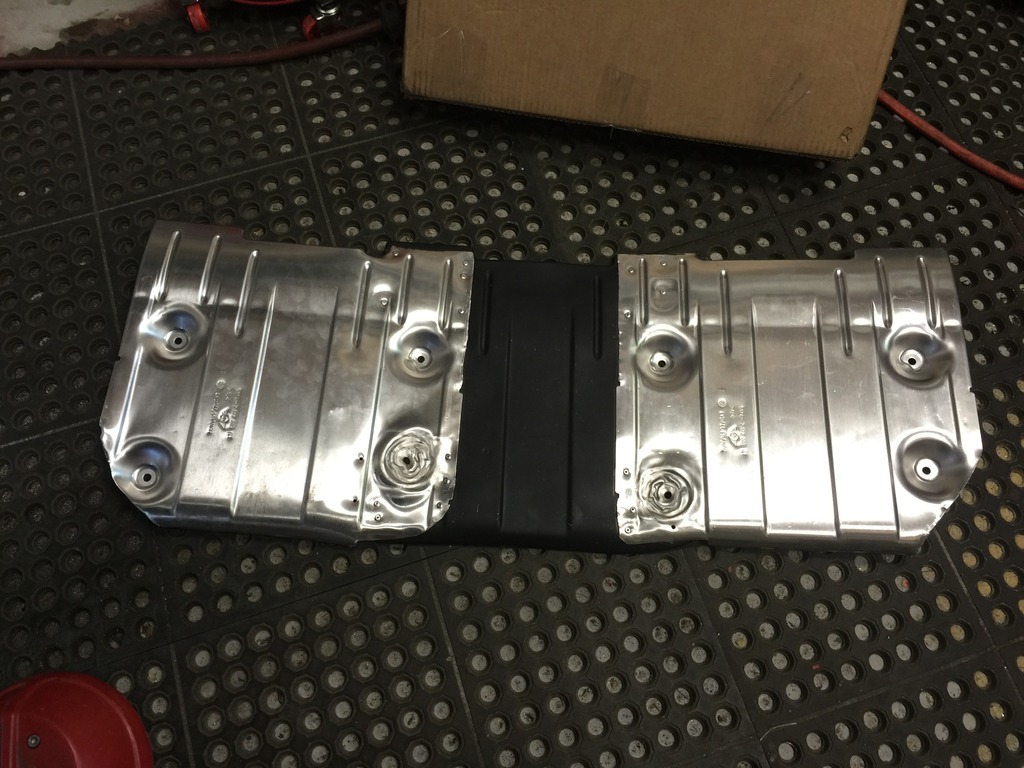
Parts arrived, from Stephen at eMINIparts.com. So I immediately cut them up and banged on them with a BFH and drilled some holes and stuff.

Doesn’t look like much, here…

Looks better with a little paint.

And even better on the car.

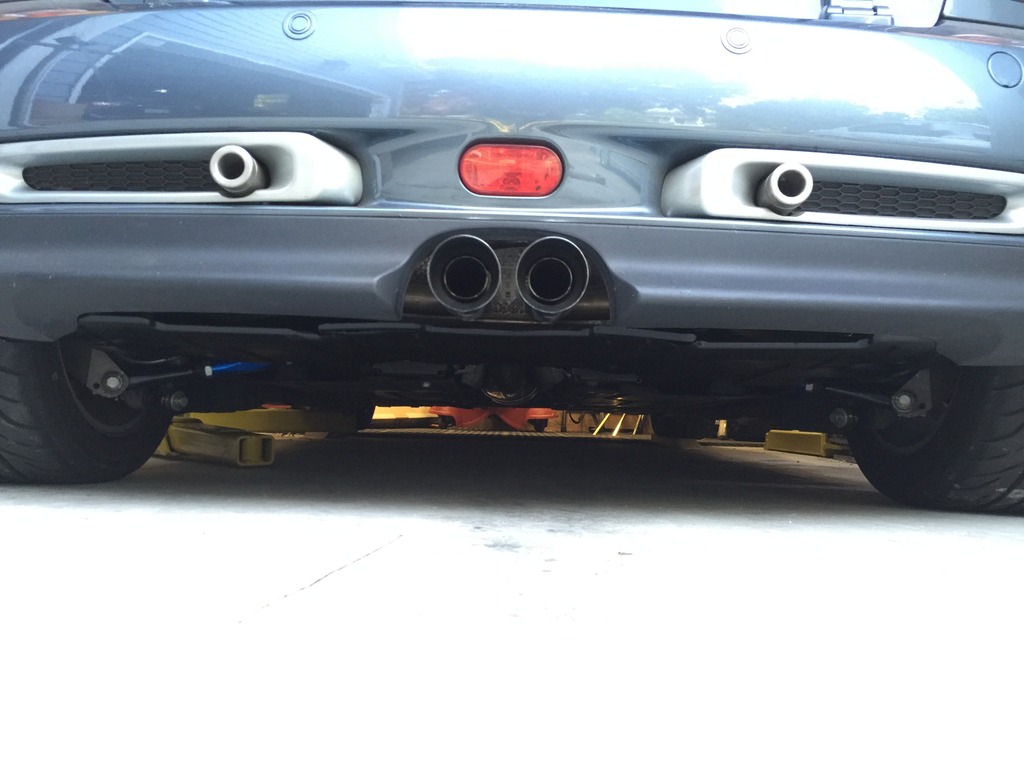
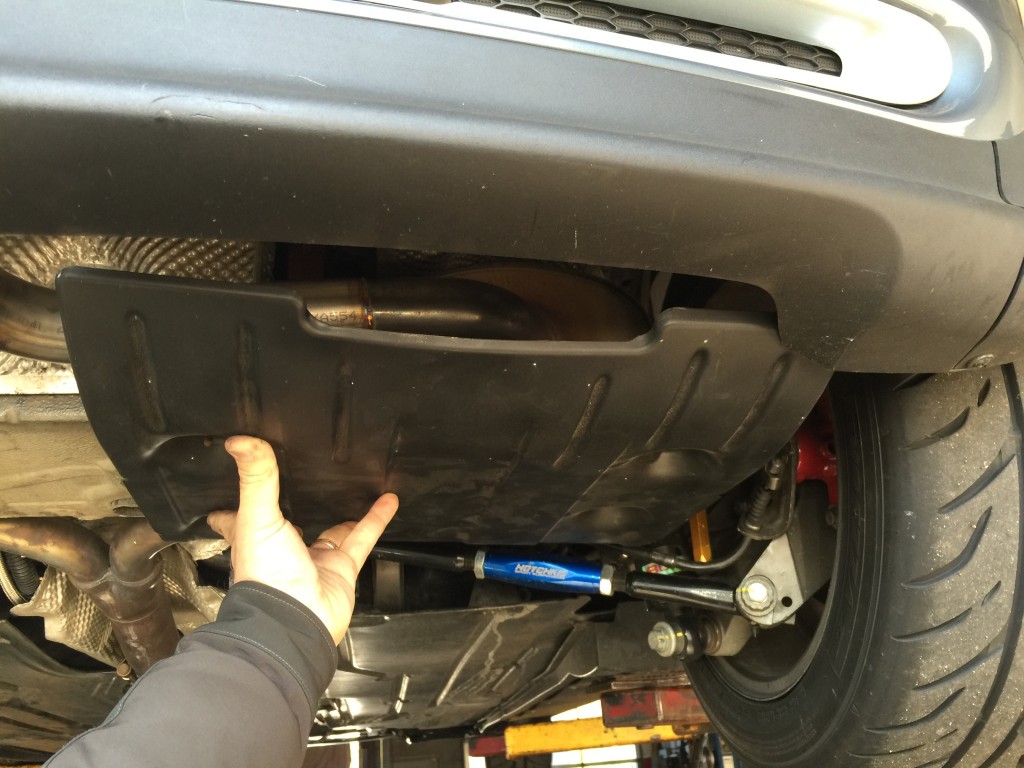
“Stealth diffuser”. OK, so it’s not finned / compartmented. But it’s a ton better than the giant open cavities in front of the rear bumper that used to be back there.

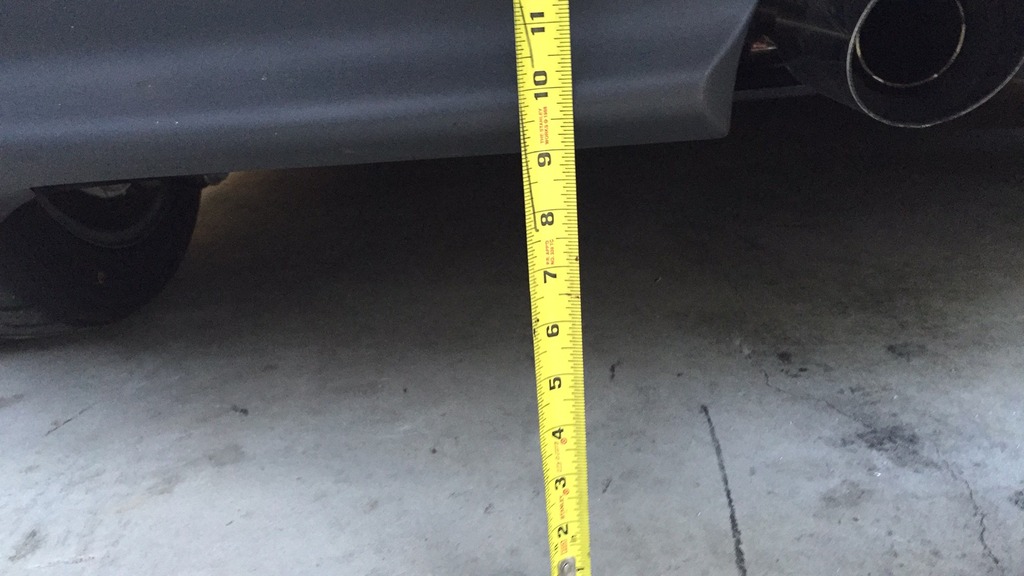
With the track wheels and splitter installed, I have about 2.5″ under the splitter in the front. And almost 9″ out the back. I suspect it’s gotta be better than the aero nightmare I had going on the last time I was at the track, with the mushed exhaust hanging down back there.

If I get ambitious, I might add some fins to it. If I get really ambitious, I’ll rework the exhaust and install the Group 4 diffusers I have coming. But I’ll see how this does, first.

That Seatles It

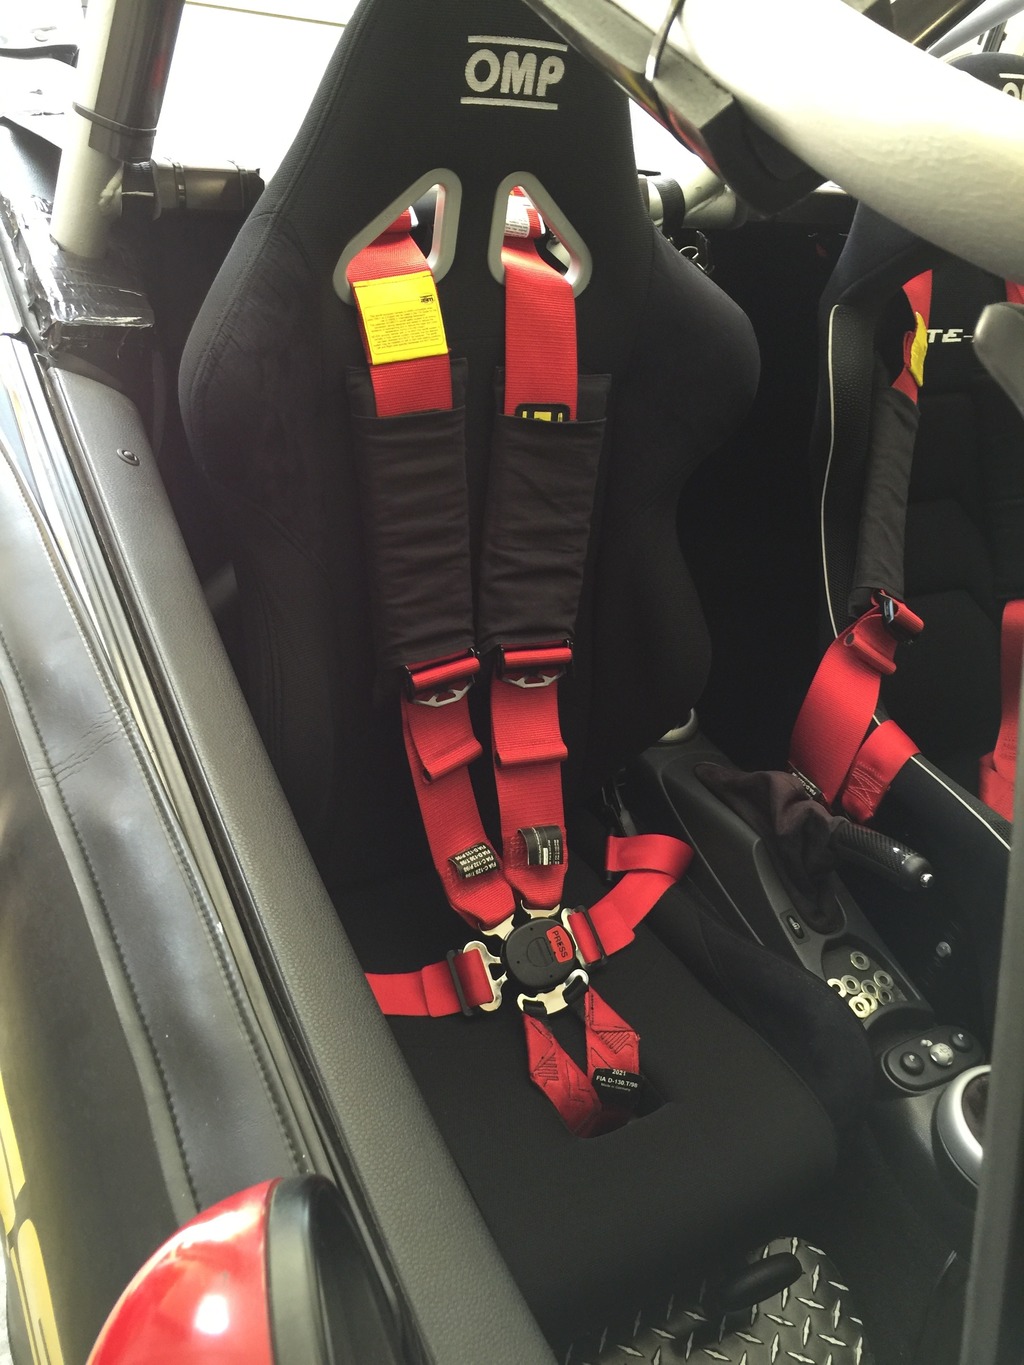
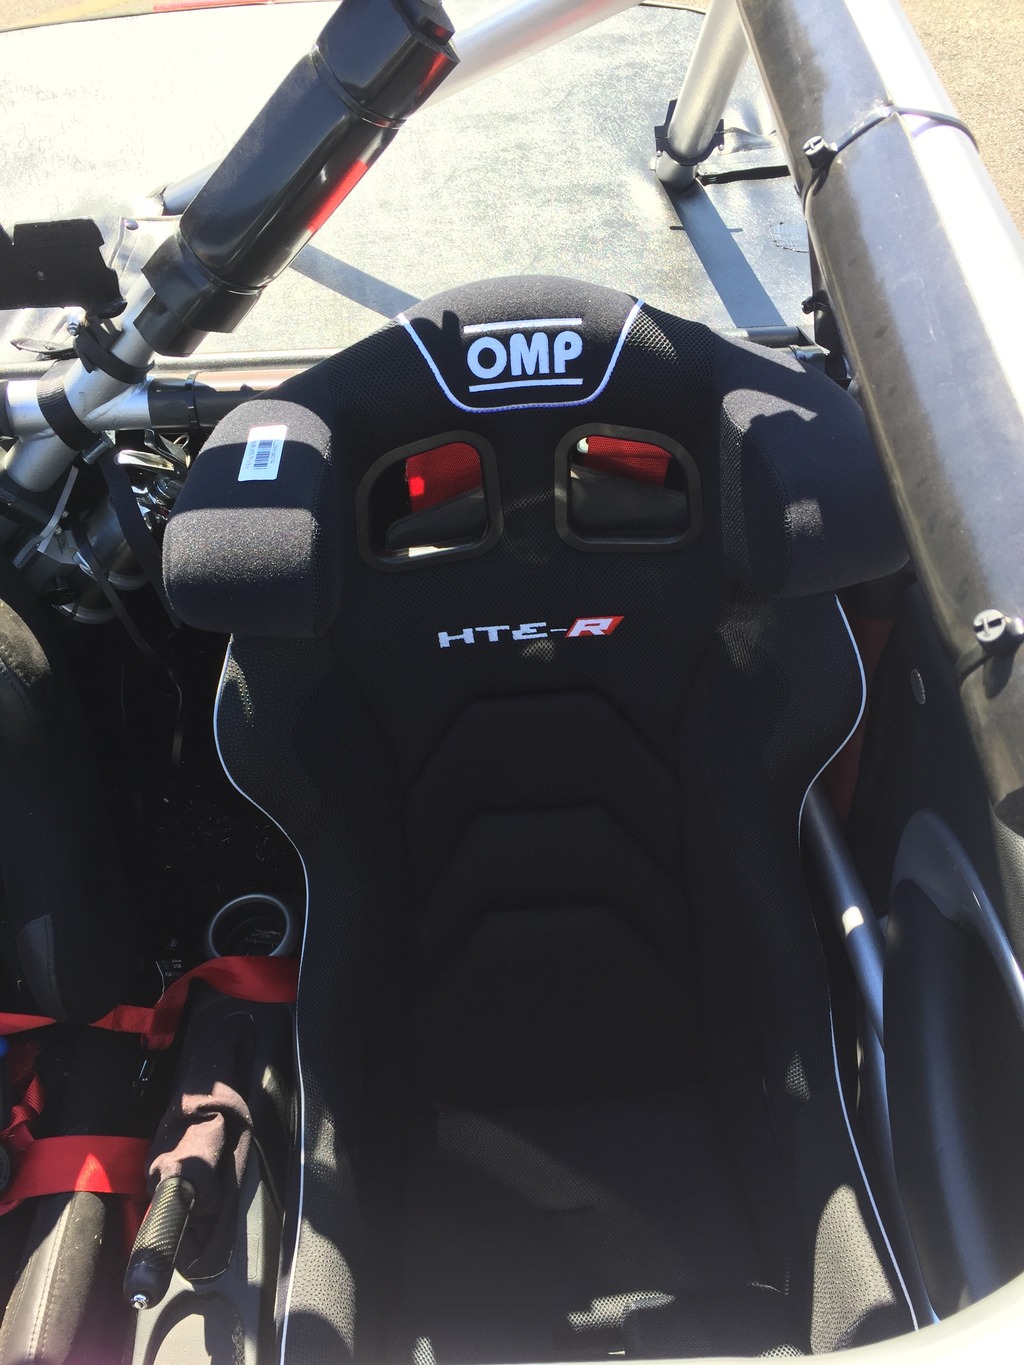
When I bought the OMP HTE-R XL halo seat, I thought I might also get an OMP WRC-R XL, which is basically the same seat with no halo. Then I could use that as the passenger seat on the track (for when I have an instructor), and swap them to drive in the WRC-R on the street.

But, after driving around for several days on the street in the halo seat, I decided that I LOVE it. And the halo is really no big deal on the street, given that the car is definitely not a daily driver.

So then, I thought I might just keep the Corbeau LG1 passenger seat. But I really wanted another high-back seat like the OMP, and really wanted another OMP. But, to accommodate the broadest range of passenger body types, I wanted an XL seat, and OMP only sells a couple of styles XL track buckets.

And this probably won’t pass tech inspection at the track…

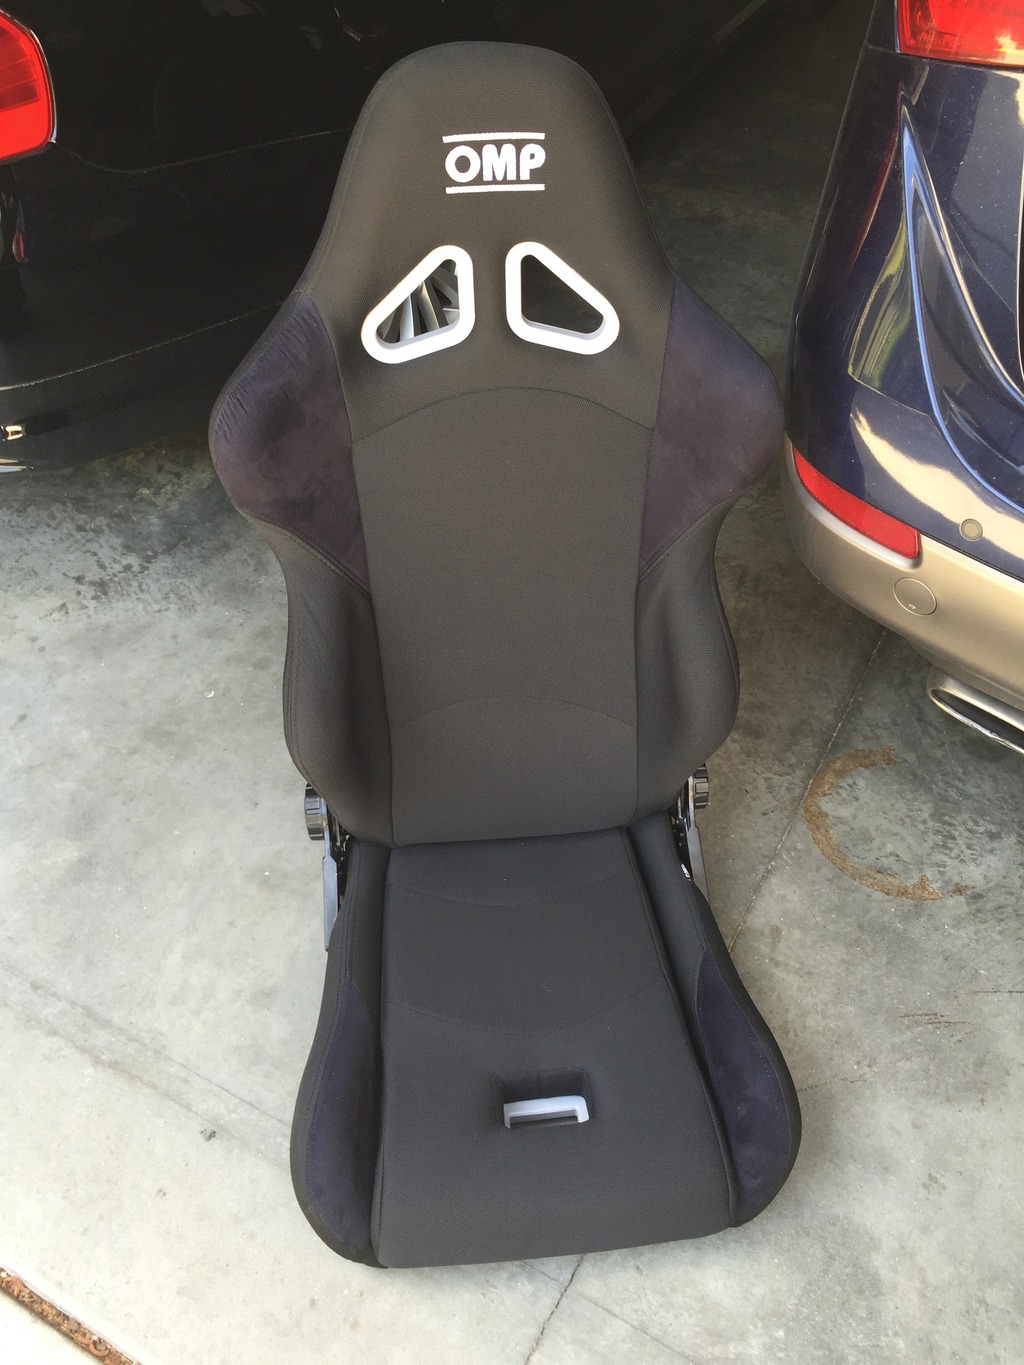
Then I stumbled upon the OMP “Style” tuner seat. A nice, affordable, high back, supportive, reclining tuner seat, that compliments the race seat, and will fit more body type / size passengers than any bucket seat. And is 6-point harness ready. Sold.

Ordered last week from RacingSeatsUSA.com, and it arrived today.

These are REALLY nice. Not as “cushy” as my Corbeaus, but plenty comfortable. A nice combination of “airtec” fabric and microsuede. Looks pretty. Micro-adjustable reclining mechanism. Integral slots for shoulder harnesses and anti-submarine belt(s). Tubular steel frame, much lighter than an OEM seat. Made in China, but nice.

I decided to rob the OEM sliders off my original Blimey cabrio passenger seat. Just had to fab some simple brackets to attach the seat to the sliders, and to raise it up and tilt it a bit. Made these from a couple of 3/16″ steel straps from the hardware store, cut, bent and drilled to mate the seat bolt arrangement to the sliders. Worked great, first try.

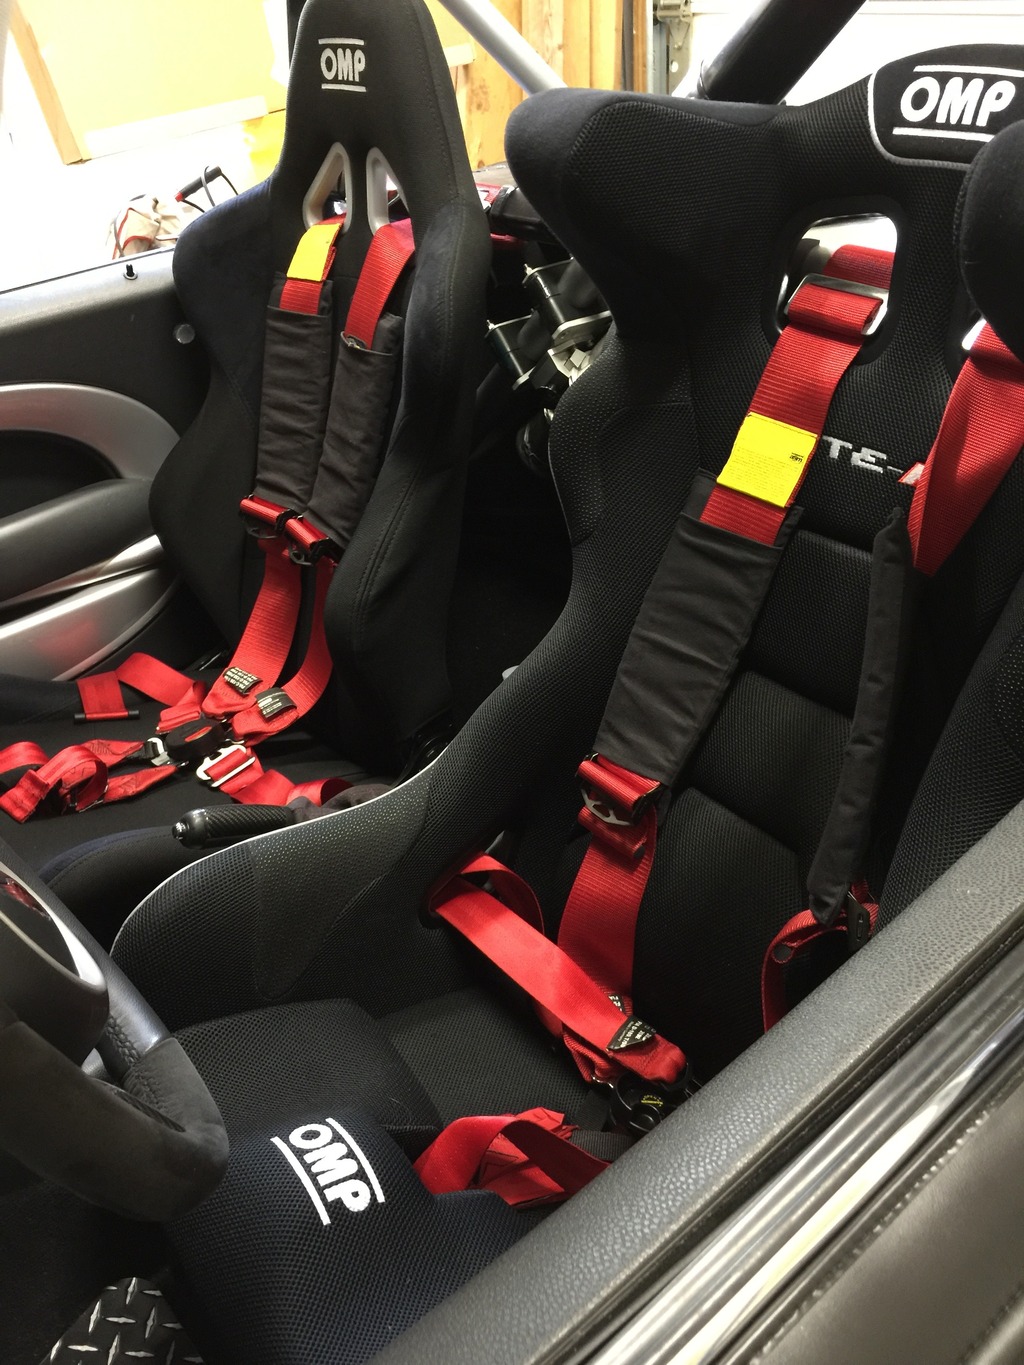
I think the pair looks fantastic. Now I can sell the Corbeaus. I think I already have a buyer lined up…

Just the tip

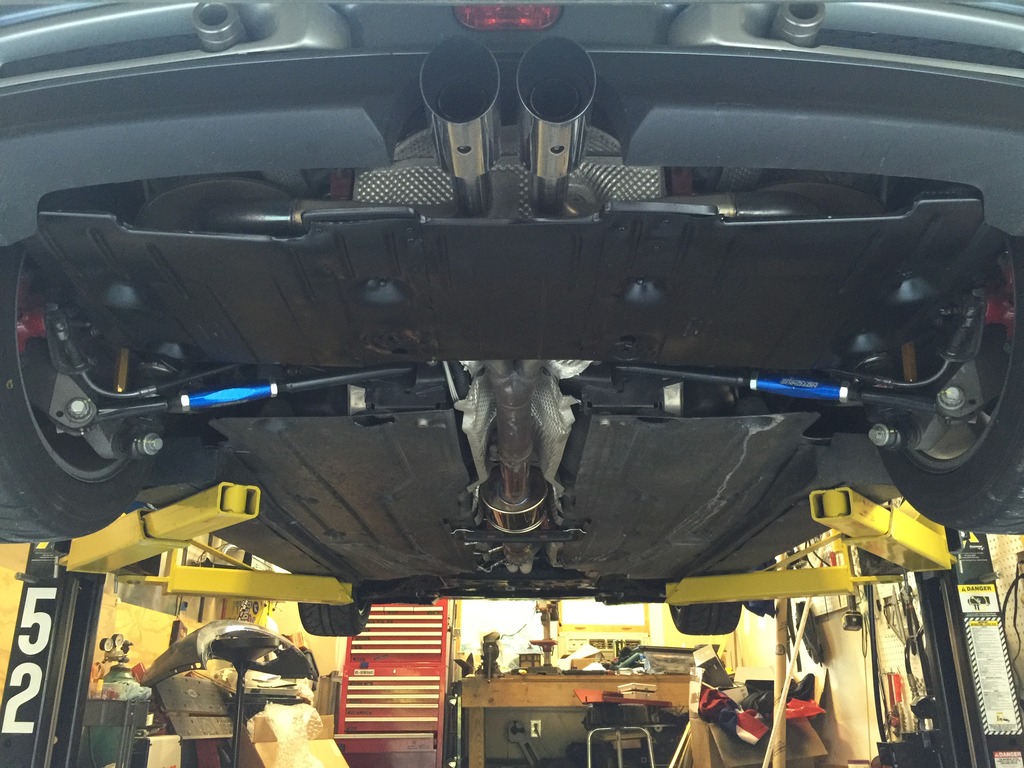
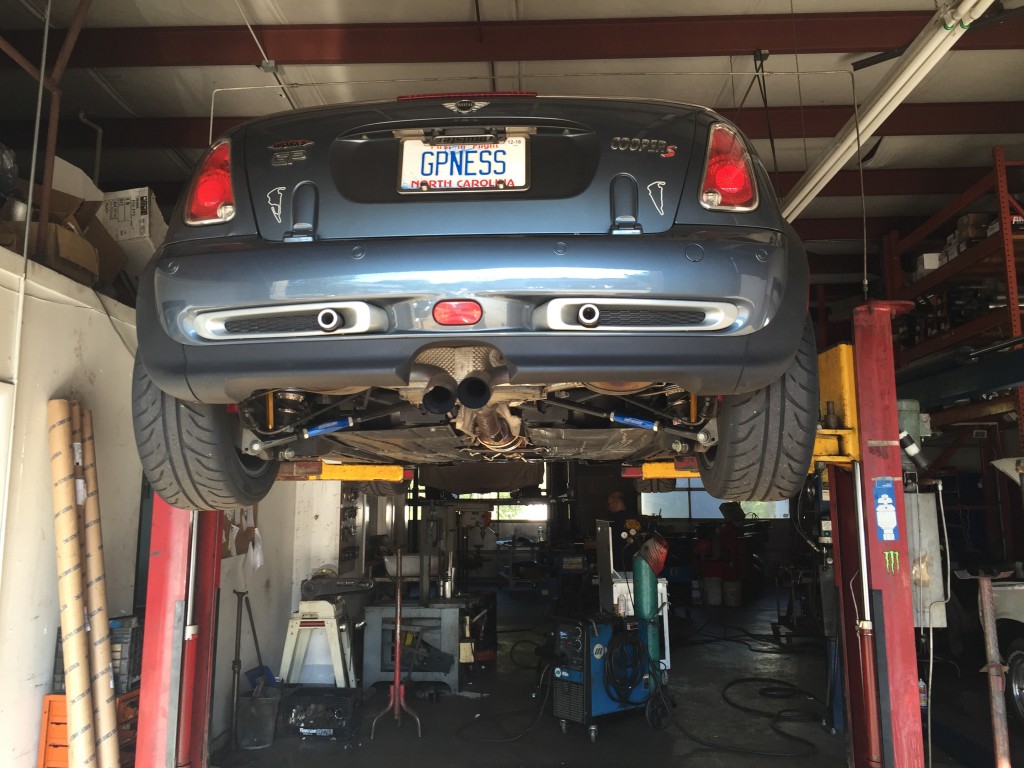
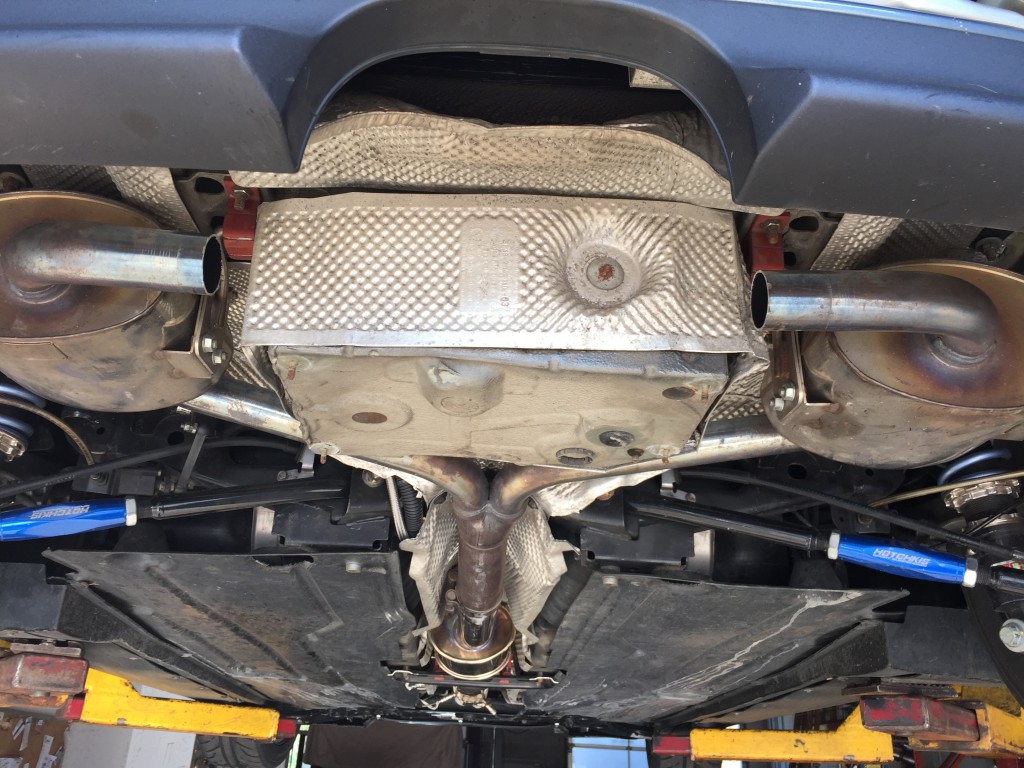
When I stuck the landing with the old car, on the rear end, one casualty was the rear section of my Milltek exhaust. The pipes out of the mufflers, to the tips, were badly bent, and one tip was mangled. I was waiting until the car was otherwise operational, to take it to the shop and get that fixed. Finally, the planets aligned, and there was a dry day, when I had time, and the shop had 1.75″ stainless pipe.

IMG_0668

First, chop out the mangled stuff.

IMG_0670

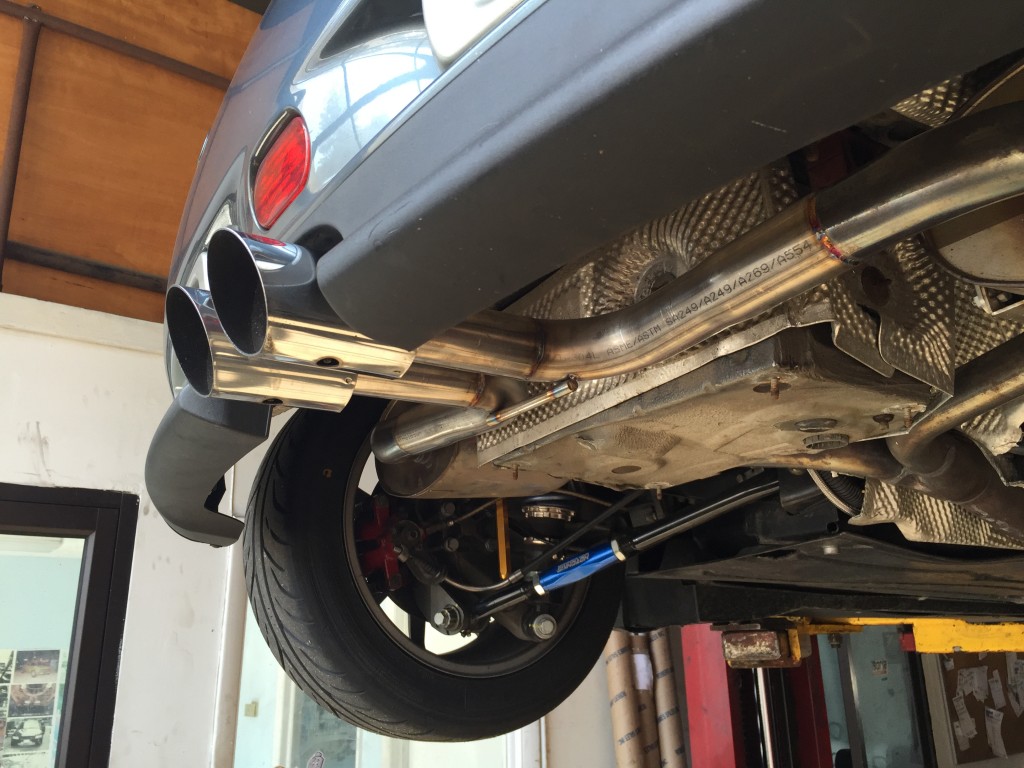
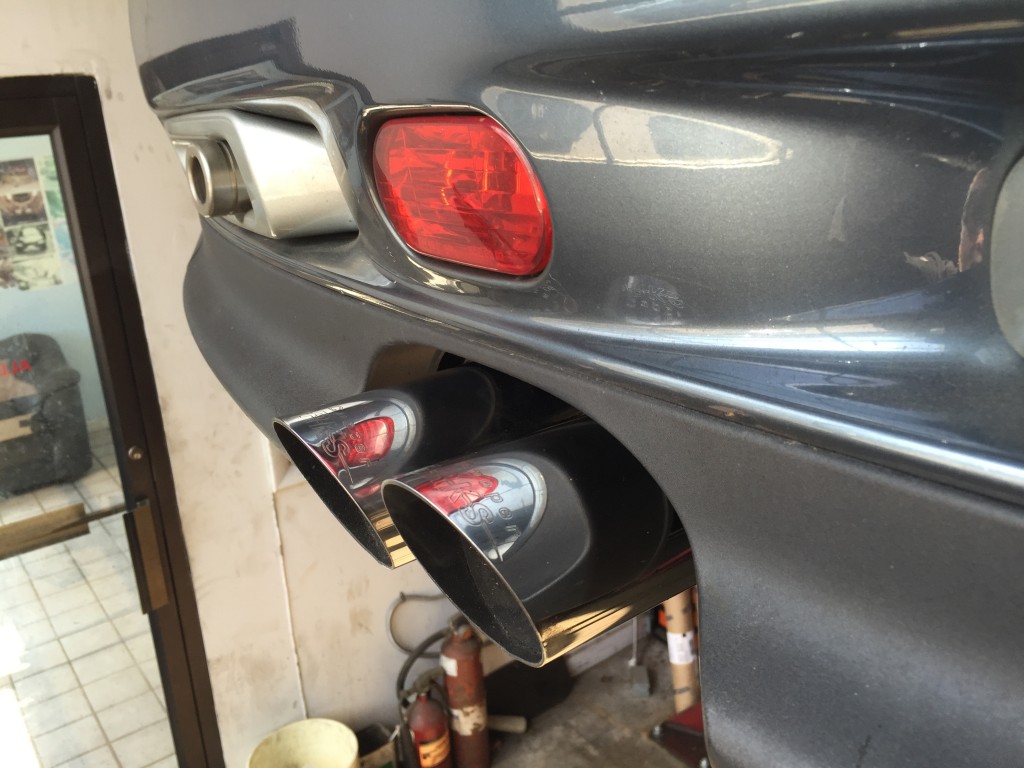
Then fabricate some new pieces of mandrel-bent 1.75″ stainless, slip-fit over the existing pipe so it could be rotated to the perfect position. TIG weld in place, with a brace, and add the original GP0769 JCW tips.

IMG_0676

IMG_0677

I intentionally had them protrude a bit more than they do on the OEM JCW exhaust, because I like the way it looks. The tips are affixed with set screws like the JCW exhaust, so I can adjust them later, if I change my mind.

Kudos to RJ’s Custom Piping in Raleigh, for doing a great job salvaging a mangled exhaust. They also built my custom center section that mates up to my RMW race header.

While the car was on the lift, I played around with the battery box skid plate / diffuser. I scored a set of new Group4 diffusers, but I know they won’t fit with the current exhaust configuration. As I looked at things back there, I thought I could probably fabricate something that would improve the airflow, short of a true “diffuser” setup. Playing with the OEM battery box plate, I think I can make something perfectly functional out of three of them, that will create smooth airflow from the underbody panels back to the rear bumper.

IMG_0680

I’m going to get a couple more of these plates and see what I can do. Stay tuned.

MOAR VIR GREATNESS

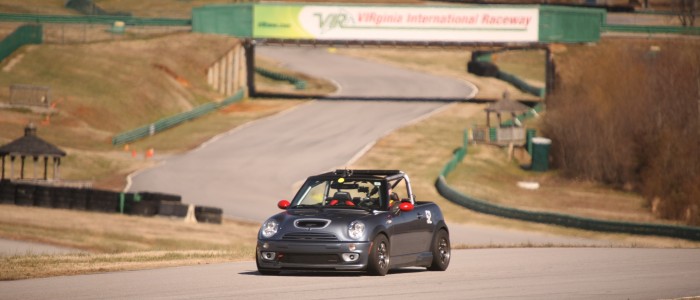
Great couple of days at VIR with Trackdaze, driving solo, hanging out with my buddy Mark Dissen. Still getting the hang of the car, and remembering how to drive fast. Made tons of progress in two days; cut my lap time by over 10 seconds. Still probably have 10 to go, as the car is setup now. But I’ll probably have MOAR POWAH next time I go there.

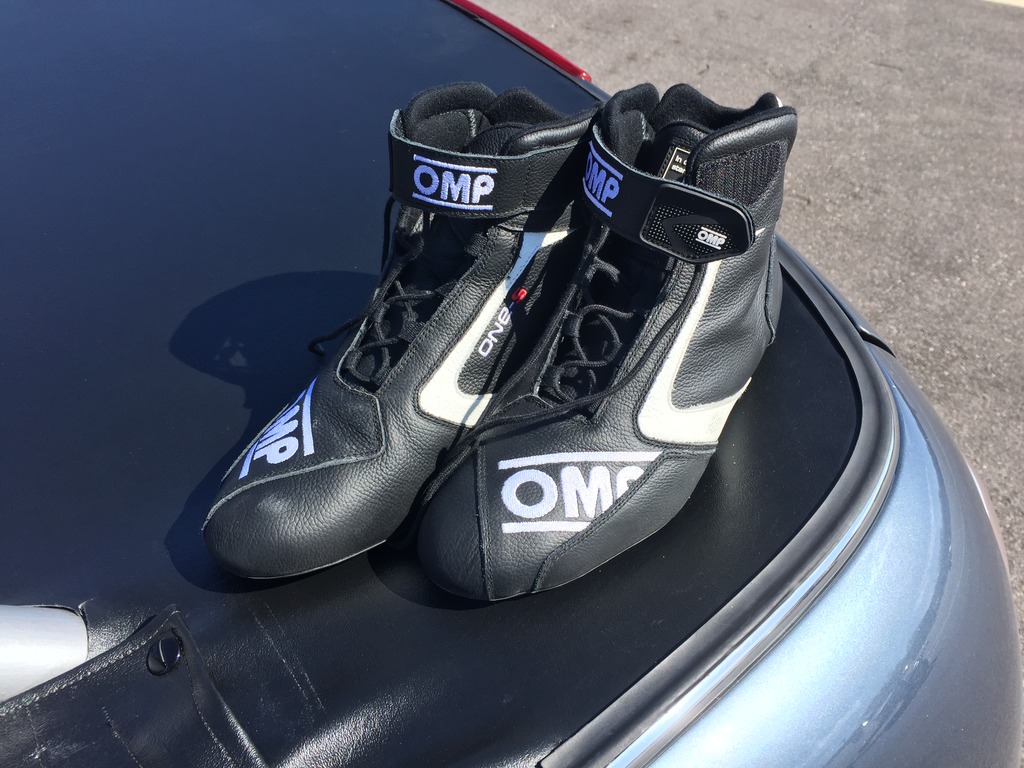
It was mostly due to my awesome new shoes.
Click the image to open in full size.

Here’s the best lap of the two days – my last full lap in session 2 yesterday. I set four personal bests in the last four laps of that session… culminating in this 2:23 lap.

And here’s what happened immediately following the end of that lap…

I was going almost 130mph when I started braking, so I wasn’t doing much less than that when I upset the car and went into the slide. I slid a LONNNNNNNG way. Epic skid marks.

Pro tip: Get mostly done with your threshold braking before taking a hand off the wheel to downshift. I will NOT make that error again. Got lucky.

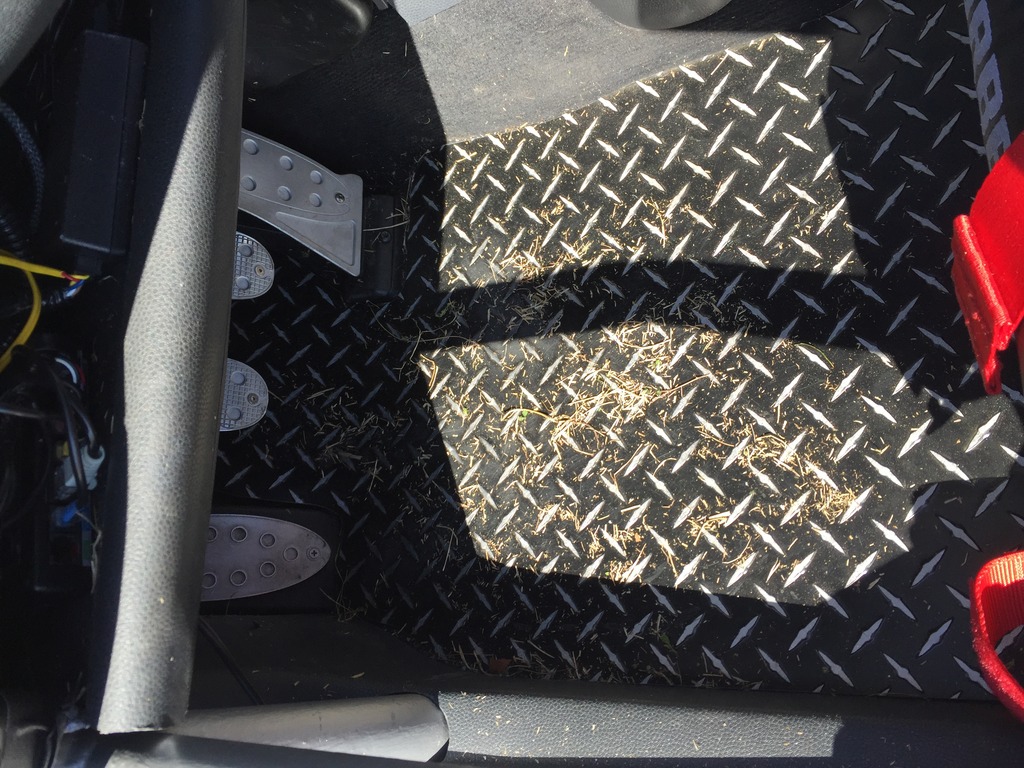
My car looked like some prankster spread an entire bale of straw in it.
Click the image to open in full size.

Immediately went to the race shop and bought this:
Click the image to open in full size.

I feel much less likely to die an early death, when sitting in that seat.
Click the image to open in full size.

OMP HTE-R XL (big boy size). Their nicest fiberglass shell seat. I had been looking at halo seats recently, and had got in the TMI shop at VIR Monday and tried out different seats. As soon as I sat in this seat, I knew it would be mine, it was just a matter of time. Well, nothing drives urgency in purchasing safety gear, like sliding sideways at over 100mph.

I’ll probably continue to use the Corbeaus for the street, and just put this seat in when going to the track. But I might leave it in and get a matching non-halo OMP WRC-R XL for the passenger side (which I could swap to the driver side when driving lots on the street, like at MOTD).

Took it easy for half of the next session, then loaded up and headed home, while still in one piece.

It was a great couple of days. The car handles very, very well and is very, very fast. I need to tweak a few things on the alignment and suspension, adjust my splitter a bit, reduce my rear brake bias… but the car is almost perfect.

Odds and Ends

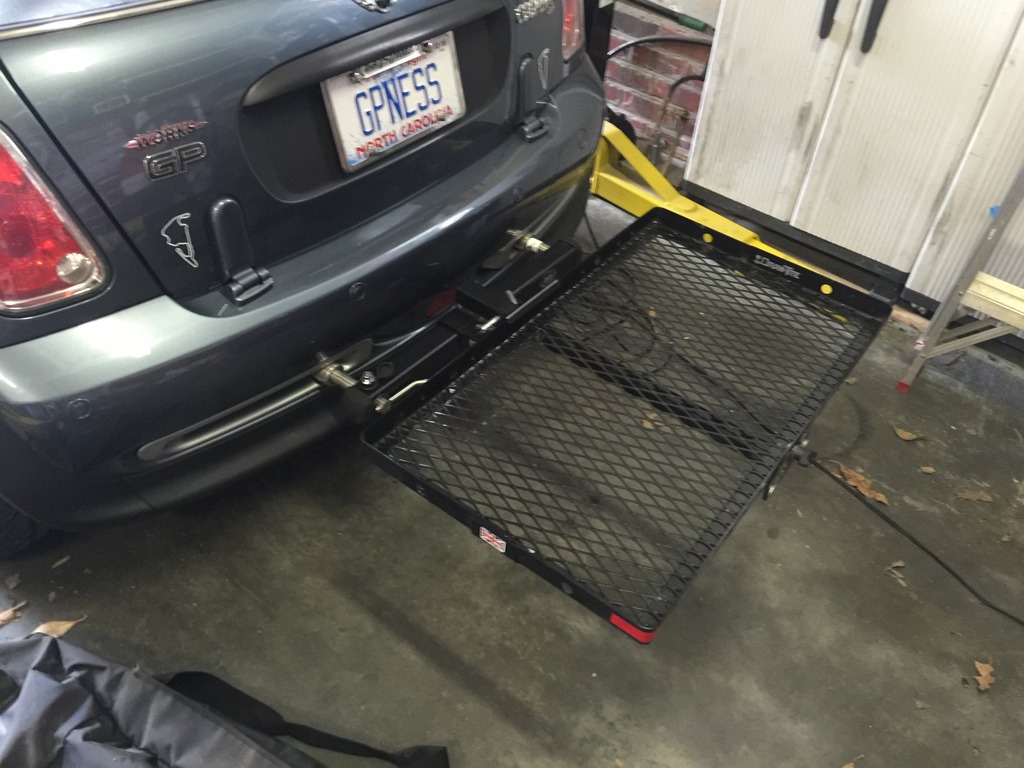
Modified my old cargo platform (that was setup for my hidden MiniDoMore hitch) to work with the MiniFini hitch. Just had to cut down the shaft and re-drill it. Perfect now!

Click the image to open in full size.

Ready to haul more gear to MOTD.

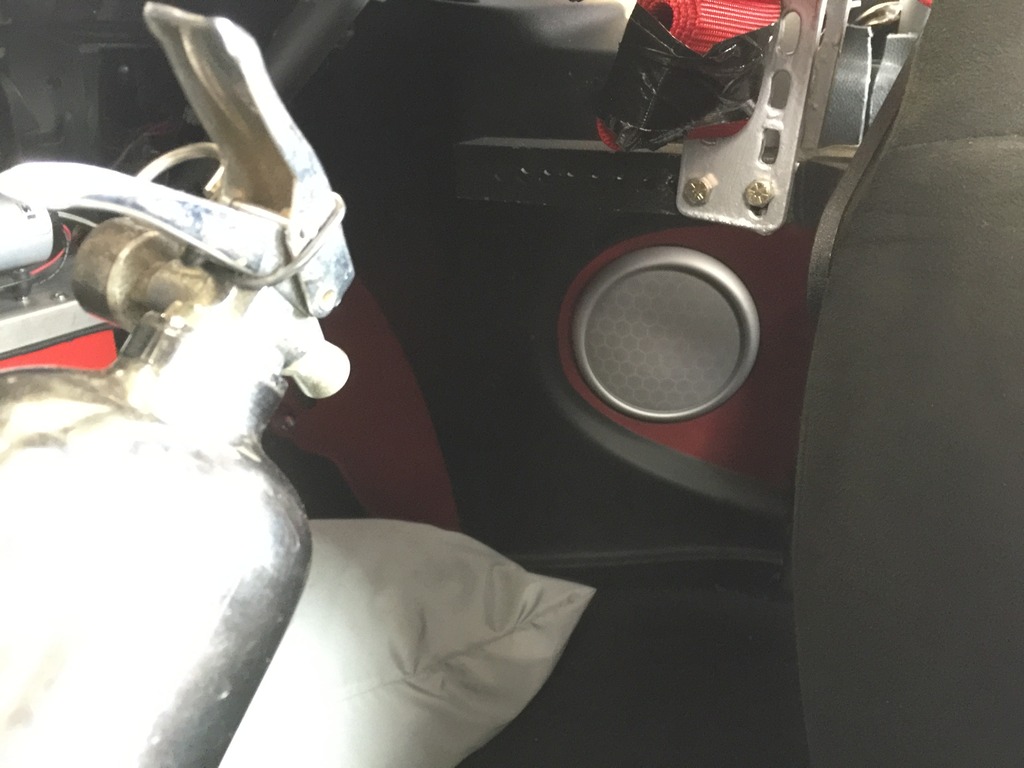
Finished modifying and installing the rear interior panels. Not going for show-car pretty this time, just want something to protect the speakers and look better than bare sheet metal if someone sneaks a peek back there. The back will always be covered by the tonneau, anyway.

Click the image to open in full size.

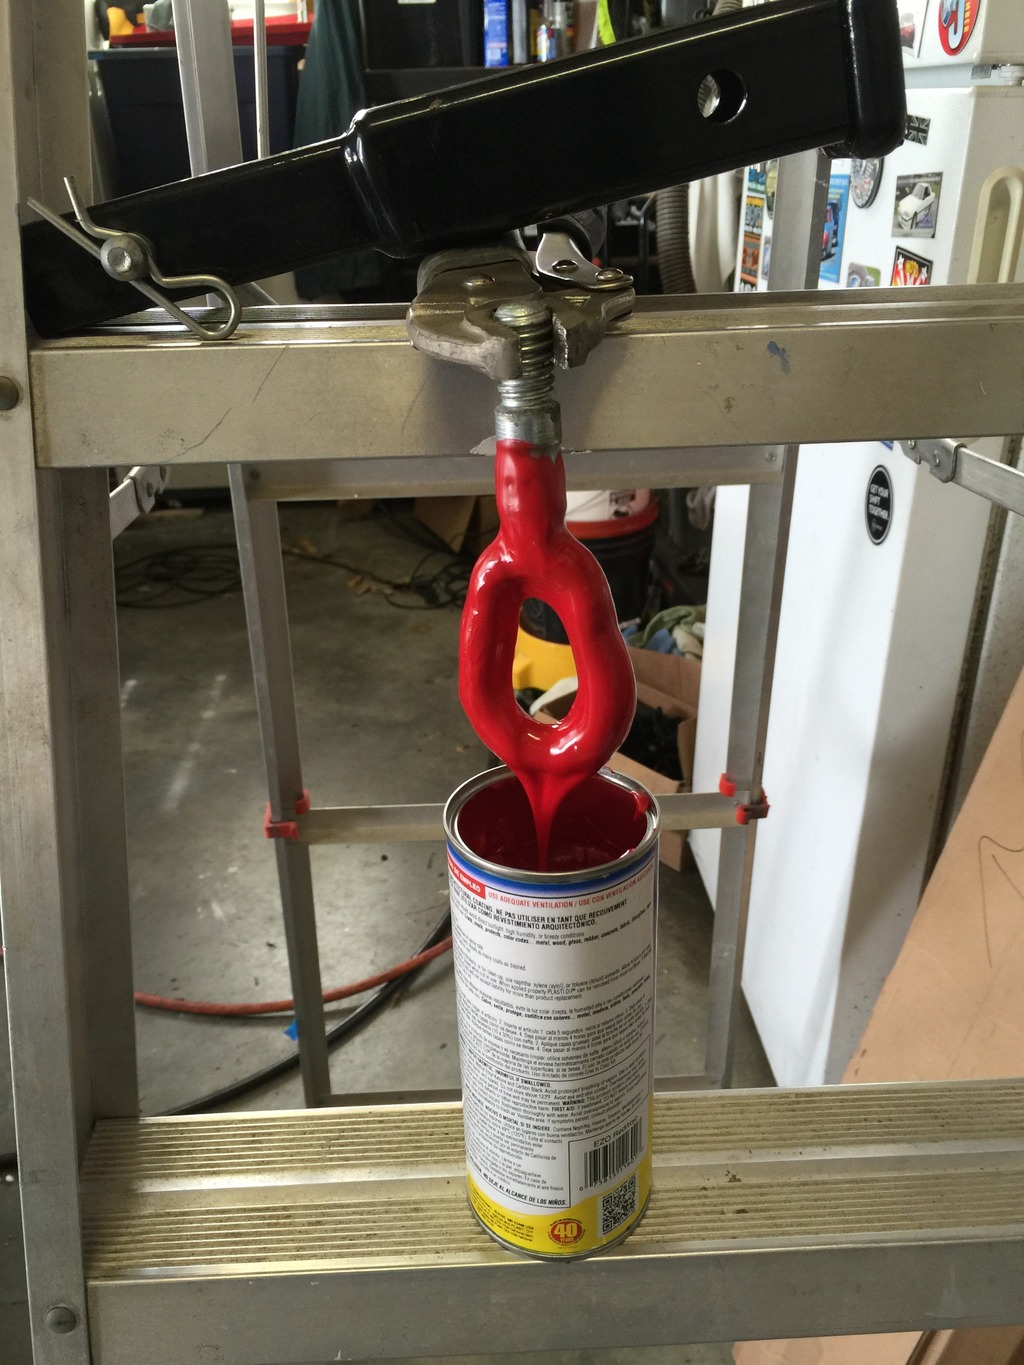
Found another one of my missing tow hooks, and dipped it to match the front one. Since one of my Rennlines was damaged beyond repair, and I can’t find my other one…

Click the image to open in full size.

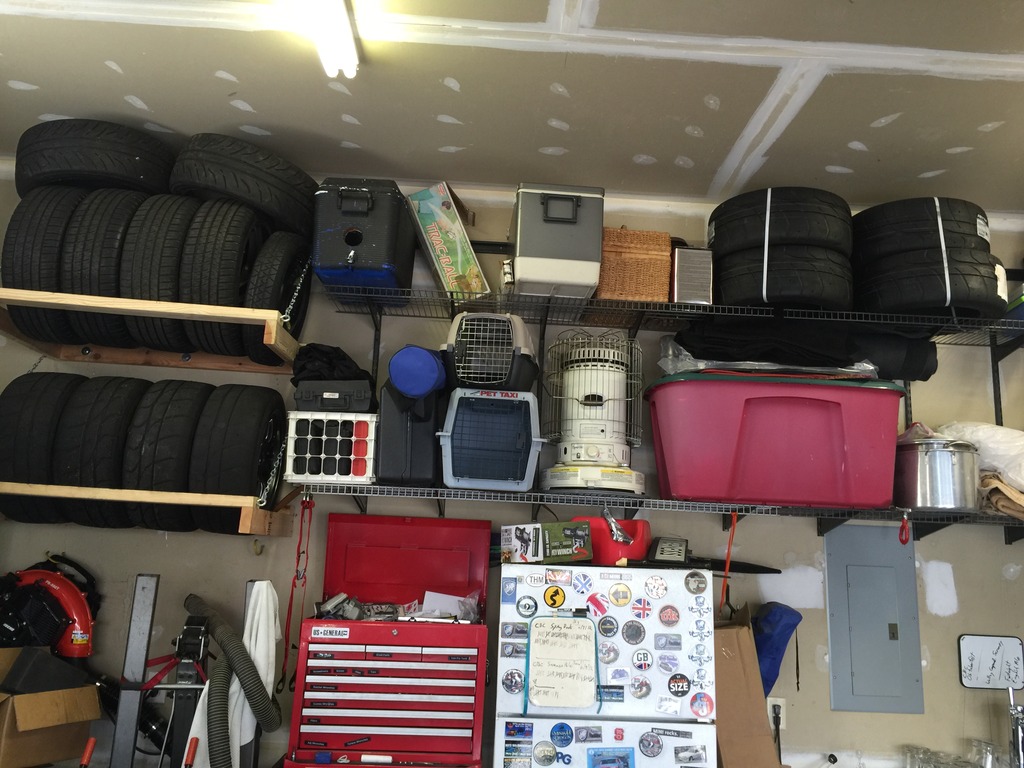
I realized today, I’m the Imelda Marcos of car shoes. I currently have 19 tires for the GPR in my garage…

Click the image to open in full size.

  • Four Star Specs on the car
  • Four NT01s on the track wheels
  • Four new NT01s for when I need them
  • Four Michelin all seasons on the GP 18″ wheels
  • Two almost-new Star Specs from the wrecked car
  • A donut spare

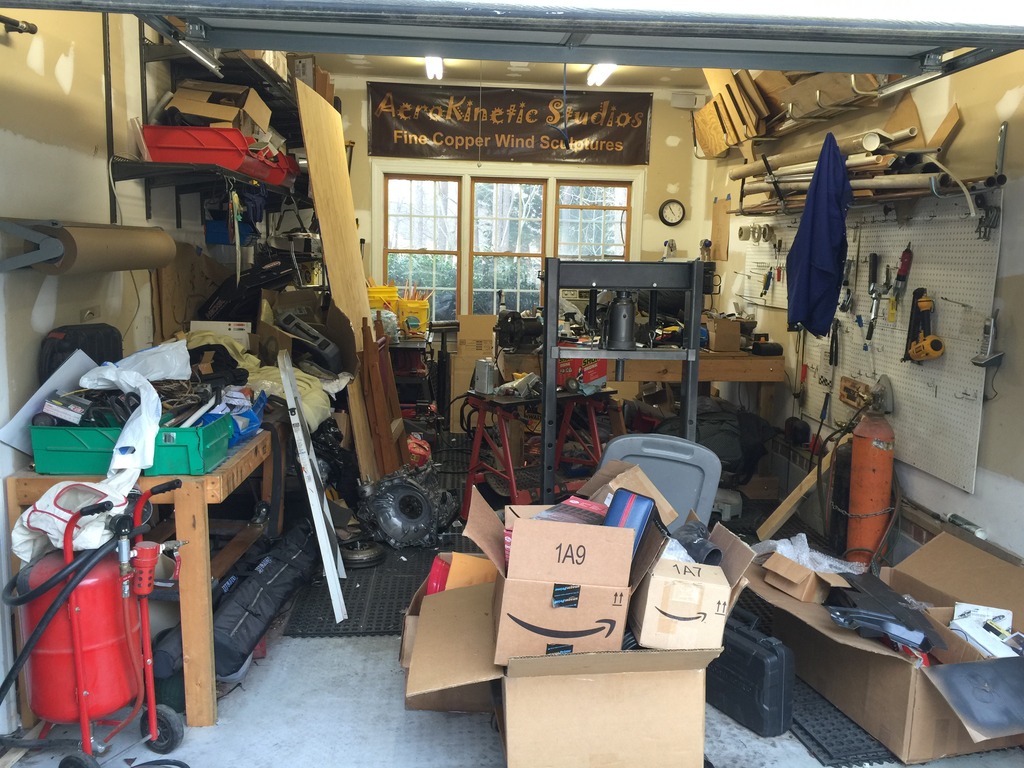
And I have a new project… extreme makeover of my workshop / garage.

Click the image to open in full size.

I built this about 10 years ago as a sculpture studio. It’s been a few years since I’ve used it for that. It’s my general purpose workshop now, and I could just barely squeeze the MINI in there to park before the manual conversion and all the extra parts and tools started taking over.

I think I have a plan to retain enough workbench and tool space, and get the lift in there setup for the MINI, with more parking space. So I can just roll in and put it on the lift any time, and free the other garage for the two primary cars, which will make the wife happier. Will be nice to have the lift setup all the time. I can move it back into the other garage easily enough if I need to work on one of the larger cars.

Finally, the right end links

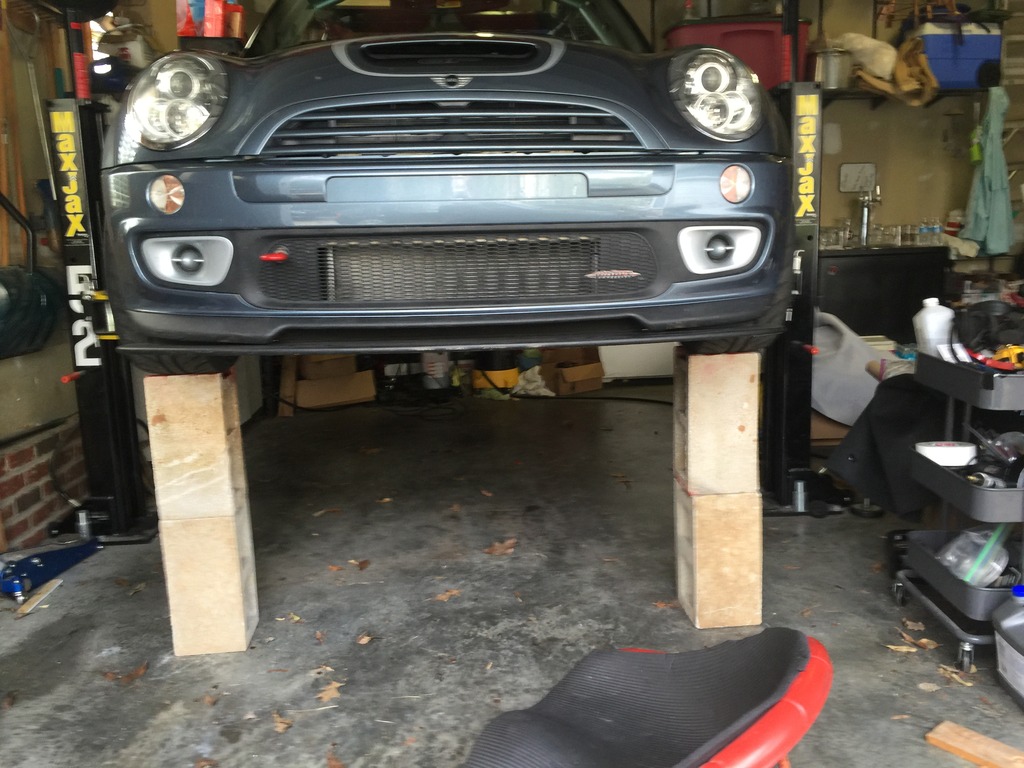
Got my custom length Whiteline front end links, so I had a little fun with cinder blocks.

Click the image to open in full size.

Easiest way to adjust the swaybar end links I’ve found. Lowered the car on the lift until the weight of the front wheels was fully on the blocks, with the lift a few mm below the jack pads. Adjust end link length until no load on swaybar. Lift car, move blocks to the back tires, lower and repeat. Then raise the car back up and lock down all the locknuts. Done. Super fast and easy.

And the car rides MUCH better with the pre-load gone. Noticeably less harsh. Huge improvement.

No, I wouldn’t trust my life just to blocks stacked that way. The lift had my back.

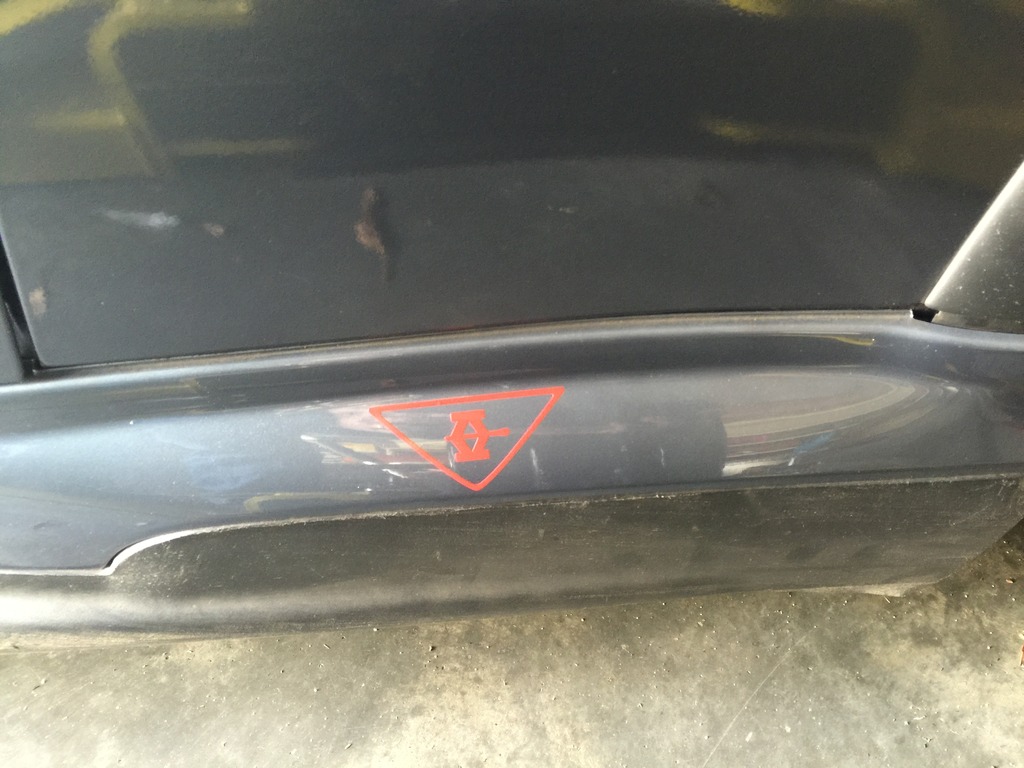
Jack goes HERE, you idiot

tTo make it easier to hit the jack points. I got tired of having to look under the car to be sure every time, and still almost missing them… Was looking for basic red arrows, then found these on eBay. Perfect.

Click the image to open in full size.

Click the image to open in full size.

These and a couple of VIR track outlines are the only non-OEM vinyl on my car.

A dream, realized

GREAT weekend at VIR. Ran Full Course on Saturday, and Grand West Course on Sunday. Objective of the weekend was to get comfortable / confident with the new car. Not go super fast, not make great lap times, not engage beast mode… just learn the capabilities and limits of the car.

So I had my crew load up the hauler, and I took a nap on the way to the track.

Yeah, right.
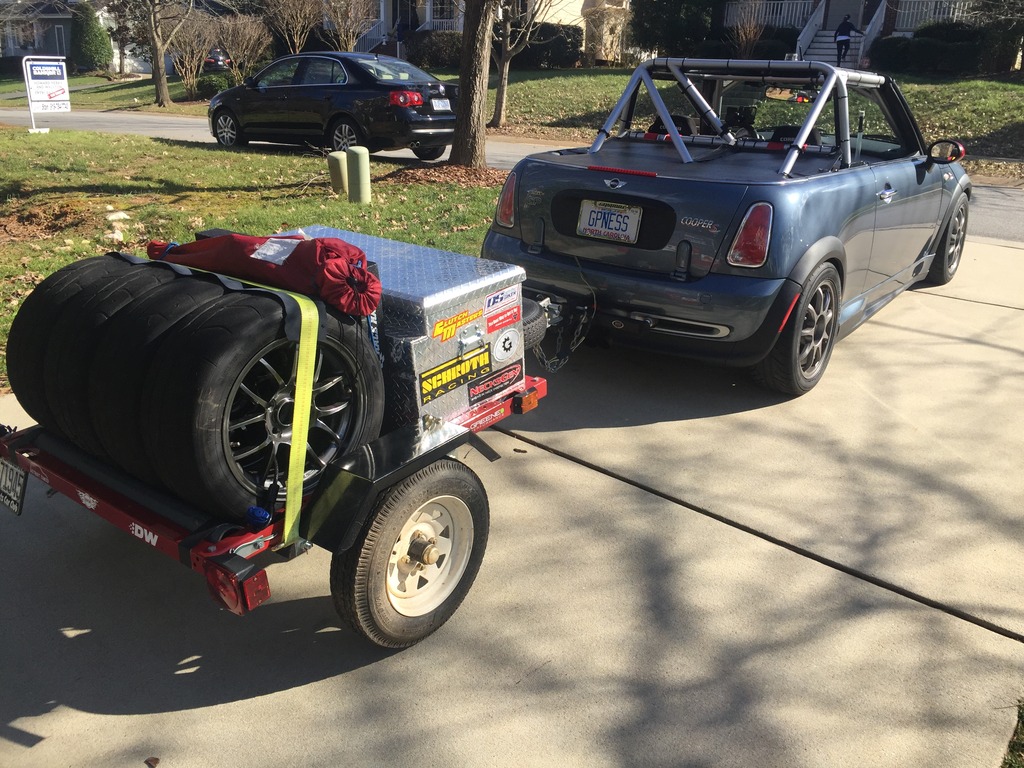
Click the image to open in full size.

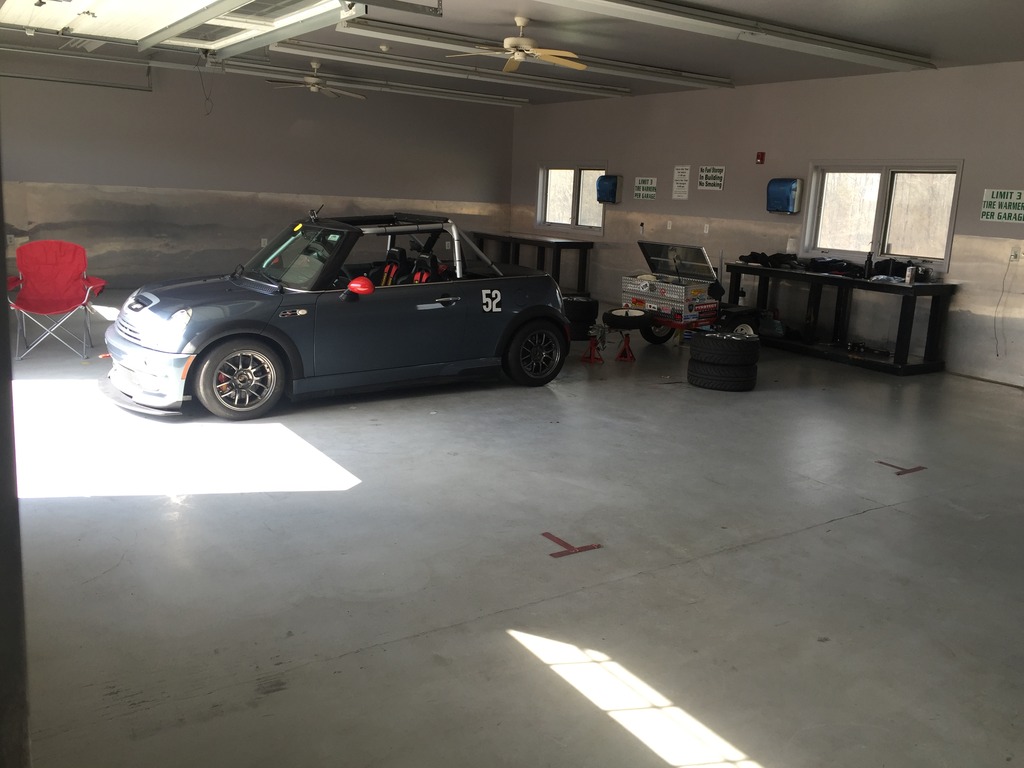
Claimed our private three-car garage. Actually, that’s true. Because, #ROYALTY
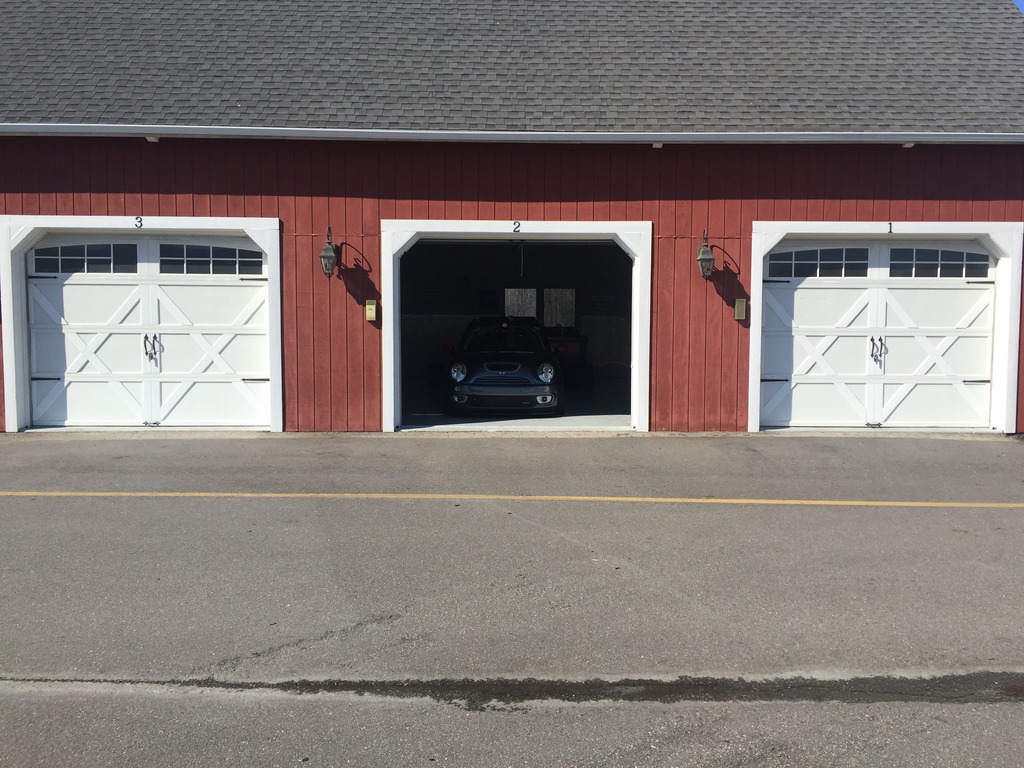
Click the image to open in full size.

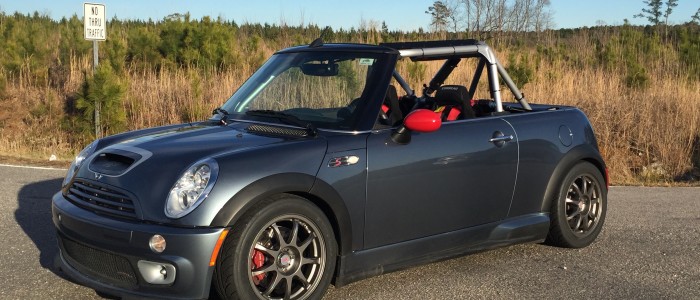
First off, it was COLD. 24F Saturday AM. In a car with no roof, and with the windows down. Seat heaters worked. As did LAYERZ.
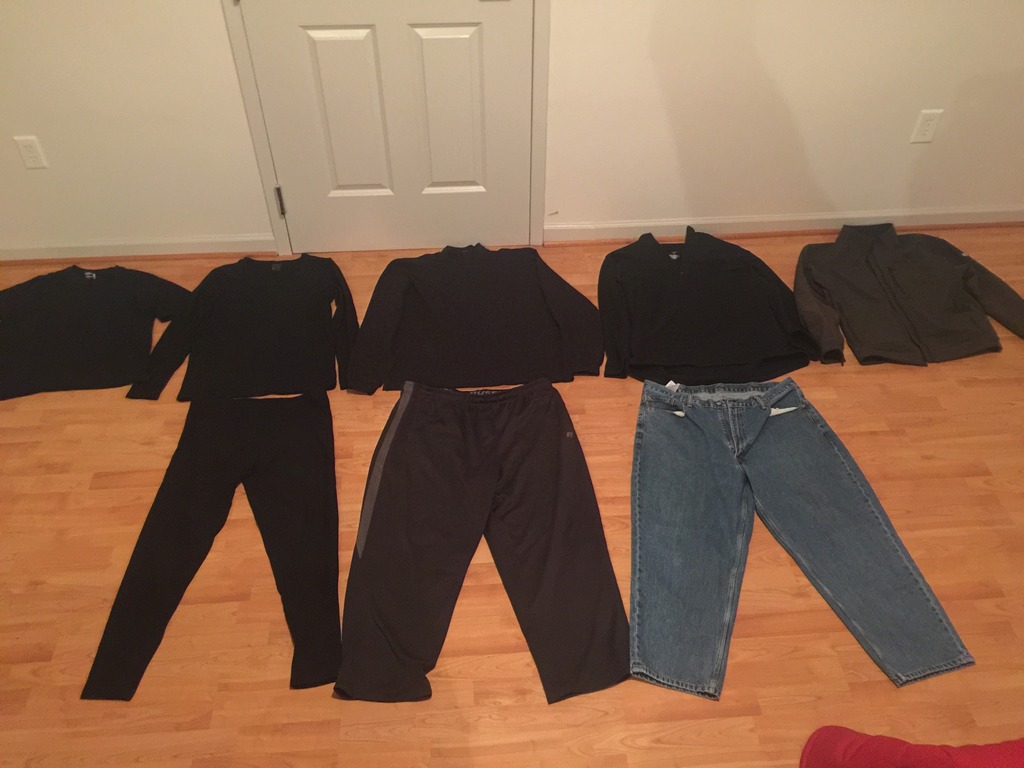
Click the image to open in full size.

Luck of the draw, I got a very good and very laid back instructor. His first time ever on track in a topless car, with arm restraints, etc. He took it well, considering. He also knew pretty much nothing about front wheel drive cars. M3 guy. So I did some schoolin’ over the course of the weekend.

Started out with the Star Specs and took it easy the first session, until things warmed up a bit. Second session, put on the NT01’s and started to build a little speed…
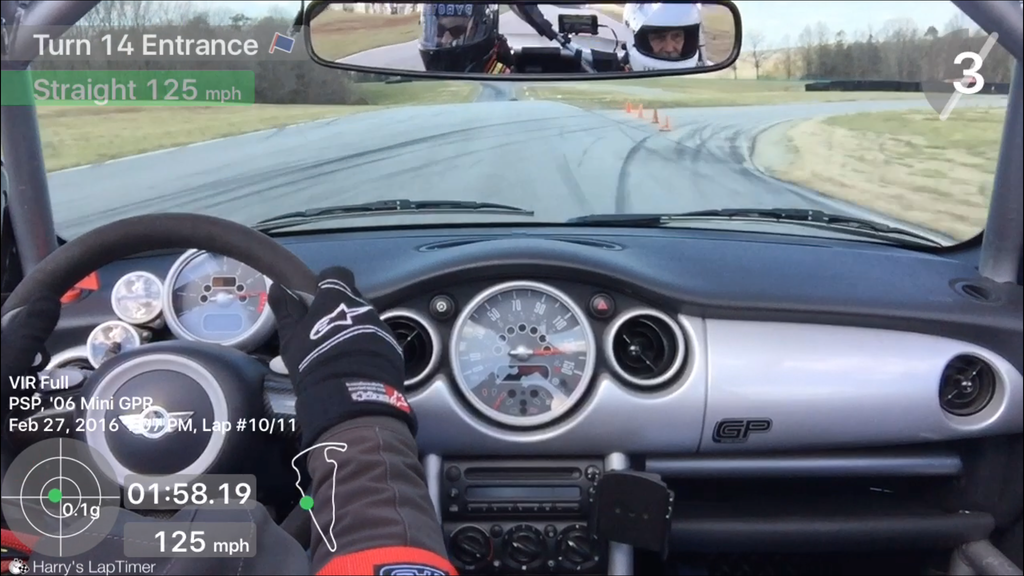
Click the image to open in full size.

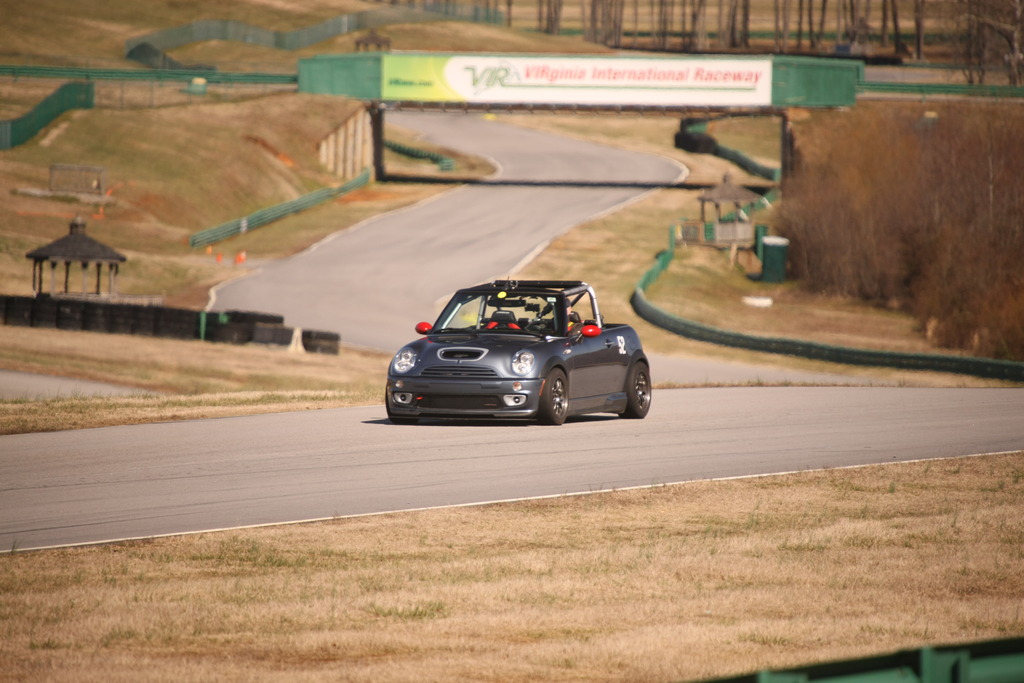
Yeah. The car is a BEAST on track. Lives up to my wildest dreams. It’s very, very quick, and handles very, very well. Thanks to all the (paid for) RMW and Greene Performance and Howerton bits, it just goes without drama.

The pic above is at the crest of a hill on the back straight, where my old car (and most MINIs) feel like they’re going airborne at triple digit speed. The new car just sticks to the pavement, thanks mostly to the RMW splitter, plus the other GP aero bits (underbody panels and skirts).

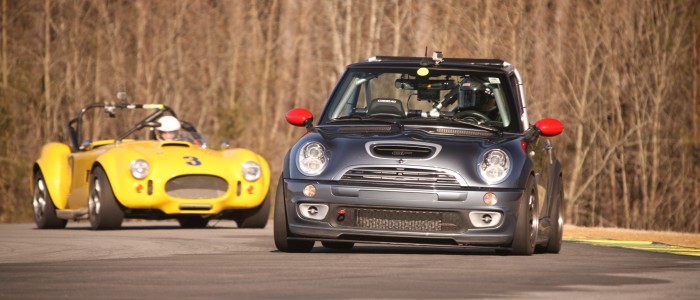
Got many point-bys from all kinds of cars and drivers.
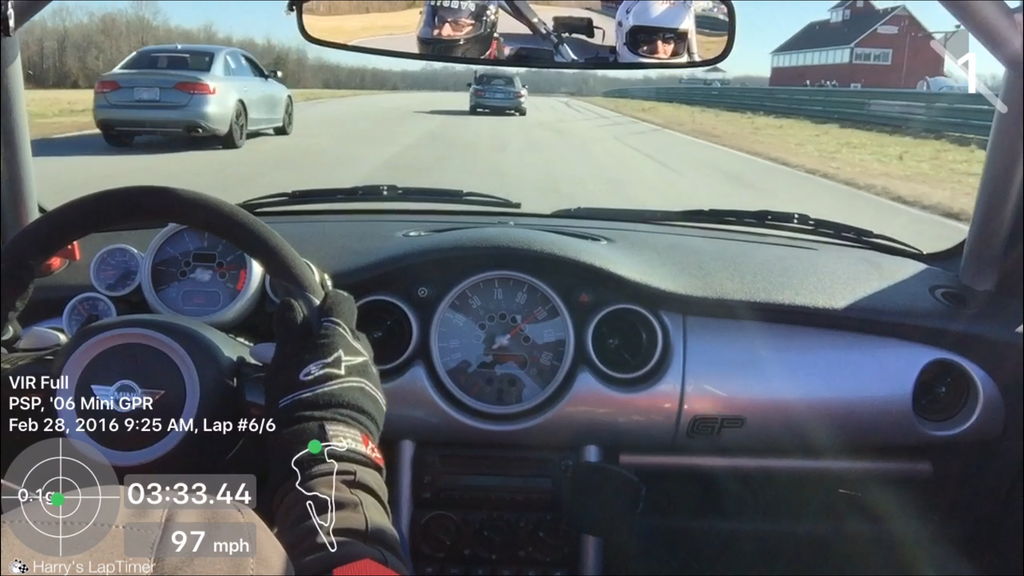
Click the image to open in full size.

I did give my share of point-bys… like to this very quick Stingray, that disappeared down the back straight at a buck fifty.
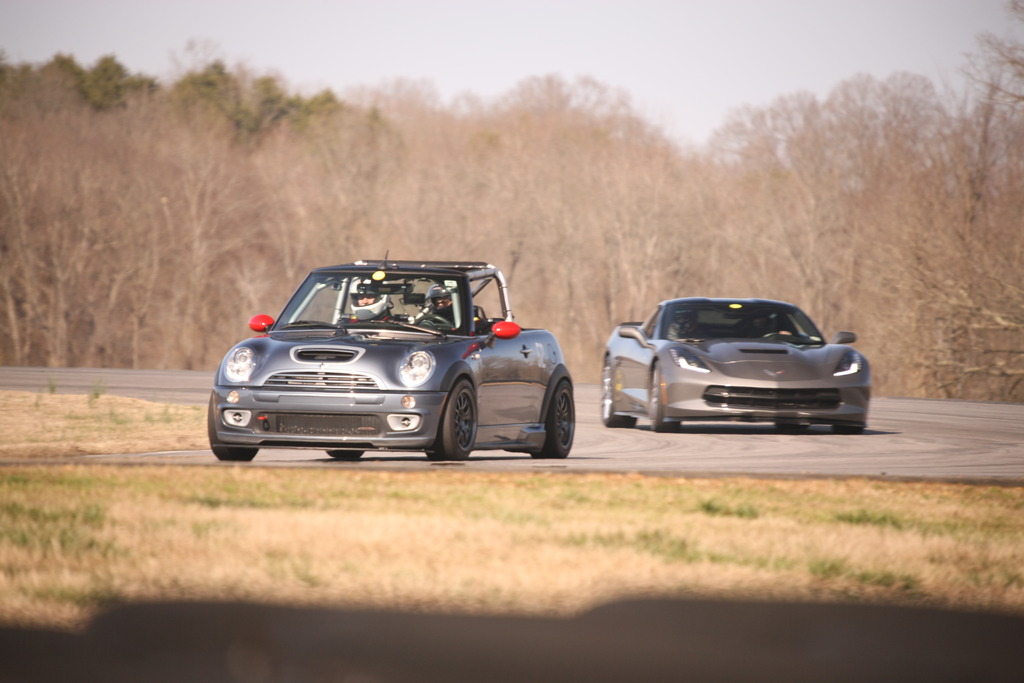
Click the image to open in full size.

Driver still has much work to do, the car has much more speed in it. I personally petered out at about 90 on the Climbing Esses, but I know the car can do over 100 up them, no problem. I just need to build the nerve and smoothness to do it.
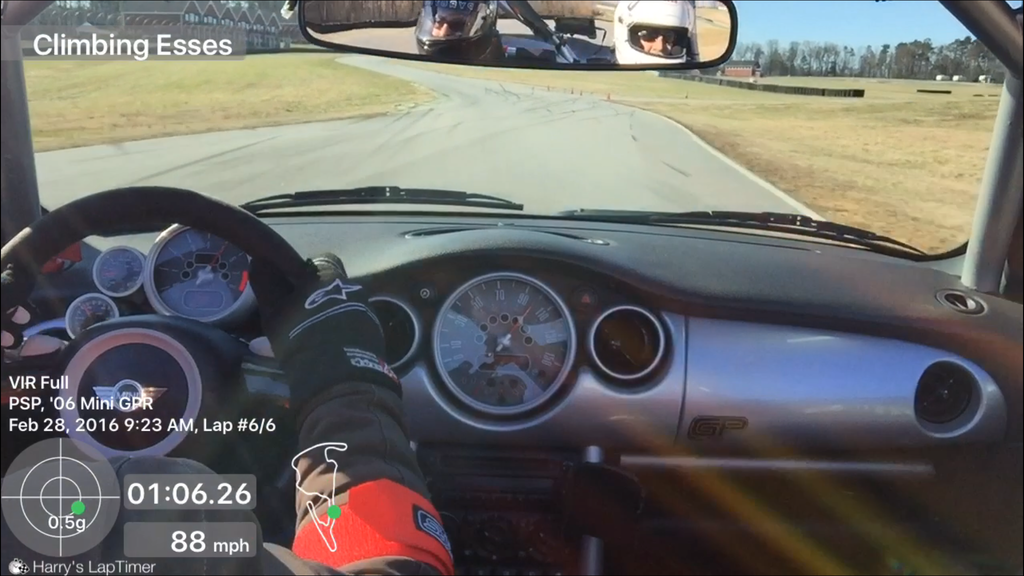
Click the image to open in full size.

The Grand West course on Sunday was a RIOT. This course is practically made for MINIs.
Click the image to open in full size.

Hard to tell from the map, but the inner loop is VERY technical and twisty, with several rapid elevation changes. Like a roller coaster. I was harassing cars through there all day.
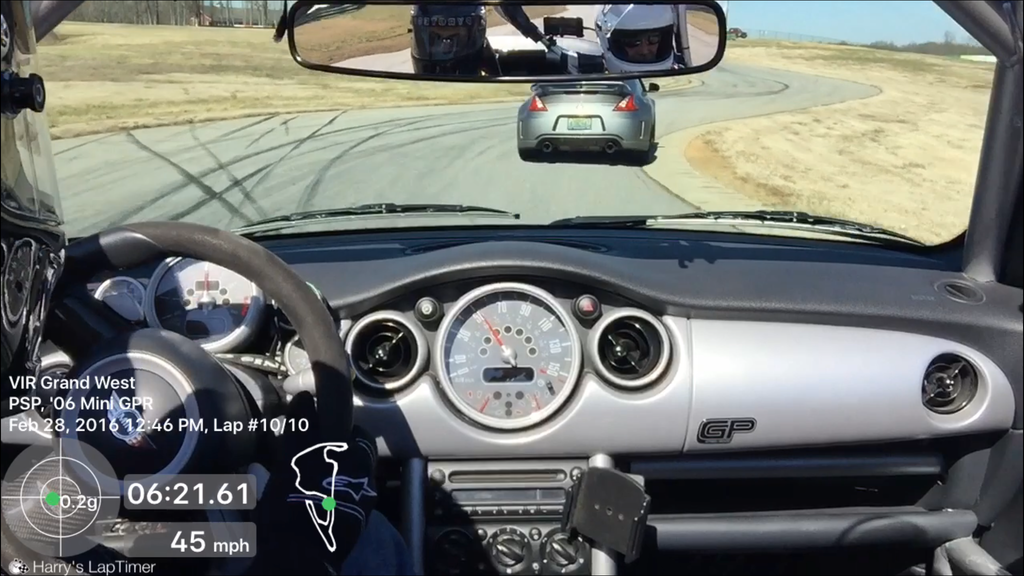
Click the image to open in full size.

I gotta do that course again, soon.

Late in the day Sunday, the car started getting squirrelly under hard acceleration and braking. On the drive home, I noticed that it got even more pronounced. Like I had something in the suspension moving, altering the alignment dynamically. Sure enough, this morning I found that the left side inner ball joint bolts had backed out enough to let that joint slip fore and aft a bit under load, altering left toe each time it did it. Fixed, and now part of my pre-track checklist to specifically check those bolts. You really don’t want the car steering itself like that when threshold braking at 120mph. Trust me.

Anyway, mission accomplished, and then some. My instructor was giddy when he got out of the car, second session on Sunday. “I learned a lot about what’s possible in a front wheel drive car. I wish I could do some of those sections like that.”

And got some great pics. I have lots of video to review and edit. I’ll post it, eventually.
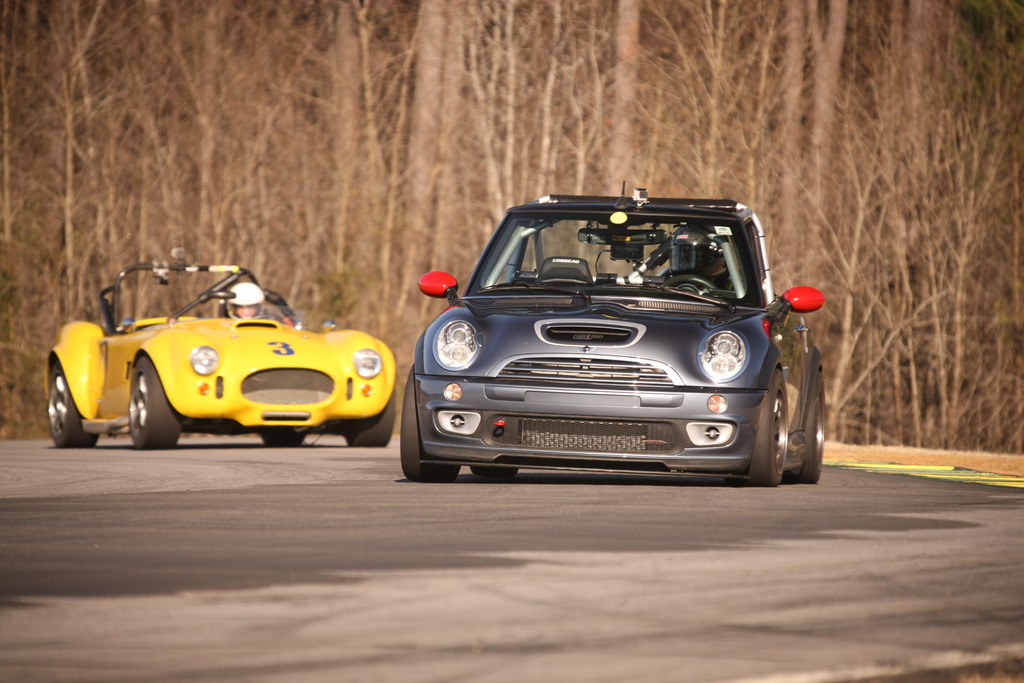
Click the image to open in full size.

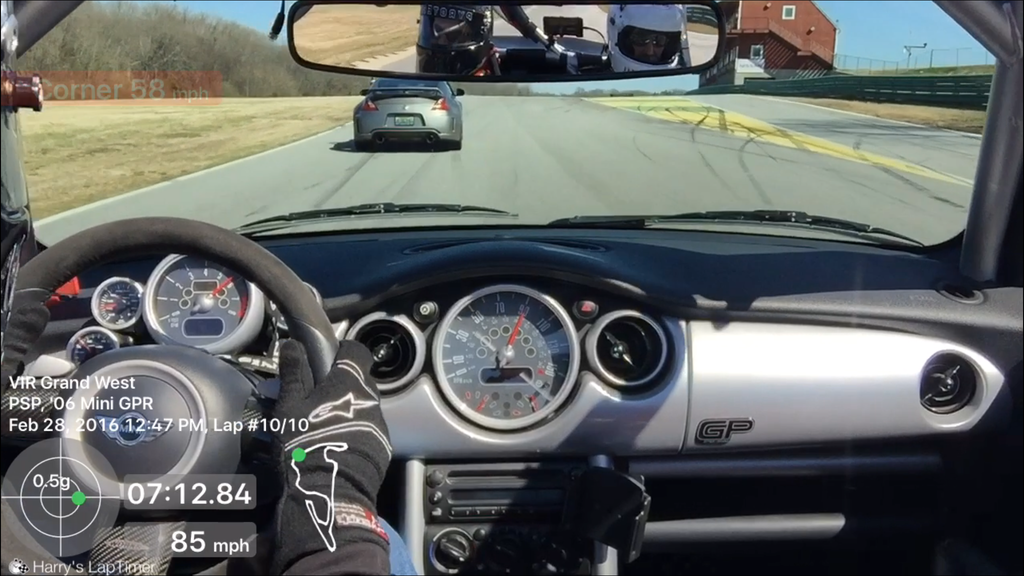
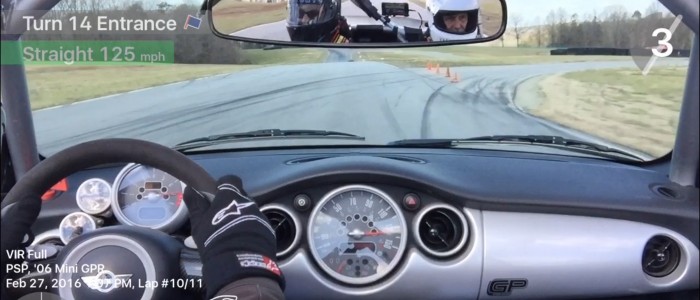
So my LapTimer app lost its mind a bit during the best session of the weekend, and treated the entire session as one long lap. No big deal, I just had to review the video and manually record lap times. I strung together a long sequence of 3:29 to 3:34 laps, getting more consistent. Still lots of room to carry more speed around some of the corners (including the Climbing Esses), run longer in the straights and brake deeper. Many seconds in all that, over time.

Anyway, here’s the extended cut of my entire second session on Sunday, in two parts to keep it Youtube friendly. Please pardon the noise. It is, after all, an iPhone mounted to a steel roll cage on a topless car going 100+ mph. Enjoy. I like it.
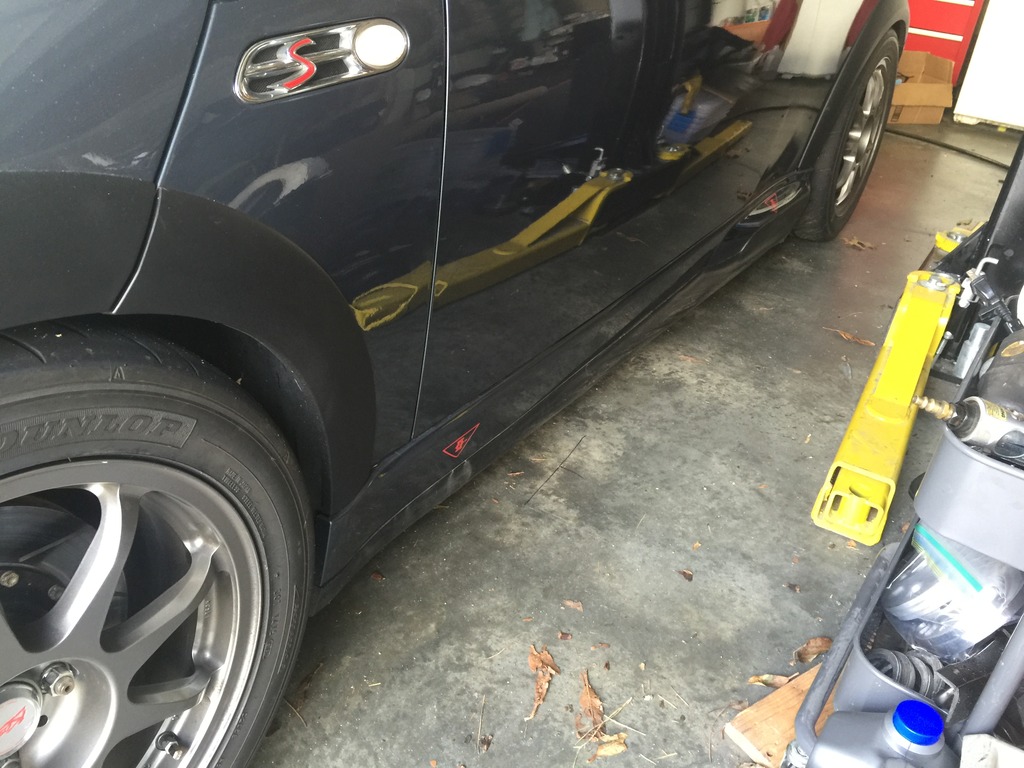
VIR Grand Session 2 Part 1- 20160228 THSCC – YouTube