Fiddly stuff takes a lot of time

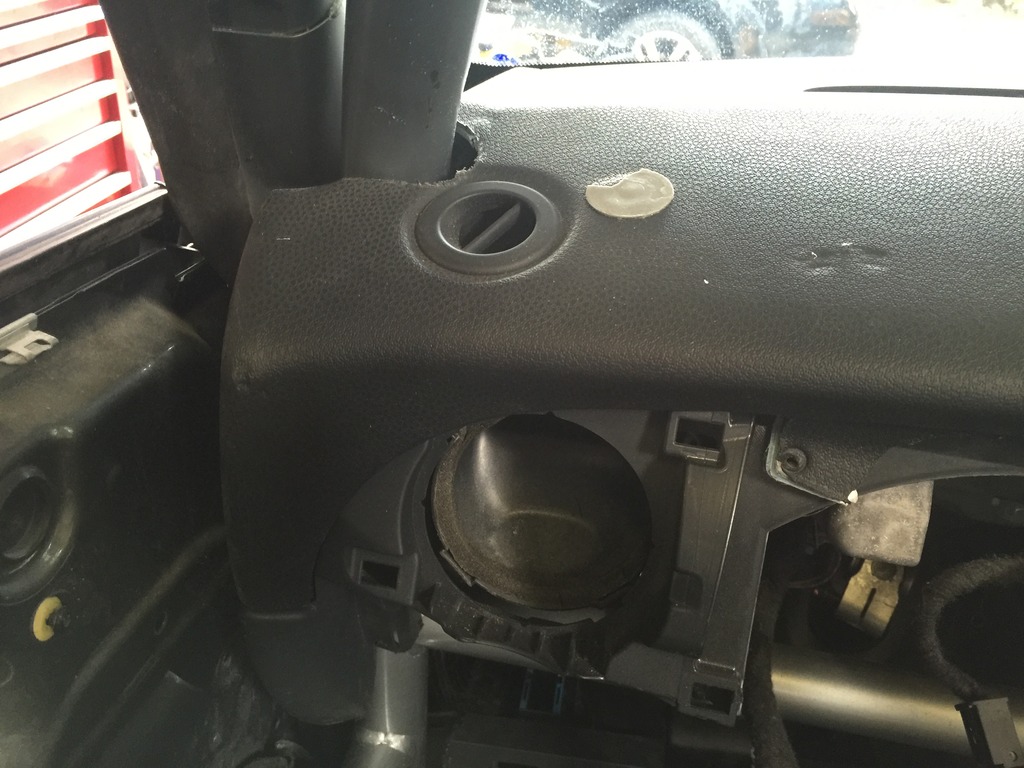
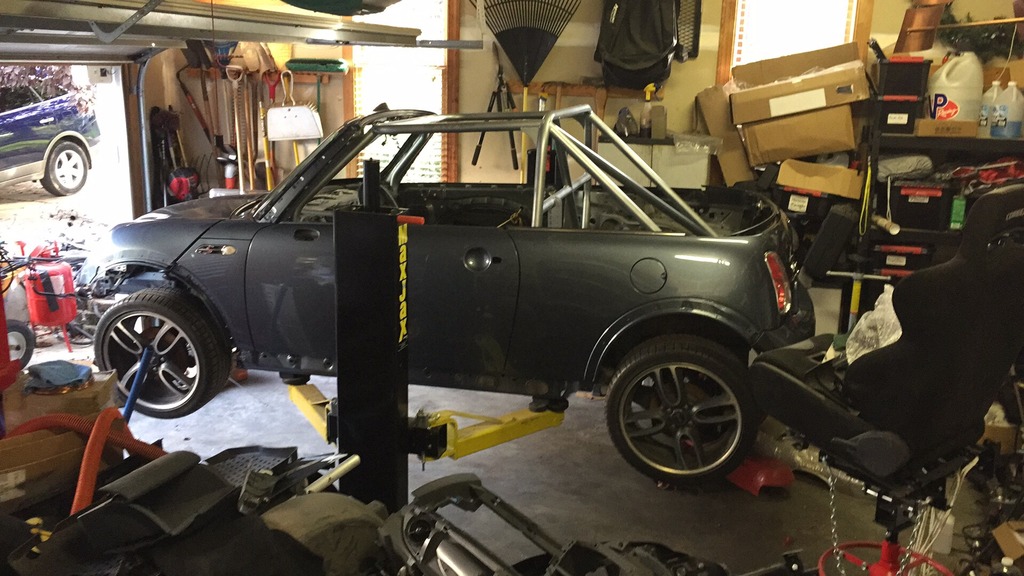
Nothing exciting to look at today. About 5 hours, installing latches / handles windows in the doors, installing speakers, installing battery and battery fuse box, and fixing several spots where I buggered the paint on the cage.

Tomorrow, plan to work more on the dash, shelves and kill switch. Will tape up the cage to avoid more paint damage.

All in the details… and starting to take form…

Long day today, probably worked 8 hours. Some little things take A LOT of time.

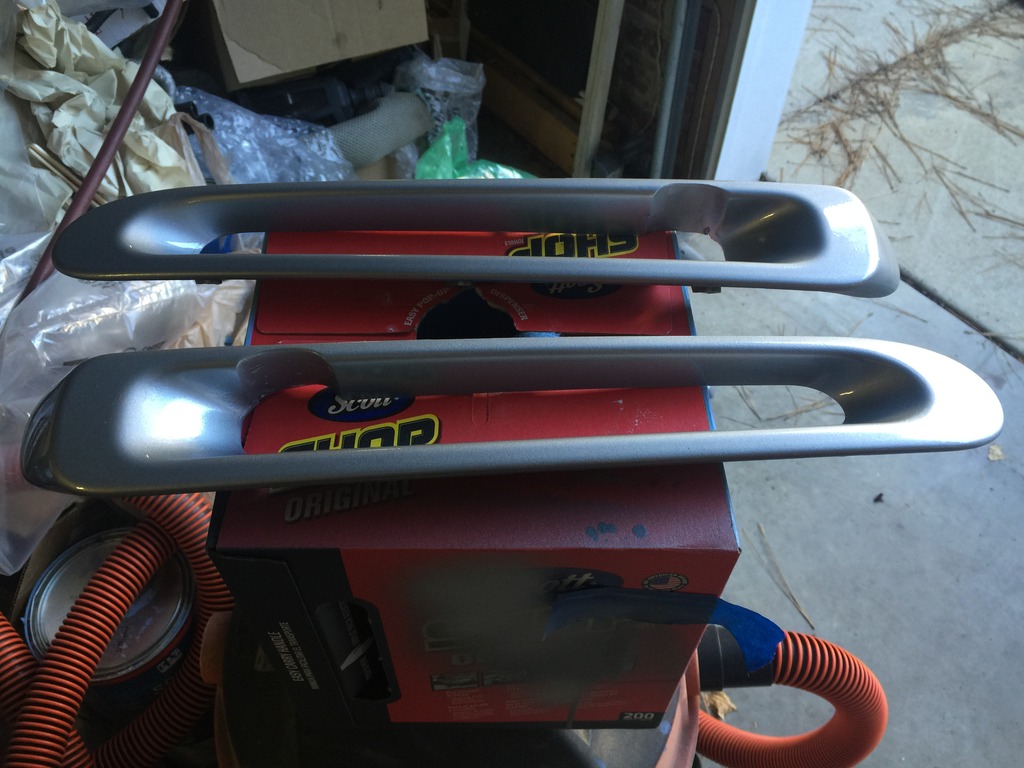
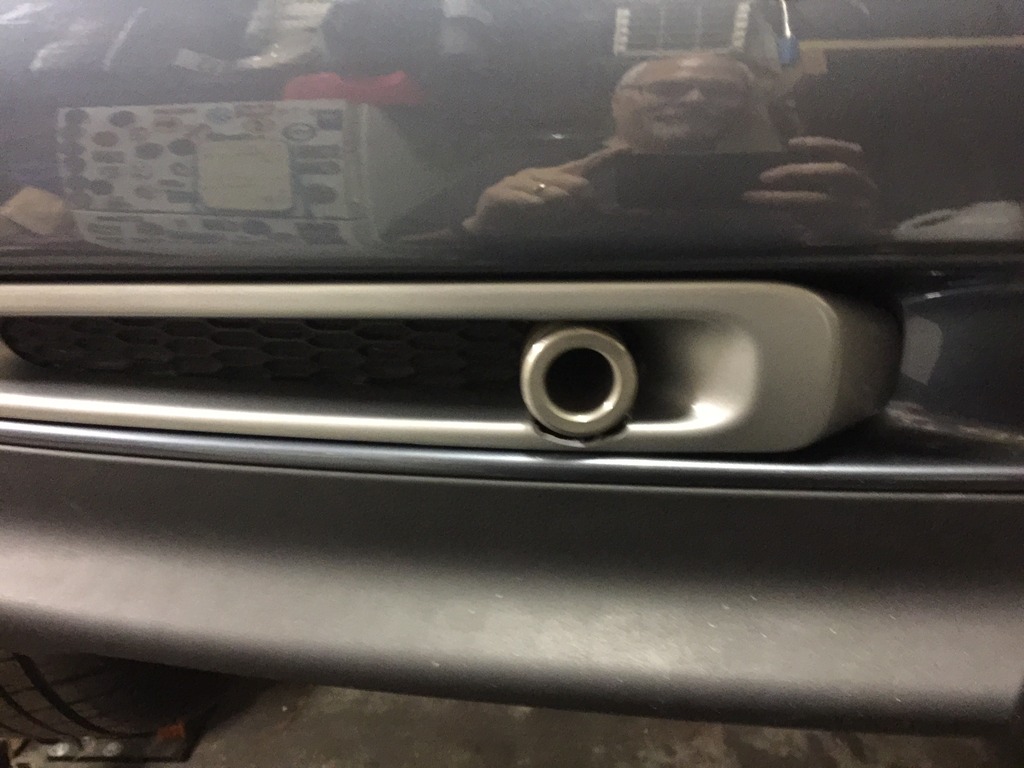
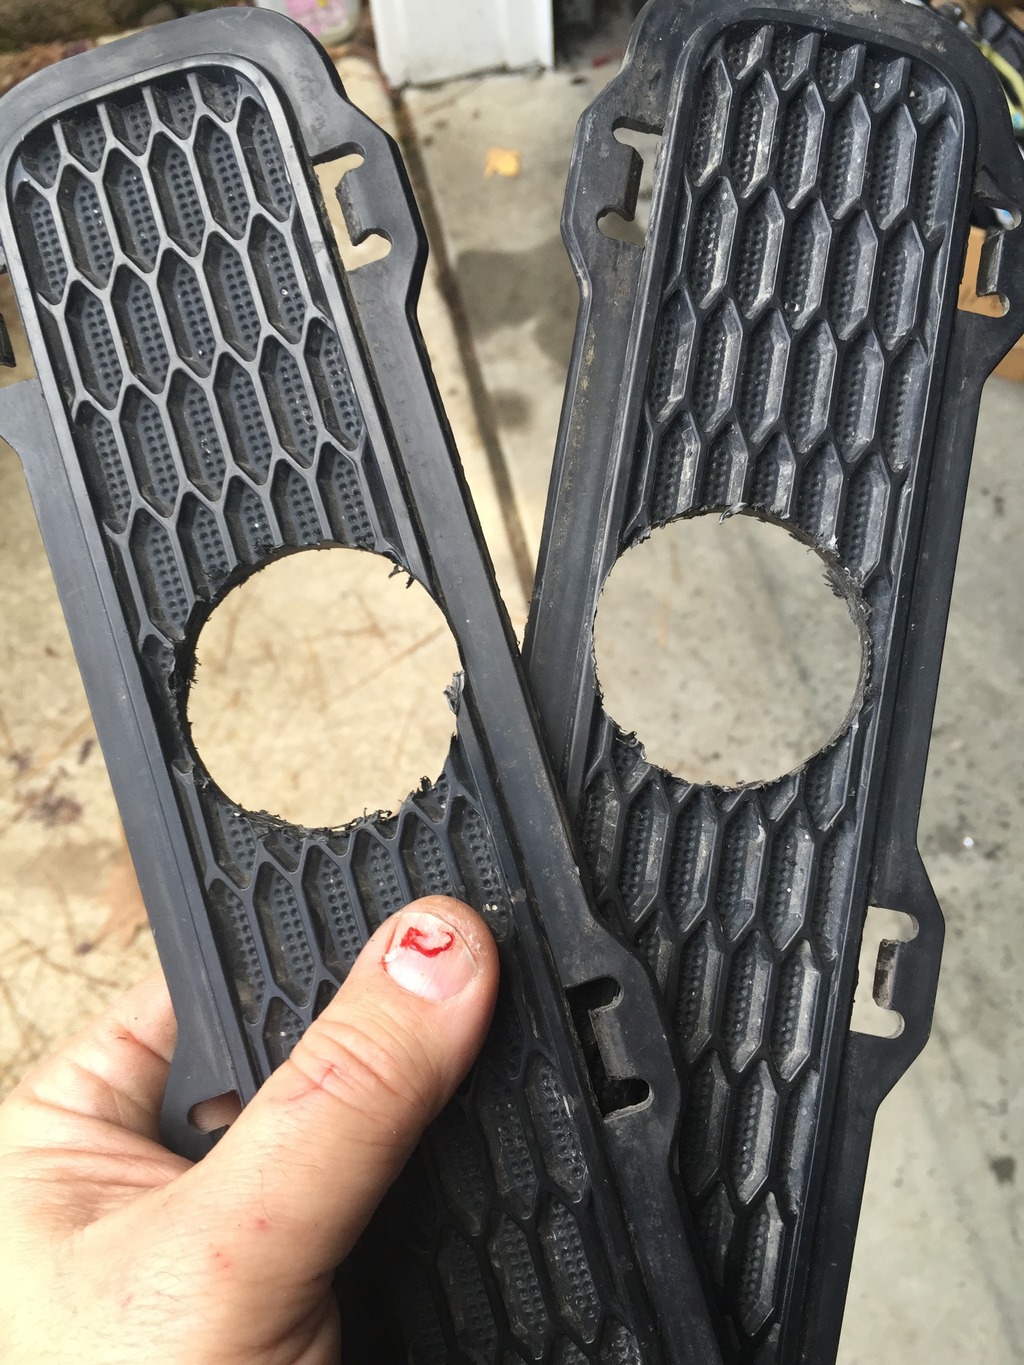
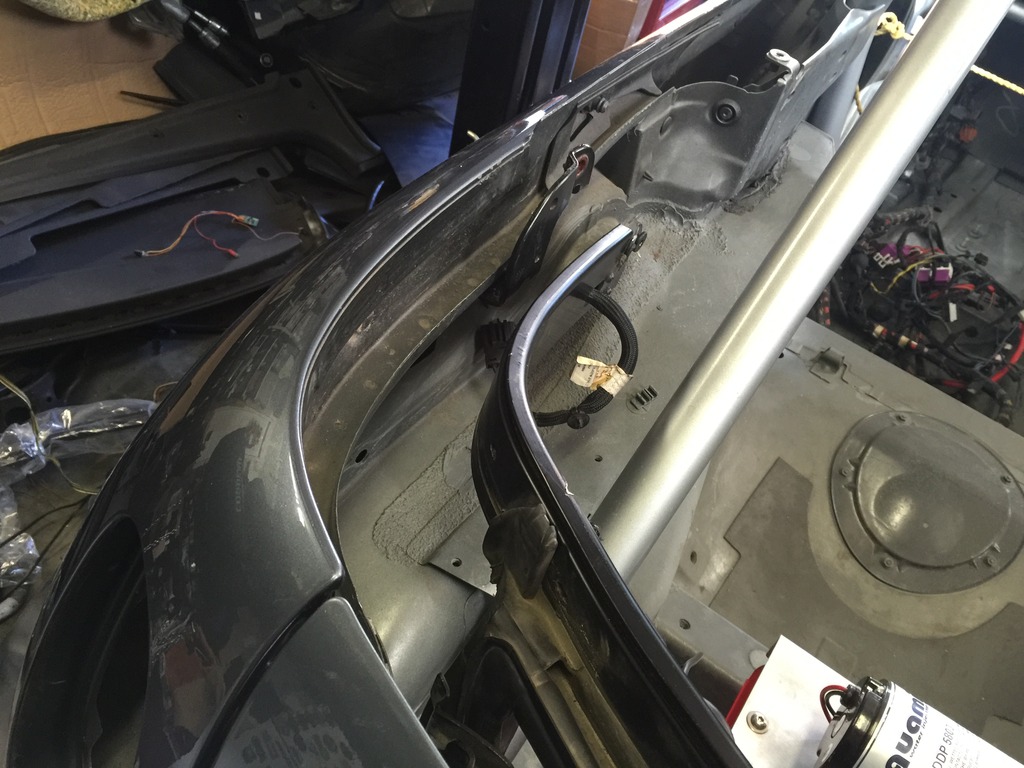
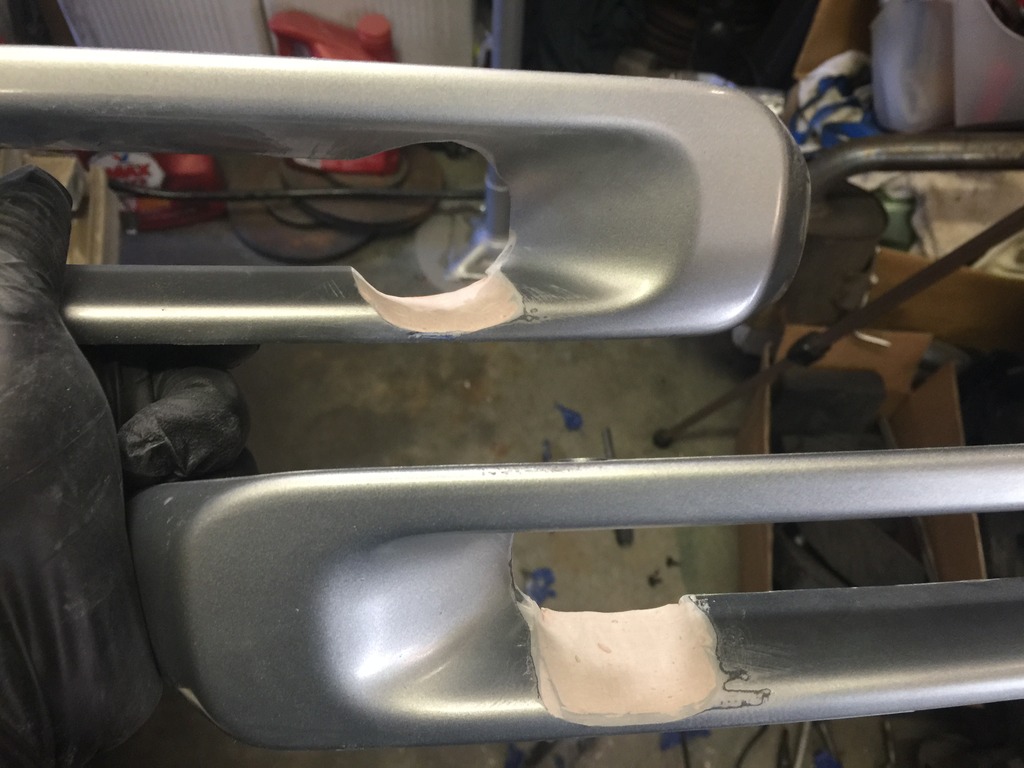
Pulled the bumper inserts, cleaned them up, filled the holes with Bondo. Sanded it down, primed and repainted. Took a couple of tries to get it “good enough”. But it’s much, much better than the roughly ground holes in the trim I had this morning.
Click the image to open in full size.

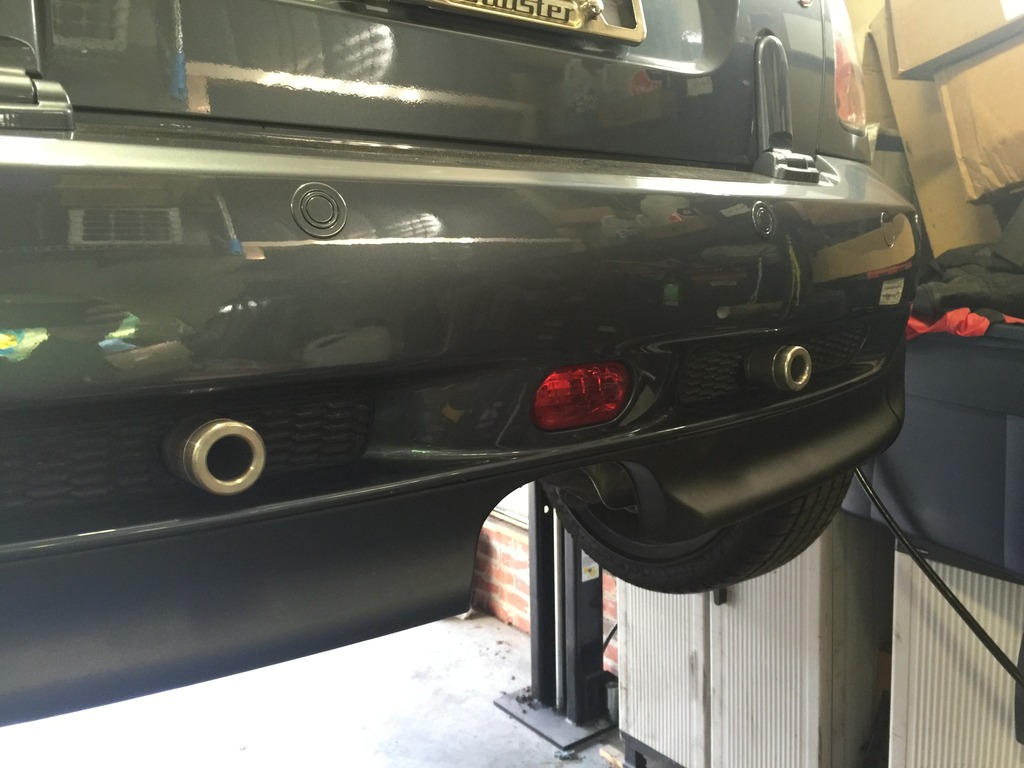
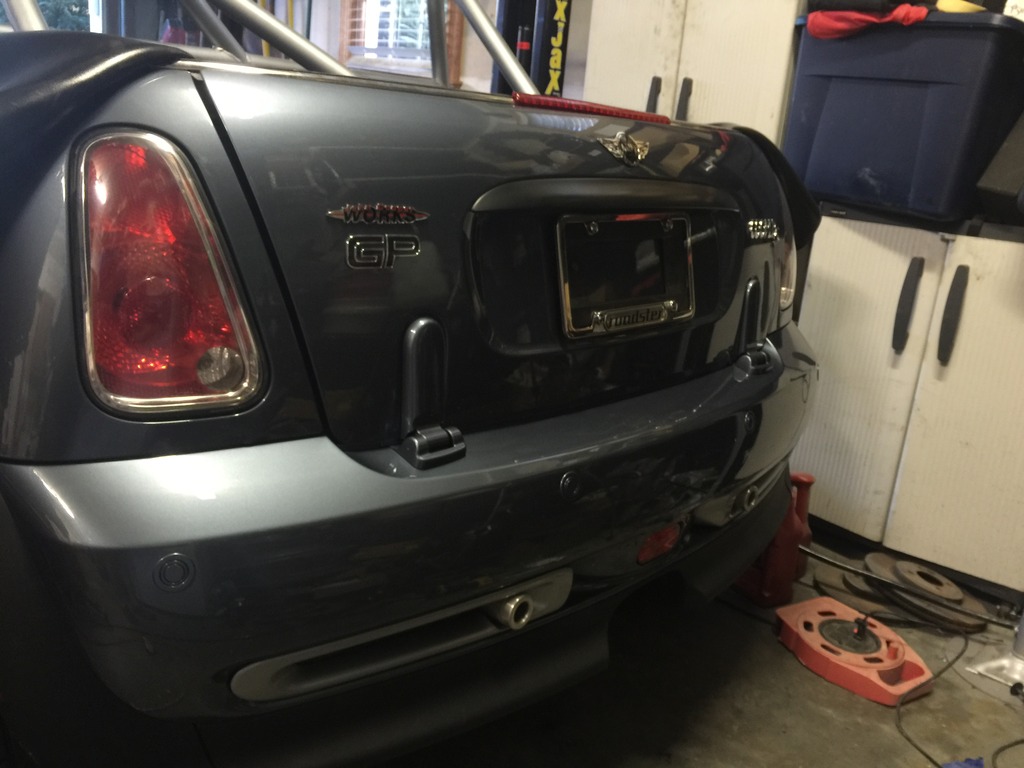
Reinstalled bumper, routed harness behind and plugged in PDC sensors, rear fog and corner markers. Hopefully the bumper is on there for good now.
Click the image to open in full size.

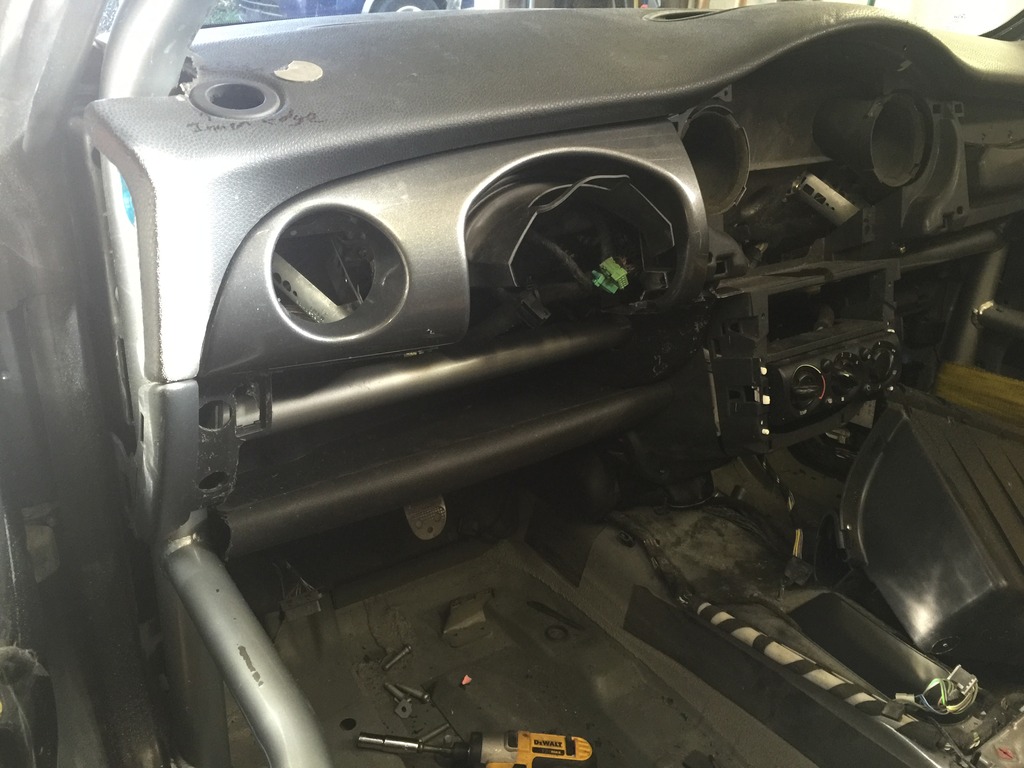
Pulled the dash pad and frame back out, so I could reinstall the HVAC heater ducting on the front of the unit. Then put the dash frame and pad back in.

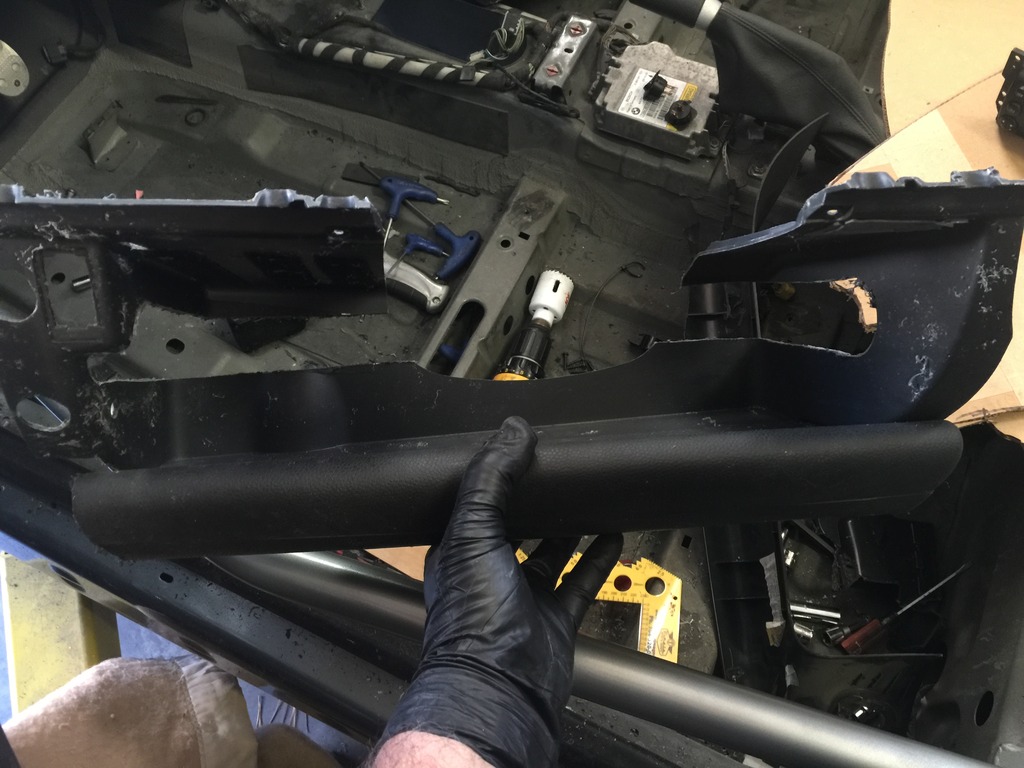
Fitted the driver side parcel shelf. Took a lot of measuring, drilling and cutting. But fit fine the first try.
Click the image to open in full size.

The extra holes are left over from other projects. They, and the gaps in the back, will be covered when I’m done.
Click the image to open in full size.

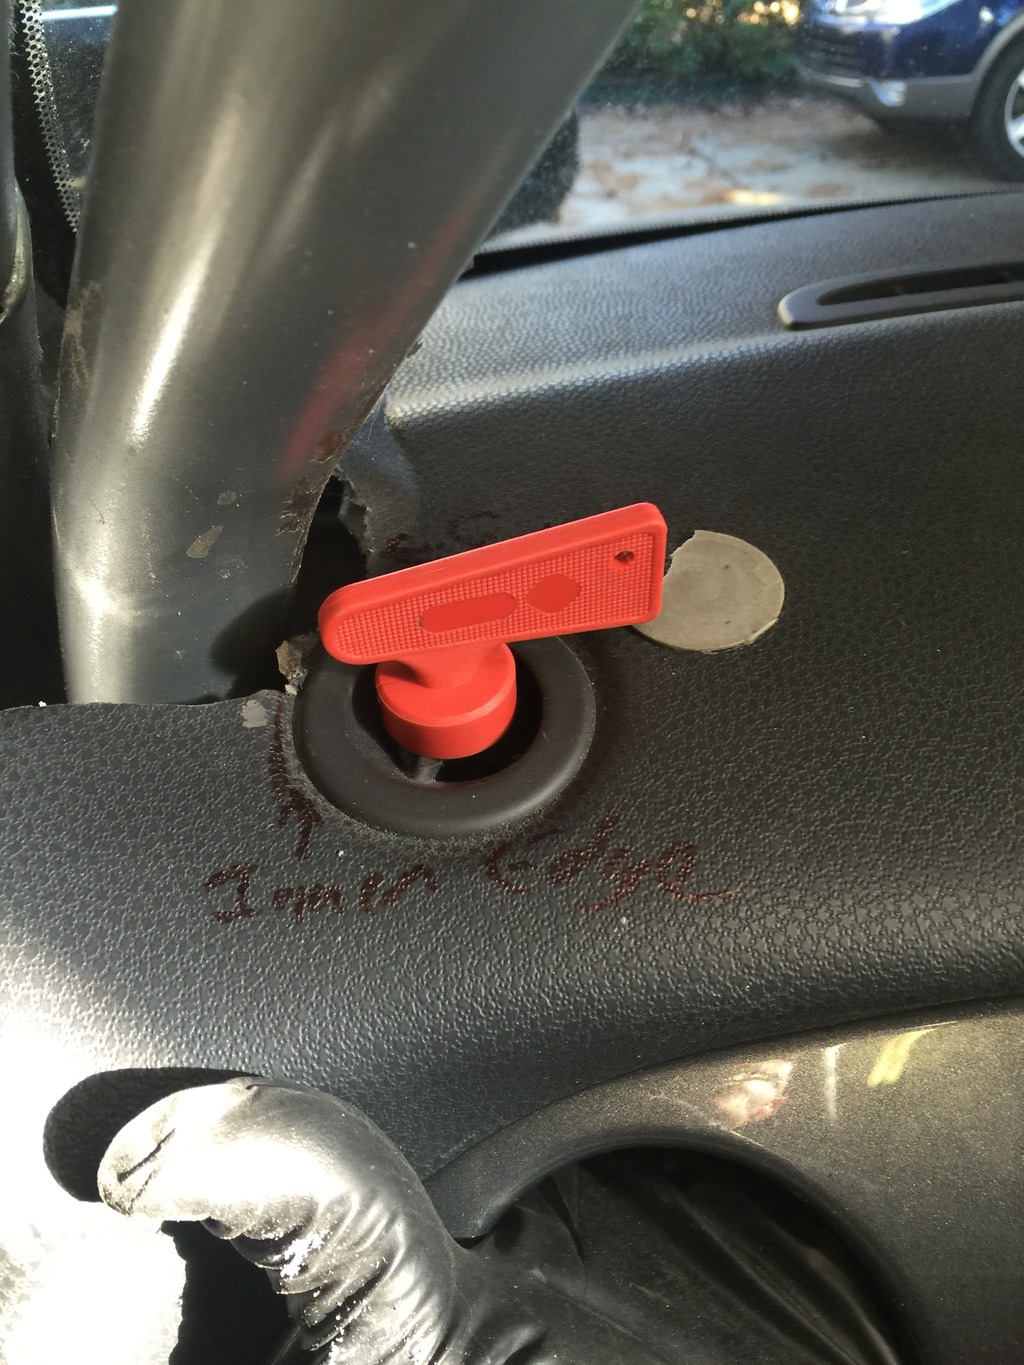
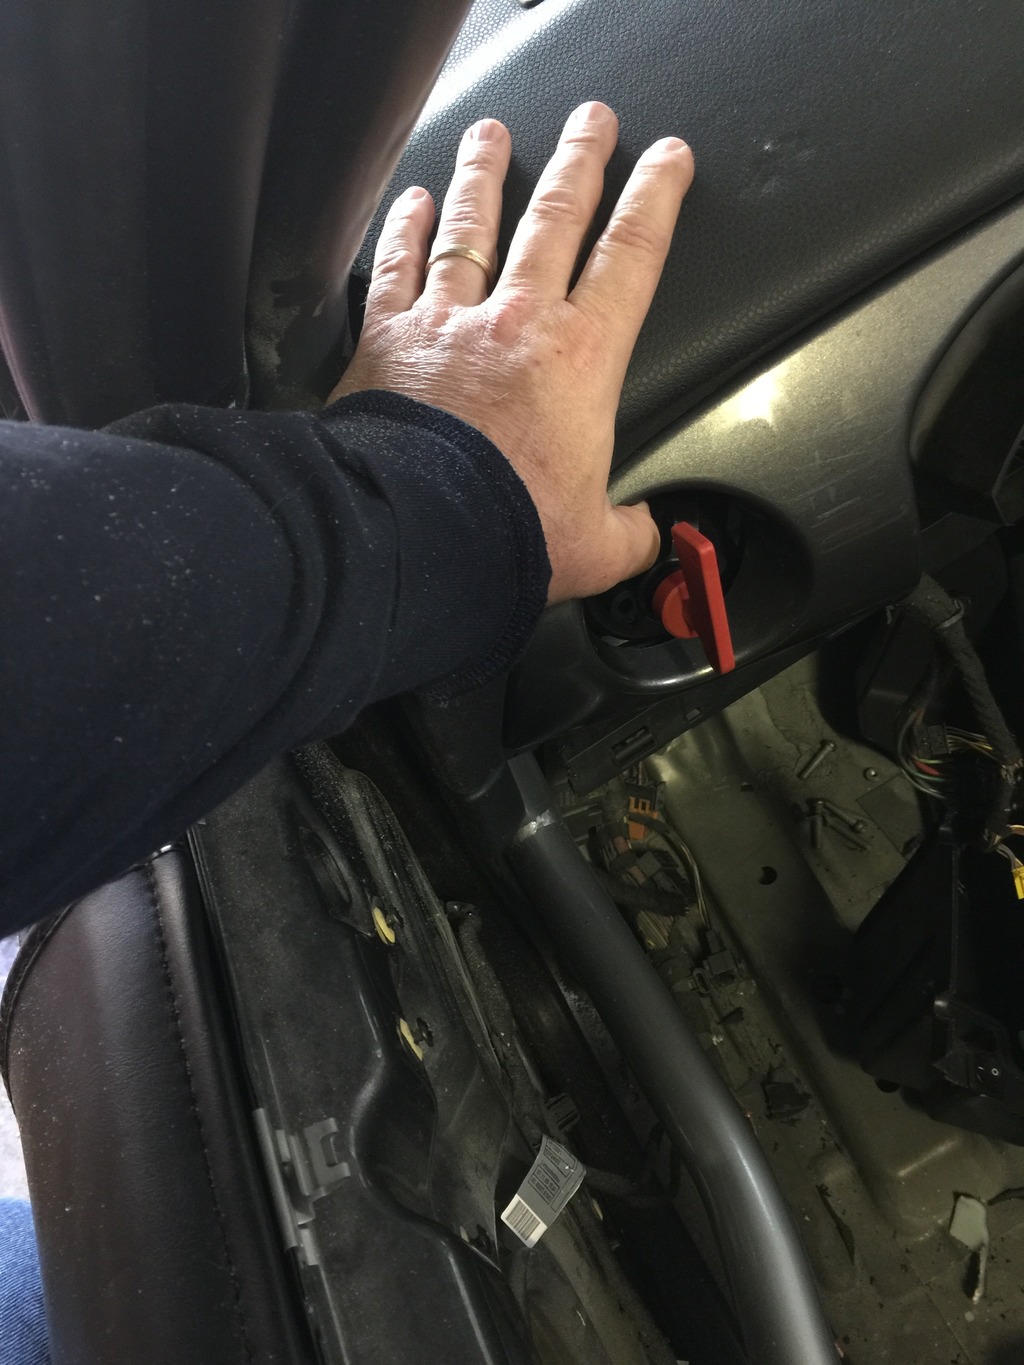
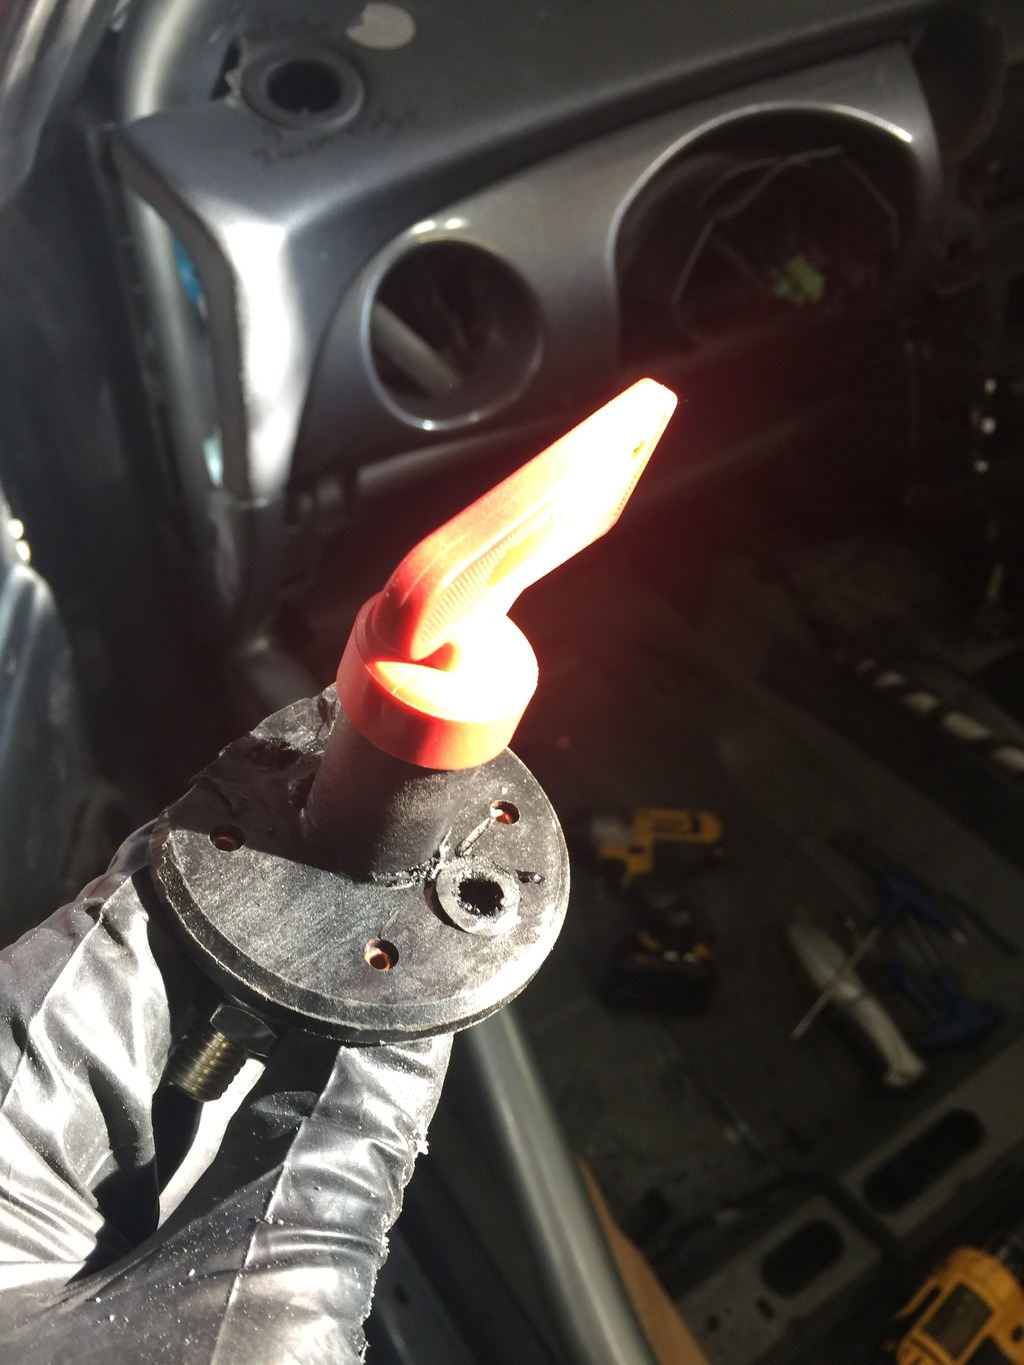
Test fit the kill switch some more. Confirmed that it will fit there, but only in one orientation, and required some trimming of the switch. With the front edge trimmed (to butt against the hard dash frame) and with the bosses trimmed off (so it will bolt flat against the bottom of the plastic dash frame) it’s just tall enough to flush mount in the dash pad.
Click the image to open in full size.

Installed the right hood latch, and hung the radiator frame on the car to get it out of the way.

Spent a while fiddling with the rear convertible hoop some more. Still needs a bit more fine tuning.

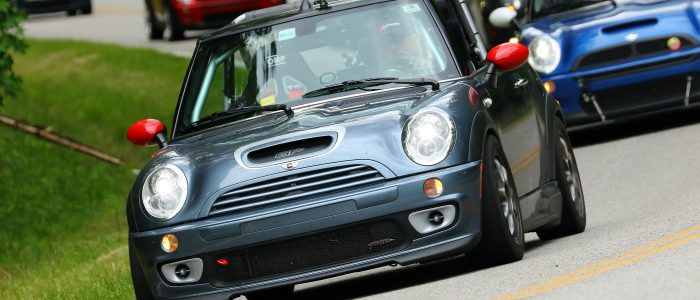
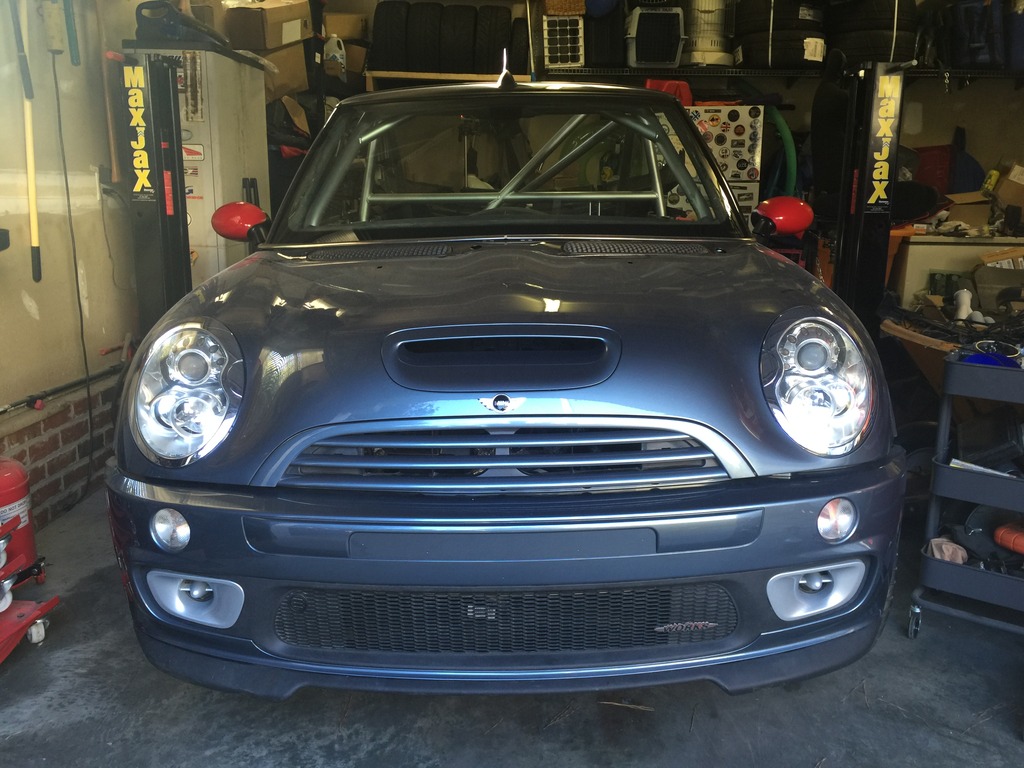
Wet sanded and polished the Chili Red mirror caps, found a pair a good mirrors in my pile, cleaned them up, installed the caps, and installed the mirrors on the car.
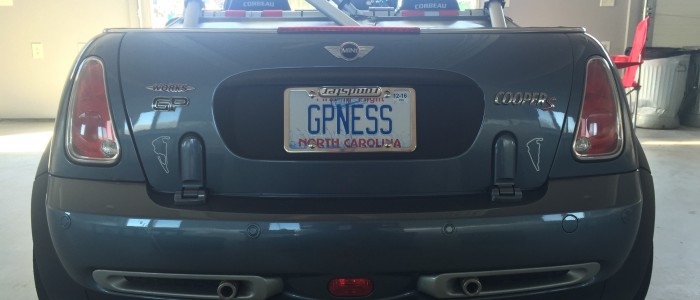
GPness…
Click the image to open in full size.

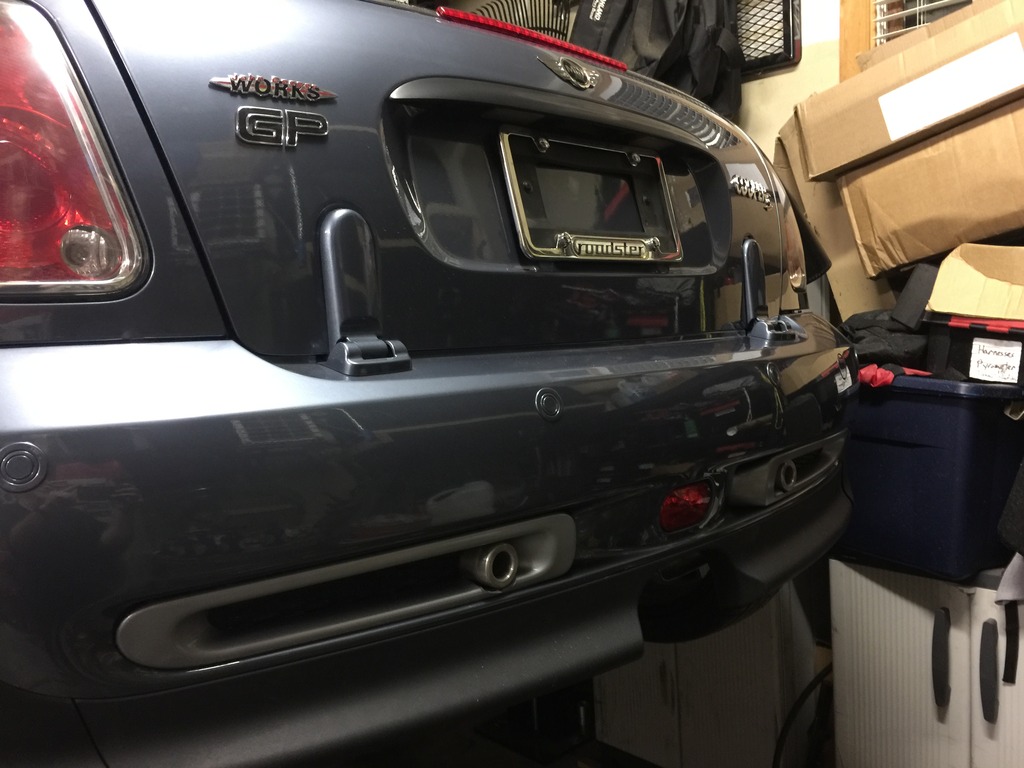
Fitting rear bumper trim…

OK, I have a problem. I can’t stop working on this thing. Finished dinner and thought I’d do “one more thing”….

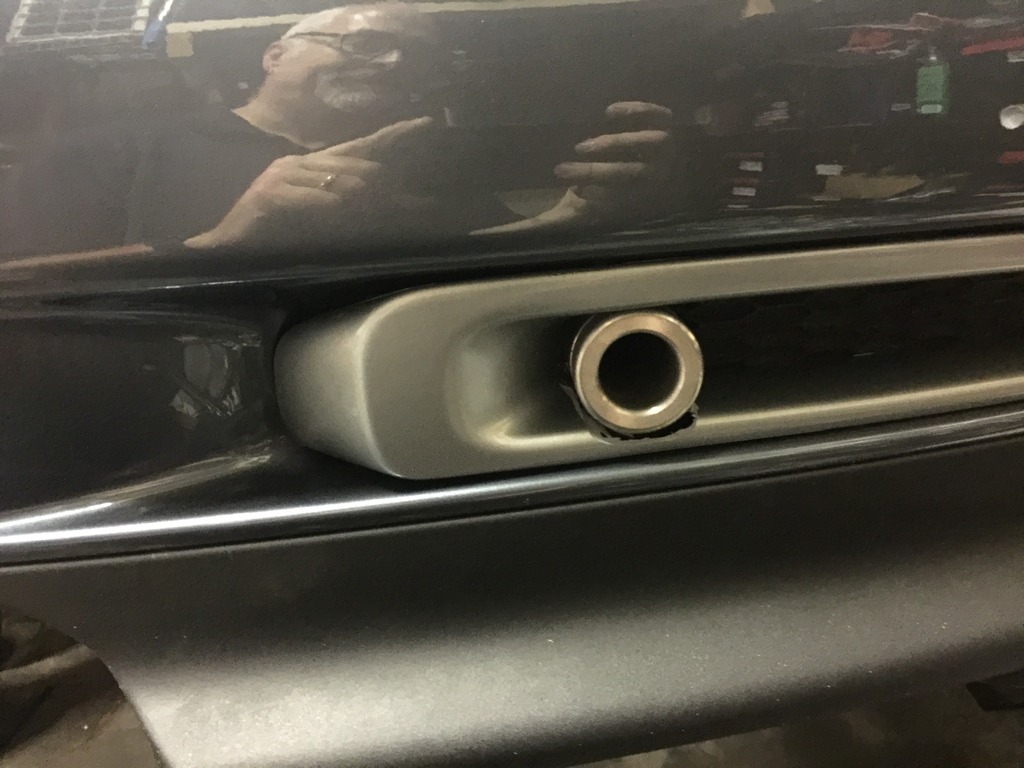
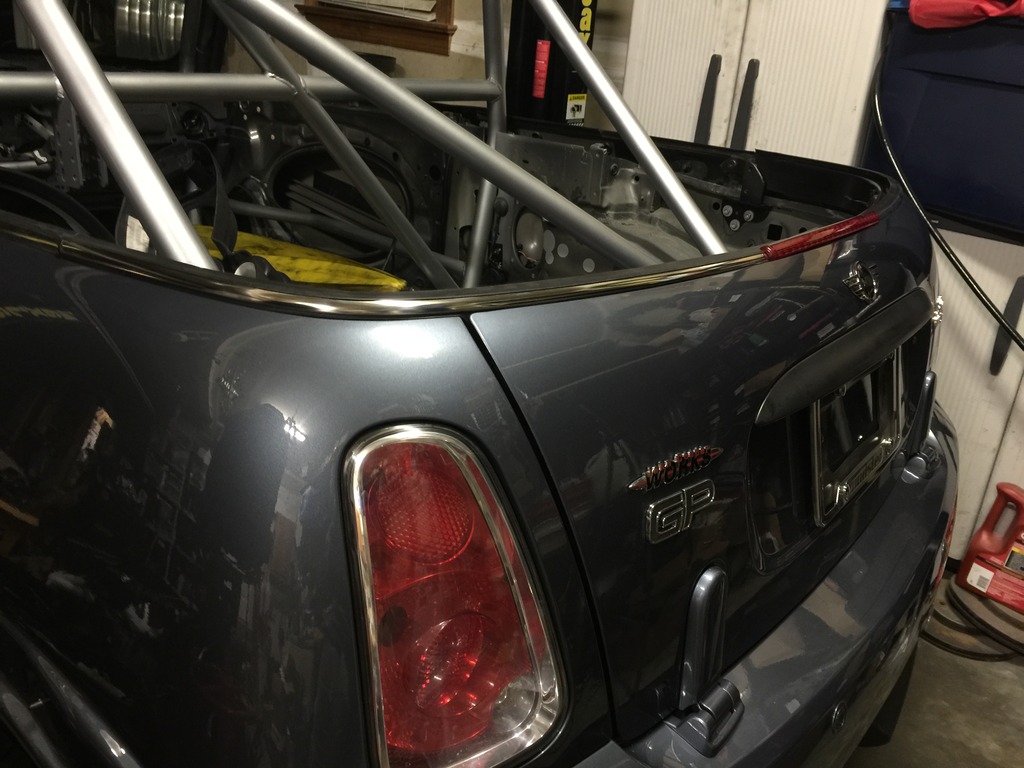
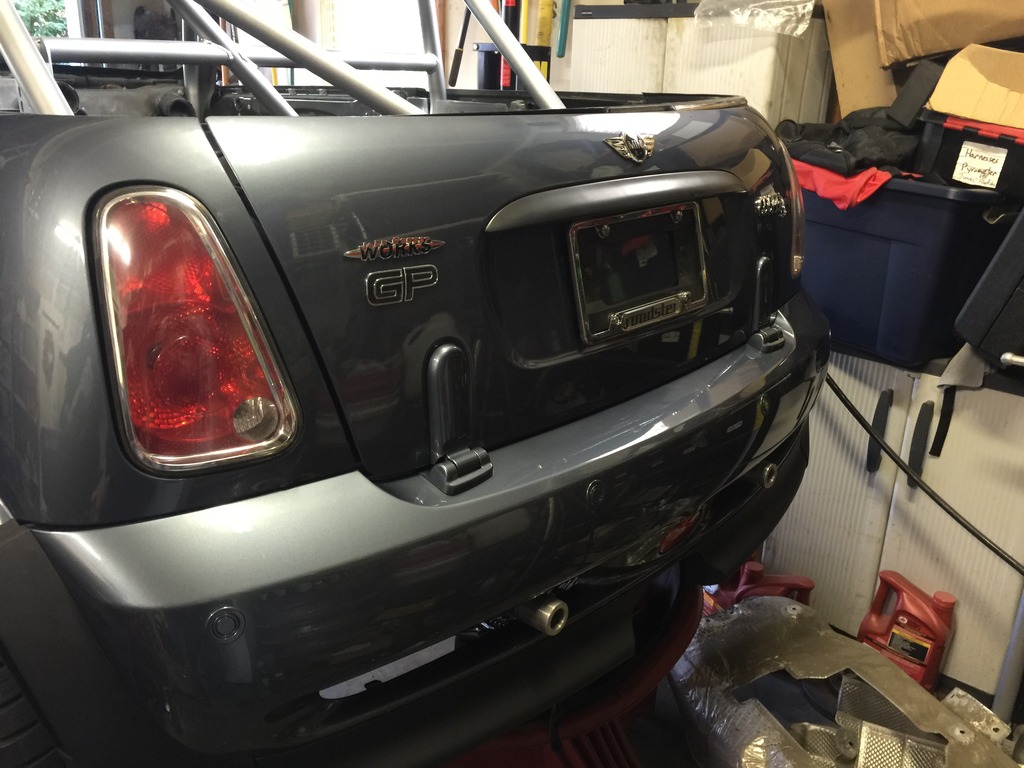
Fitted the GP bumper trim, then ground it out to fit the Mini Fini hitch.
Click the image to open in full size.
The whole thing looks pretty good, I think. Just lucky, the hitch tubes are perfectly aligned with the end of the cutouts. From the angle most people will see, it looks perfect. Only if you get down on the ground and scrutinize it will you notice it’s not.

It was actually easier than I expected. Already had the grilles cut right, so after I installed the inserts, I just used the die grinder to grind them out to match the holes in the grilles. I’ll pull them out tomorrow and clean them up a bit, then repaint and reinstall. Done.

Painting Details

Painting day.

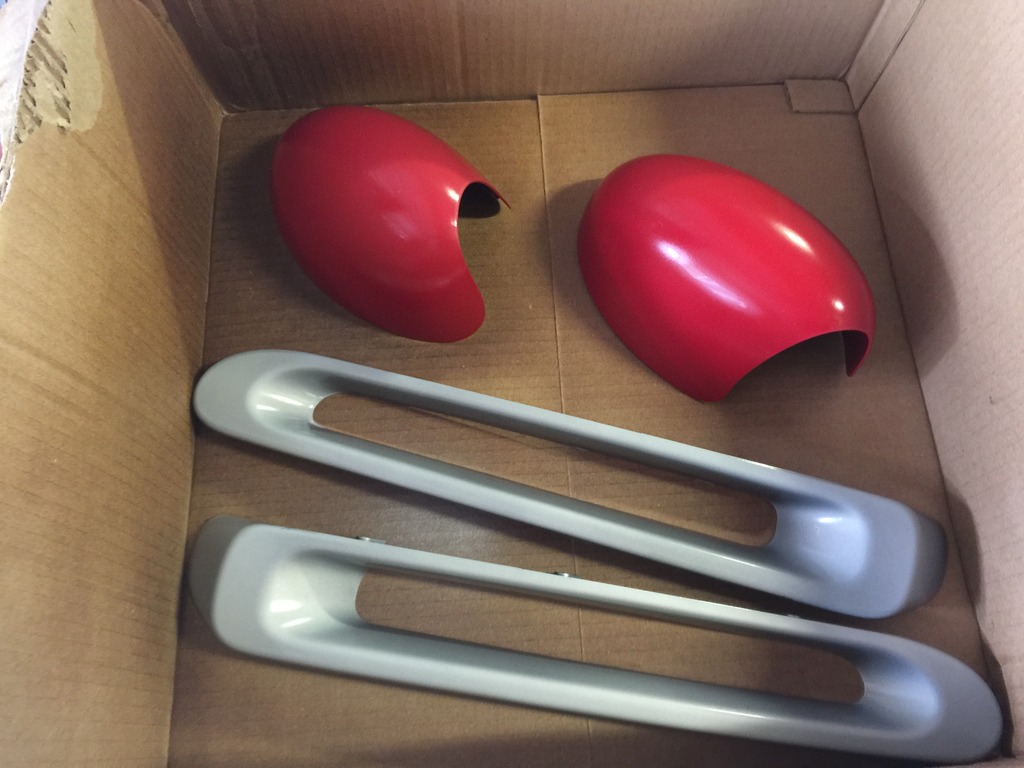
Chili Red mirror caps, Pure Silver rear bumper inserts. GPness.
Click the image to open in full size.

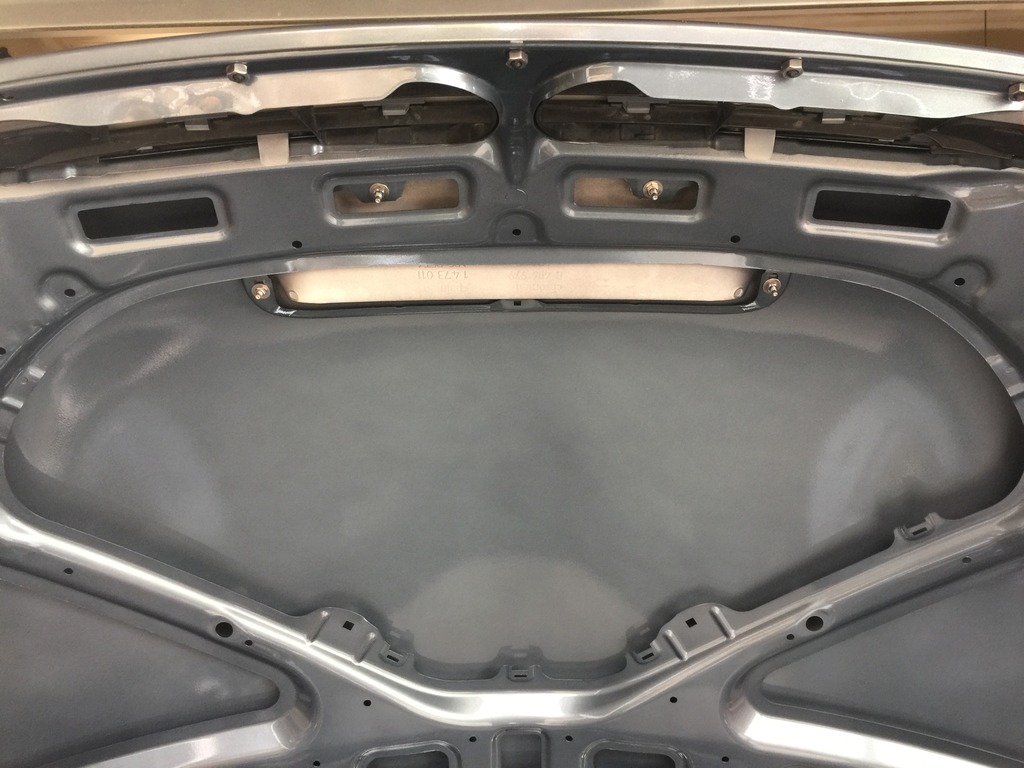
The underside of my bonnet used to look like this:
Click the image to open in full size.

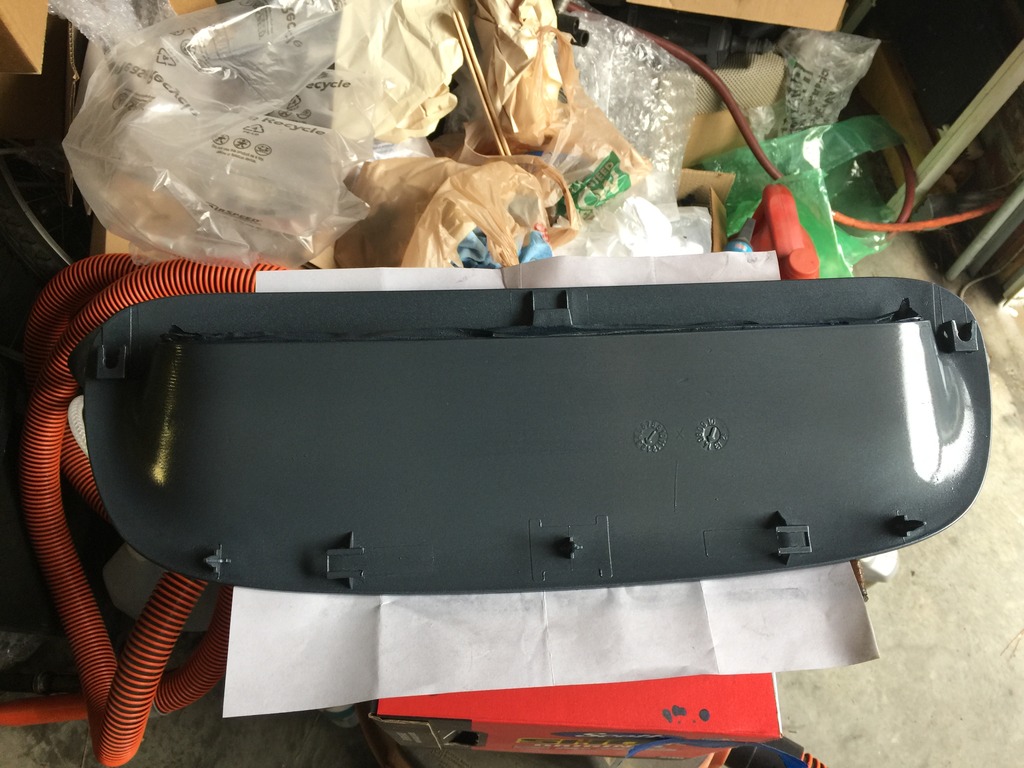
Shaved, filled and sanded the molded in part numbers and stuff on the scoop, then primed and painted Thunder Blue and clear coated.
Click the image to open in full size.

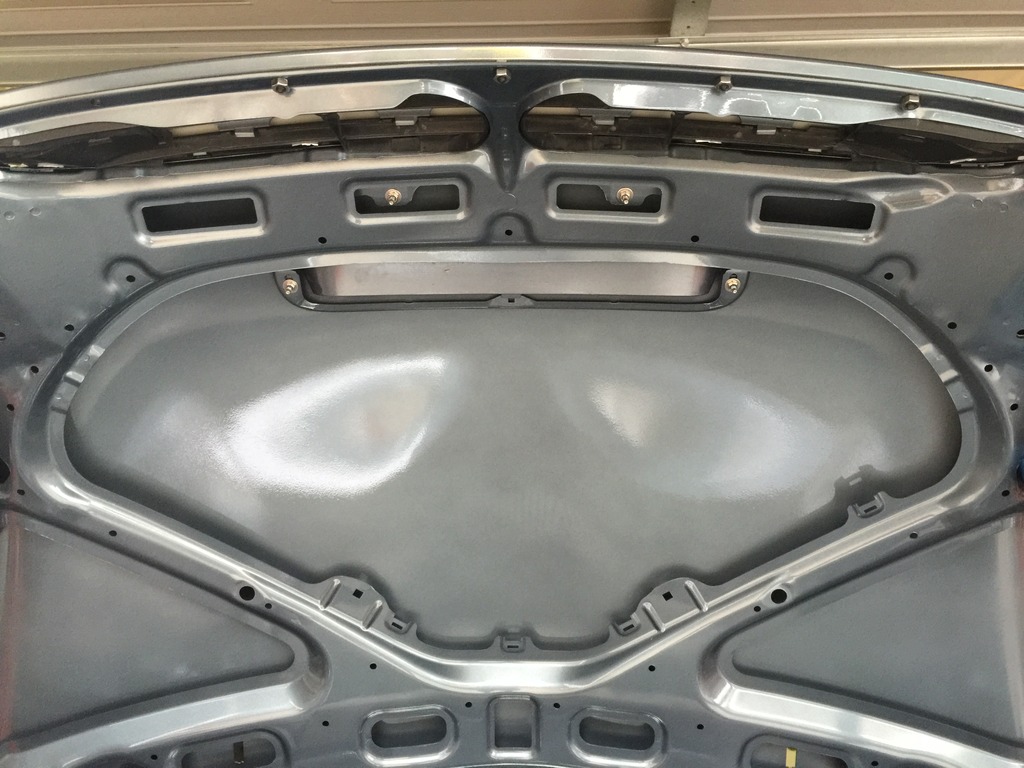
Also cut off the unpainted indexing tabs on the grill slat assembly. Now, bonnet looks like this… better.
Click the image to open in full size.

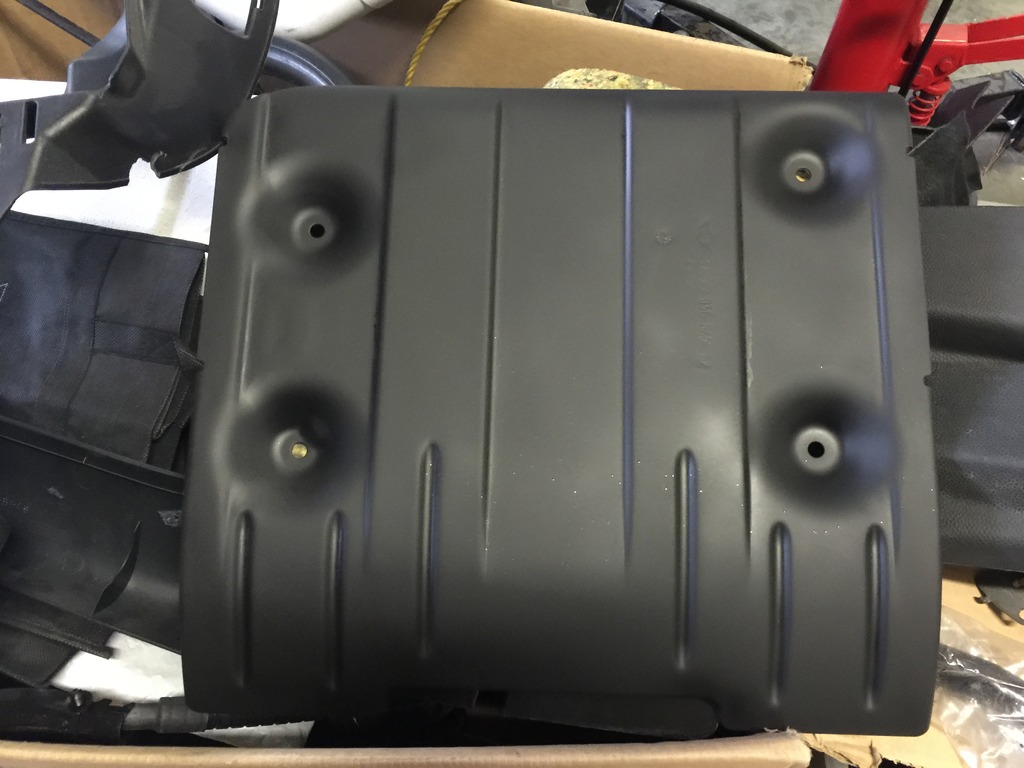
Painted battery box skid plate flat black, like on my old car. Really improves the look of the rear of the car.
Click the image to open in full size.

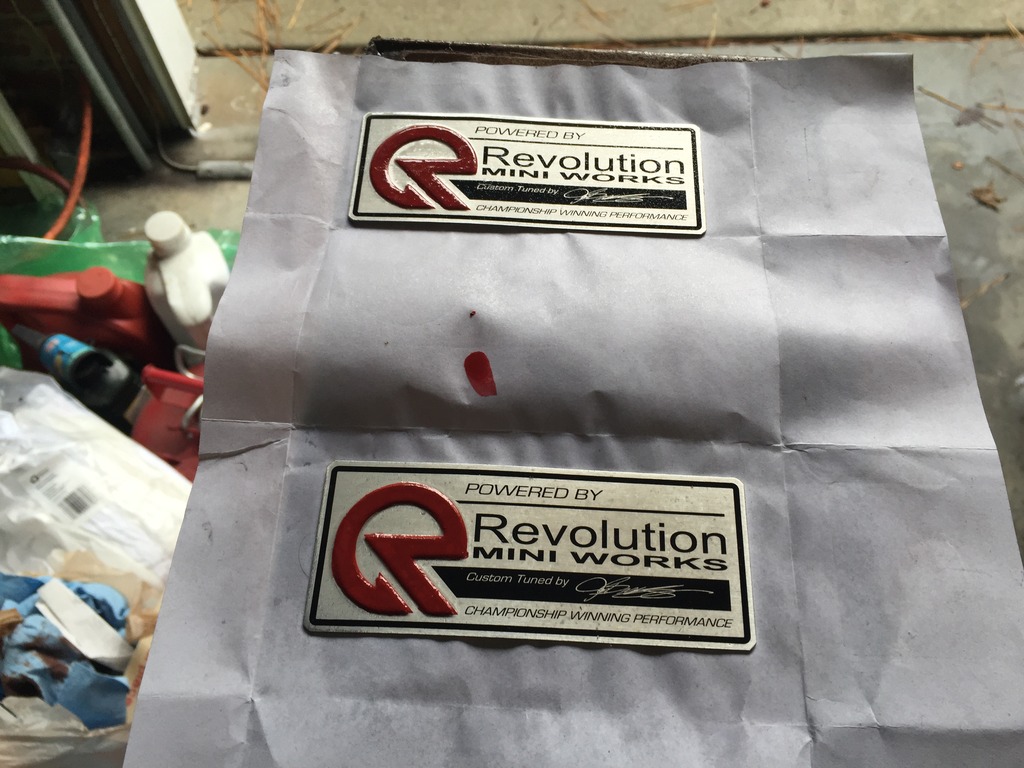
And clear coated my hand-me-down RMW valve cover badges, on which I had previously repainted the R’s.
Click the image to open in full size.

Undoing damage is hard work

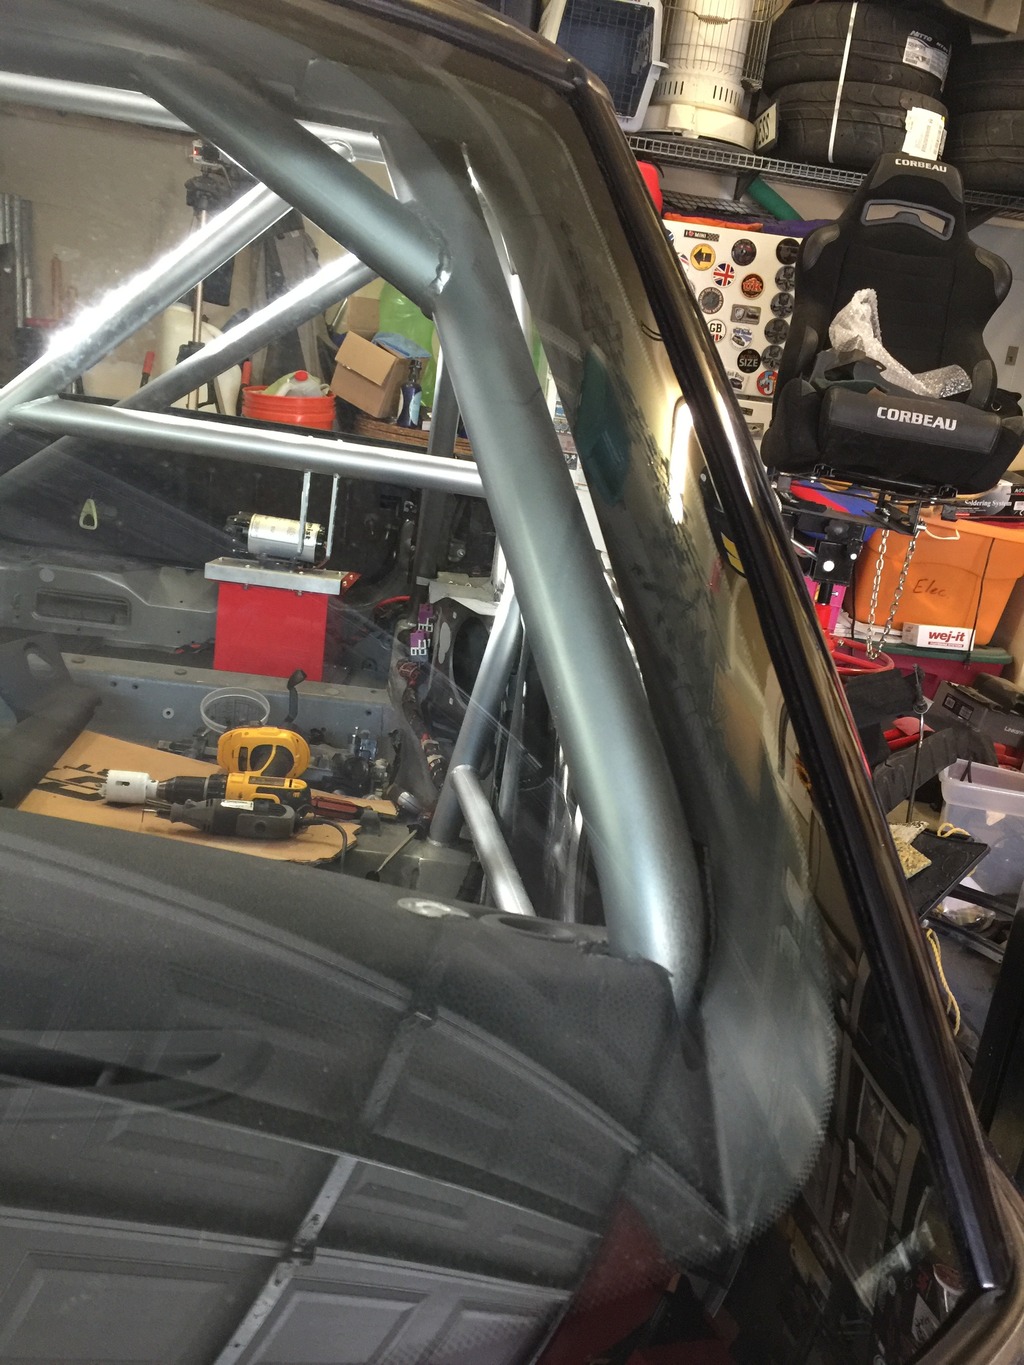
OK, I just can’t stop. Went back out and spent another hour working on the rear convertible top hoop. After copious application of vise, big azz wrench, cheater bar, body weight, and come-along, I got it straightened sufficiently to fit. 

Now I can have rear beltline trim, 3rd brake light, and something to connect my tonneau cover to…
Click the image to open in full size.

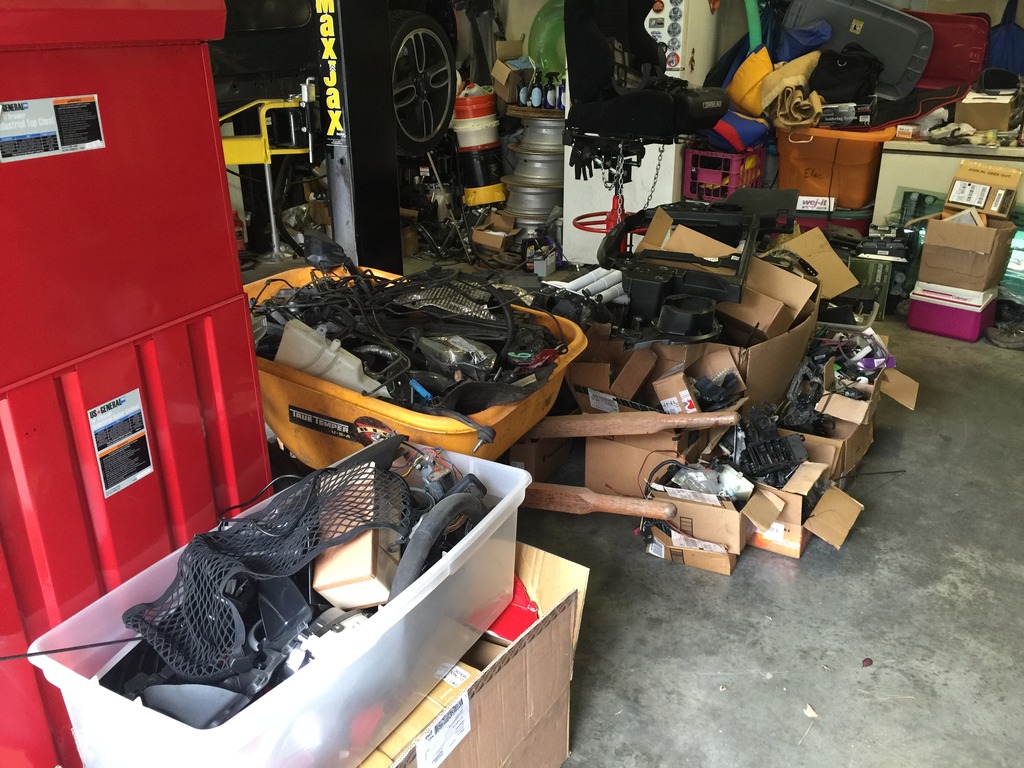
There are a lot of parts, in three MINIs…

Light day today. Had some other stuff to do, only spent about 3 hours, most of that doing clean-up duty. MUCH more organized now, sorted out some parts I won’t need, tidied up. Wife is much happier. And I don’t have to drag stuff around and move a wheelbarrow, every time I’m ready to work…
Click the image to open in full size.

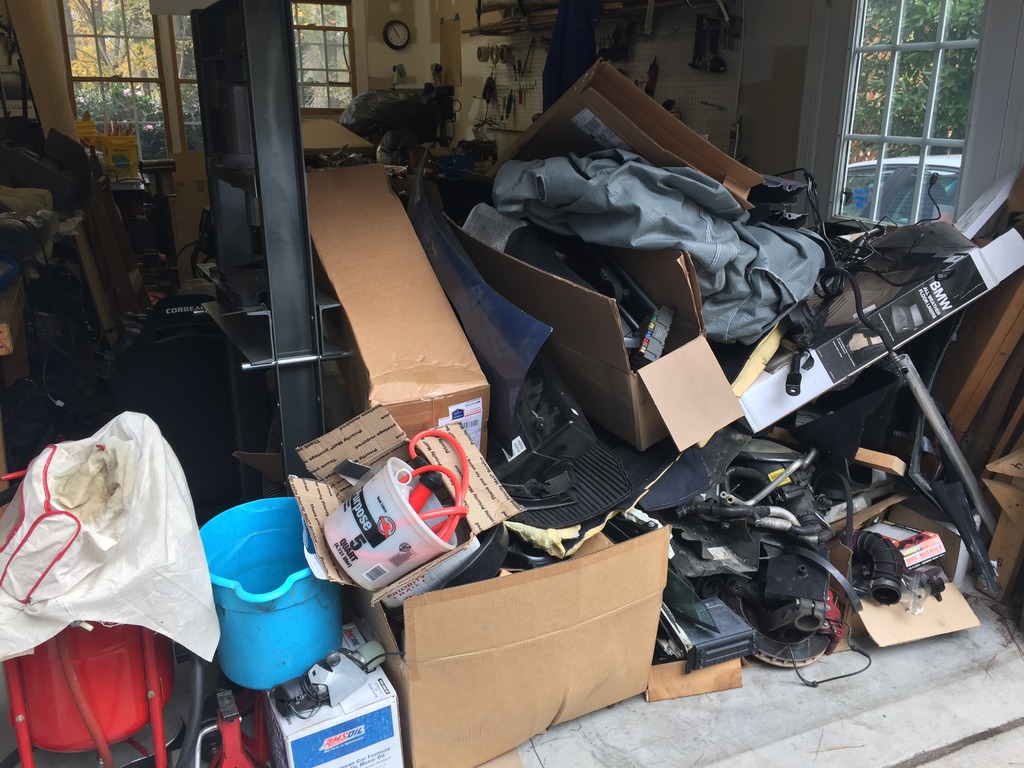
There’s a mountain of parts in the other garage. Most of this stuff I won’t need for a while, but there are a few things in the pile that will get used, eventually. And I’m going to need to use that press. So the pile will need to be re-assembled a few times.
Click the image to open in full size.

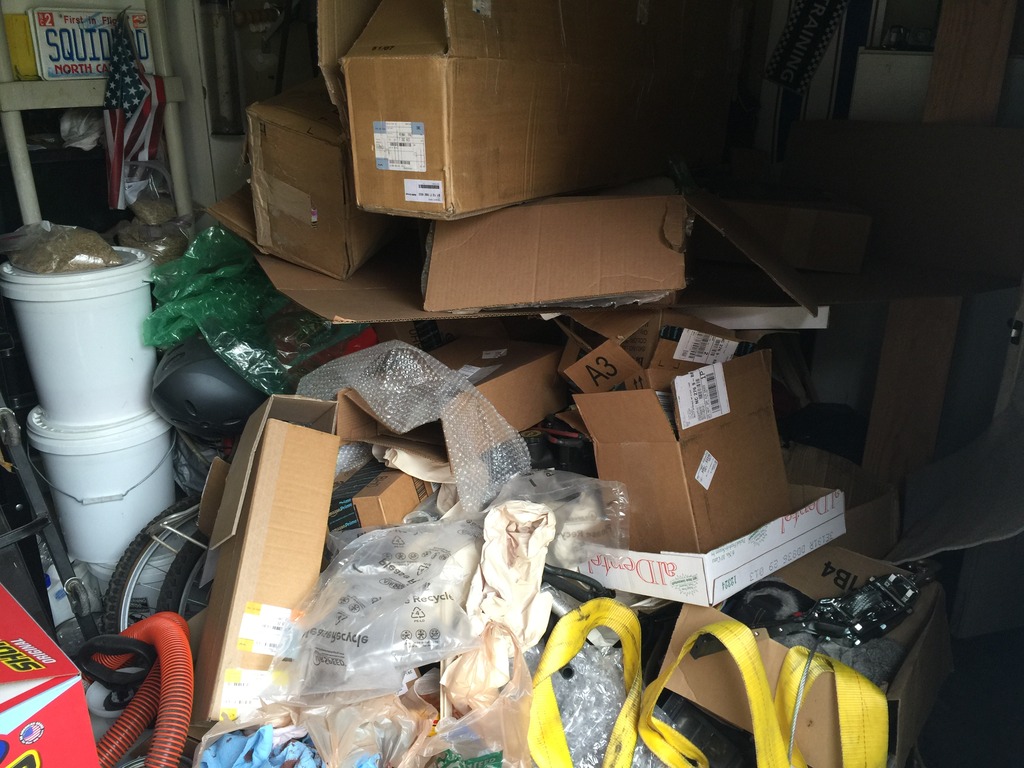
Here’s the mountain of boxes, waiting to go to the dump. Where’s Waldo? There’s something kinda valuable peeking out from under the pile…
Click the image to open in full size.

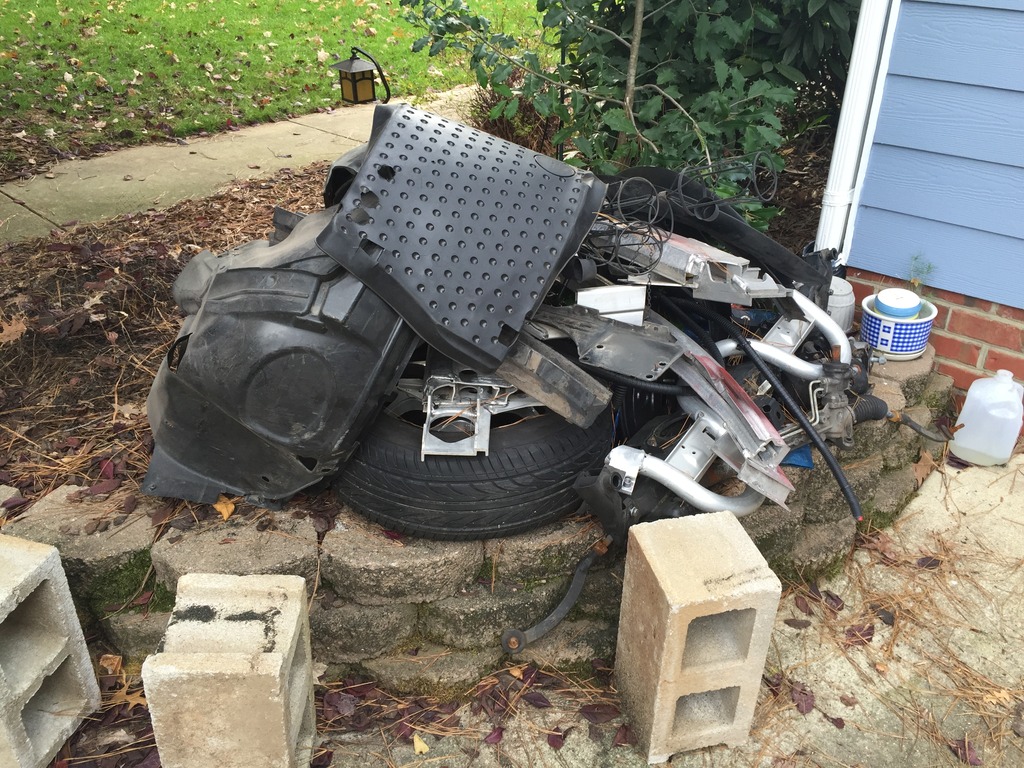
And some junk and stuff.
Click the image to open in full size.

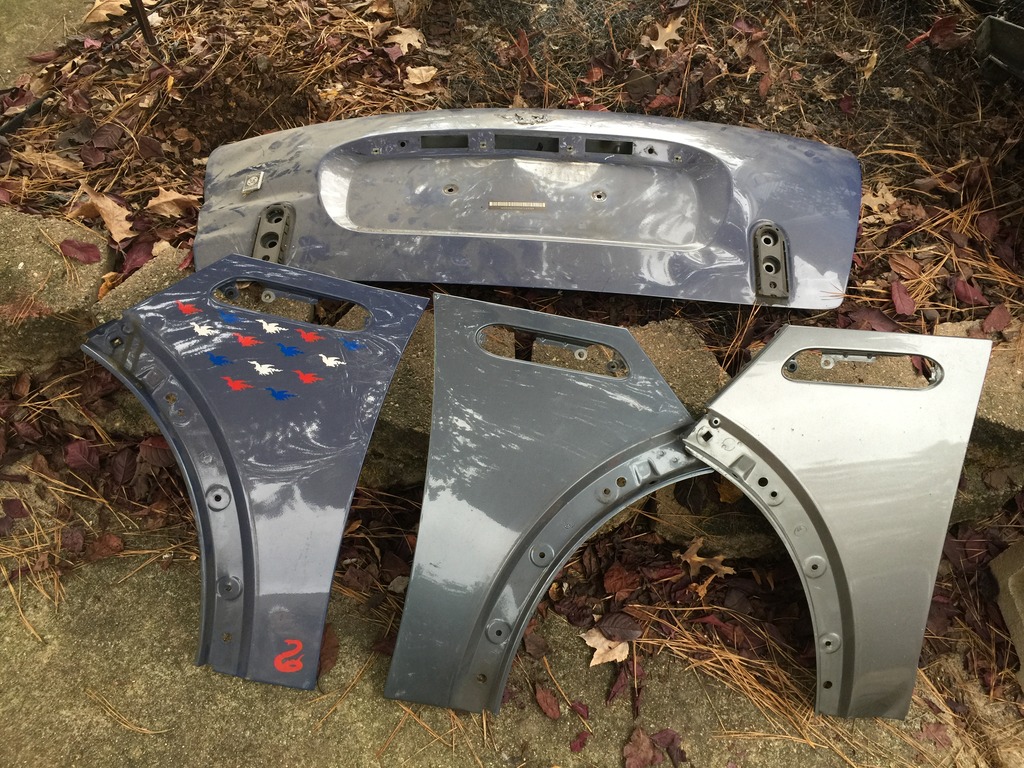
A tale of Three Minis… A-panels from Blimey, GP0769, and the Locutus Mk2 shell. Plus Blimey’s boot.
Click the image to open in full size.

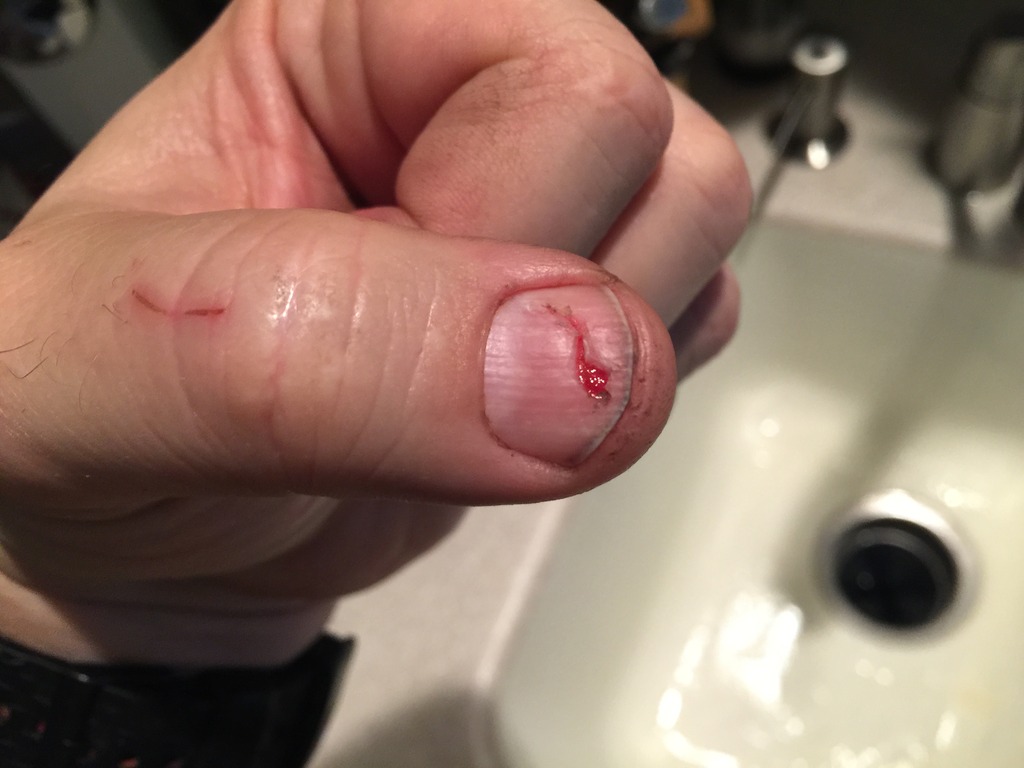
Not much progress. Played around with positioning for the battery cut-off for a while. Also cut and installed the rear bumper grills, to fit around the Mini Fini hitch. Note: pay attention to where your thumb is, when using a hole saw.
Click the image to open in full size.

Still need to paint, cut and install the GP bumper trim. Thought I’d get to that today… but not yet. Did take time to do some surgery on my thumb nail. Much better, now I won’t snag it on things.
Click the image to open in full size.

And more building…

About 4 hours today.

Started by finishing the under-car part of the wiring harness install. Still need to route the PDC / fog / corner marker wiring behind the rear bumper, next time I have it off.

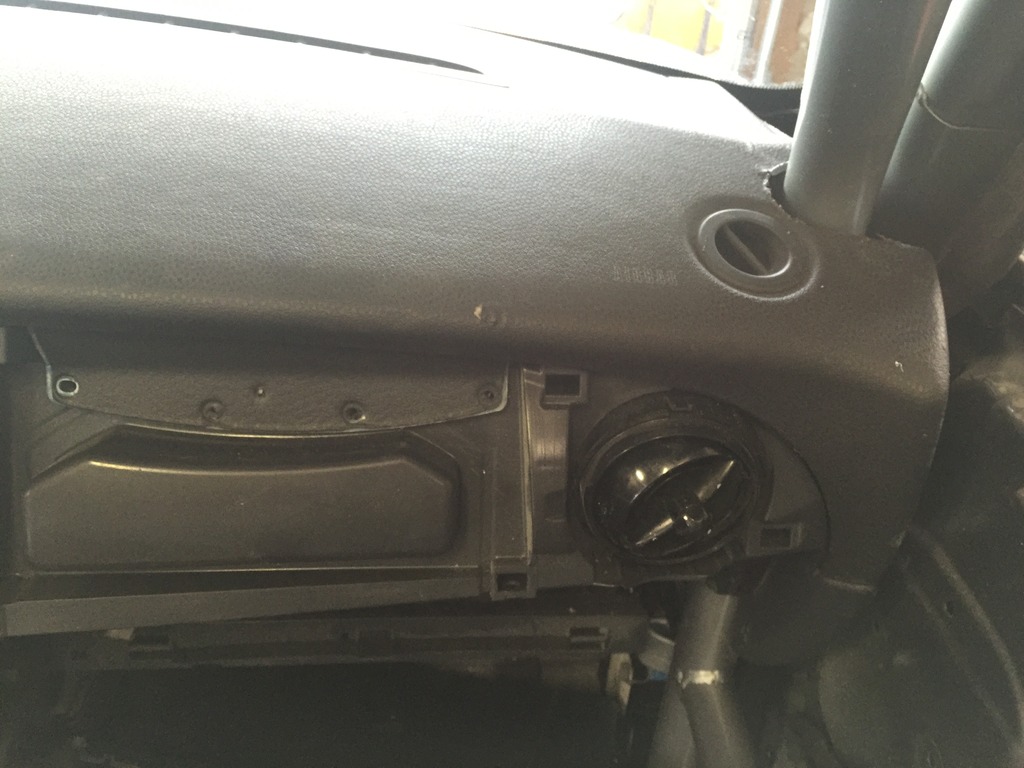
Prototyped the dash fitment. First made a cardboard template by tracing a dash pad, then held it in place, marked where the cage needed to fit, and cut a slot in the template. Cut the template down the middle so I could slide it on from the center. Once I thought I understood how it needed to go, I replicated it on an old dash pad that I didn’t care about, using a 1.75″ hole saw and Dremel cut-off wheel. Glad I had the old dash pad, because it behaves a little differently on the 3D dash pad than it did on the 2D template. Got close enough, and adjusted it as needed to fit in place. Then marked where the cuts actually need to be, so I can copy it over to the good dash pad later. The final product will fit tighter and cleaner than the pics here.

Click the image to open in full size.

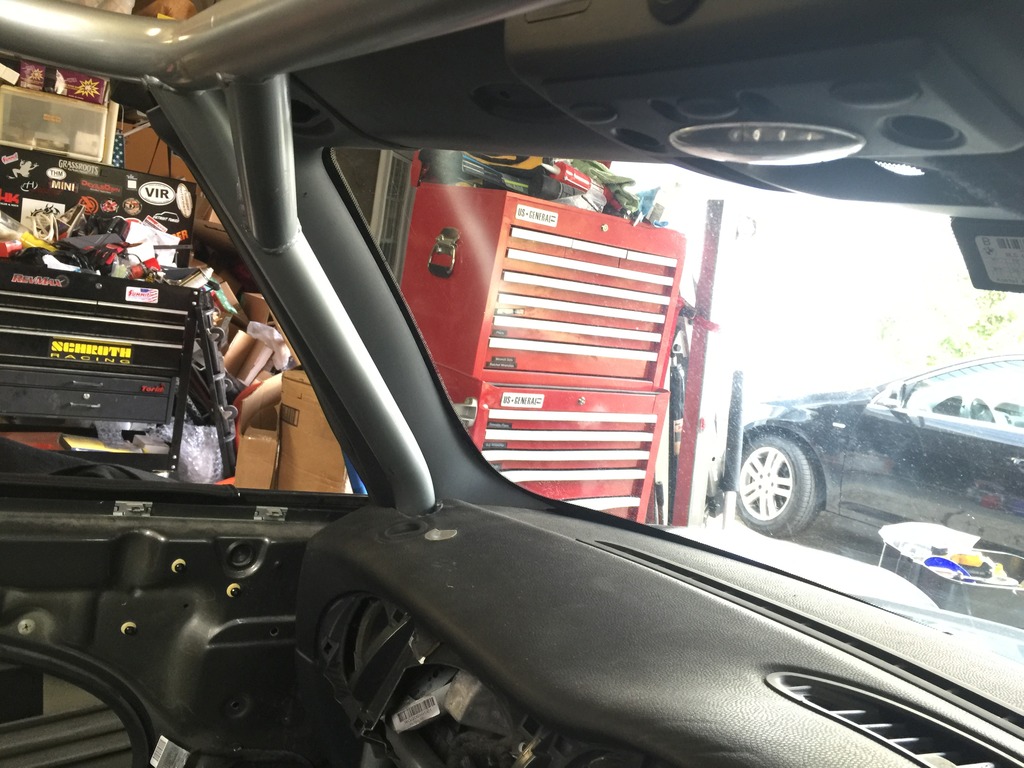
Also installed the windshield header trim, and prototyped one of the A-pillars. Amazingly, can flex it enough to squeeze it in behind the cage! I have a spare set of the A-pillar covers also, so I can redo them “right” once I’ve played around some.

Click the image to open in full size.

Also installed the brake/clutch pedal cluster, ran the clutch line, and installed hood release lever and cables.

Played around with the battery cut-off switch. I do think I’ll install it in the left driver’s vent. Need to fab a mount for it, and cut out some of the duct work behind there. I have insulating covers for the switch terminals, so I don’t need to worry about it shorting on anything.

Click the image to open in full size.

Piles of parts are shrinking! Making progress.

More building

Slower day today. Spent 6 hours on non-glamorous stuff. No pretty pics to show for it. Got distracted by the dash, so didn’t get all the stuff done that I had planned.

  • Reinstalled weather strip
  • Test fit roof header panel, marked where it needs to be trimmed to clear cage.
  • Reinstalled body harness 90%. A bit to do under the car tomorrow.
  • Test-fit main battery cable inside the car.
  • Reinstalled PDC module and BCM.
  • Removed upper steering column / steering angle sensor
  • Swapped immobilizer module
  • Trimmed dash frame to fit around cage
  • Experimented with swapping toggle panel and head unit.

Decided to route the main battery cable as usual under the car, then bring it in the driver’s footwell for the cut-off switch. There’s not enough room to route it inside with the other cables on the cabrio… the extra sill reinforcement eats all the space.

The header panel / sunroof from Blimey’s roof should work fine as the front seal for the bikini top. I’ll need to trim it down some, but no problem.

The dash frame required A LOT of trimming and test fitting to get it to coexist with the roll cage. Used a Dremel with cutoff wheel, made it easy to trim a bit at a time right in the car. Finally got it to fit right. Still will need to trim the parcel shelves, will look at that tomorrow probably.

One downside of the roll cage design is that the knee bar eats a couple of inches of depth behind where the stereo headunit lives. And it was pretty tight behind there to start with. So it needs to move somewhere. Even though some folks have SWORN that I’d be able to swap the toggle panel and the headunit positions, there’s not enough depth behind the toggle panel either. Nor does the dash frame extend down far enough. Perhaps it would work with a less-deep aftermarket unit? I even pulled the front heater ducting off the HVAC unit, still not enough room. So I need to put that back together, and figure out another place for the headunit. It MIGHT be able to mount in the passenger parcel shelf… we’ll see. I’ll probably keep the toggle panel in the upper location, it’s kinda cool there. I’ll make a blanking plate for its original position.

Probably most of a day’s work left to fit the dash cover and the parcel shelves around the cage. There will be a good bit of fitting required for the sill covers, too.

The build begins!!!

OK, my groovy babies. It has BEGUN.

Worked on it 7 hours today. My strategy is to (a) try to do things in a planned order, so I can minimize rework and (b) try to shrink the pile of parts as quickly as practical, to make space to work in the garage and (c) do some pretty stuff first, because I’ll be more motivated to do grunge work (like the wiring harness) on a car that already looks pretty good.

Click the image to open in full size.

So, today’s accomplishments include:

  • vacuumed crap out of it
  • Cleaned grunge and paint off windshield and windshield header
  • removed rear heat shields and bumper frame
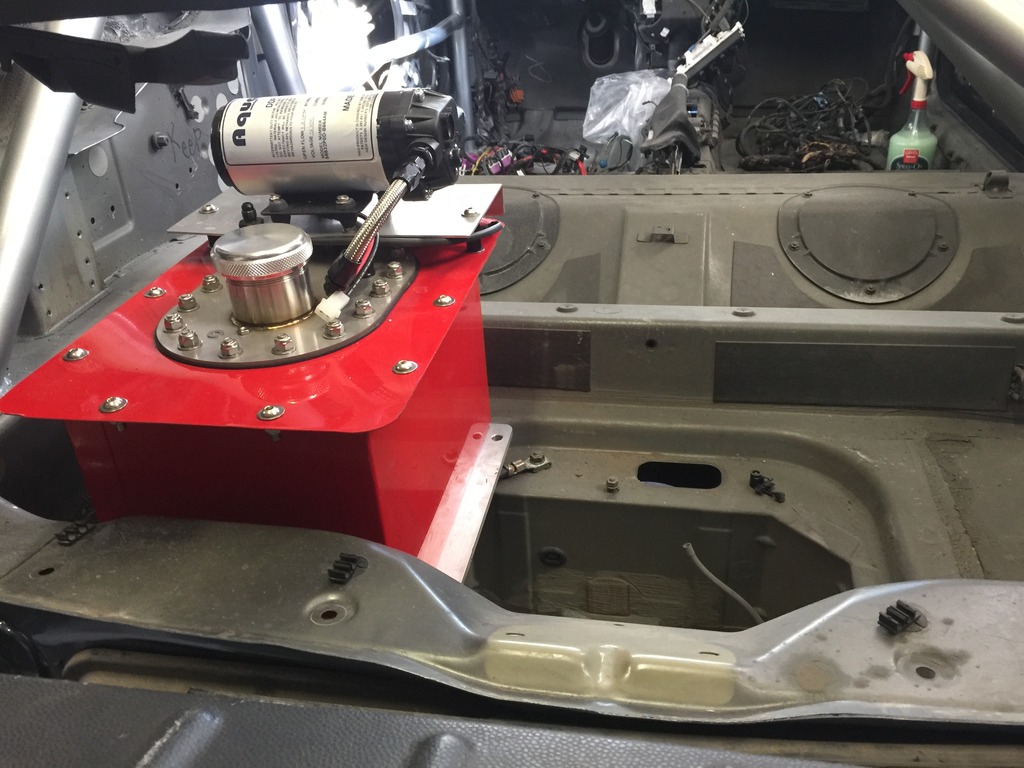
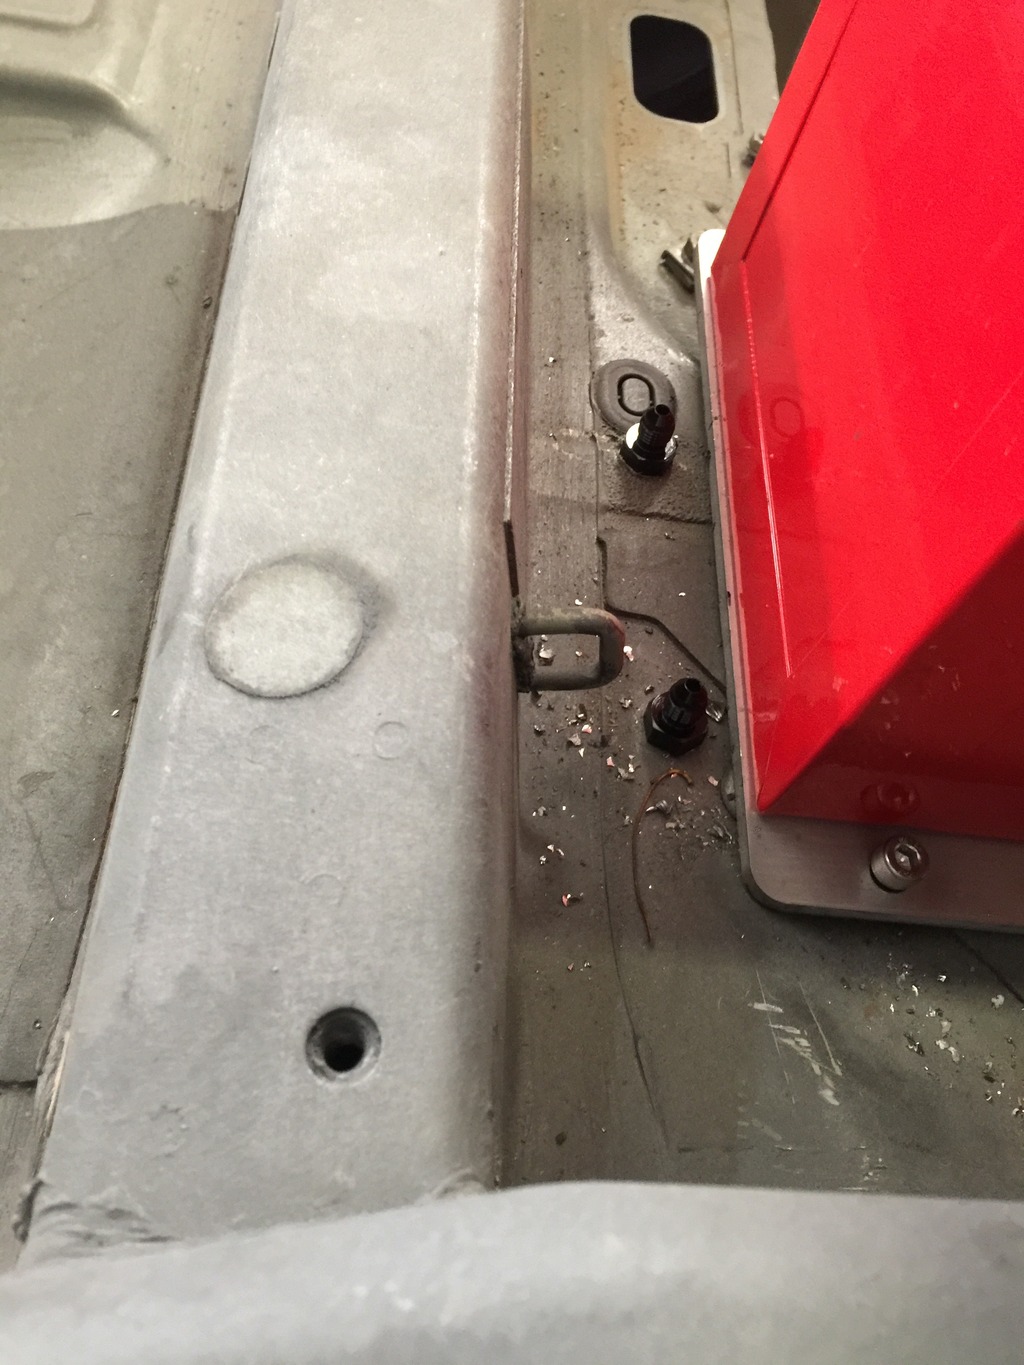
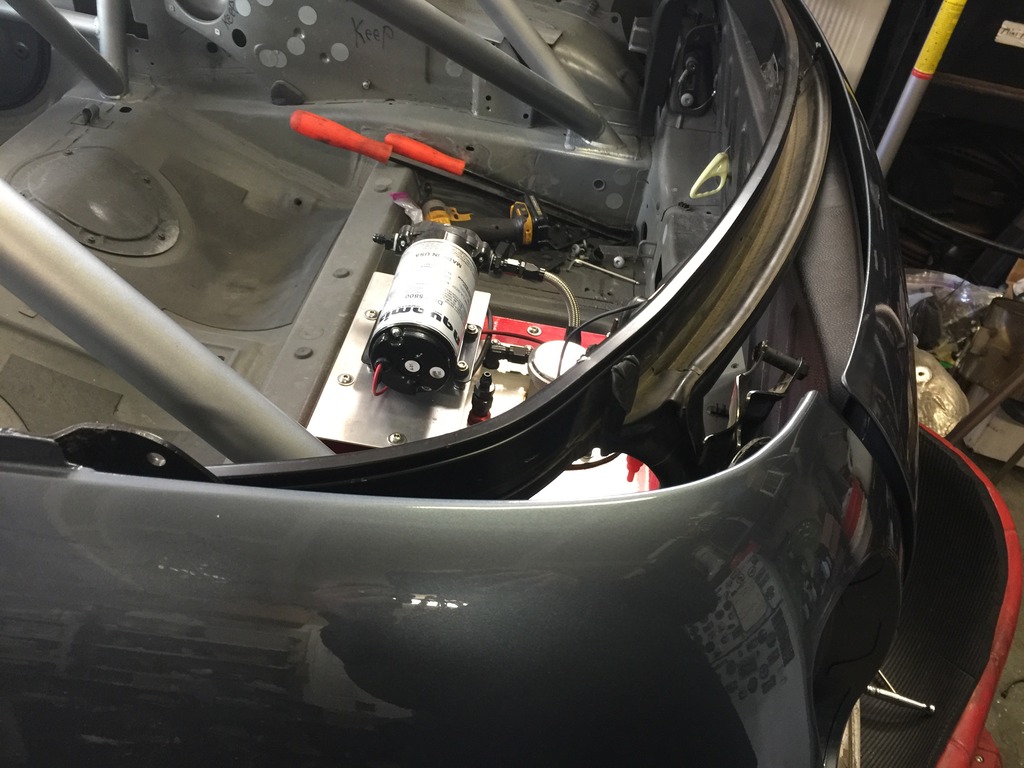
  • Drilled and installed nutserts and bulkhead fittings for meth
  • Installed MiniFini hitch, bumper frame and bumper cover
  • Installed boot handle
  • Installed GP rear trim
  • Installed badges front and rear
  • Installed rear hoop from convertible top and accompanying latch hardware. Determined it’s pretty bent, worked on straightening it for a while, gotta play with it some more.
  • Assembled and installed hood grille and scoop.
  • Put turn signals, corner lights, grille and splitter on the new bumper.
  • Installed bumper frame and bumper.
  • Installed new headlight rings and glued in new headlight washer covers.
  • Installed headlights and tail lights and side scuttles.
  • Installed A-pillar covers and most of the beltline.

Business end of meth system is installed…
Click the image to open in full size.

Yeah, when you land a flying MINI cabrio on the left rear corner, it bends stuff. this is the rear hoop for the roof, that I’m going to use as the rear frame for my tonneau cover.
Click the image to open in full size.

It’s gonna need some work to get back in shape. It’s a dang strong, stiff extrusion. My initial efforts to straighten it didn’t do much, I’m going to have to get creative. But it can wait a while.

Tomorrow: Wiring harness, door handles / hardware, windows, mirrors, door panels. Weather strips. Right hood latch, hood latch cables, parking brake cables, brake and clutch lines, maybe some other stuff.

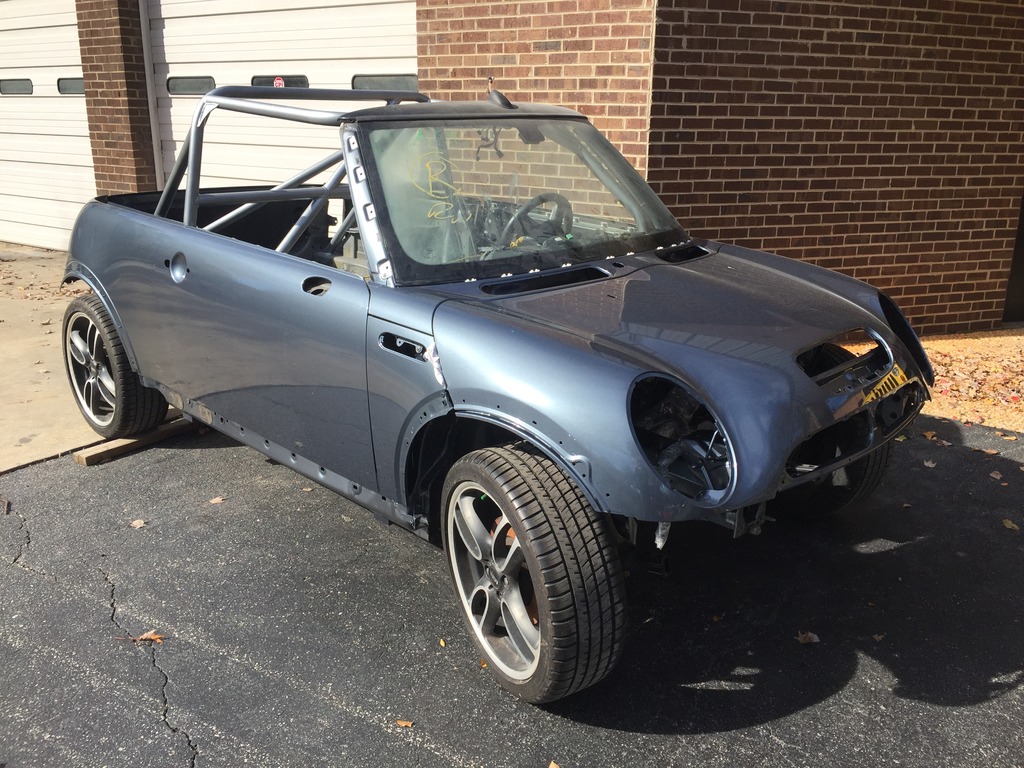
Paint is done!

Paint is DONE.
Click the image to open in full size.

Well, body paint is done. I still have mirror caps and bumper trim to paint soon.

The guys at Kenny Hawkins Automotive did a fantastic job. It’s beautiful. I didn’t pay for show-car quality, and it isn’t… but it’s a very very good production paint job. And the color is perfect Thunder Blue. These guys do most of the high end production car paint and body in town, and also do a lot of show car work.

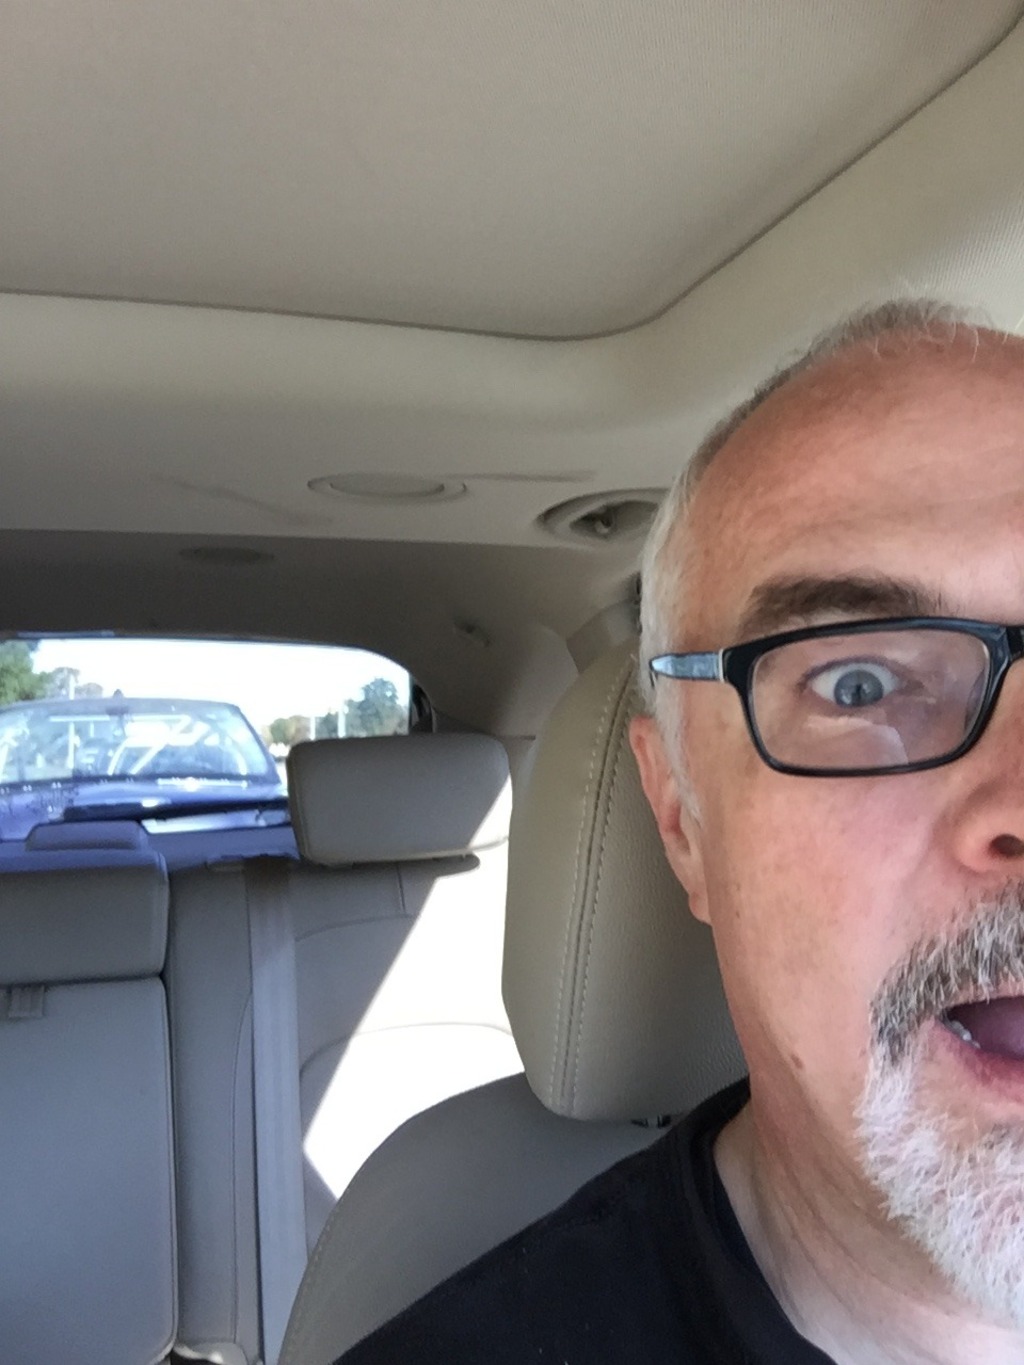
Nervous drive home…. I could envision bad things happening as I towed it… But none did.
Click the image to open in full size.

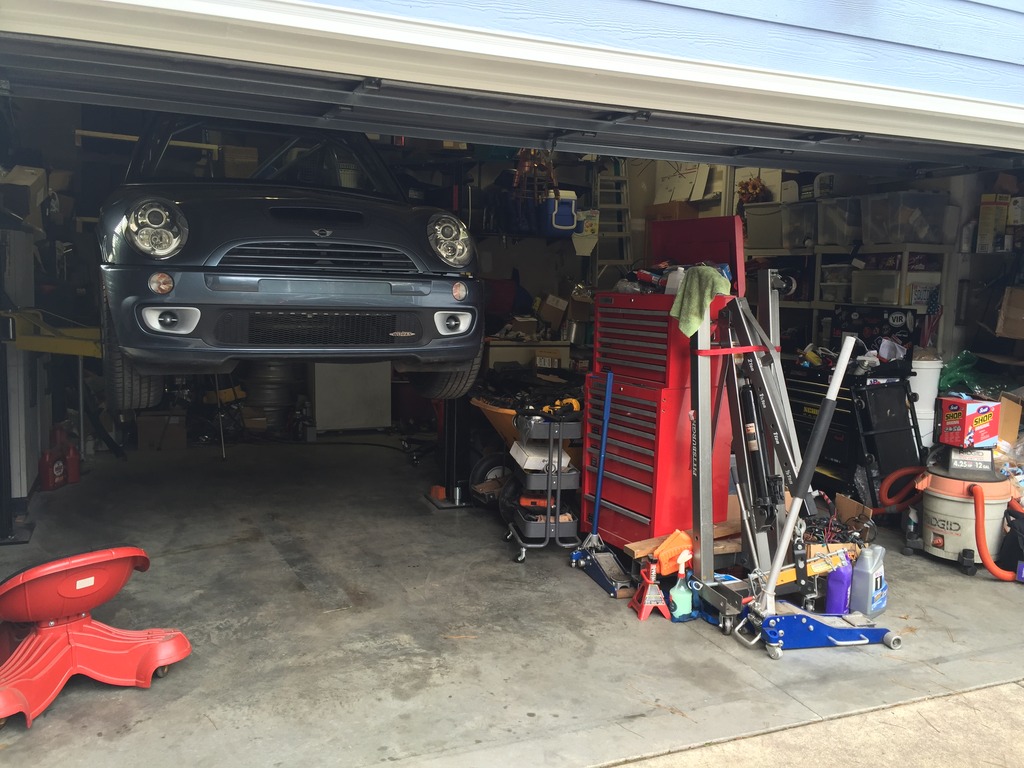
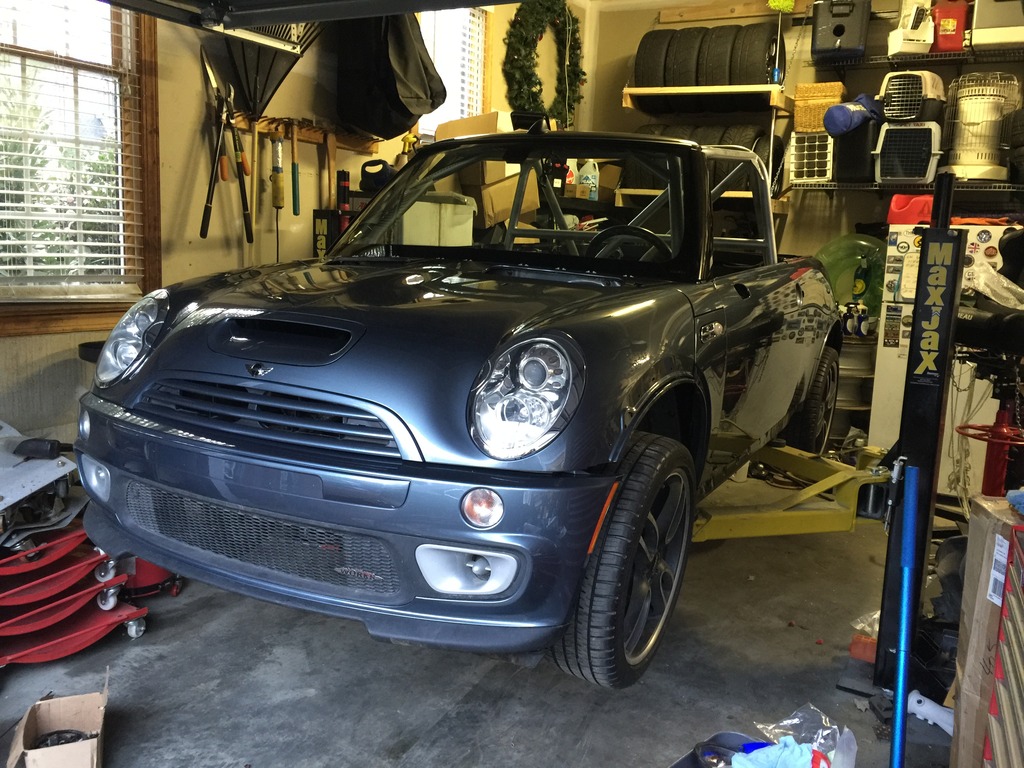
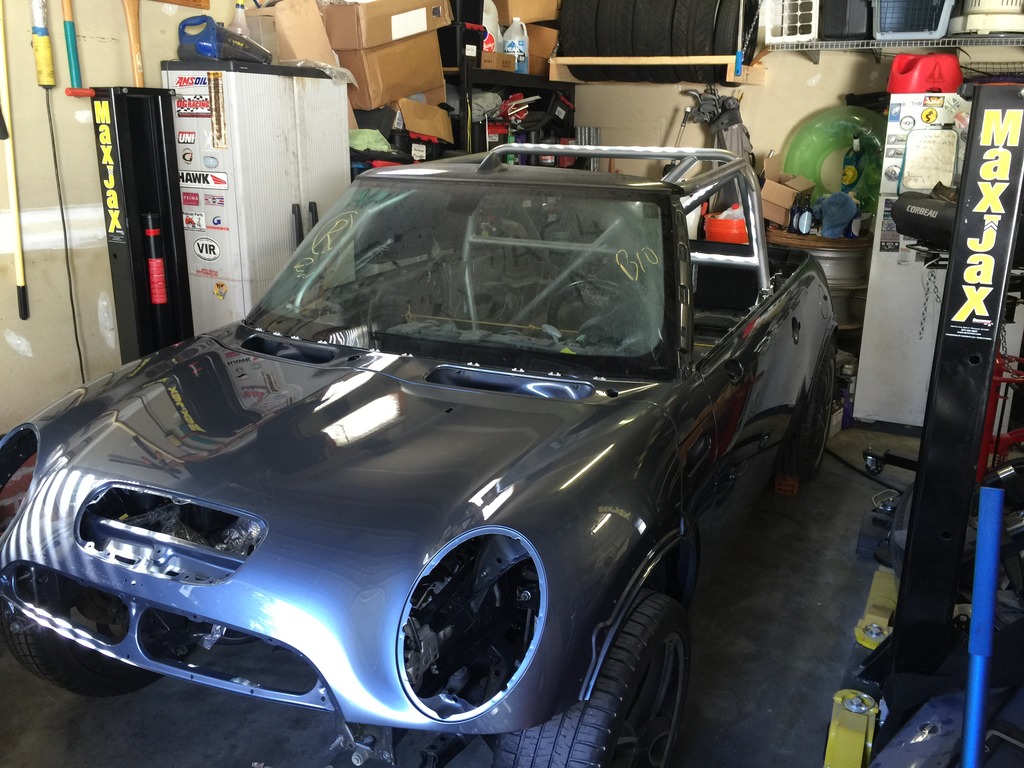
Back in the garage, time to get busy.
Click the image to open in full size.

I have to finish up my front door project and attend a funeral for a friend today. Might be tomorrow before I start making progress.