Spent a few hours today fiddling with stuff.
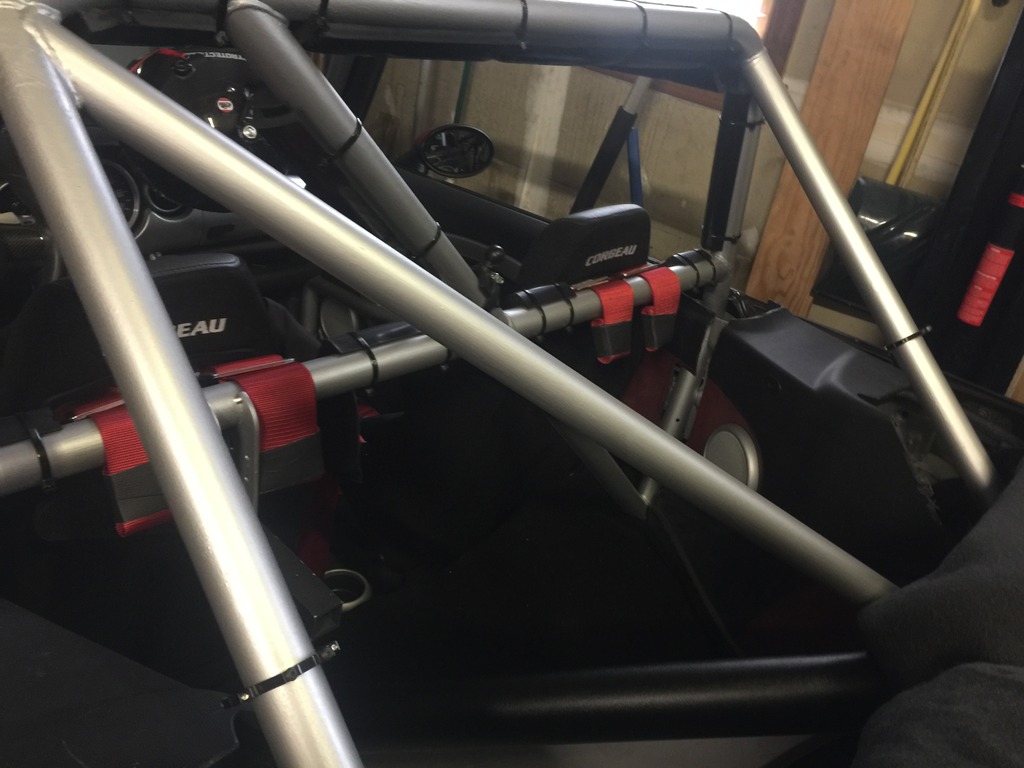
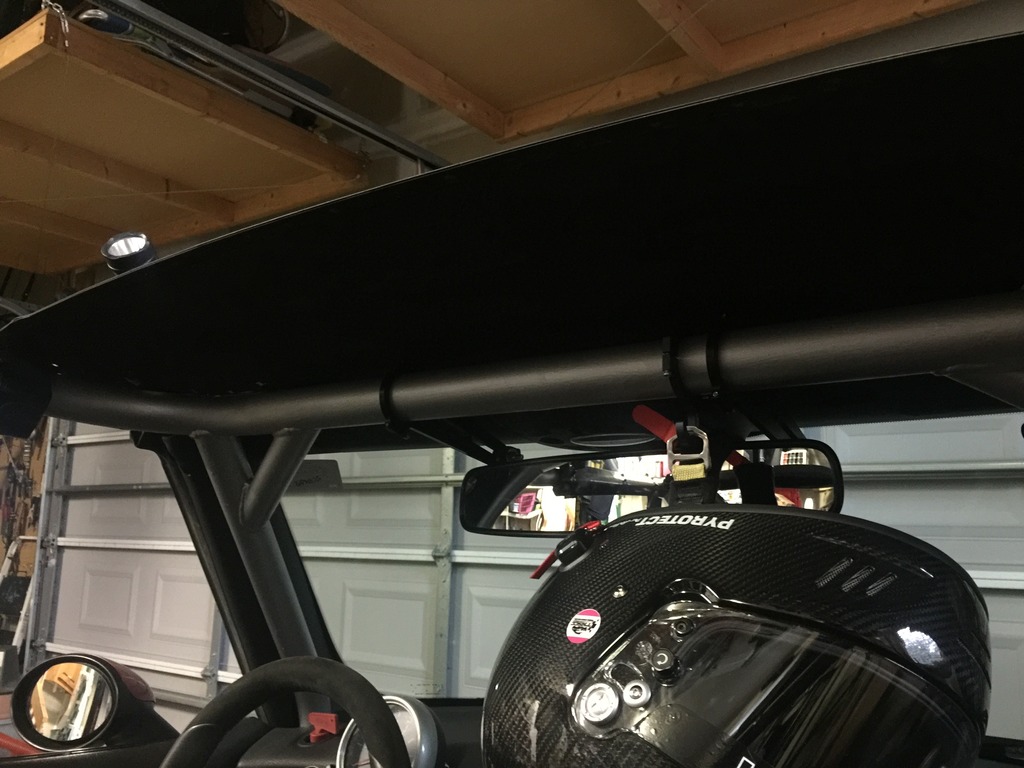
Installed my helmet hook. Because, Racecar.
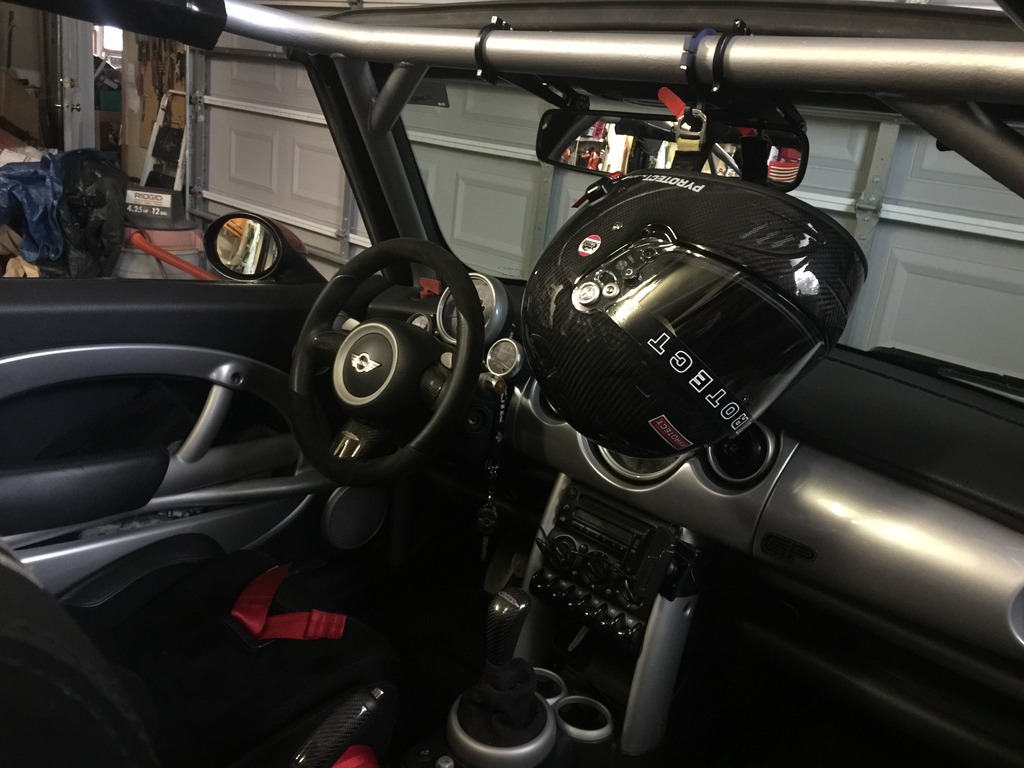
I have a steering wheel hook also, but I’ll wait until I get the Momo QR wheel to figure out placement for that.
Then I installed the brackets that will ultimately hold the tie-downs for the rear of the bikini top.
Then I figured, “hey, I may as well work on the top a bit”
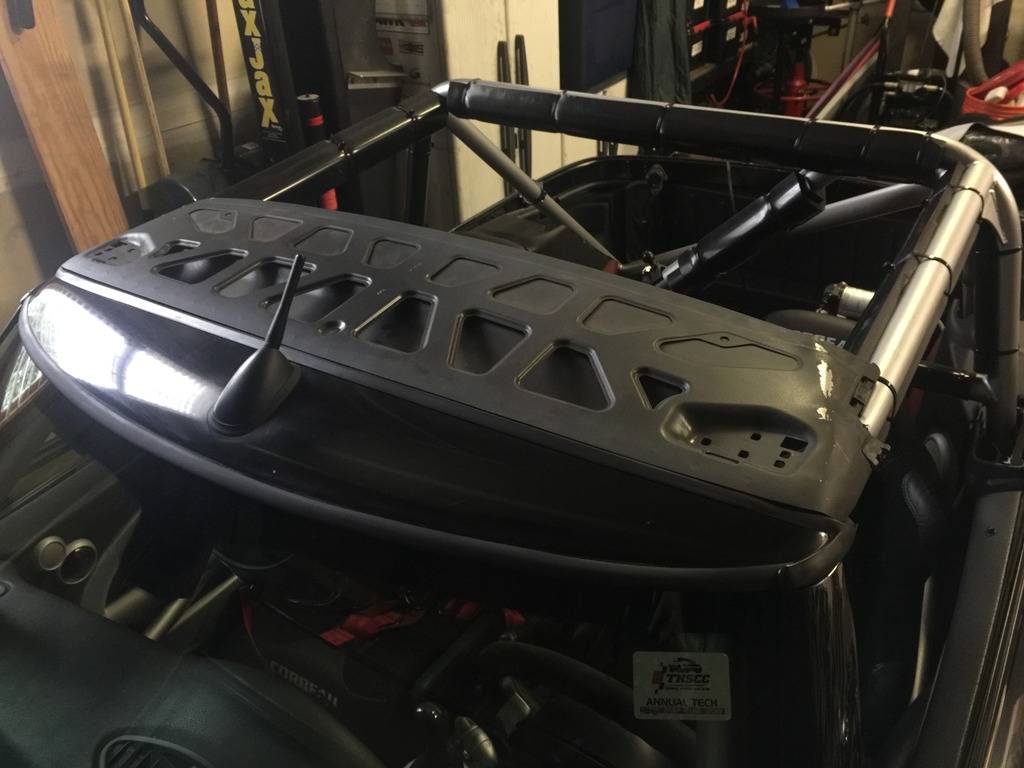
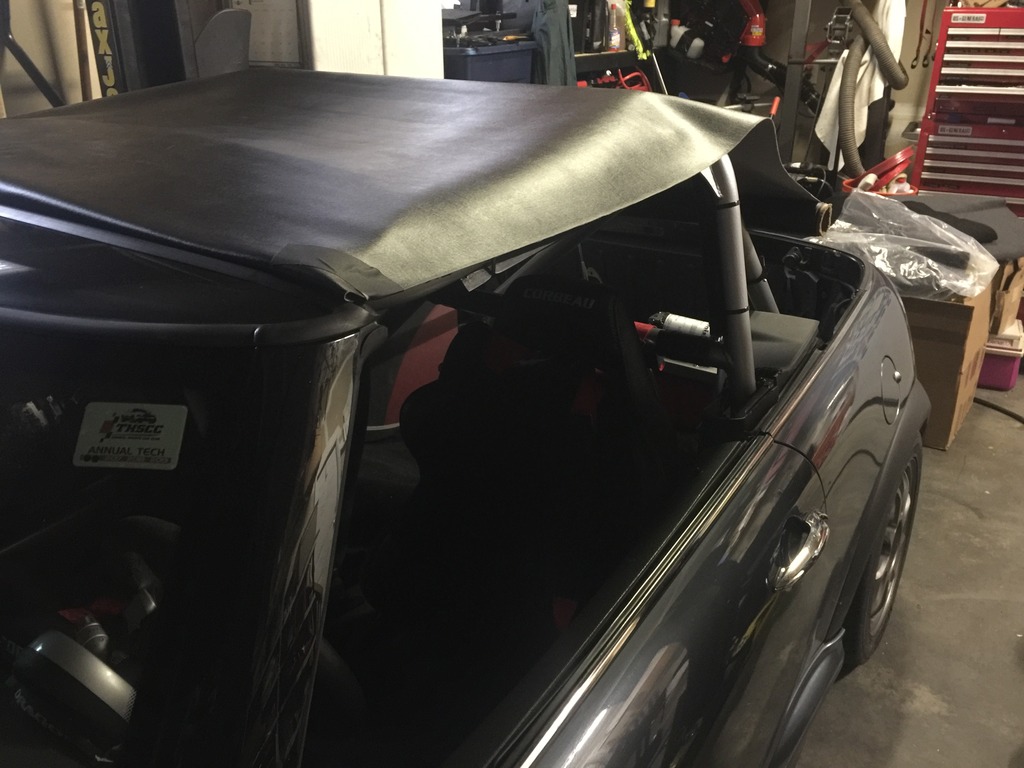
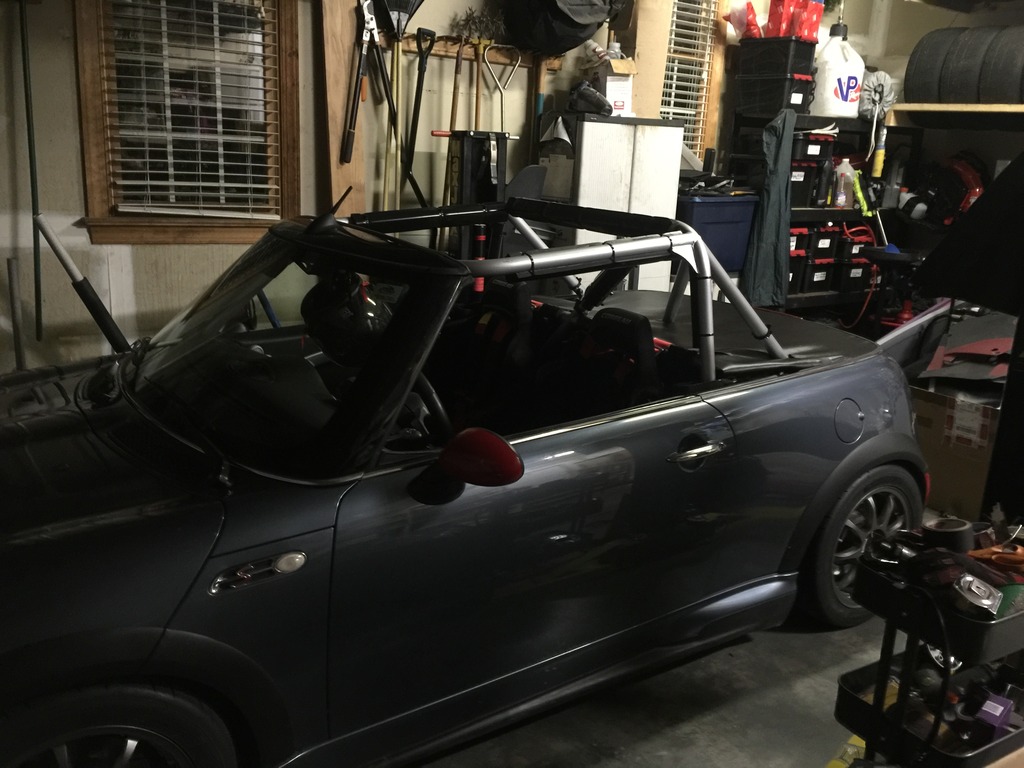
So I spent some time fitting the old cabrio sunroof panel to use as the structure for the front of the new top.
Sits on the cage at the perfect position and angle, like it was designed to do so. Because it was. 
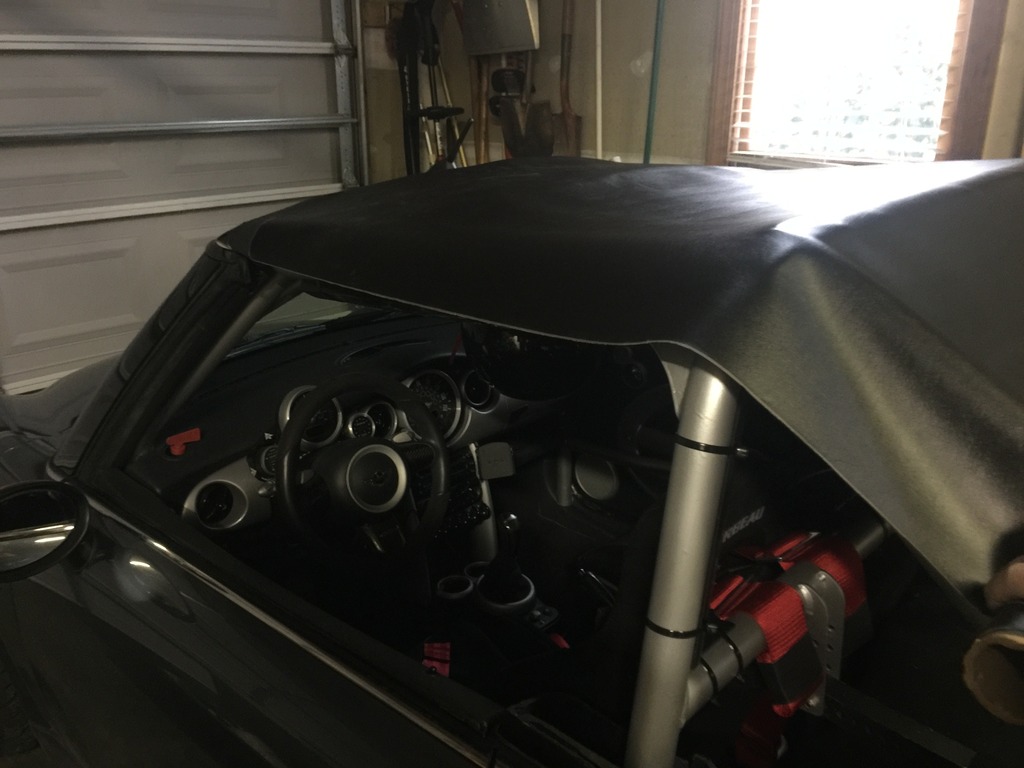
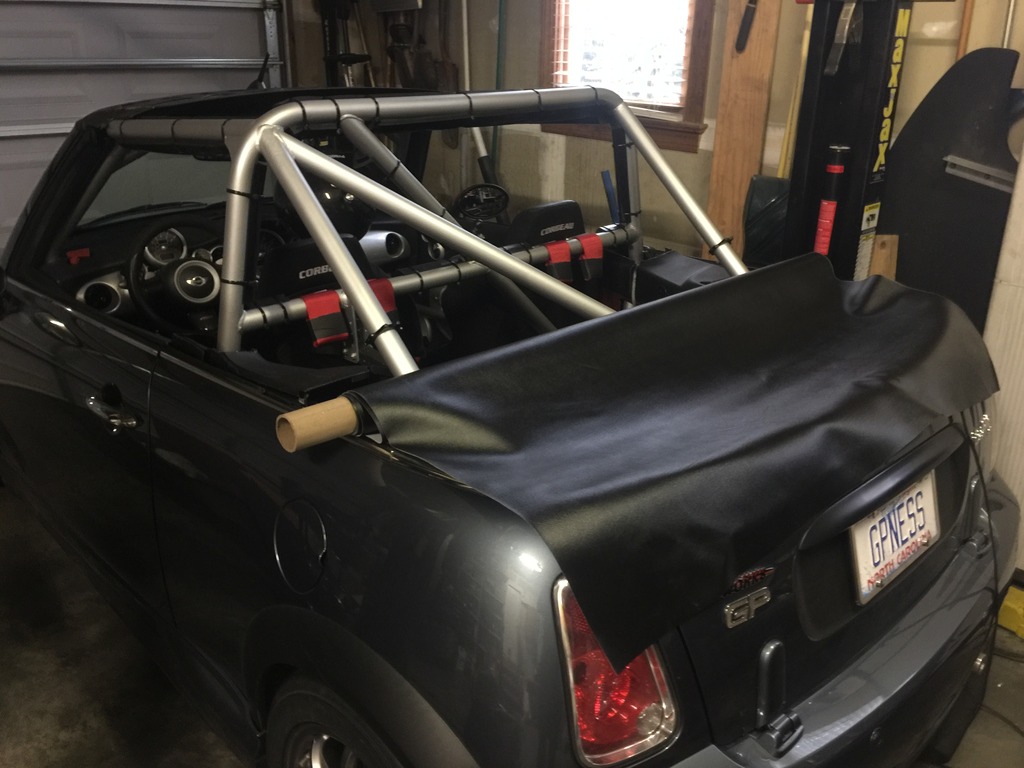
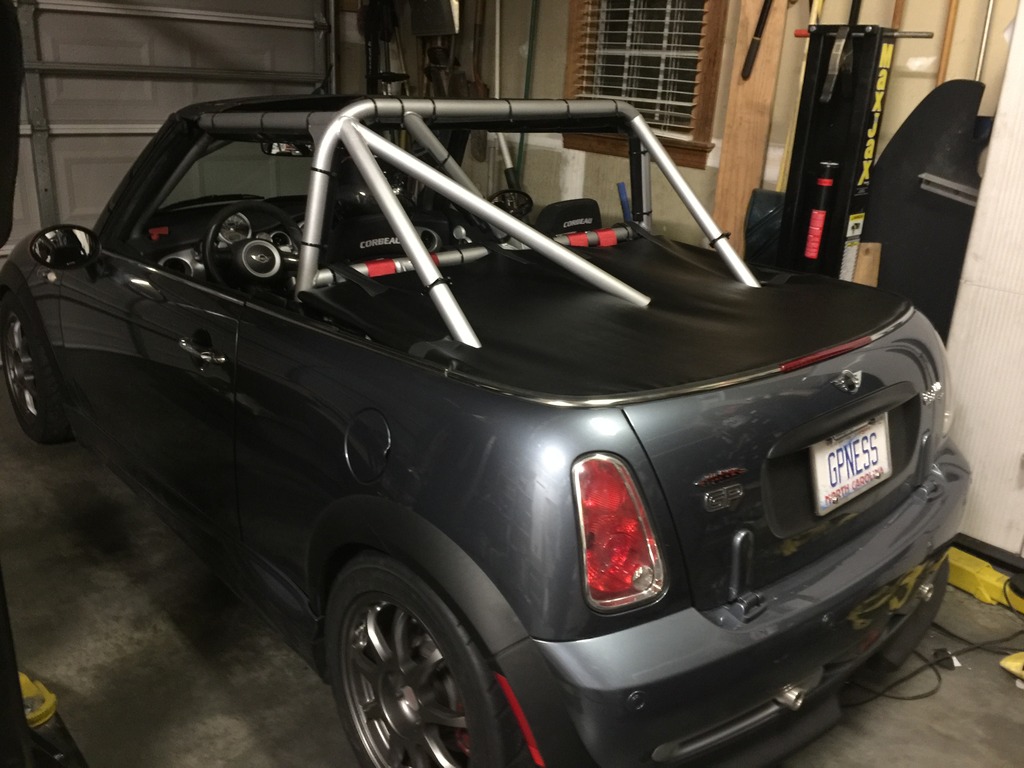
I bought some upholstery vinyl to prototype the tonneau cover. Figured I stretch that on, just to see what it looked like…
I likey… more to come on that.
Then decided to play with the tonneau a bit.
Oh, what the hell, let’s play some more. I plan to have the final one made from the same black multilayer material that the OEM convertible top uses. But I’ll build a proper prototype in vinyl first, and may run it for a while for testing.
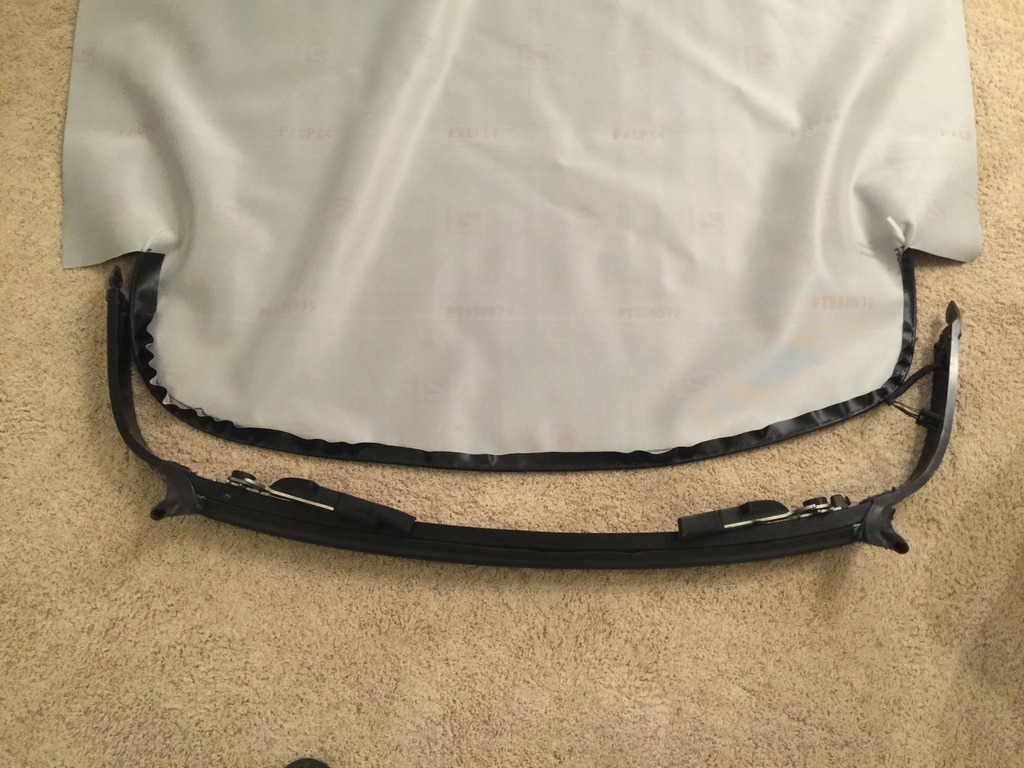
The OEM convertible top attached to the rear structural bow. The bow has a slot near the top of the outer face. The top had a plastic or nylon spline sewn into a pocket. That slid into the slot to hold it in place. My tonneau design uses the same attachment method.
Just happened to have some nylon tubing exactly the right diameter, left over from my methanol kit. Marked the material in the shape of the bow, then cut it and loosely stitched in the spline.
Then slid it into place. Not easy, because it’s designed to be both snug in the slot and taut on the frame, but it worked.
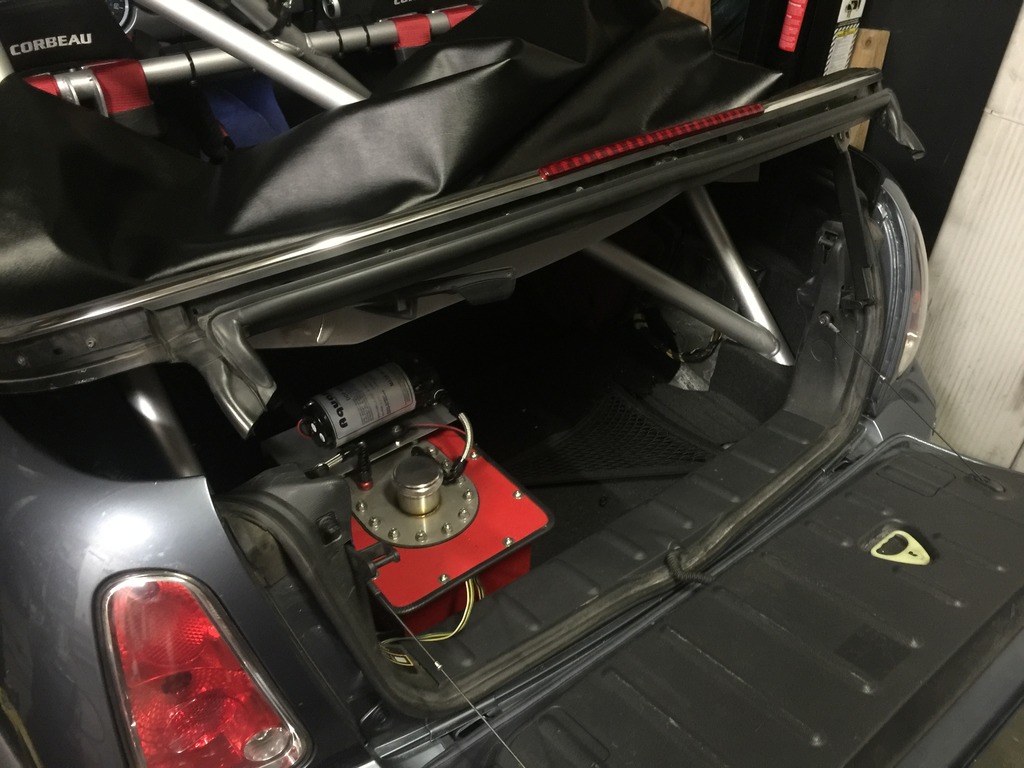
Installed the box back onto the car…
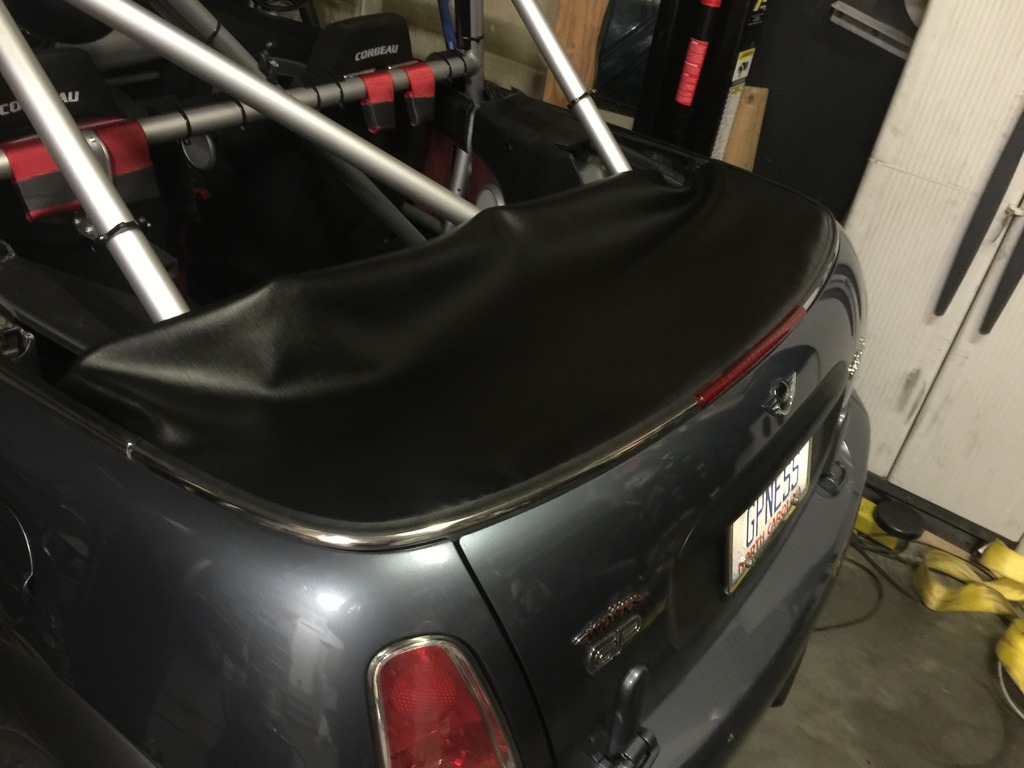
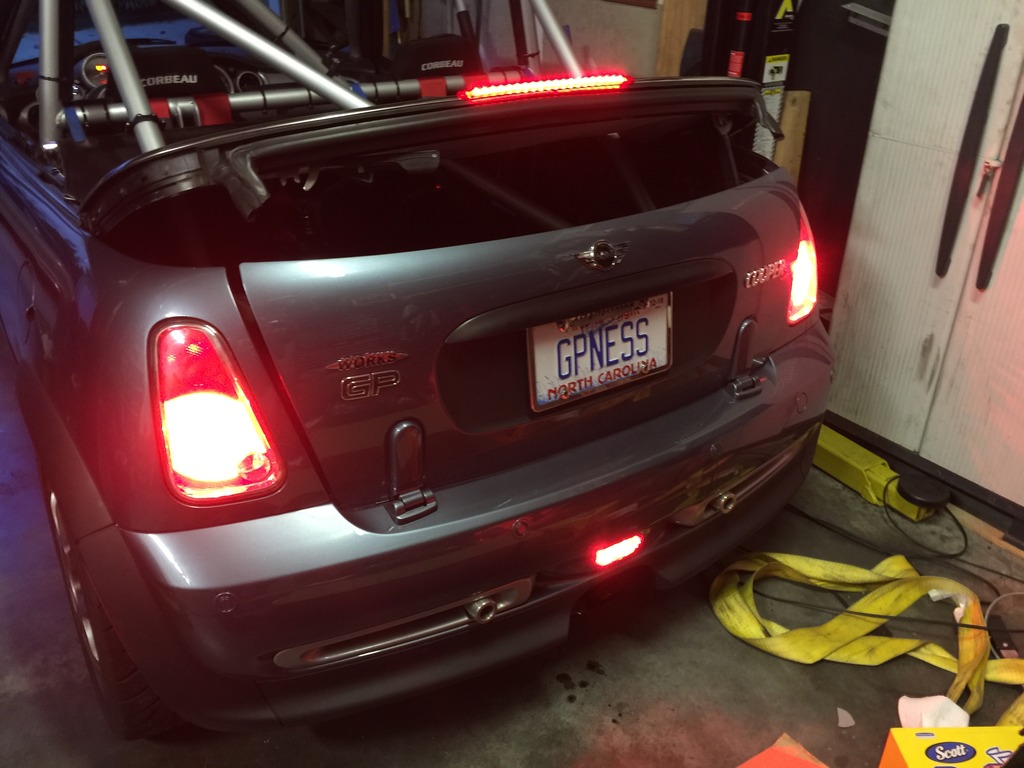
The OEM beltline trim, weatherstrip and 3rd brake light install just like with the OEM top. Weatherstrip provides a seal against the tonneau, like it was made to work that way…
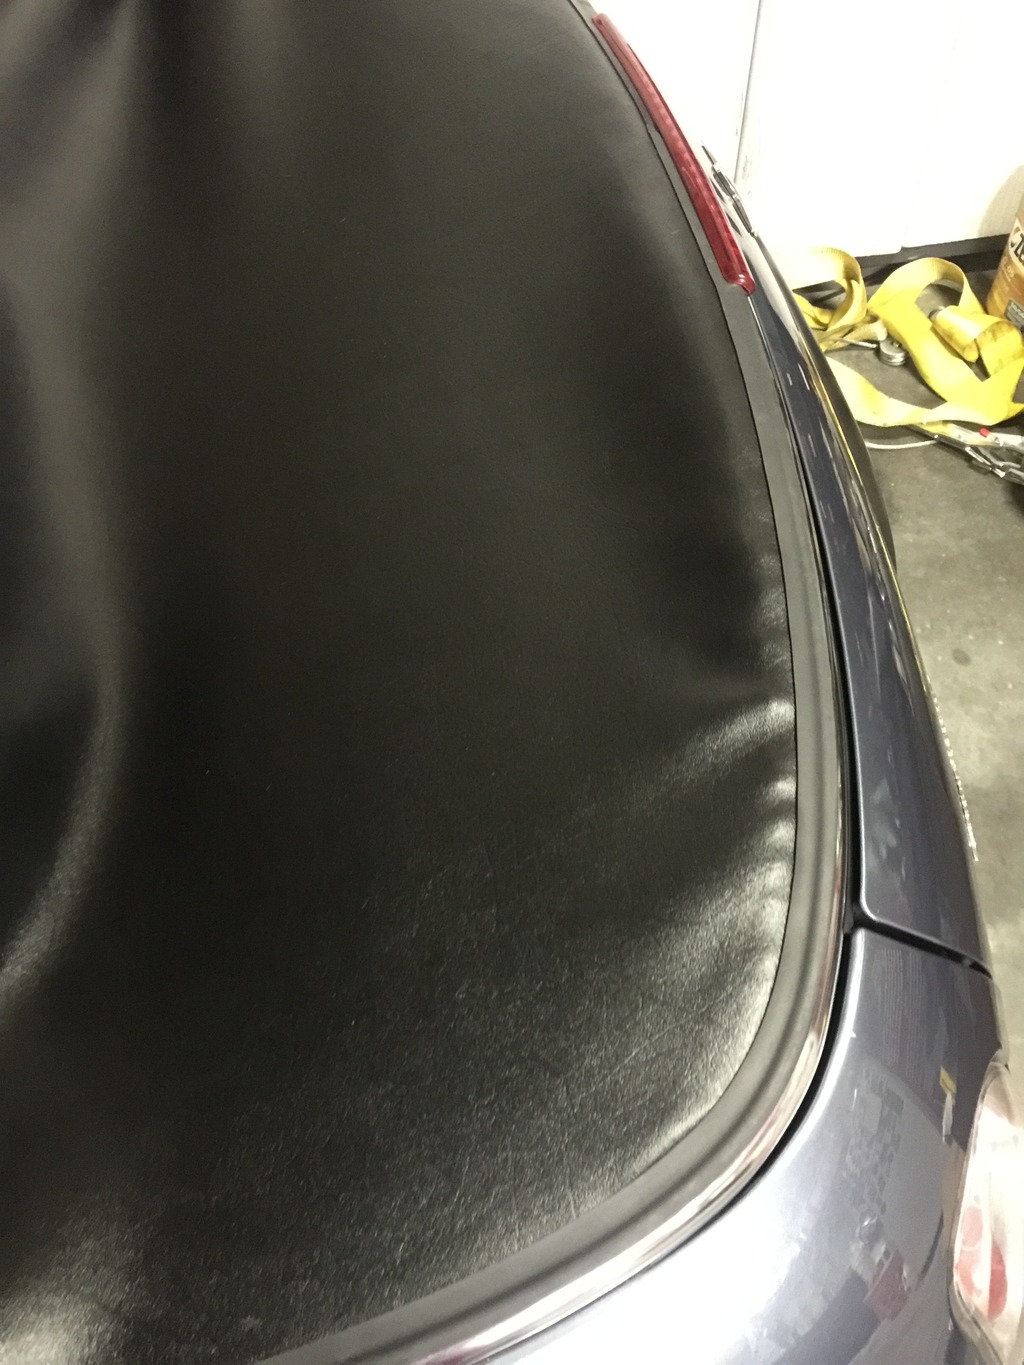
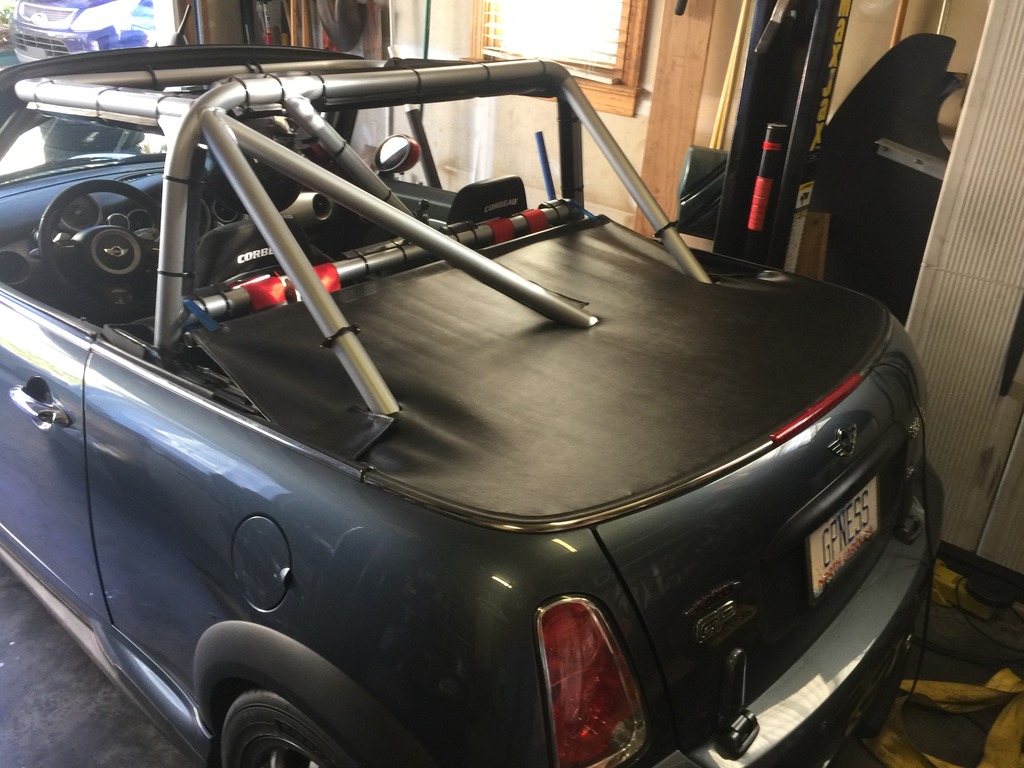
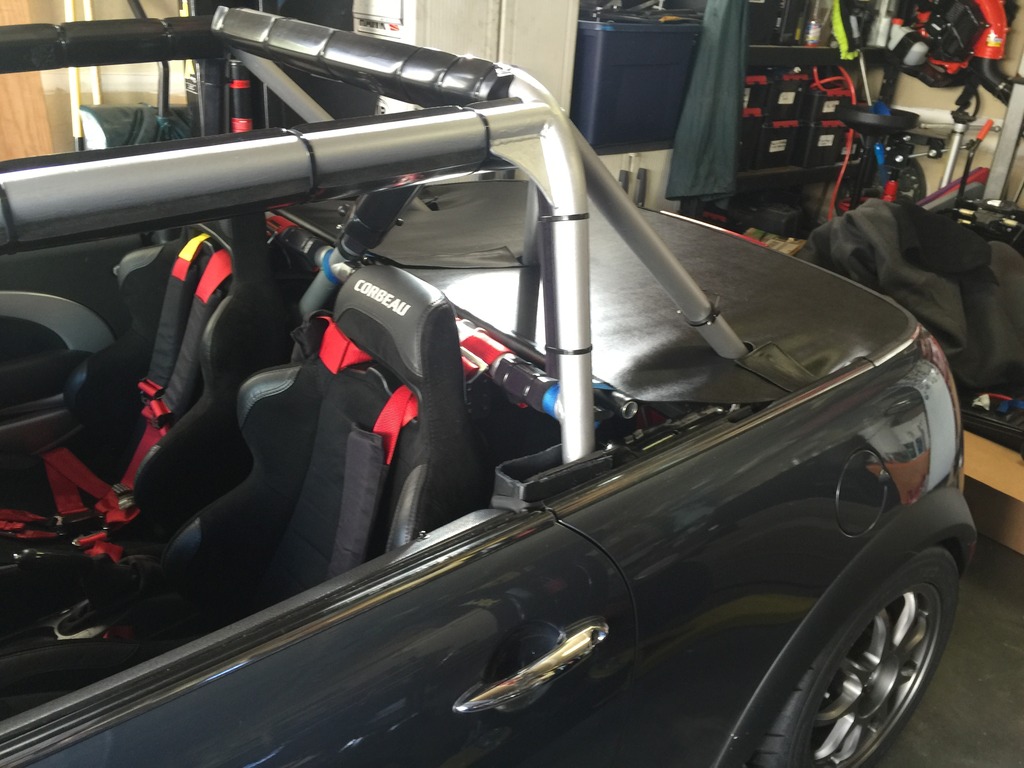
Decided how I wanted to slit the tonneau around the cage, and cut away! Stretched it into position, and just taped it together and to the cage, temporarily, to mock it up. Later I’ll add proper flaps over the slits, and straps to cinch it tight to the cage.
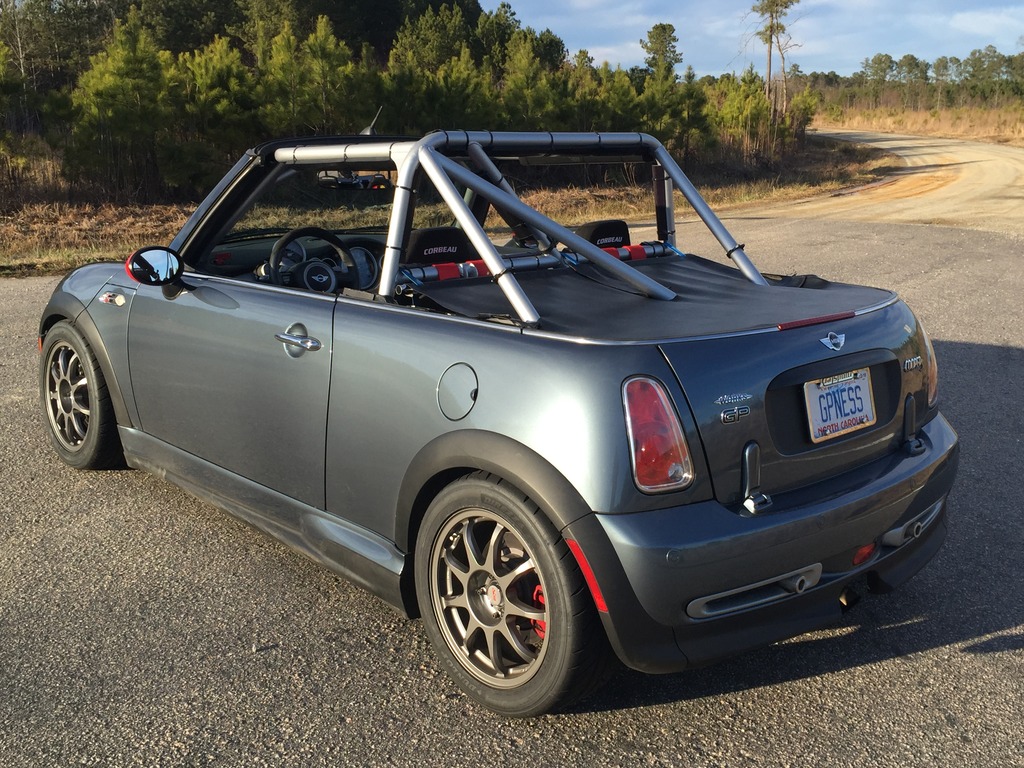
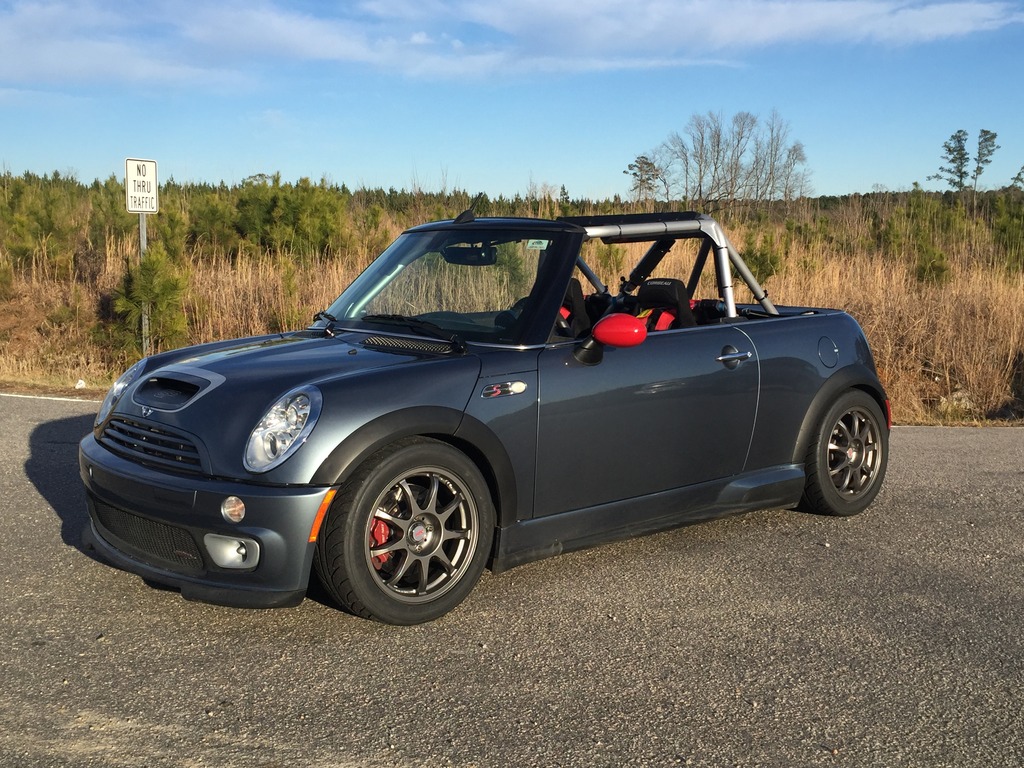
It’s exactly the way I had envisioned it…
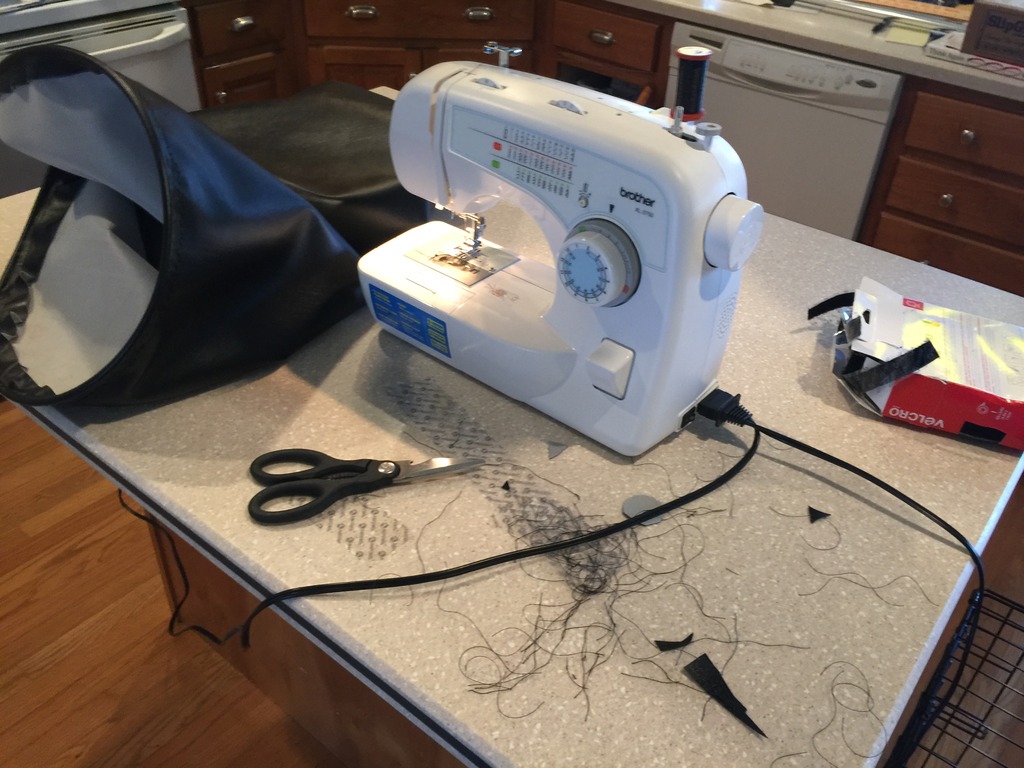
After confirming that I could get our sewing machine to actually sew this stuff, I pulled it back off the car, and practiced my mad sewing skillz.
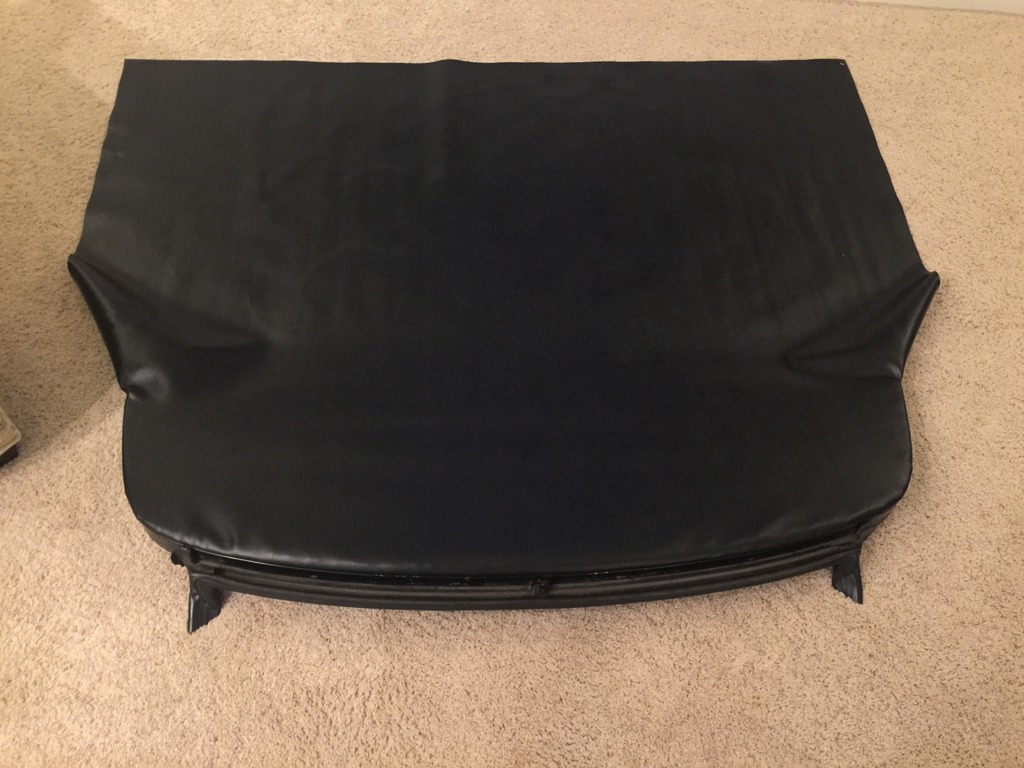
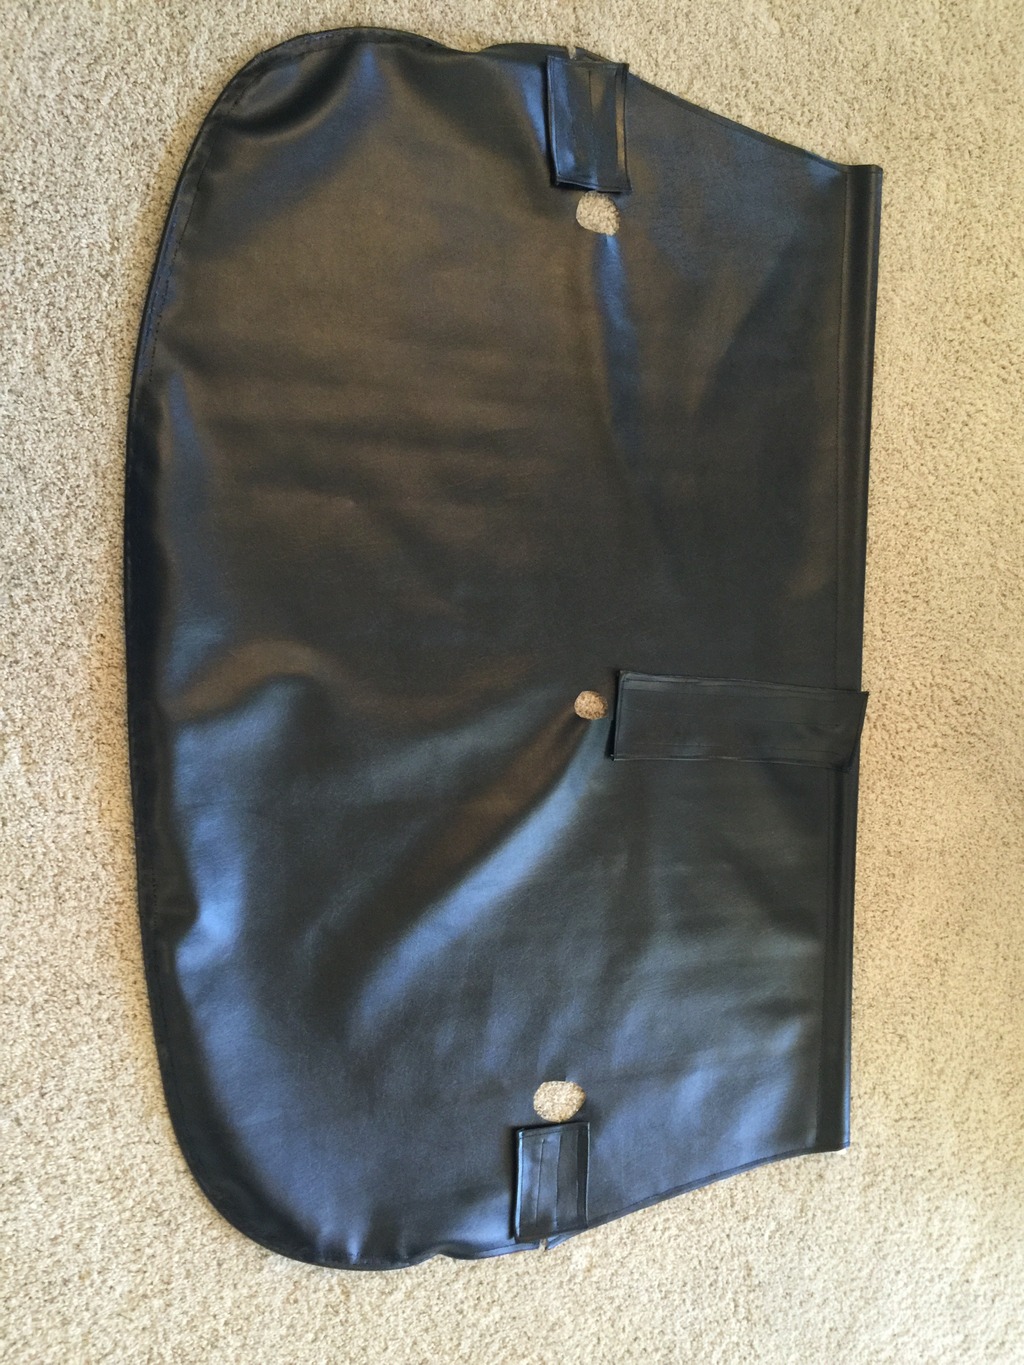
Hemmed the edges, sewed a pocket at the front edge to hold a tube to stiffen and stretch it, made some flaps to cover the three slits, sewed them into place, and added some velcro to hold them shut. Didn’t worry too much about making it pretty, just shooting for functional right now… it’s a prototype.
Done!
Still need to figure out how to stretch or hold down the “wings” on the sides, but otherwise it’s just about perfect.
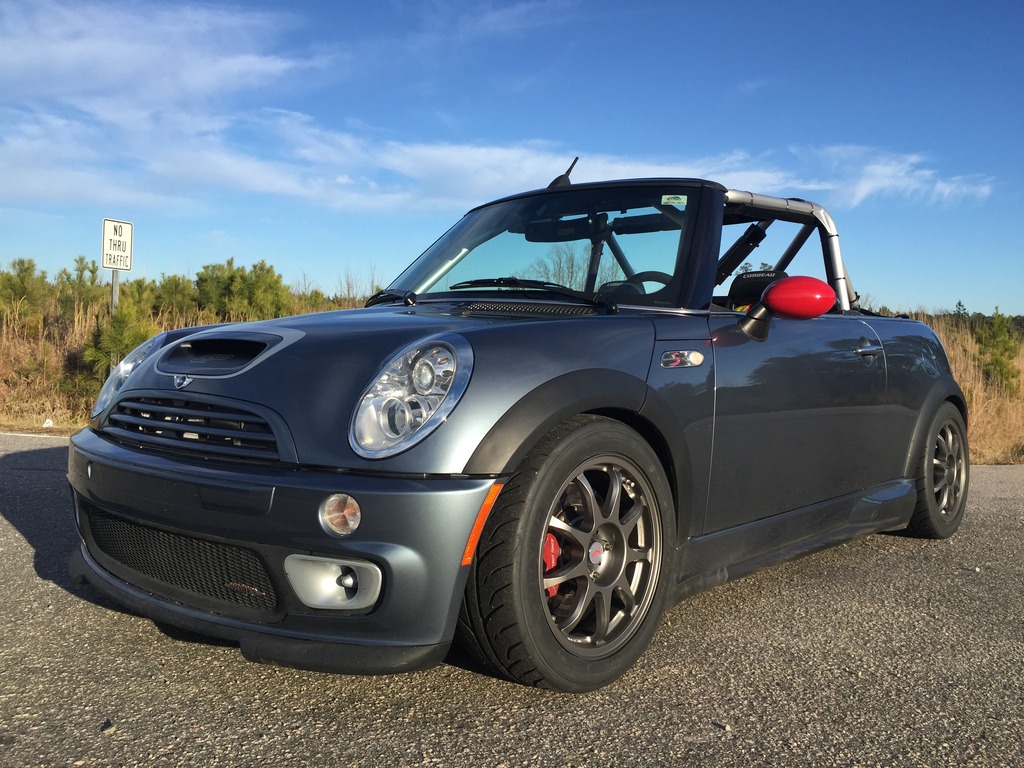
Yesterday, it was 25 degrees and sleeting. Today, 60 and sunny. So, time to test it. Worked! And didn’t come off at speed. Significantly less buffeting and wind noise. And looks good.
Really nice day. The car drives sooooooo much better with summer wheels and tires, and with more brake pad bite. I’m starting to finally get a feel for it… but am being pretty careful, still.
Just can’t stop doing stuff… so I reinstalled my rear fog brake light mod after I got home.
Also figured out an approach for fastening the sides. I’ll see how that holds up tomorrow.
