Summer in February

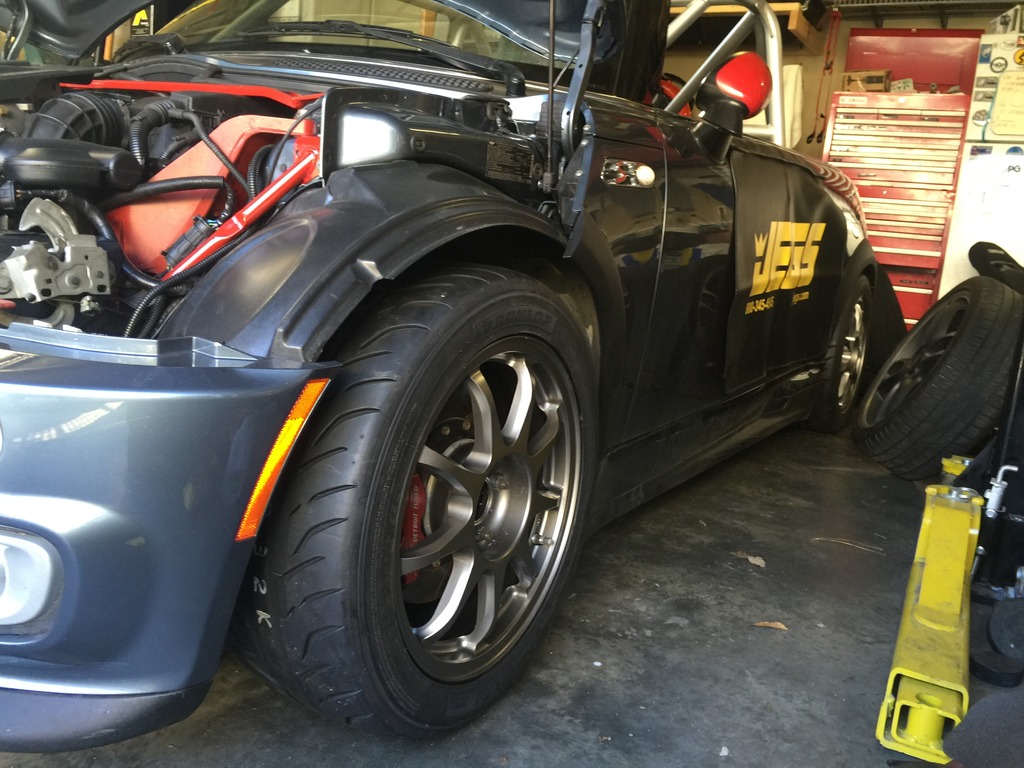
Oh yeah, and I installed my summer wheels. Because it’s going to be 25 when I drive to the shop for inspection on Saturday.

Click the image to open in full size.

May need to lower the suspension a bit more with these on. I’ll set it for these 16’s, then I’ll have plenty of room when I put the 15’s on at the track, and it will be even closer to the ground.

Putting it back together, with more wiring

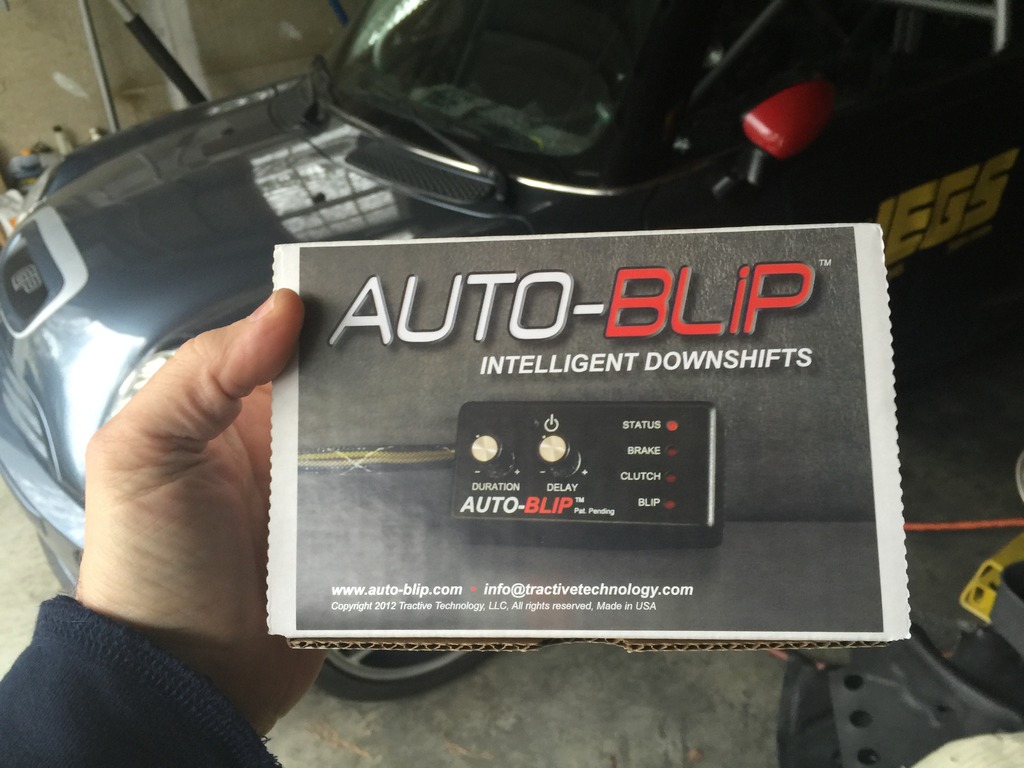
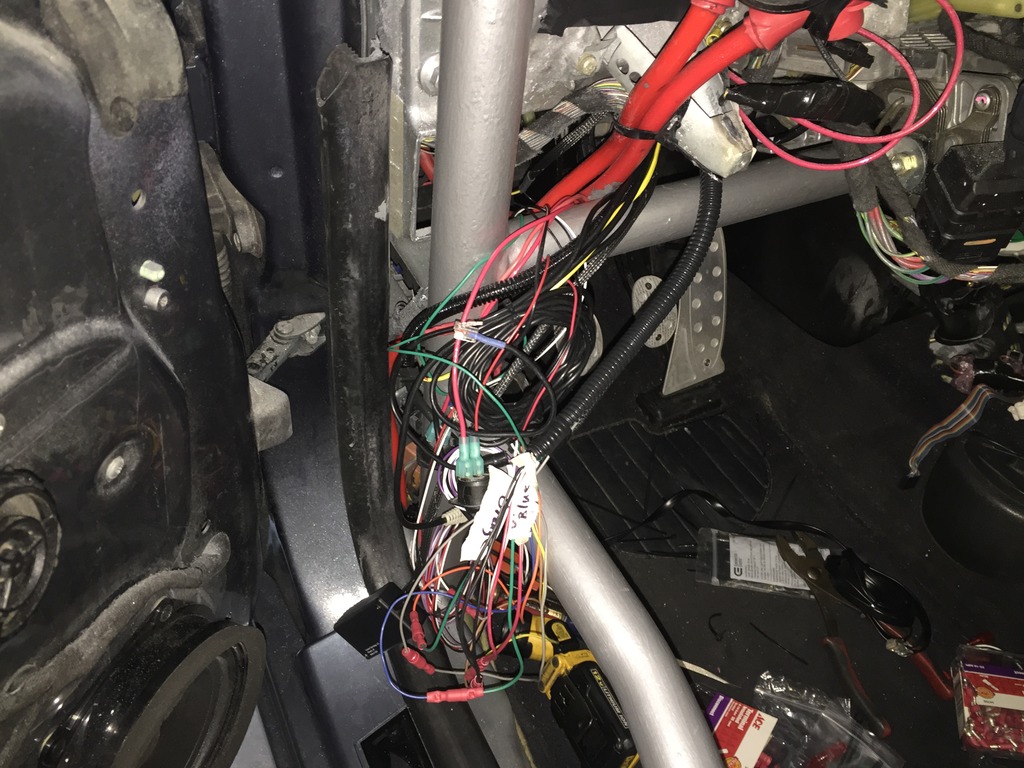
Needed to complete wiring for my Zeitronix gauge/data logging system, and my Aquamist methanol injection. While I was at it, decided to give this a try…
Click the image to open in full size.

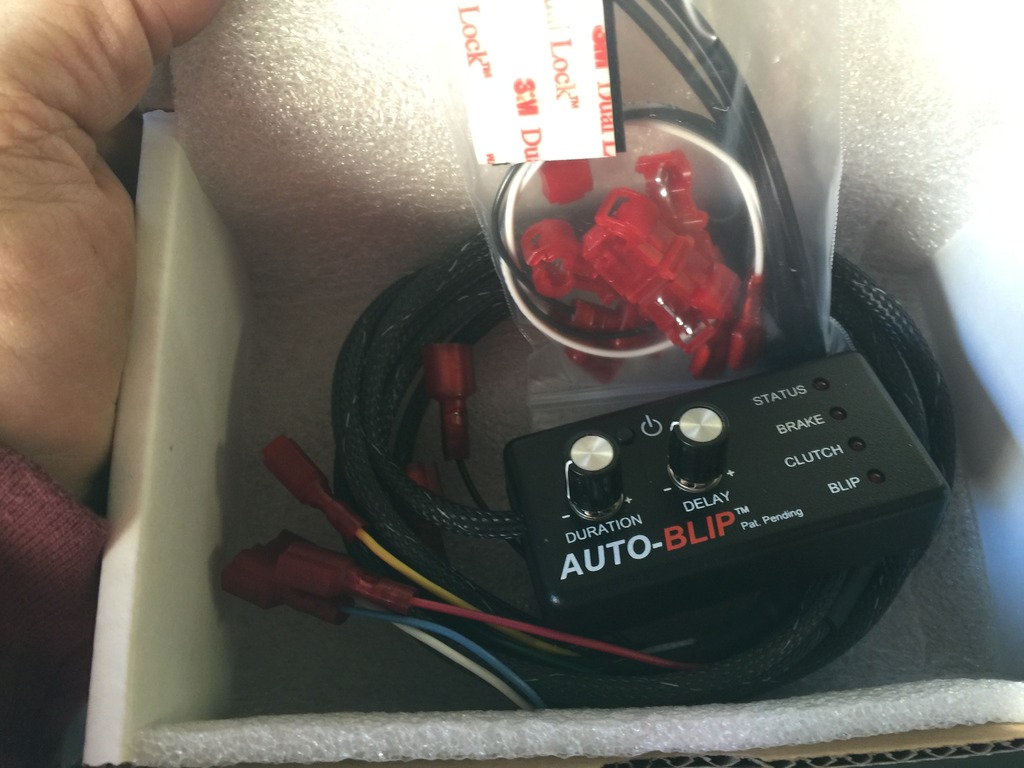
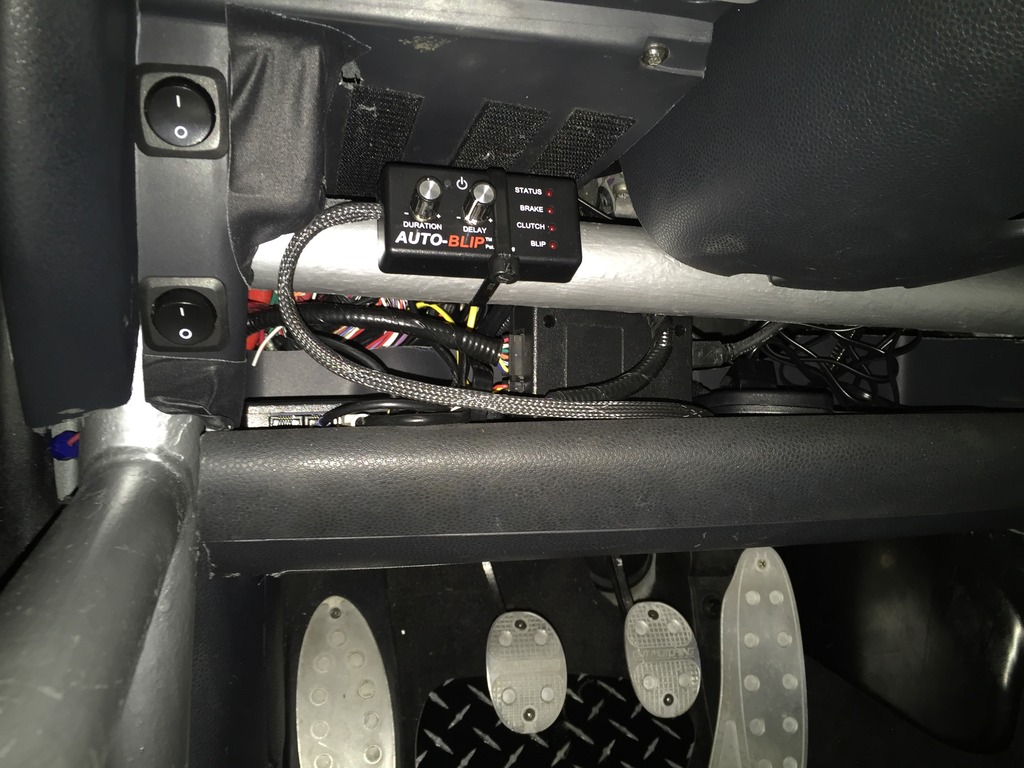
Because my heel-toe action SUCKS. The Auto-Blip connects to the brake and clutch switches, and the accelerator pedal circuit. It detects when you (1) have the brake depressed and then (2) press the clutch all the way in to shift. It assumes this means you’re downshifting. So it then waits from zero to .5 seconds from when the clutch hits bottom (settable), and blips the throttle an amount that you set. Takes a little trial and error to get the delay and duration of the blip just right, but once it’s setup, it’s supposed to be a good thing. We’ll see.
Click the image to open in full size.

I wired everything in the engine bay, pulled everything back through to the footwell, bundled stuff up out of the way, and cut everything I could to length. Crimped on dozens of connectors. The auto-blip was easy… the harness has spade connectors already on it, just need to snap taps on the right wires, and connect it up.

This is almost done… just doesn’t look like it.
Click the image to open in full size.

Got the wire bundles up behind the parcel shelf, with the controllers for the Zeitronix, Aquamist, and Auto-Blip in the shelf. Wired master on/off switches for the Auto-Blip and Aquamist, so I can shut those down when not needed.
Click the image to open in full size.

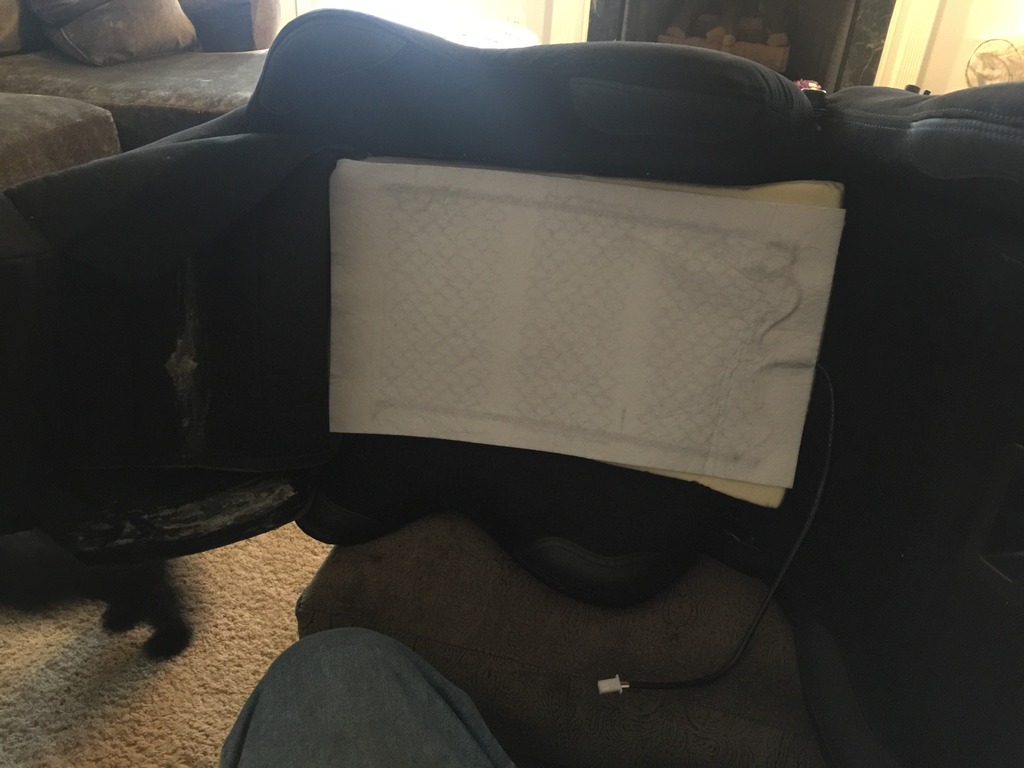
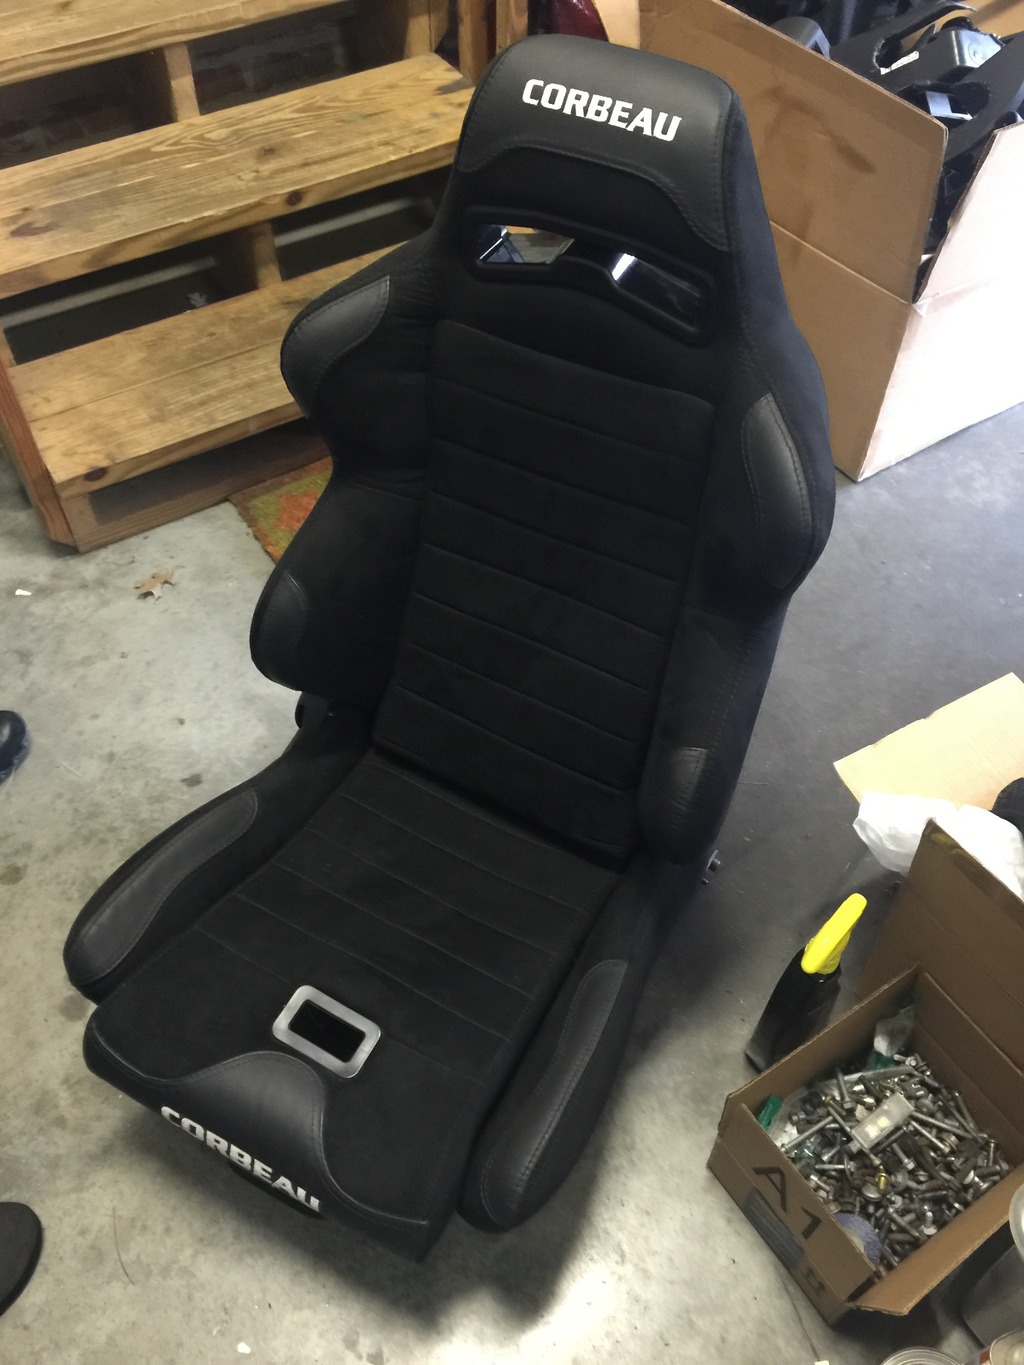
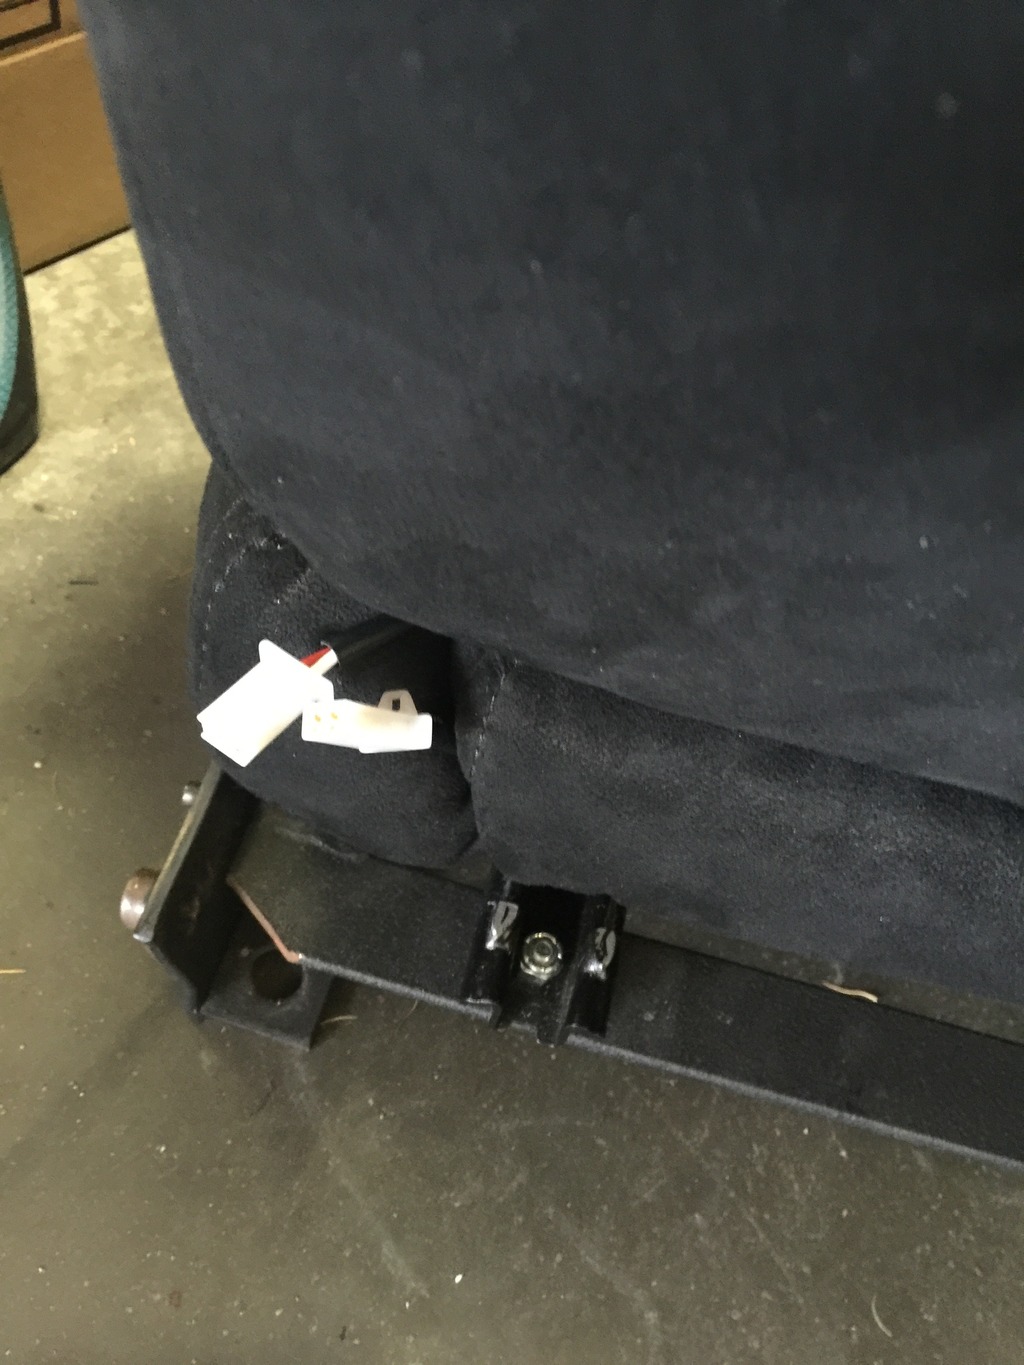
Installed seat heater in the passenger seat, to match my factory-installed driver’s seat heater.
Click the image to open in full size.

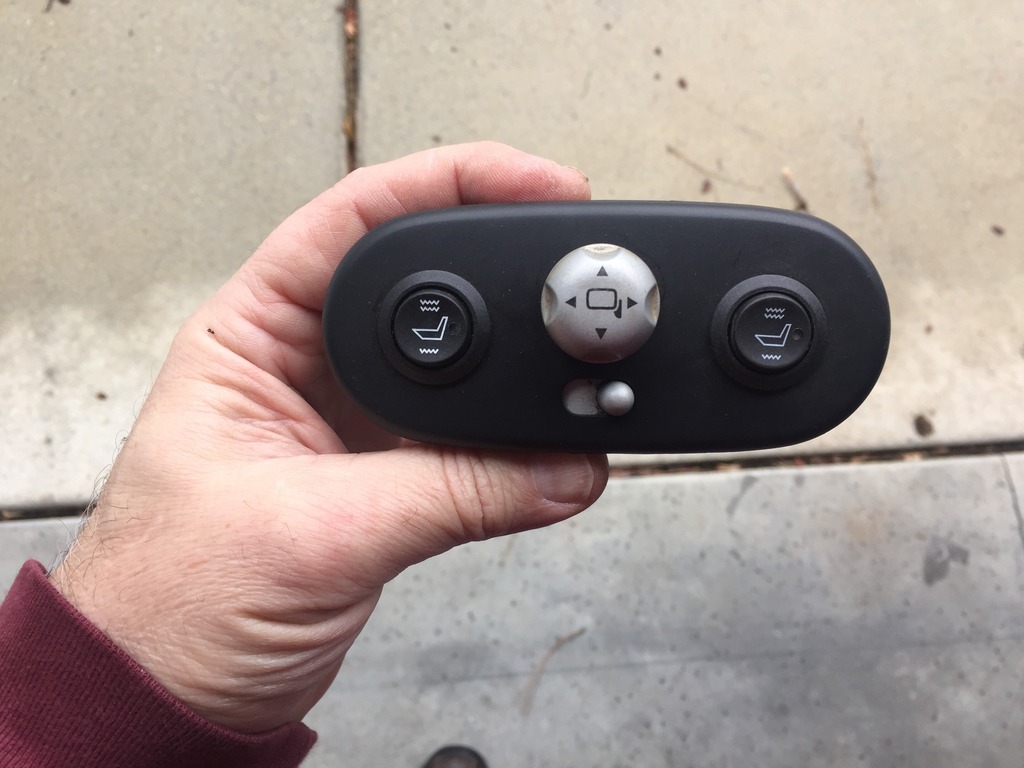
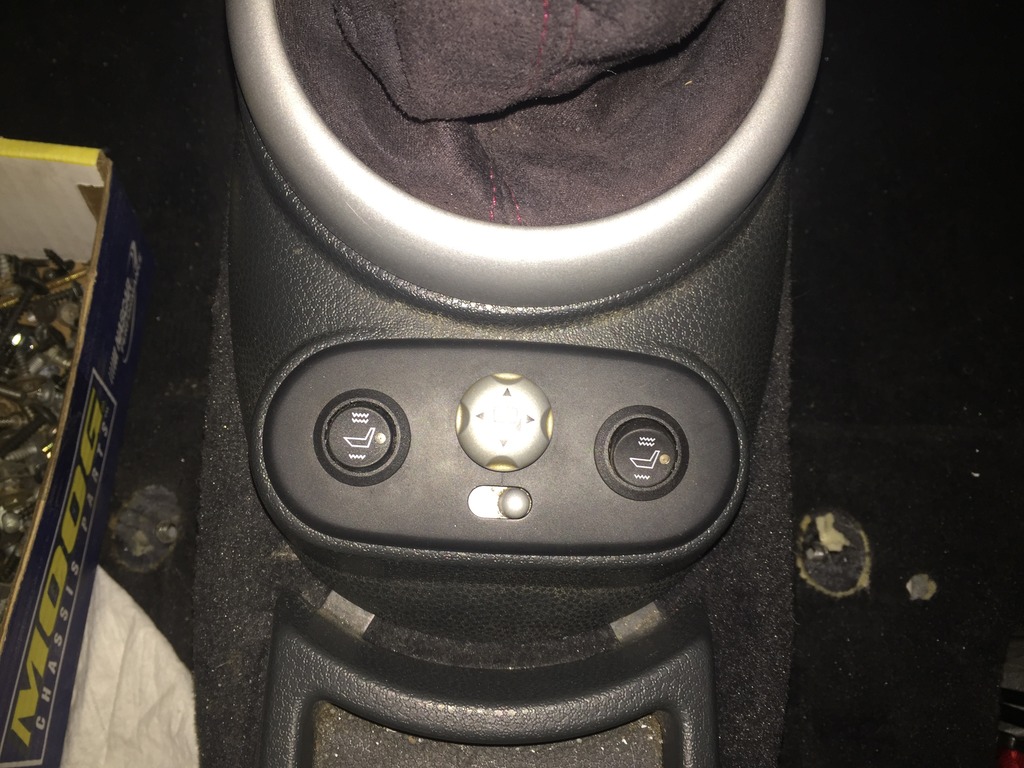
Removed the switches for the OEM seat heaters, drilled out the housing, and installed the aftermarket heater switches. Routed cables and wired into the OEM heater circuits, so they use the existing fused seat heater circuit.
Click the image to open in full size.

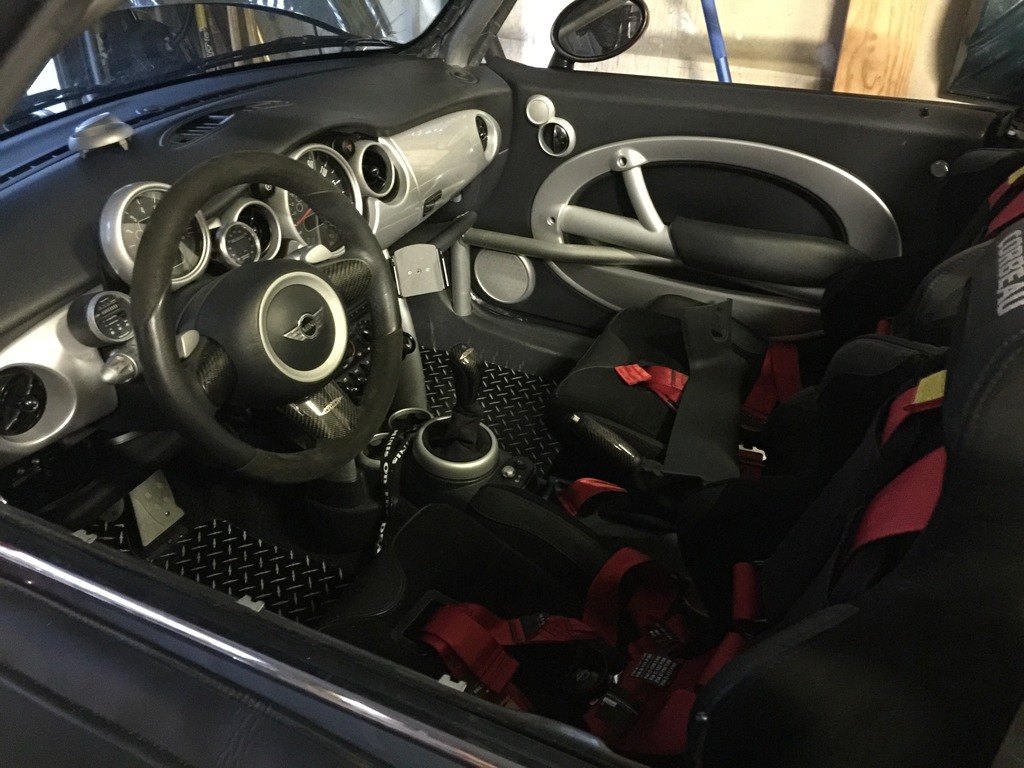
Reinstalled the interior, almost all done. I didn’t like the way the first set of sill covers fit around the cage, so I fit another pair, much better. Also figured out how to fit the A-pillar covers and have one of those done so far. Routed the microphone for the Dension bluetooth kit to the factory location in the overhead panel. Test fit my new diamond plate floor mats for the track.
Click the image to open in full size.

A few more hours in the next couple of days to get the last A-pillar cover done, solder a broken wire on a speaker, install the driver’s interior door panel, pad the cage, reinstall some weather strips, finish plumbing the Aquamist, and finish up installing my new boost sensor under the hood. Then will be ready for track inspection and new windshield on Saturday

You know, just more cut-and-paste.

Quote:
Originally Posted by cct1 View Post
Didn’t take you long on the auto blip, lol….

Glad it was an easy install. I don’t think anyone has done it on a MINI yet. Setting duration and delay is going to have to be done at threshold braking, but you knew that already…

Have you tested the lights yet? Some people have had to switch wires around; they haven’t always correctly corresponded, although is should be straightforward, but then again you might be the first person who’s installed it on a MINI.

Yep, the guys at Tractive said this was the first MINI install they’re aware of.
Once I worked through the MINI wiring diagrams and figured out what to tap into, everything was easy.

There’s a “calibration” routine you do when you first fire it up, basically put it in calibration mode and then go through a sequence of button presses and pedal presses and releases, so it verifies the connections and learns what “pressed” looks like for each pedal, and learns what the range is on the accelerator.

I did that, and everything just worked. Once done, the brake and clutch lights come on as they should when those pedals are pressed.

I wired in a master on/off switch so I can normally leave it off. Otherwise the Auto-Blip comes on by default when the car is turned on. You have to manually switch it off if you don’t want it active.

Pretty cage, Take Two

Back to business.

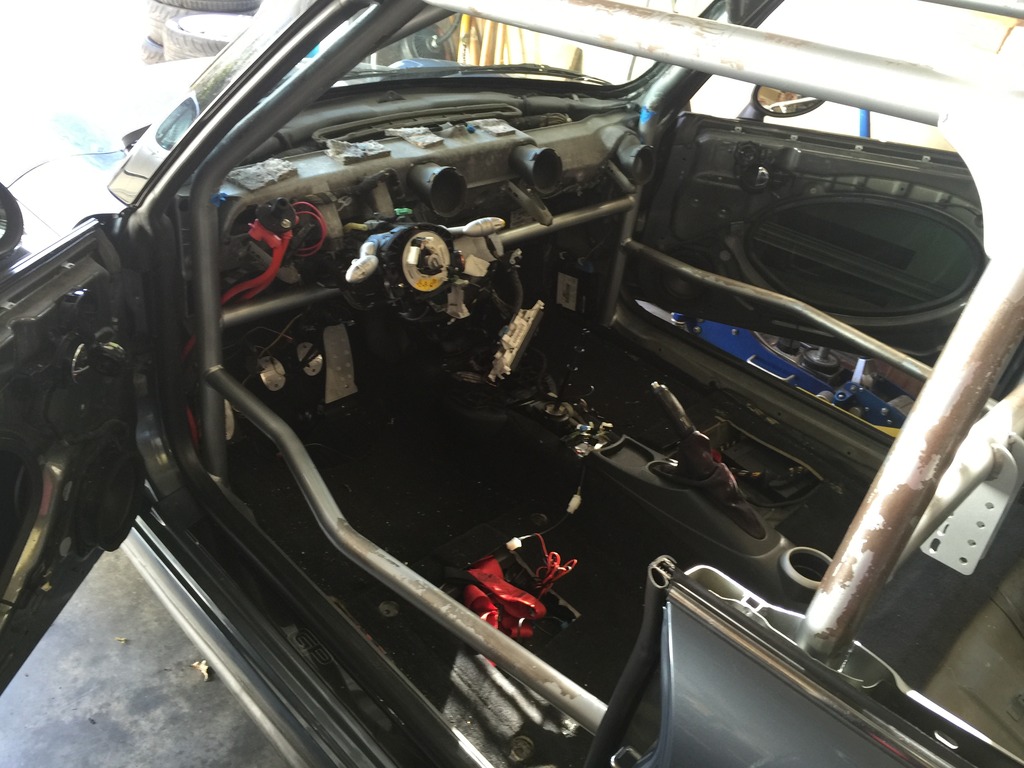
As my intrepid readers may recall, I had beautiful Pure Silver base+clear paint on the cage. Alas, such beautiful things do not last.
Click the image to open in full size.

I’m pretty sure the VHT self-etching primer, didn’t. Followed all the directions, and it was great for a little while, but eventually the paint came off in sheets.

So, time to pull the interior out AGAIN, and strip and repaint the cage.

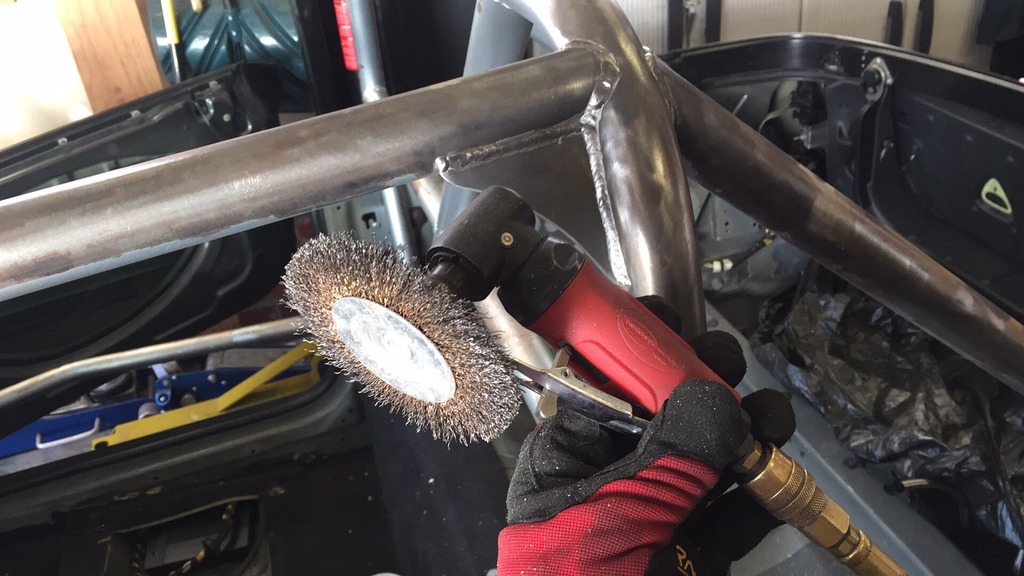
Time to get out my trusty 90 degree die grinder, with 4″ brass brush.
Click the image to open in full size.

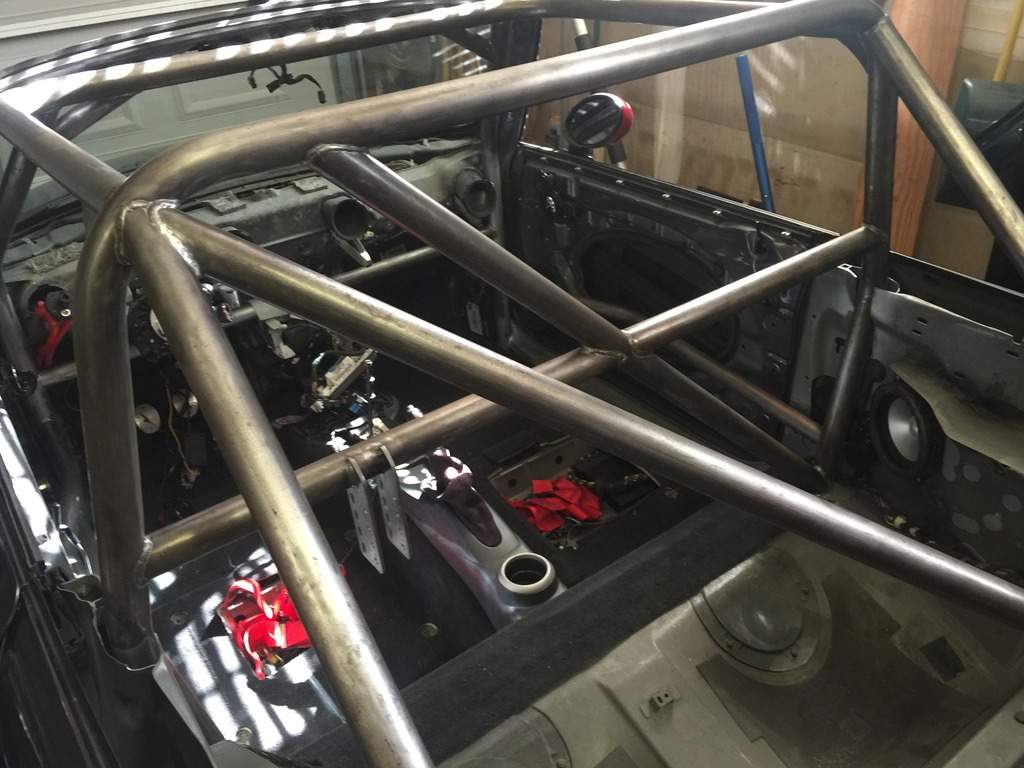
As luck would have it, only about half the paint was loose. The other half was pretty well adhered. But it all needed to come off… That took probably 6 hours spread over a week and a half. It SUCKED.

But, finally, was done.
Click the image to open in full size.

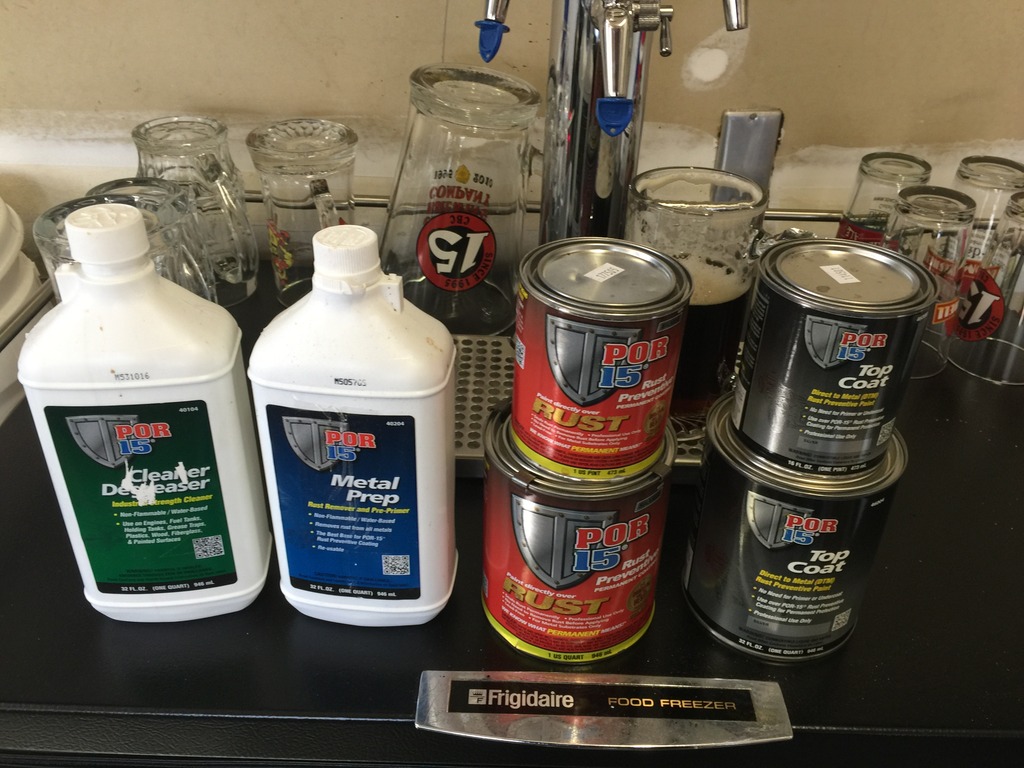
Then time to prep and paint. This time, I decided to try the POR (Paint Over Rust) system.
Click the image to open in full size.

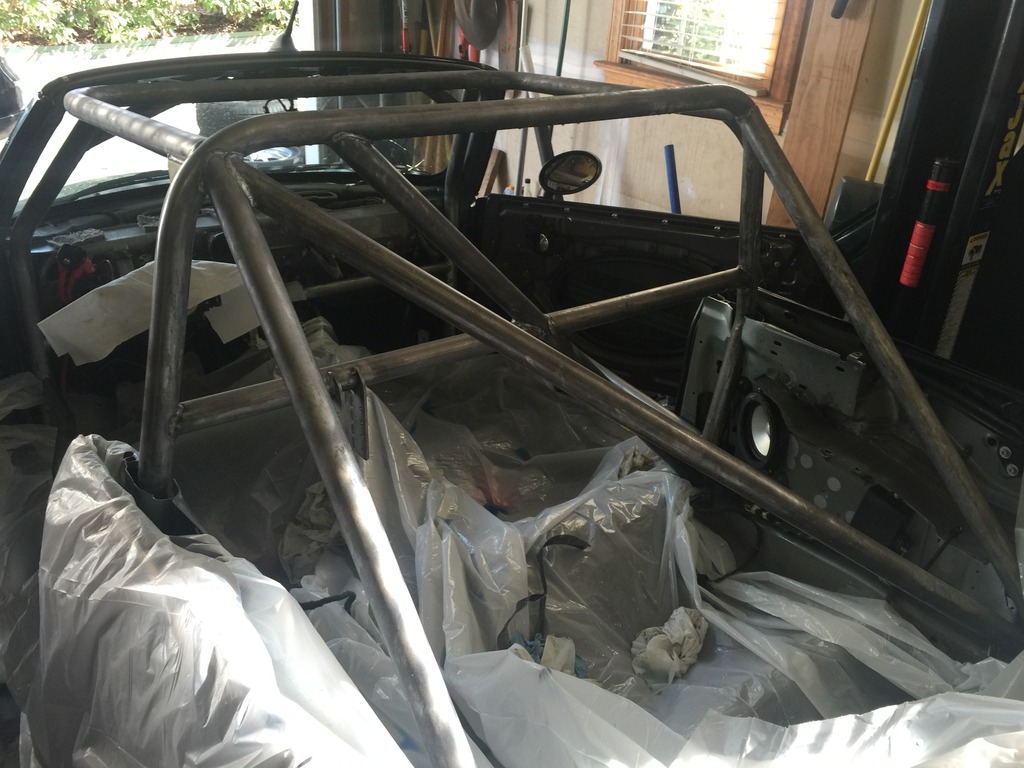
All this is serious stuff. Use gloves, goggles and respirator for the cleaner/degreaser and the metal prep. Put down good heavy plastic drop cloths to catch the excess stuff. Remove anything you’re worried about getting it on, first. Sprayed on the degreaser (diluted about 2 parts water / 1 part solvent), then scrubbed and rinsed with water and wiped down with wet shop towels until towels came off clean.

Let it air dry, then used the Metal Prep. This stuff is phosphoric acid and zinc phosphate. It etches the steel, and leaves behind a zinc phosphate coating. You spray on the metal prep full strength, and need to keep the steel wet with it for 20-30 minutes. For something like a roll cage, that means you’re pretty much spraying it continuously; by the time you get the whole thing sprayed, you need to go back and start over again, to keep it wet. Then rinse with water (also from a spray bottle, in my case) and let it dry. When it dries, it leaves behind a dull gray zinc coating, almost looks galvanized. This step is critical; the POR will not adhere well to clean, unrusted steel unless it’s properly prepped.
Click the image to open in full size.

Let it dry overnight (until “bone dry” per the instructions) then apply the POR-15. This stuff is pretty awesome. The silver color is a nice bright metallic silver, and dries to a high gloss, almost looks like it has a clear coat on it, but doesn’t. When fully cured, it is VERY hard, almost like powder coat, but maybe harder. Unfortunately, it’s UV sensitive, and will dull if exposed to sunlight. So for anything that’s going to get much sun, you need to cover the POR-15 with the POR Top Coat, which is less pretty.

When applying the POR-15, follow some rules:

  • Always wear disposable gloves
  • Never wear nice clothing, watches, eyeglasses, or anything else you don’t want to get the stuff on, because it will NEVER come off, once dry.
  • Never get it on anything you don’t want it on. If you do, remove it immediately while wet, using a solvent to clean up. Because, once dry, it will NEVER COME OFF.

Stirred the POR-15 well, then brushed it on using a cheap synthetic bristle brush. Don’t bother trying to clean the brush. Just use ones you can throw away, and start each coat with a fresh brush. Applied two coats, about 2 hours apart. The stuff flows out very nicely, but it also tends to run and sag if you don’t use very thin coats. I put it on a bit heavy, and have some sags, but don’t really care. It’s a roll cage, and most of it will be covered with pads, harnesses, etc.

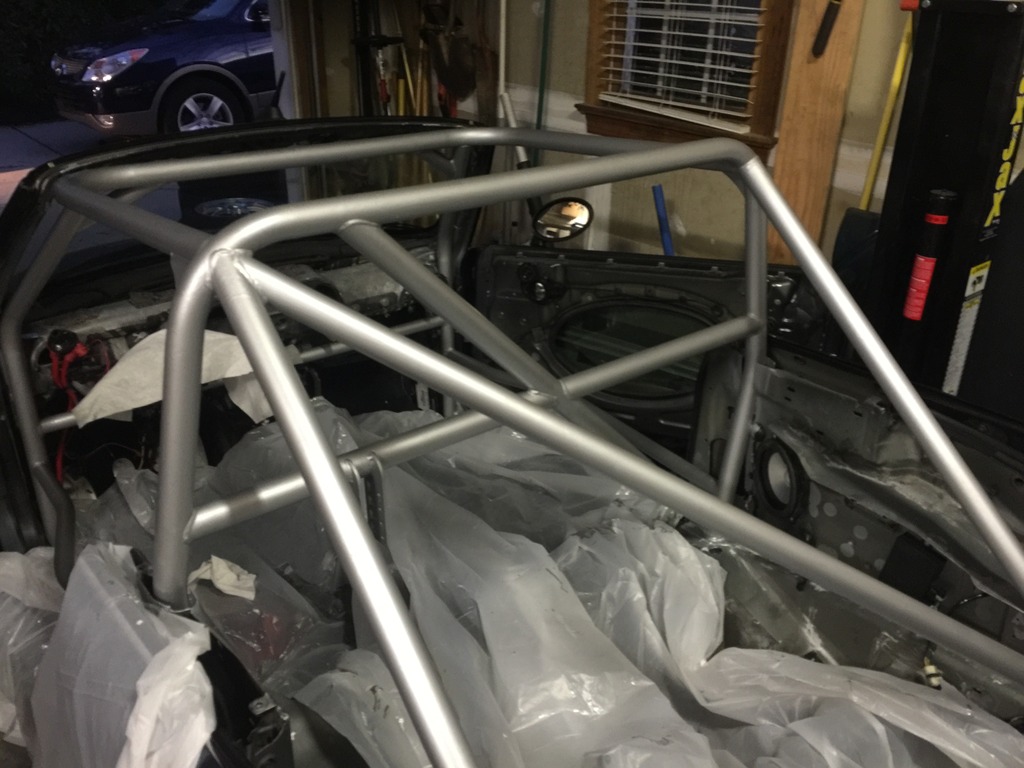
After about 4 hours, the second coat was dry to the touch, and pretty hard. Then applied first coat of Top Coat, waited about an hour, and applied a second coat. The Top Coat has more of a satin silver finish, which I like. Again, used a fresh bristle brush for each coat. With both paints, pour about 4-8 oz in a cup and use that to paint, don’t paint from the can, and don’t put unused paint back in the can. You need to clean the rim of the can thoroughly before putting the lid back on, or it will be cemented in place when dry.
Click the image to open in full size.

I’ll let it cure for a few days, then will refit the interior. Hopefully for the last time for a while.