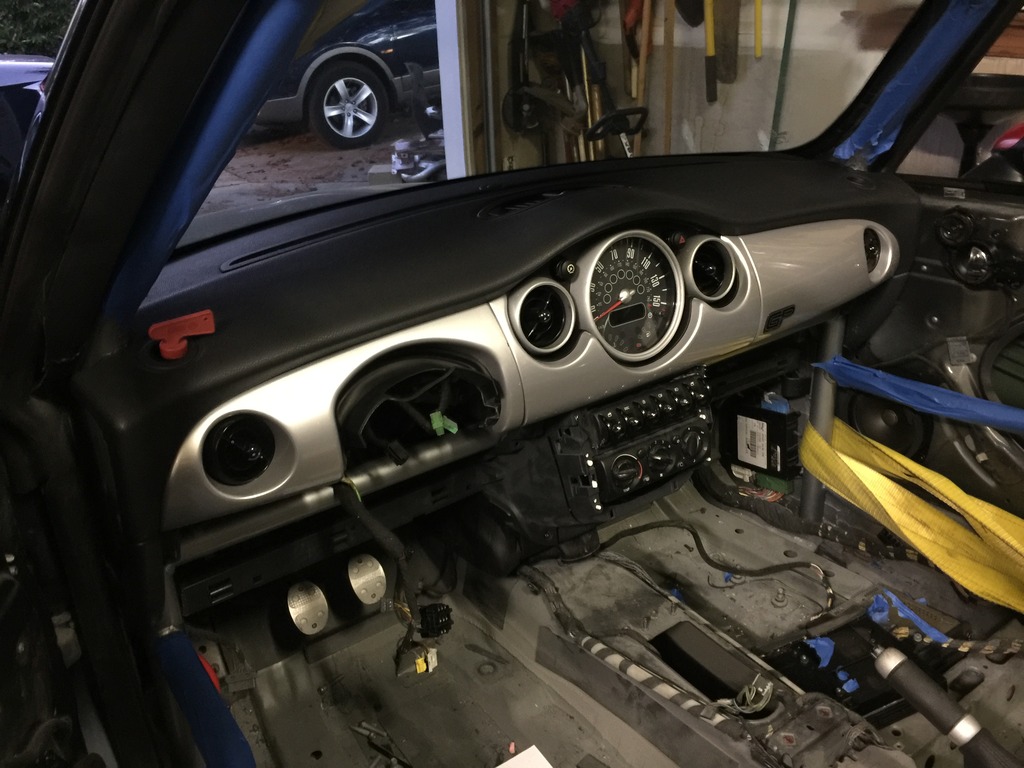
Spent a couple of hours finishing up the dash.
Used the sacrificial dash pad to figure out how to minimize material removal this time. Measure 42 times, and cut once (hopefully)… Really only needed a single 1.75″ hole bored in each side, at a very precise spot. I intentionally made it a bit on the tight side, easier to remove material if needed, than add it back.
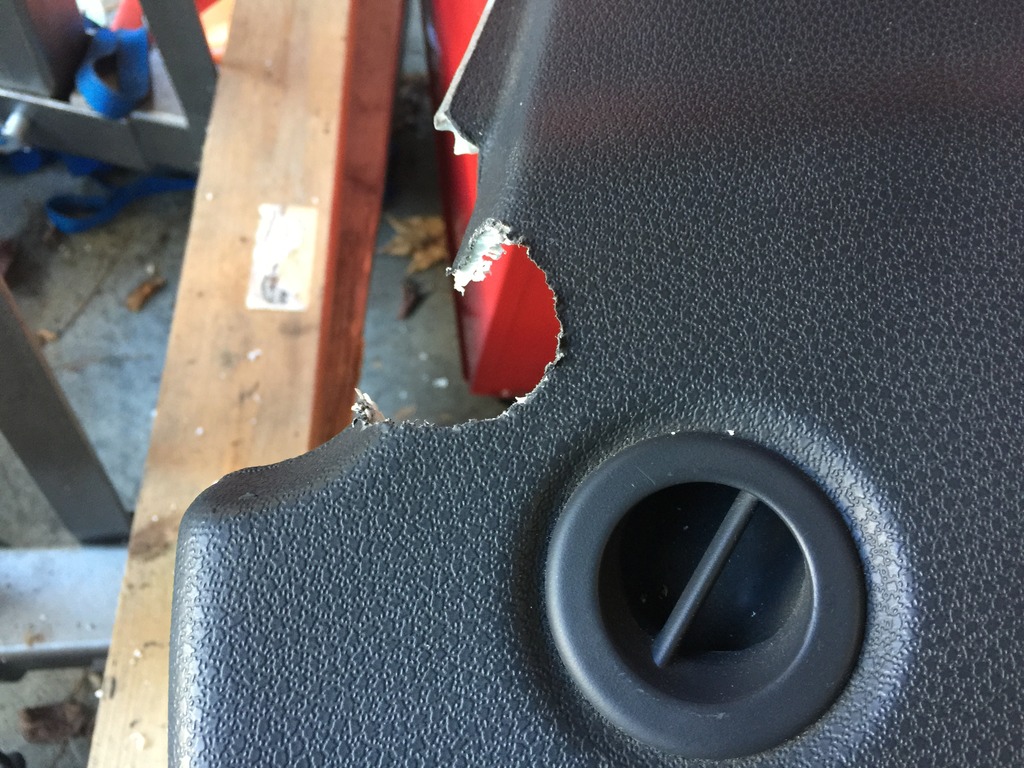
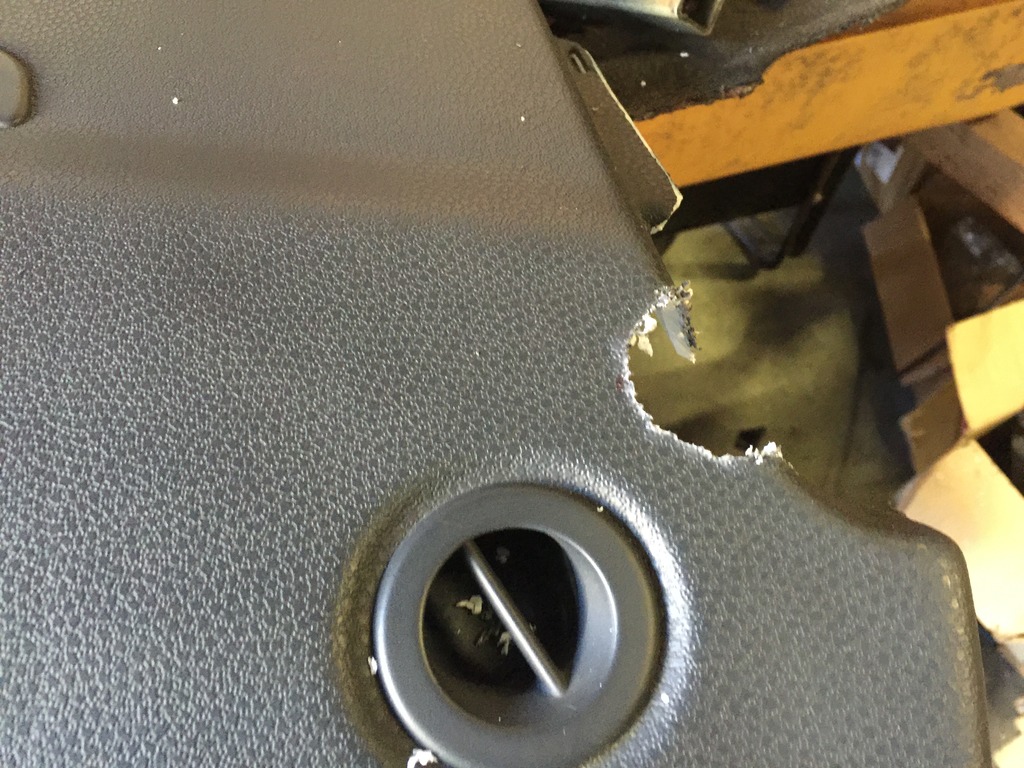
The trick is, getting the fatter parts forward of the cage past the cage A-pillars. I don’t know how others have done this, but I tested doing “origami” on the sacrificial pad, and it works. So I did that again.
First, remove the extra duct layer on the bottom of the dash pad. I used a Dremel tool with cutoff wheel.
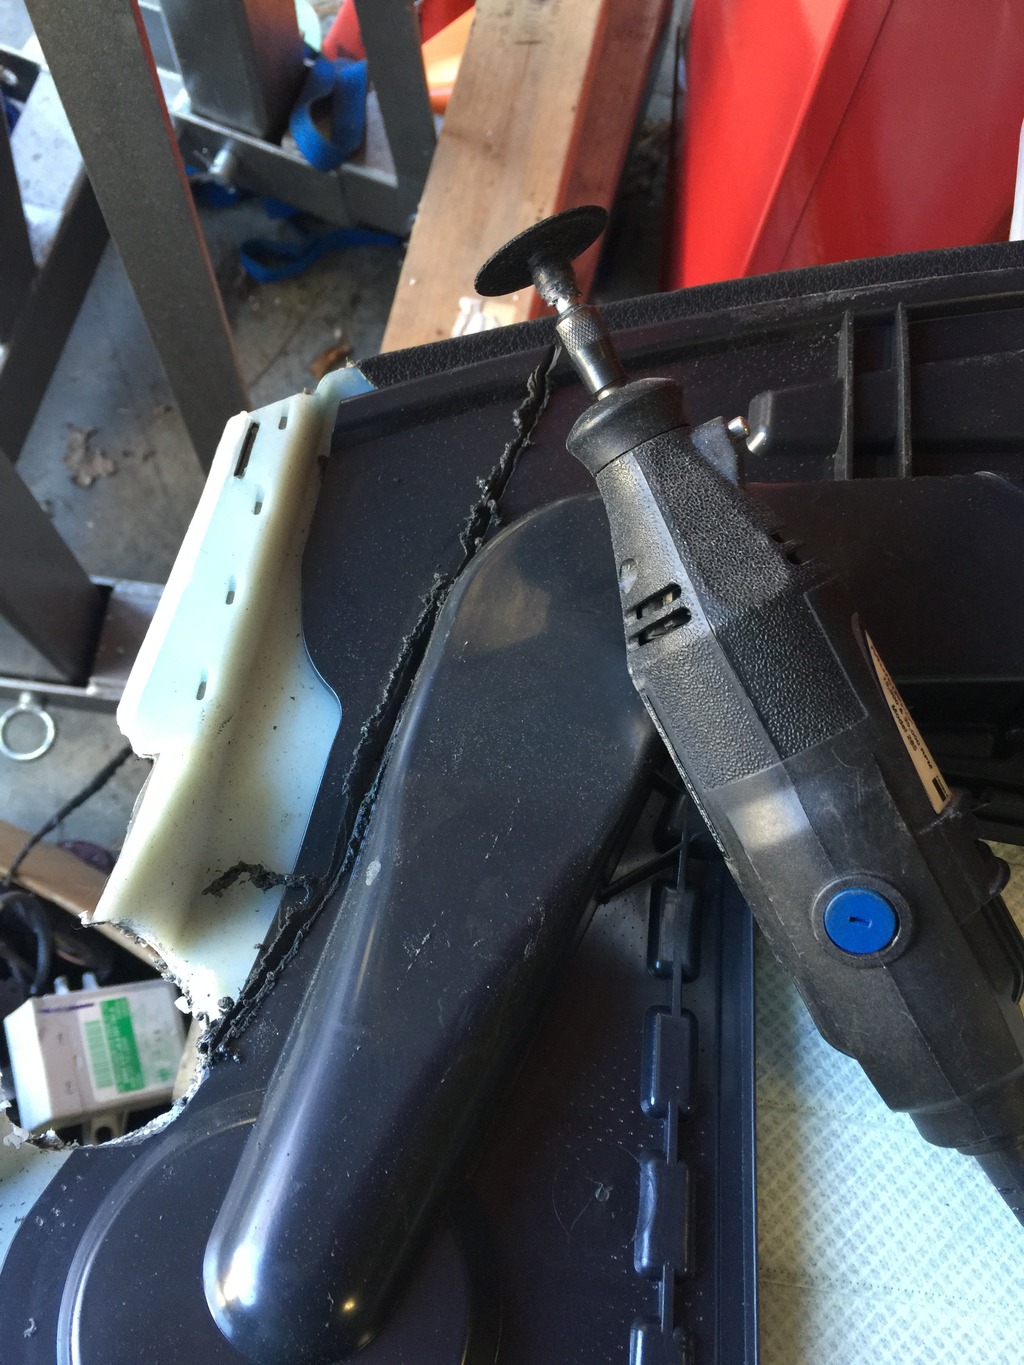
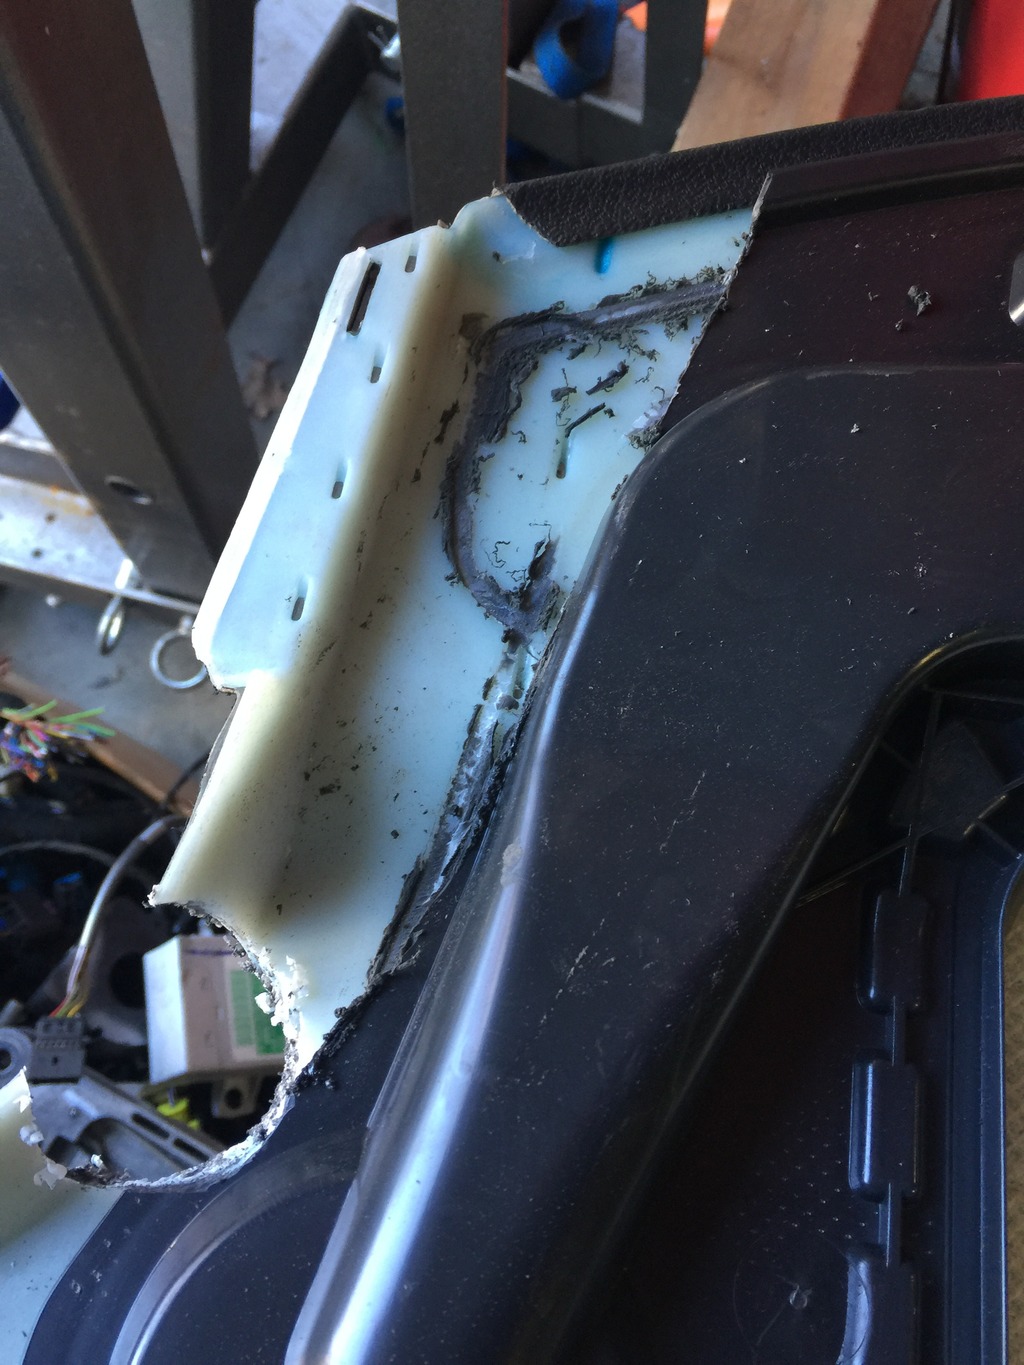
Then, VERY CAREFULLY score the plastic dash pad layer, about 3/4 of the way through the plastic. DO THIS VERY CAREFULLY because it’s easy to plunge too deep… then you’ve penetrated the vinyl dash cover on the other side, and ruined the pad. I was careful and didn’t mess up on either pad. Start at the deepest part of the hole, and angle toward the middle of the pad as you go to the front edge. You want a fairly straight cut.
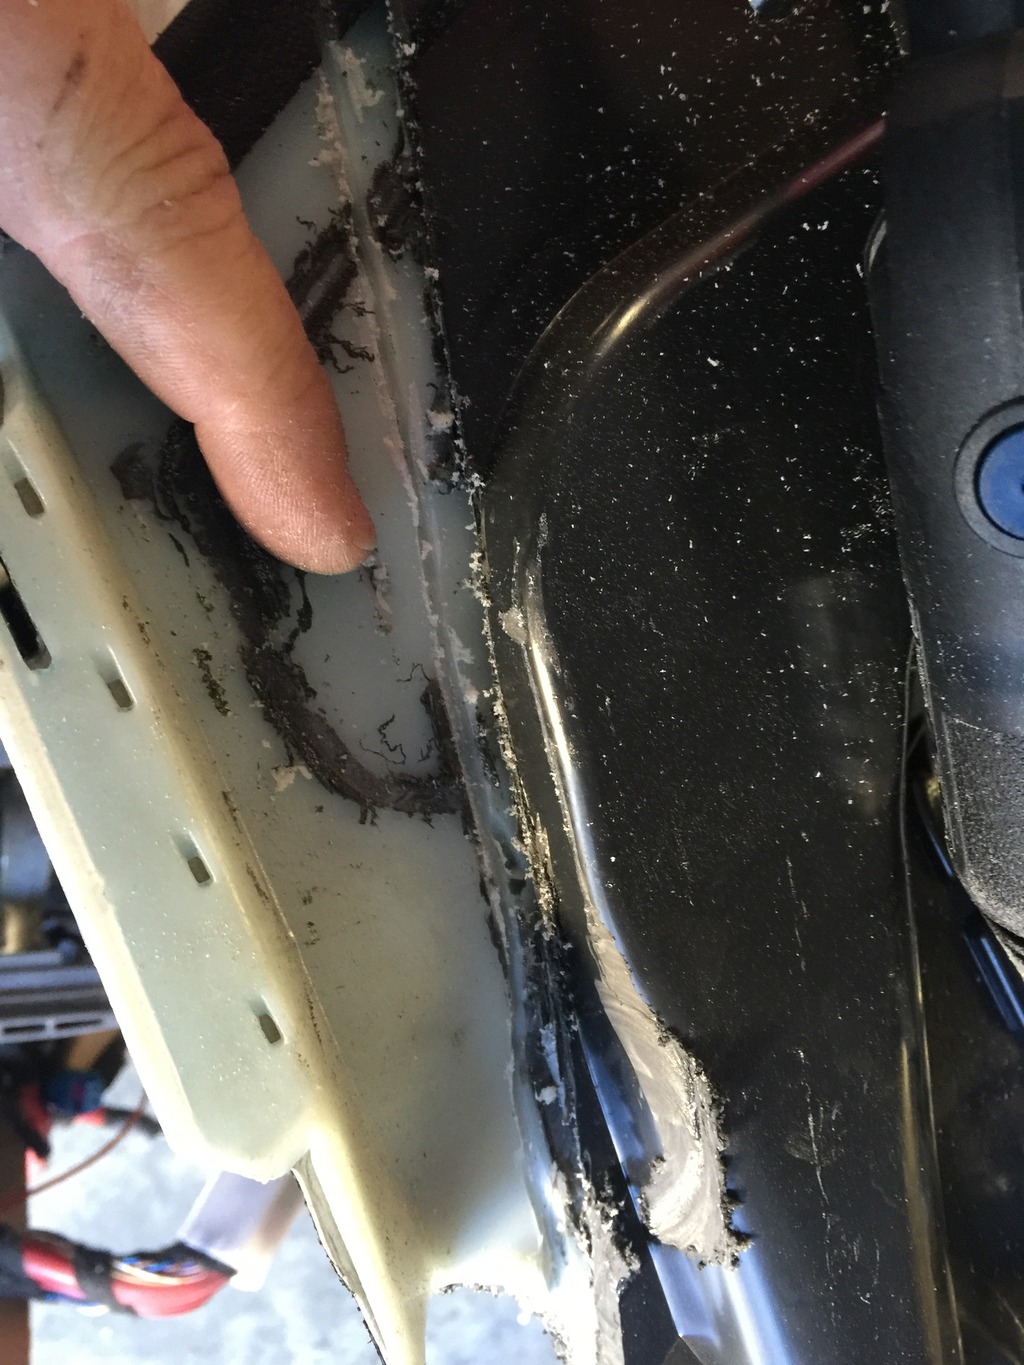
May take a bit of trial and error to get deep enough. Once you do, you can fold the new “wing” you’ve made upward (as the pad faces up). It may snap the remaining plastic, but the vinyl will remain intact.
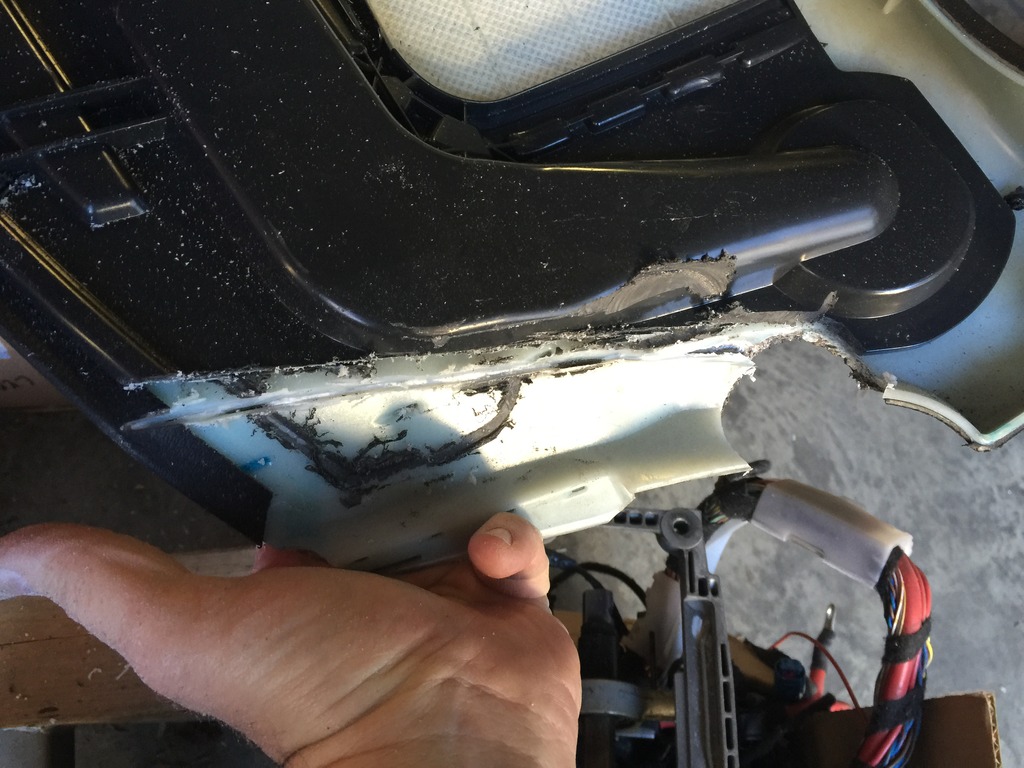
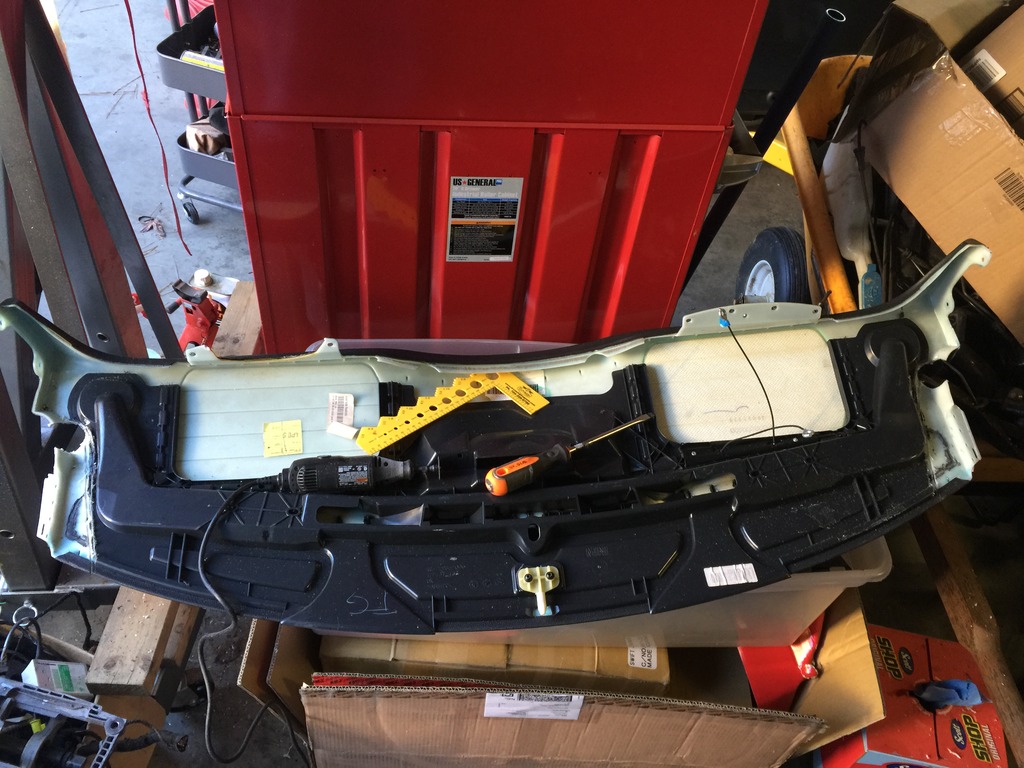
I also needed to remove more of the black duct plastic behind the side window defogger vent, and open up the vent hole for my kill switch.
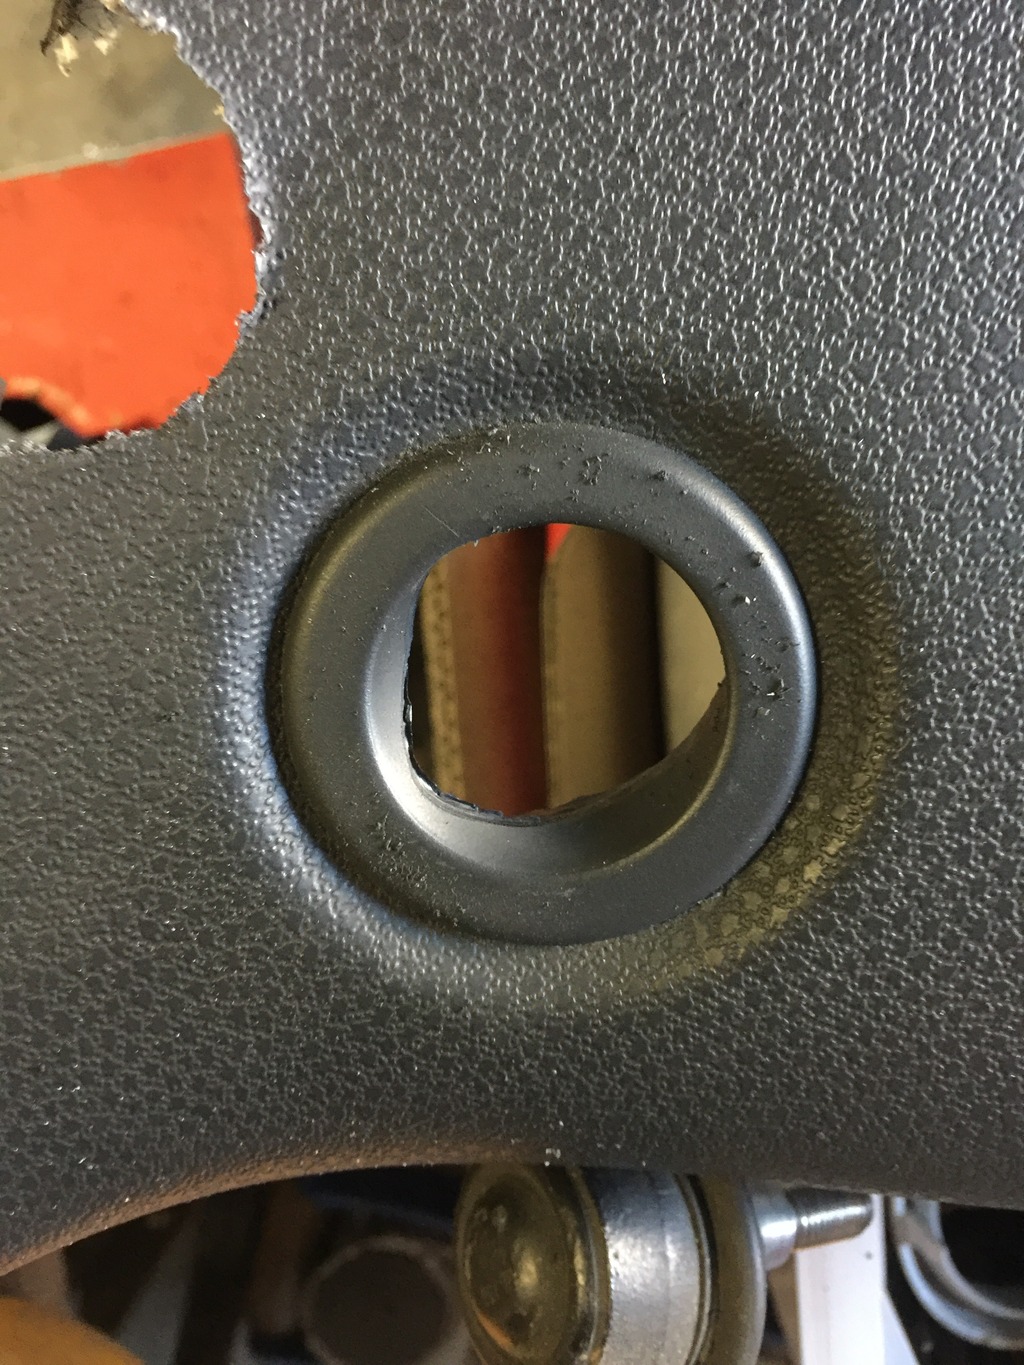
Then, time to install. It was VERY tight this time, very hard to get everything lined up, get the centering pin in place, and getting the pad to slide/snap down into position… but finally did. I could have drilled the holes a few mm inward and it would have been a little easier. But now that it’s in, it’s good that it’s tight.
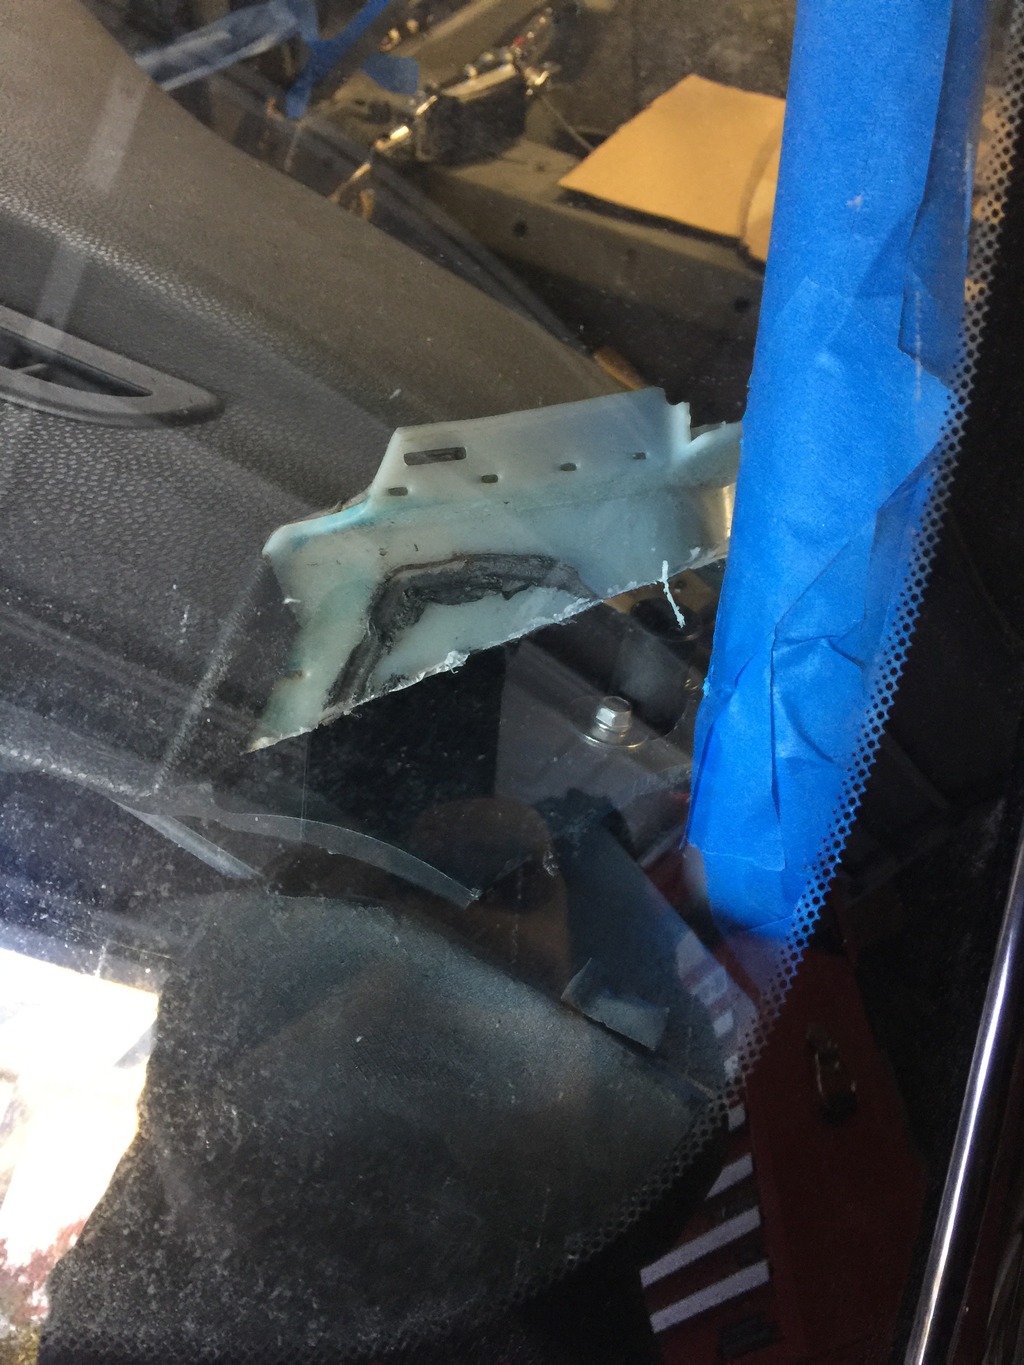
Once in place, fold the wings back down and install the modified A-pillar trim. Done. The wrinkles in the dash pad should flatten out once the pad has warmed up in the sun a few times.
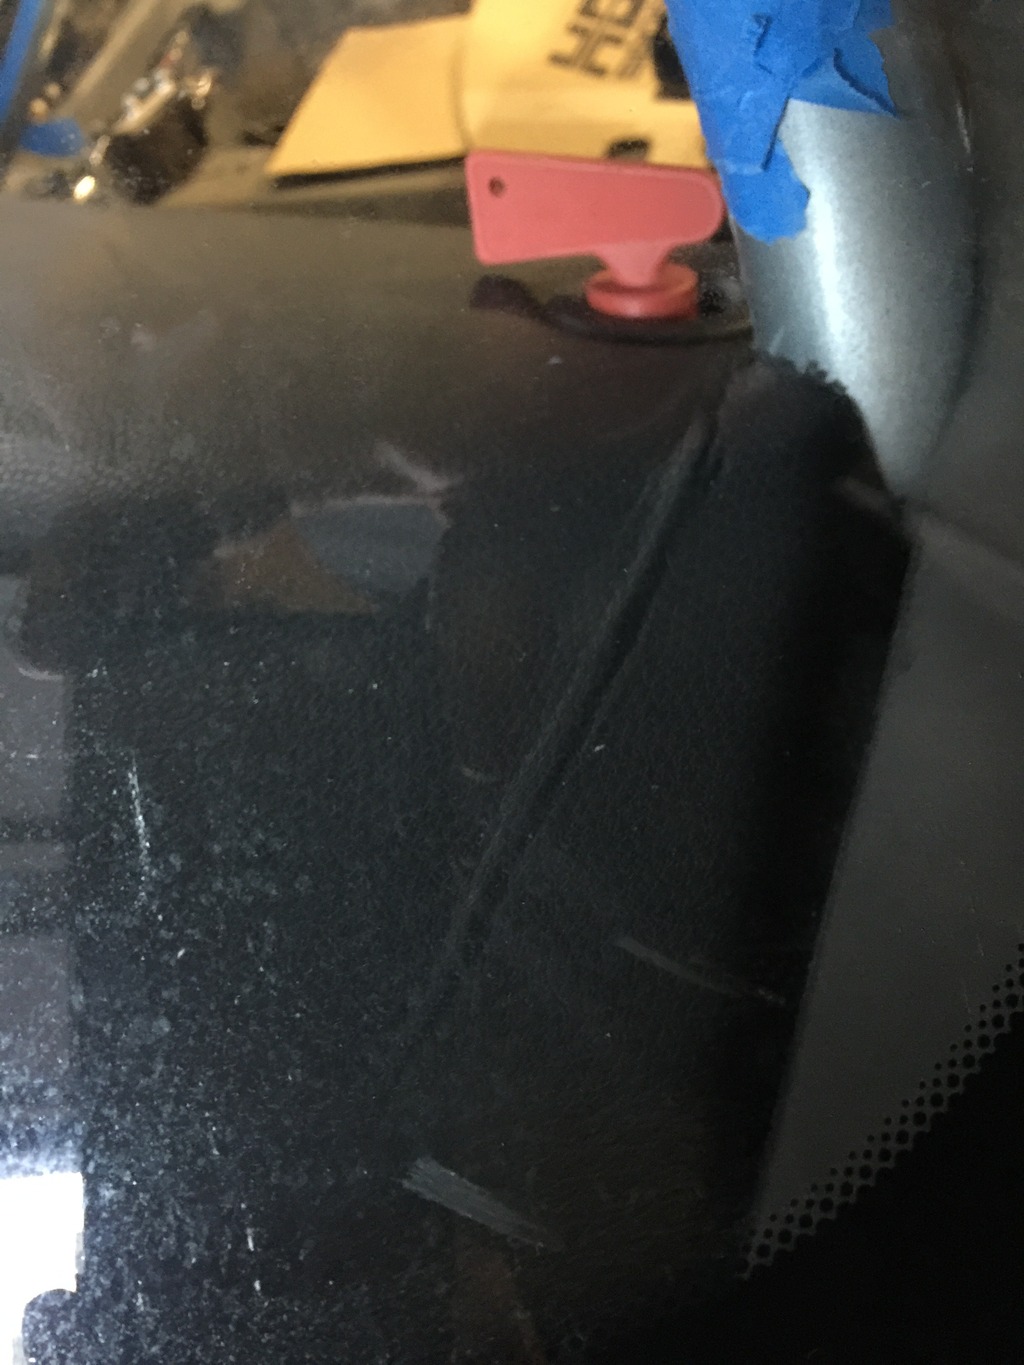
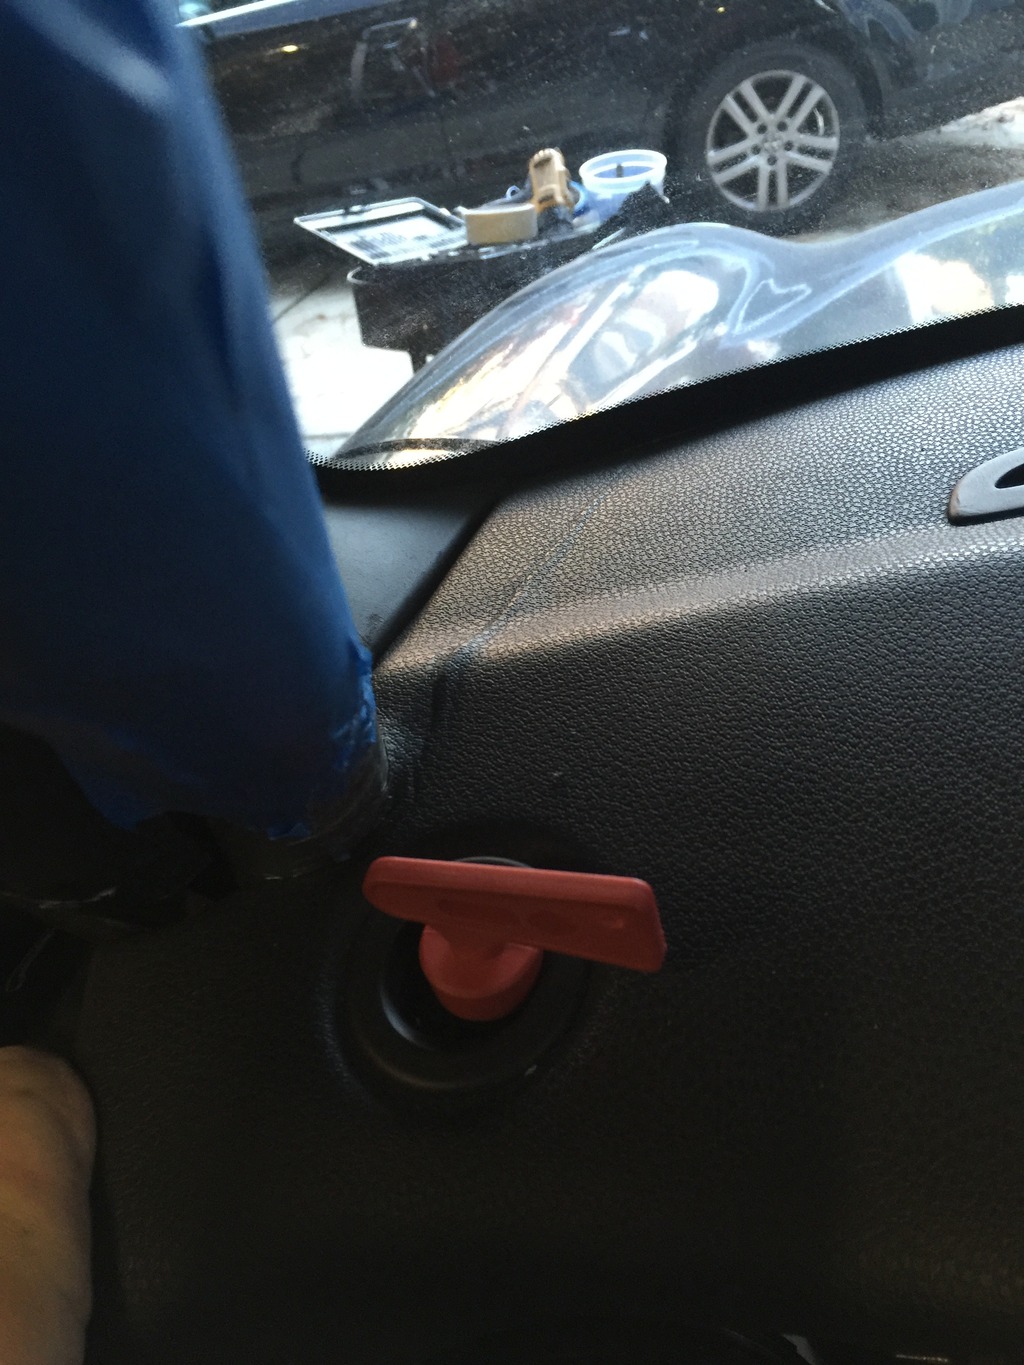
Decided to go ahead and make the dash a little prettier… It’s starting to look like something! Motivates me to keep working.
