Sad day.
Farewell, good and faithful friend Blimey Cabrio / Locutus Mk1. And F’d-up GP0769.
May your steel find another noble purpose.
The Phoenix
The MINI GP Roadster
A bit of hurry up and wait, for the past couple of weeks.
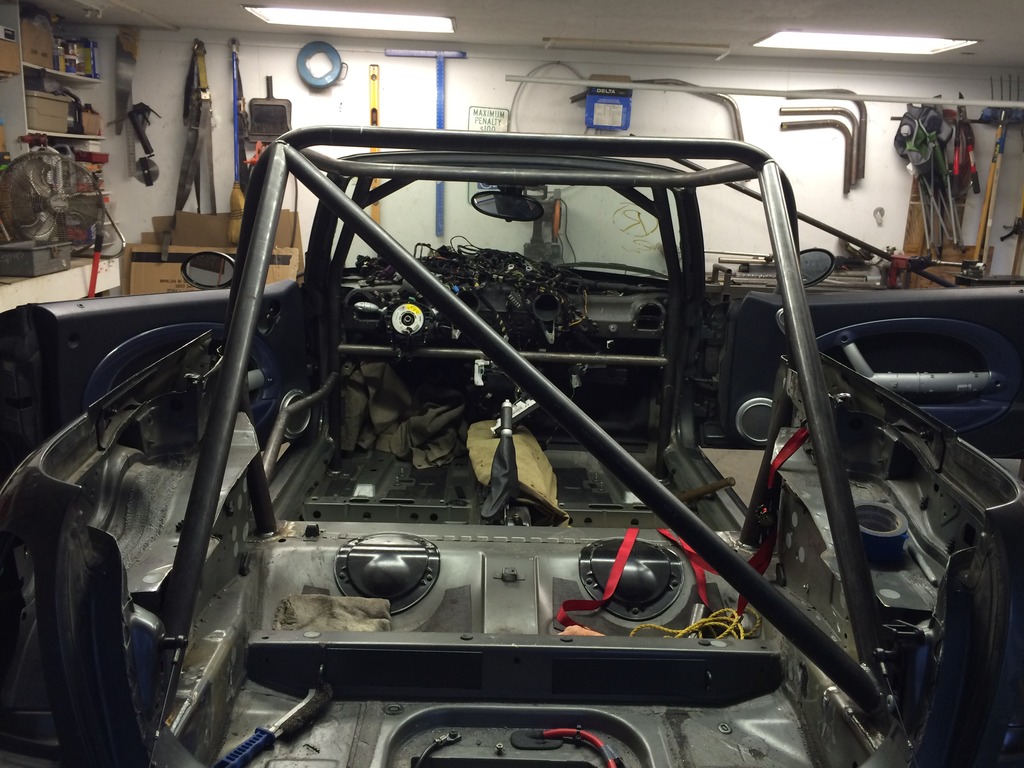
Cage is DONE. It’s not done in the pic… but was close. I’ll get more pics when I pick up the car, probably early next week.
Spent the last couple of days completing stripping of the wreck and the GP.
Blimey/Locutus Mk1… all stripped and ready to scrap. Sad.
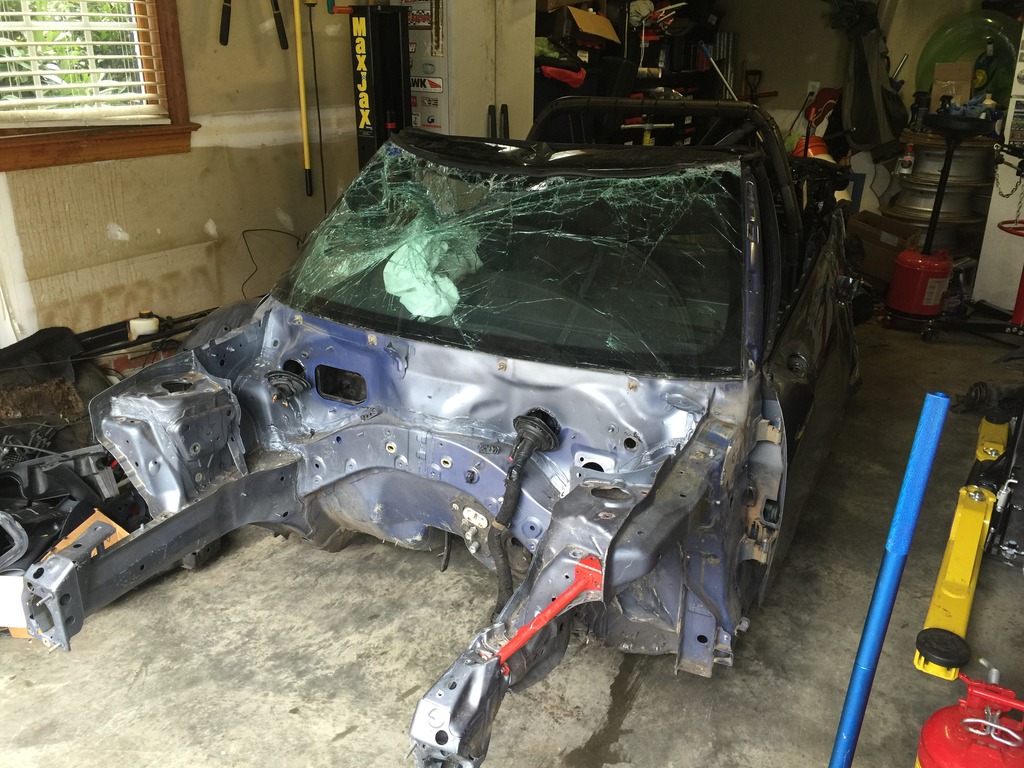
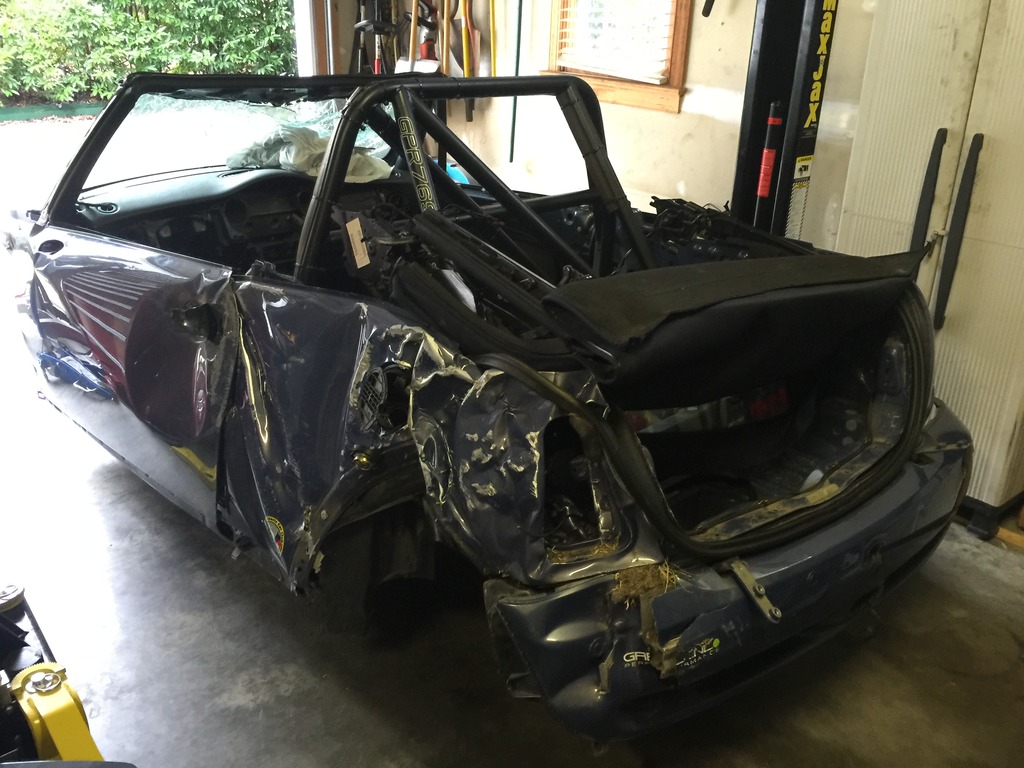
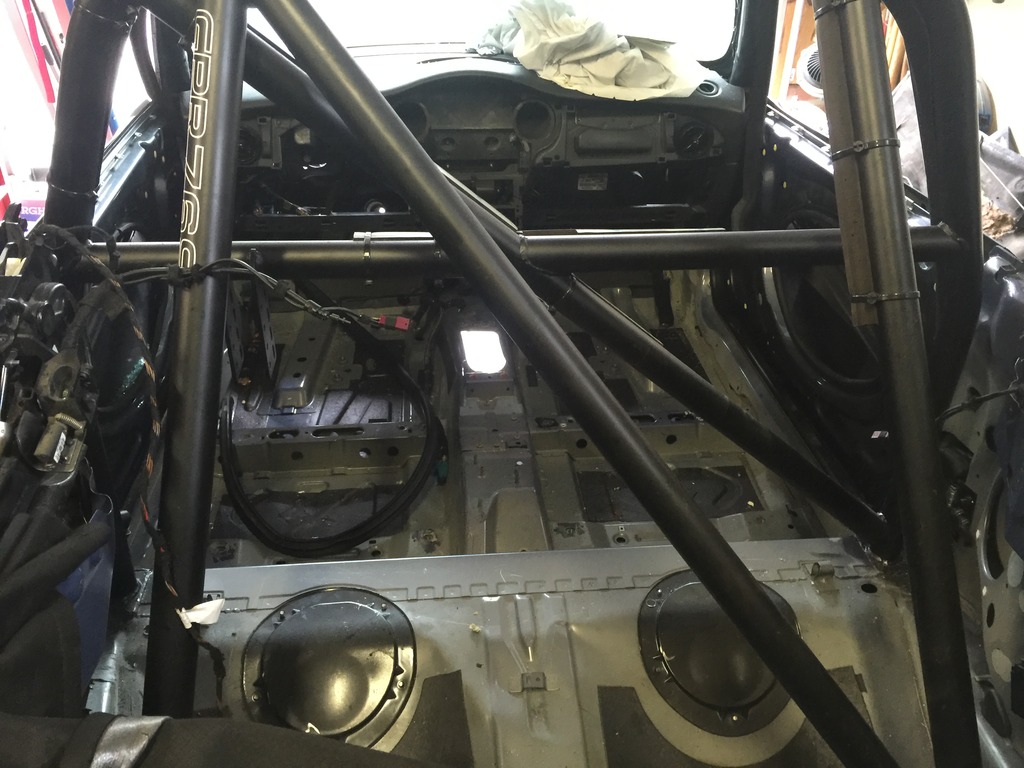
Moved the wreck out into the rain and covered him up, to make way for the GP.
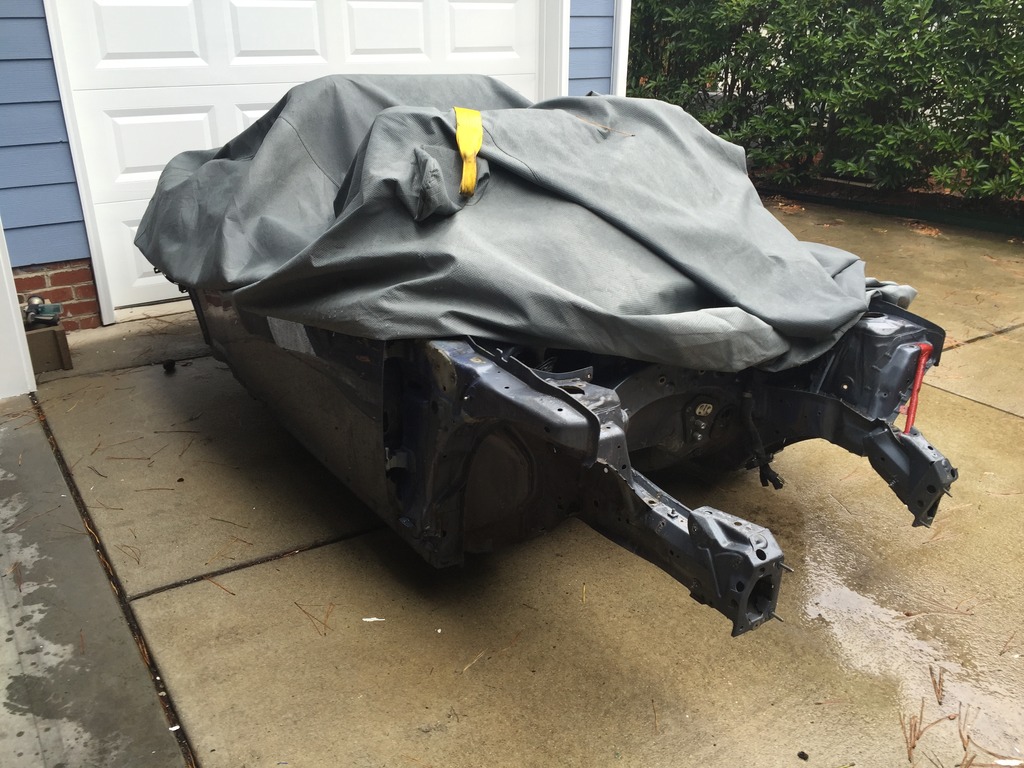
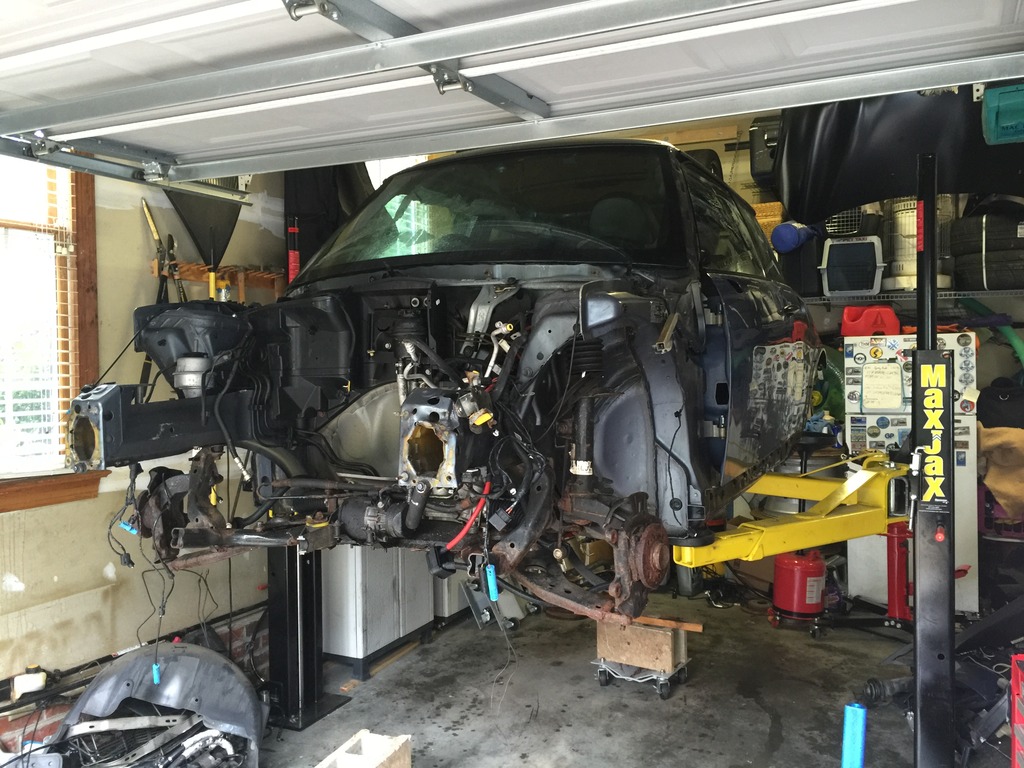
I’m not stripping nearly as much stuff off the GP. A lot of the suspension, subframes, etc. are super rusty and not worth the trouble. I pulled the PS pump and steering rack, to have as spares. Then pulled windows, handles and hardware out of both doors. Everything else was already done.
Well, almost everything…
Not many people have these, at least not in this form…
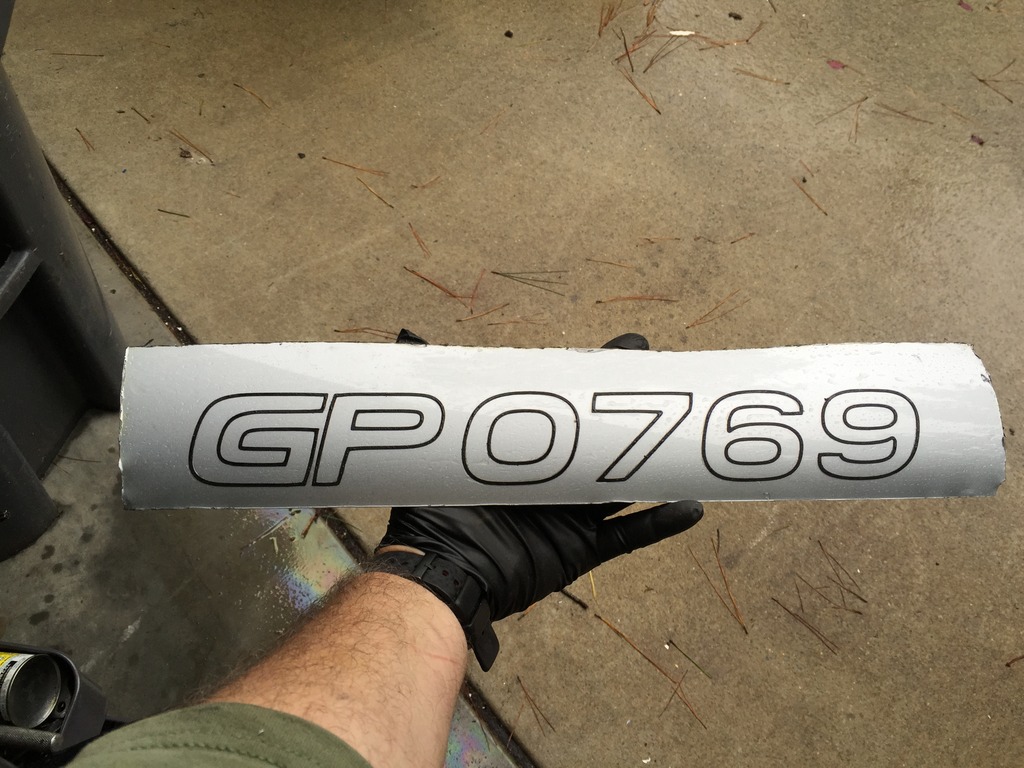
Supposedly the scrap hauler is coming tomorrow to take away both of these shells. Wife will be MUCH happier…
Slow progress, but progress. I’ll be glad when the stripping is done… because it sucks, compared to building.
Spent a few hours today working on the convertible top. Was attempting to get the whole top off intact. Well, that didn’t happen. But I made a valiant effort… Also removed the trailer wiring adapter and some other wiring stuff while back there.. and removed the boot door and all the trim in the back.
They don’t really design the top (or most of the rear interior trim) to be completely removed without being able to cycle the top up and down at least a bit. Some of the bolts are hard enough to access when everything is working properly… When it’s not… and when part of the car is crushed… ugh.
Here are three of the critical bolts. Which were hidden behind a crushed and stuck taillight, and a crushed and stuck hydraulic pump. After removing those, they were still arm-deep in a hole like one Indiana Jones would have to feel around inside…
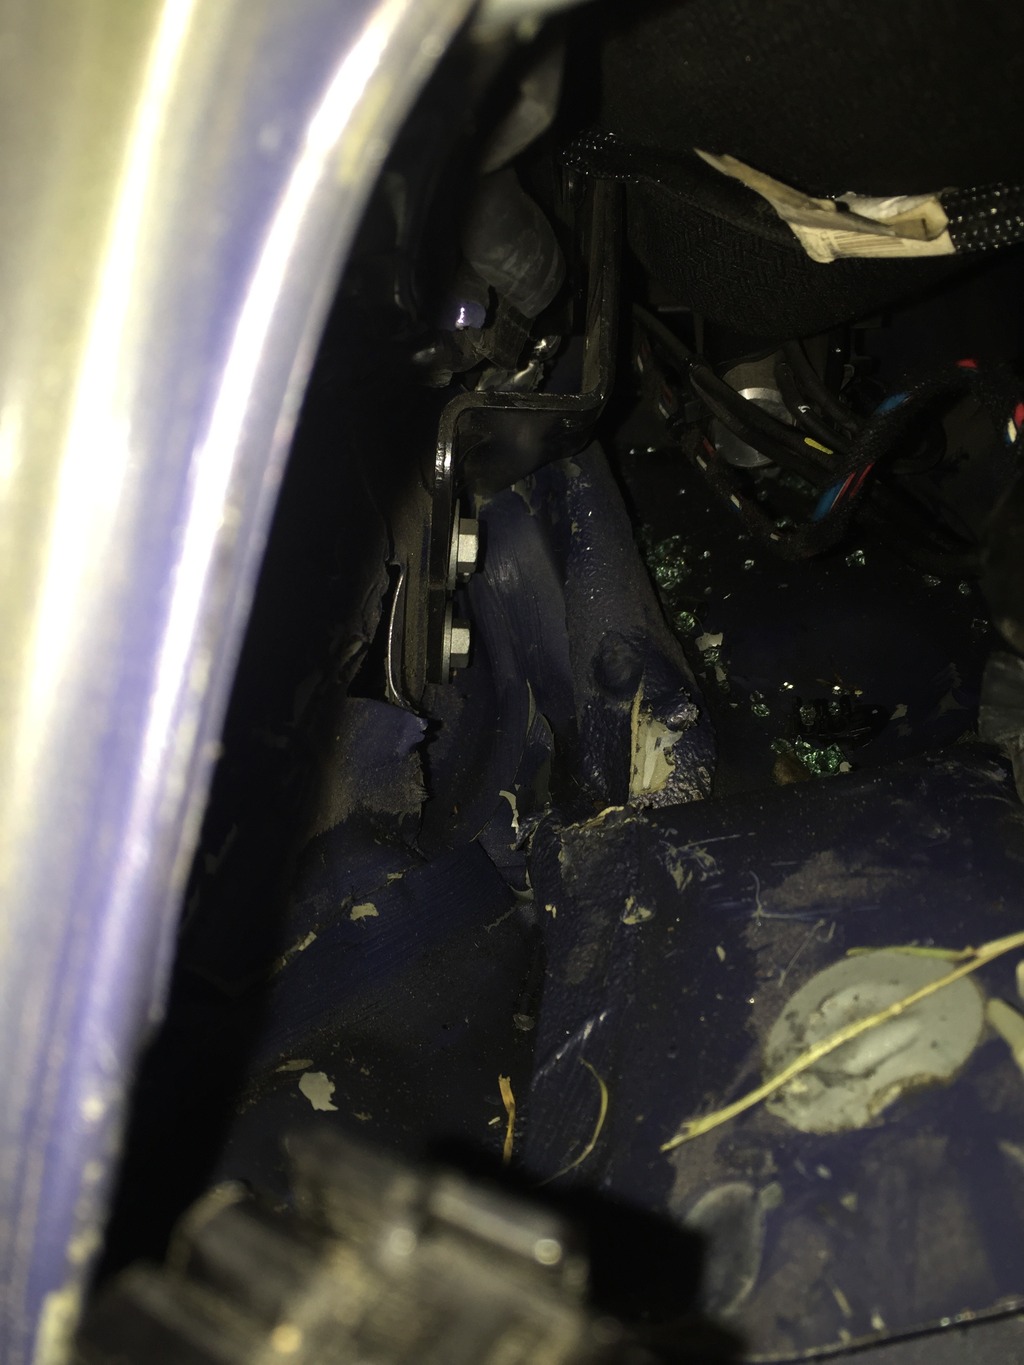
Two of these three came out easy with a ratcheting box-end wrench. But the third was wedged against crushed sheet metal. I had to work it out with an open end wrench…about 35 degrees of rotation, flip wrench, another 35 degrees, flip wrench… repeat, blind, by feel, for 45 minutes. But finally got it.
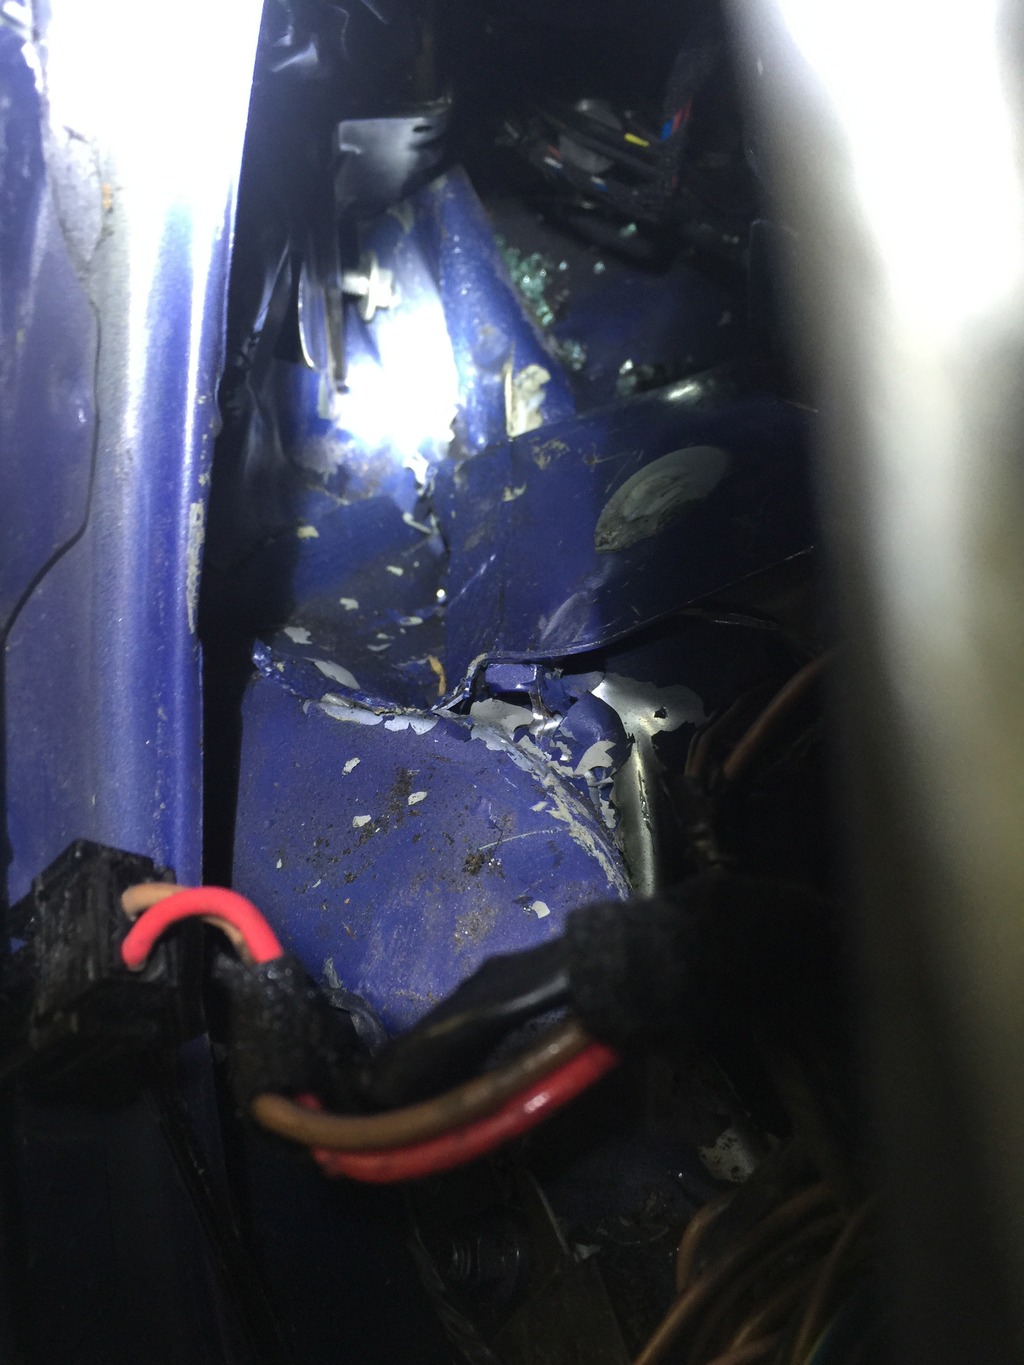
Only to find that there were even MORE fasteners I couldn’t see and couldn’t access.
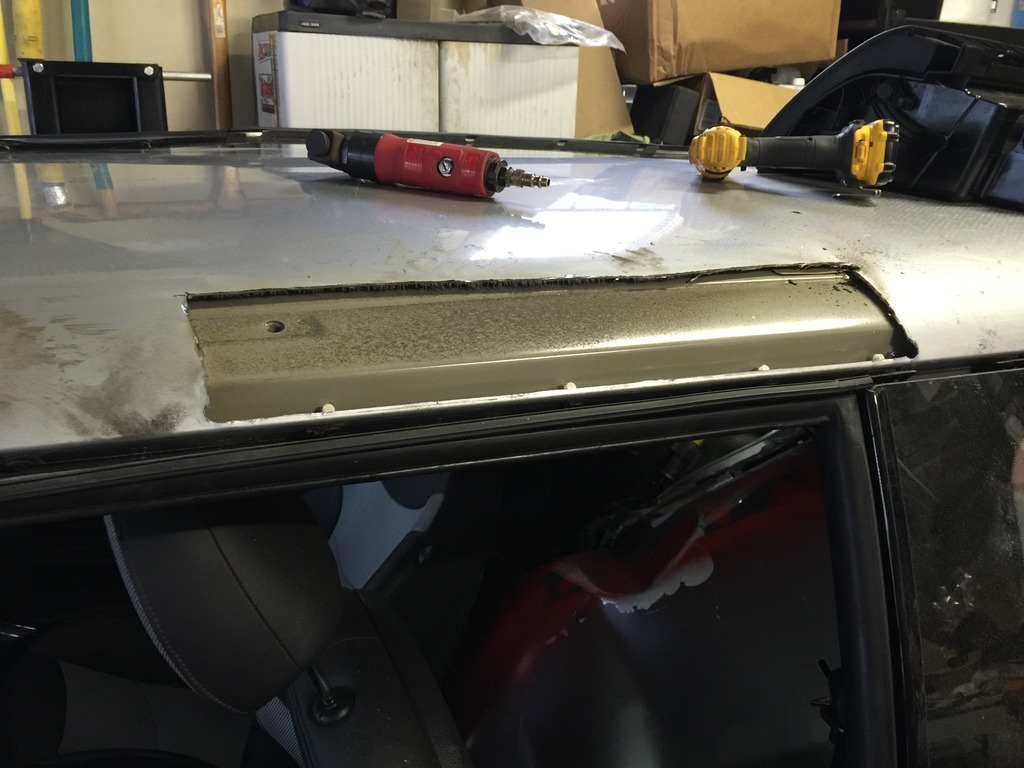
Eventually got things loose enough to shift around and cut out the critical parts I needed…
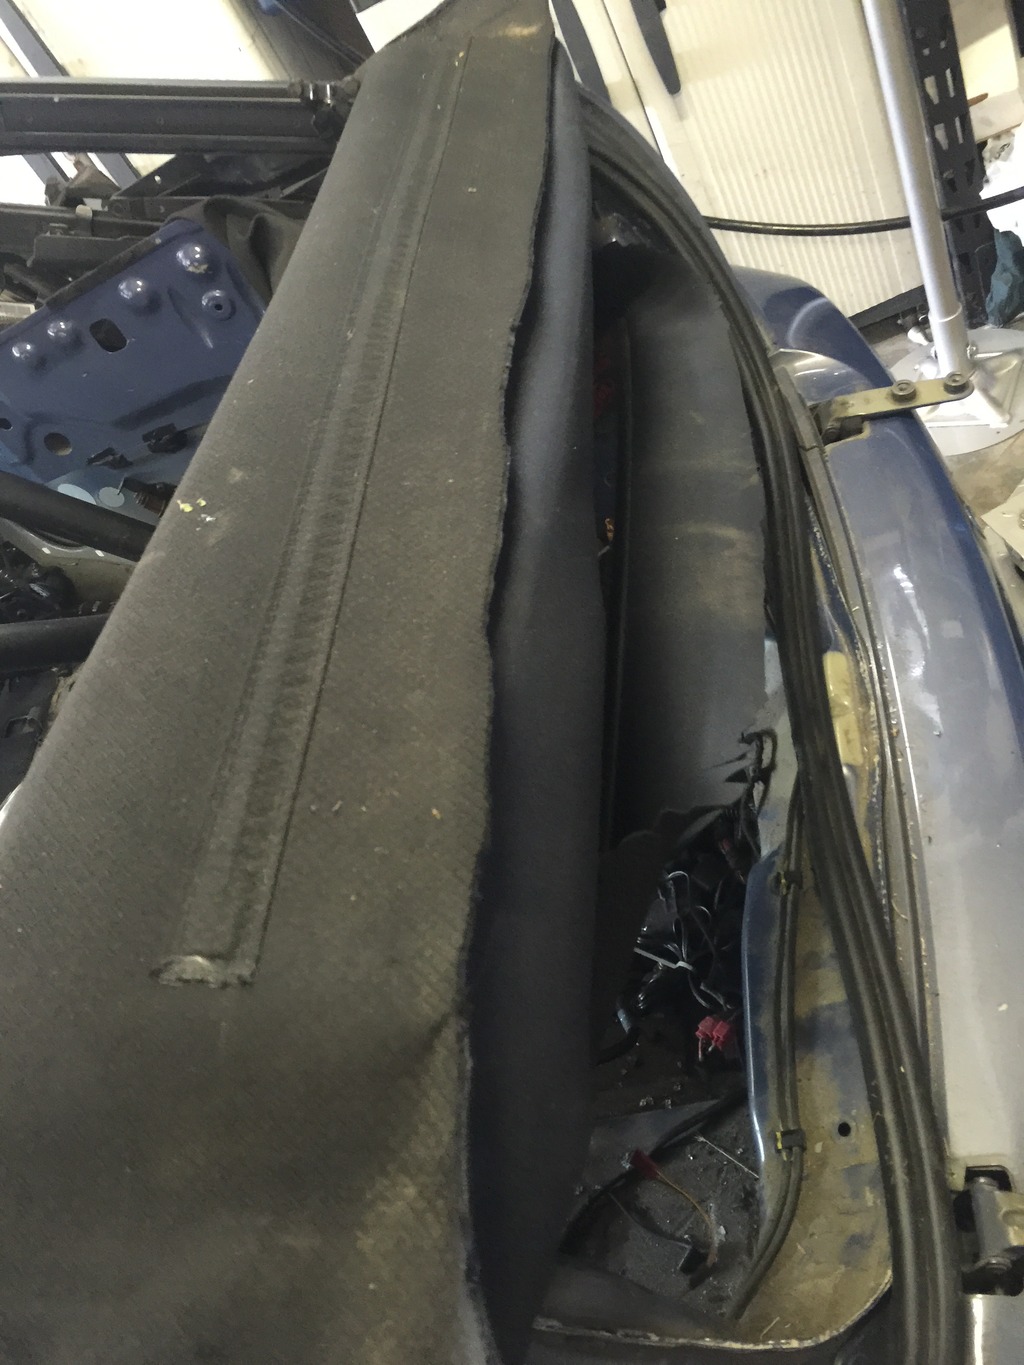
The “sunroof” panel, and the rear tensioner with pivots and latches. Plus some trim and stuff.
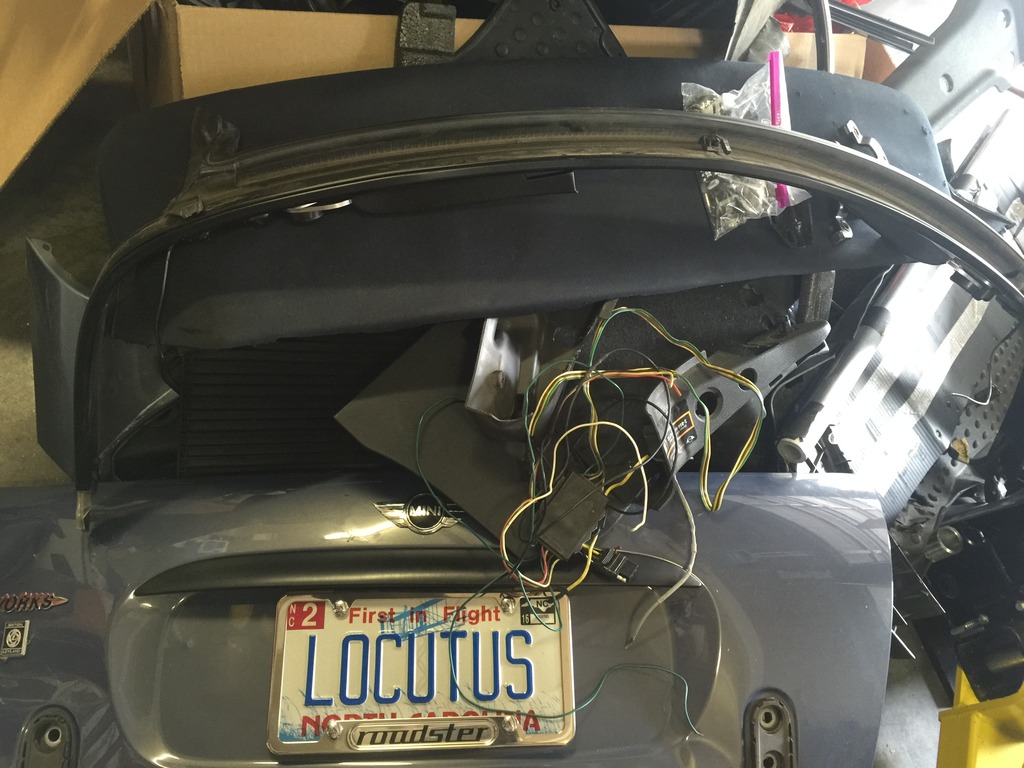
The “sunroof” panel will be used to build the front seal/latch portion of my “bikini” top. The tensioner assembly will be the rear attachment point for the tonneau cover.
Found Teddy’s brakes! They’re on the way to Detroit!
Stopped by the local MINI parts desk today…
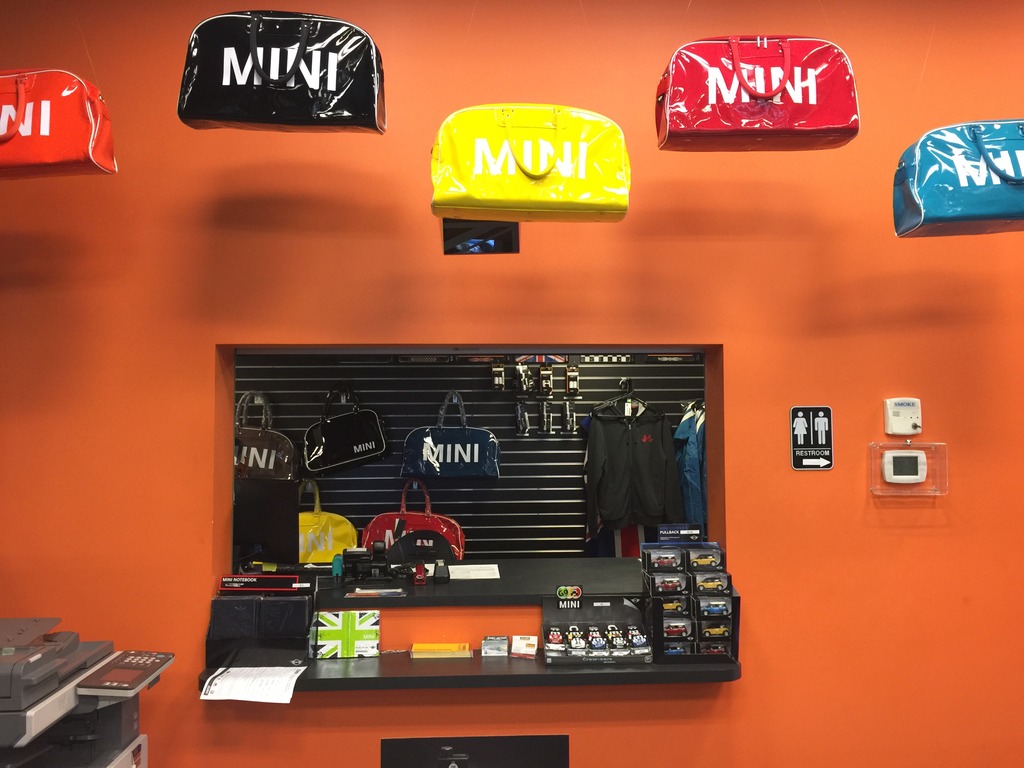
And picked up some sheet metal…
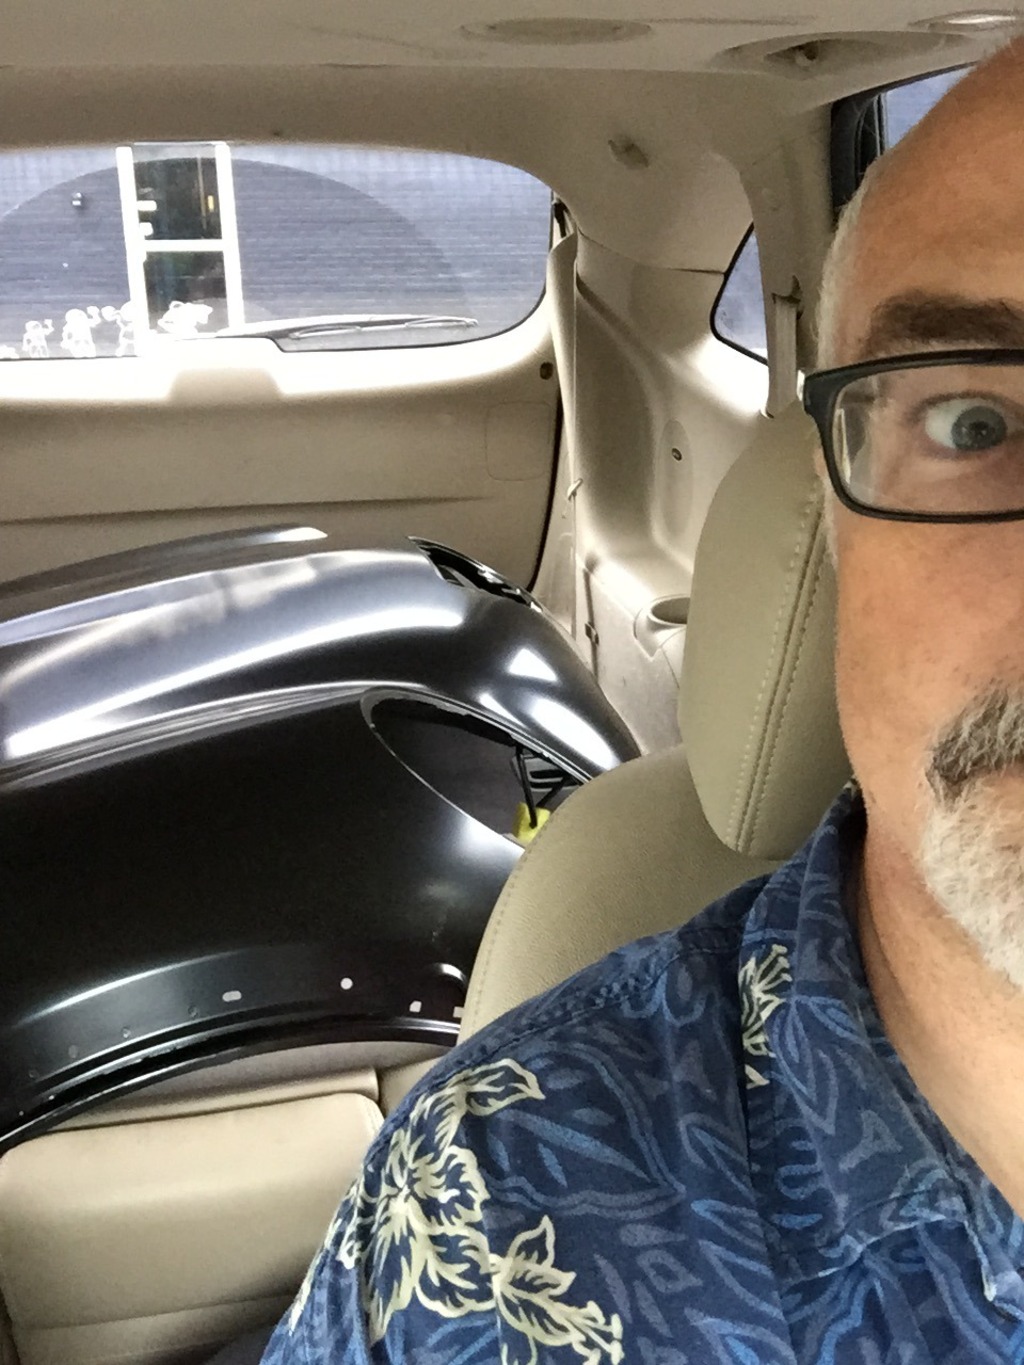
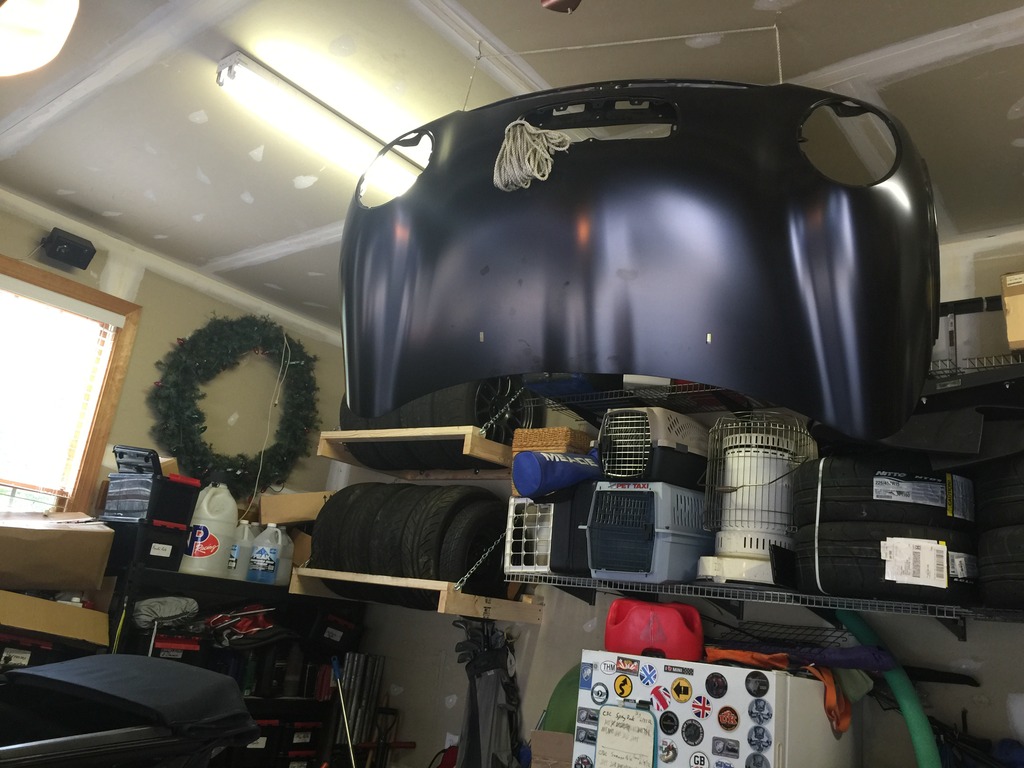
Need a safe place to keep it damage-free for a few weeks, in the midst of the garage chaos. This’ll do, I hope…
More work, stripping the wreck. Almost done in the engine bay and underneath. Vacuumed lots of glass out of the interior and got started in there. My passenger seat is jammed in position for some reason (maybe some debris in the track? guessing…). That and a stuck wrench told me it was time to call it a day. Will get back to it tomorrow.
Spent much of the day looking for Teddy’s brakes. Still haven’t found them, but I will prevail. That’s what happens when your garage is packed with parts off three MINIs.
Meanwhile, cage dude is at work. We sent a bunch of pics back and forth, mocking up the proper height, width, etc. so he can start bending steel.
It will be about an inch shorter than this… which will still be about an inch taller than the old one, and about convertible roof height…
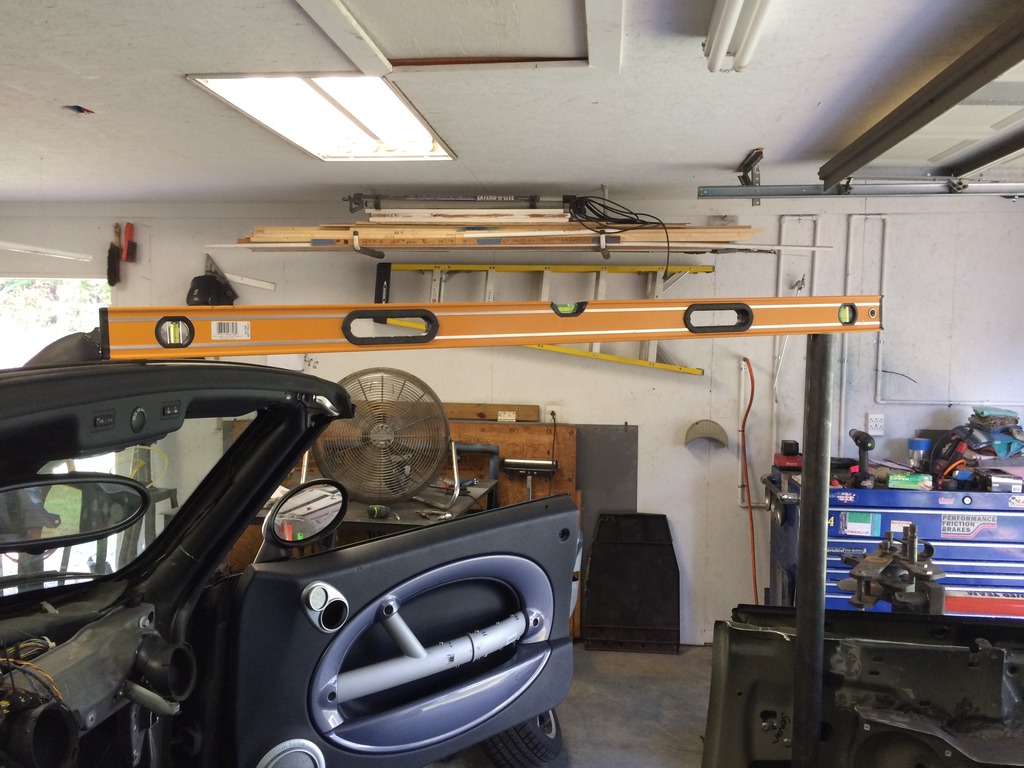
He’s already cut out a bunch of nasty vestigial sheet metal, including the “humps” that the OEM front shoulder belts attached to. He’ll remove the piece adjacent to the tube in this photo, so the main hoop can go all the way out to the yellow tape…
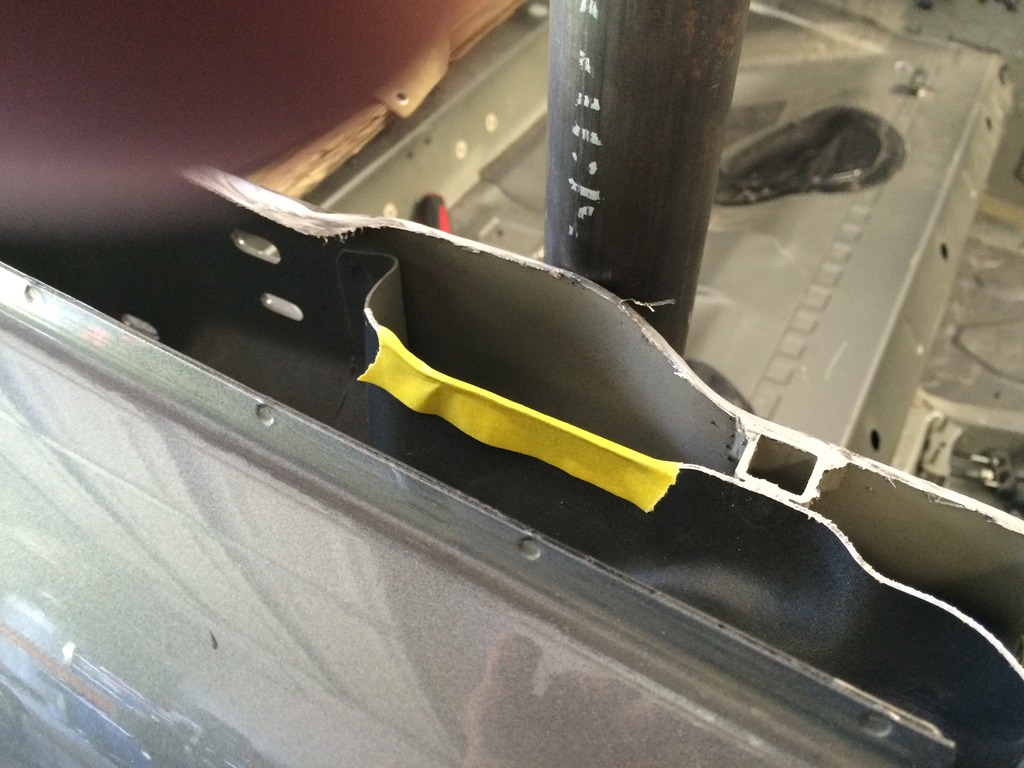
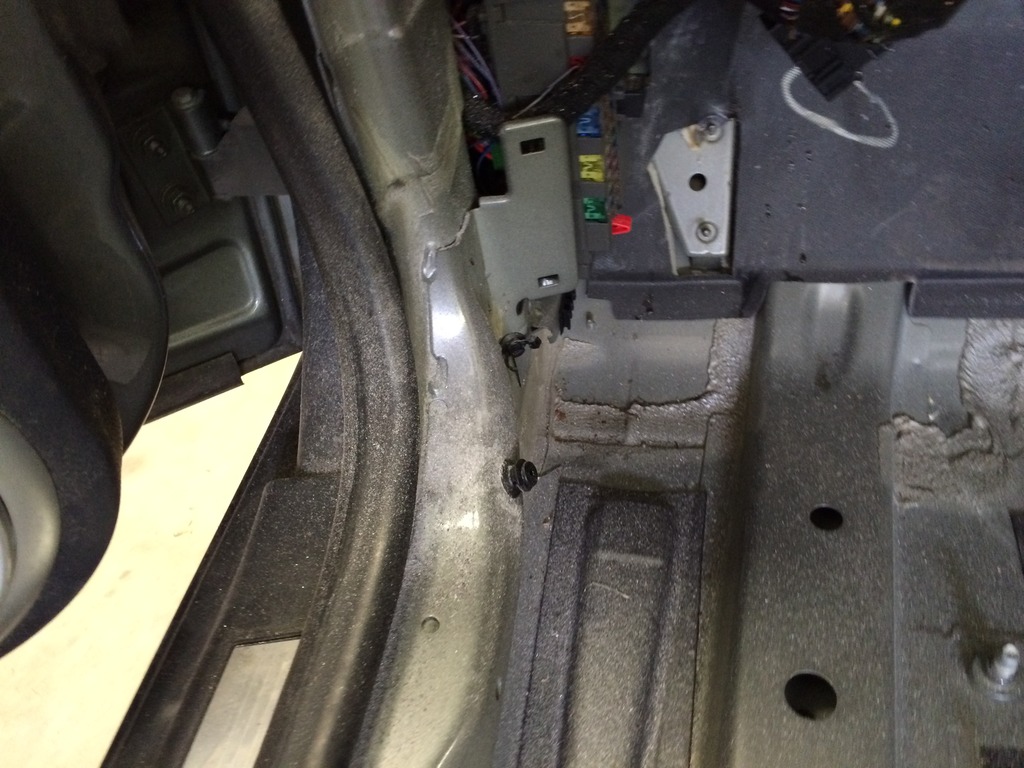
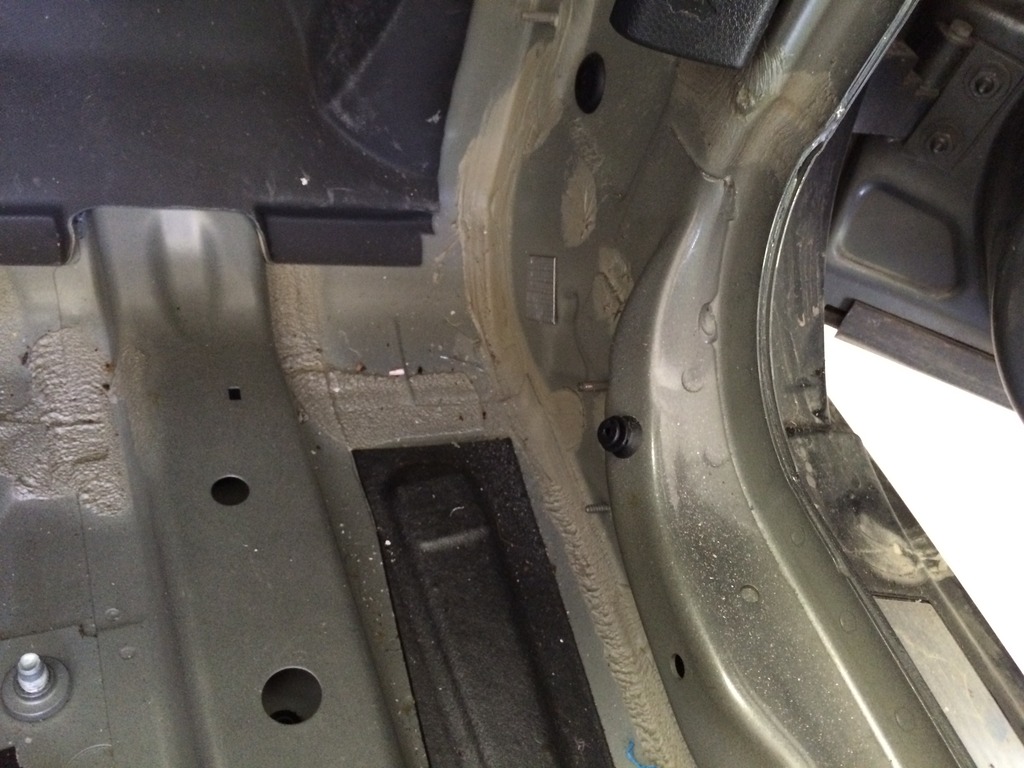
The main body harness on both sides of the footwell was going to be too close to where he would be welding the footwell plates for the front pillars. So he had to remove the ENTIRE rear portion of the harness, so he could get it up out of the way. I get to put all this back…. FUN…..
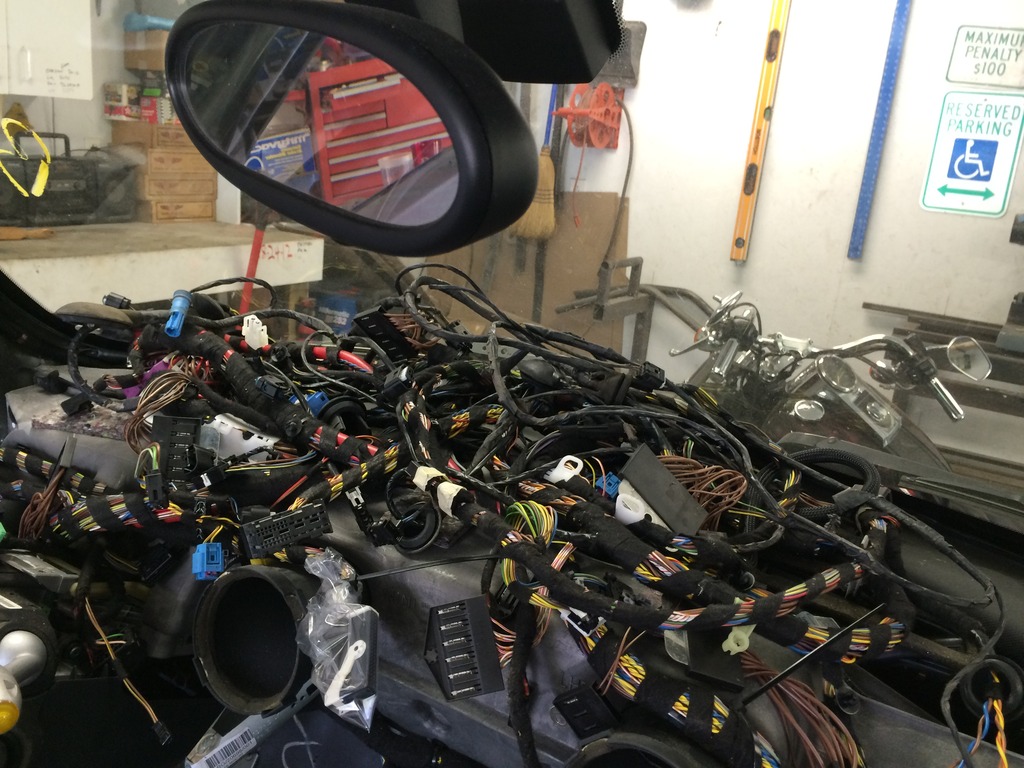
But now, no chance that he’ll melt any wires while welding things in. Ultimately better. This is a seriously stripped MINI.
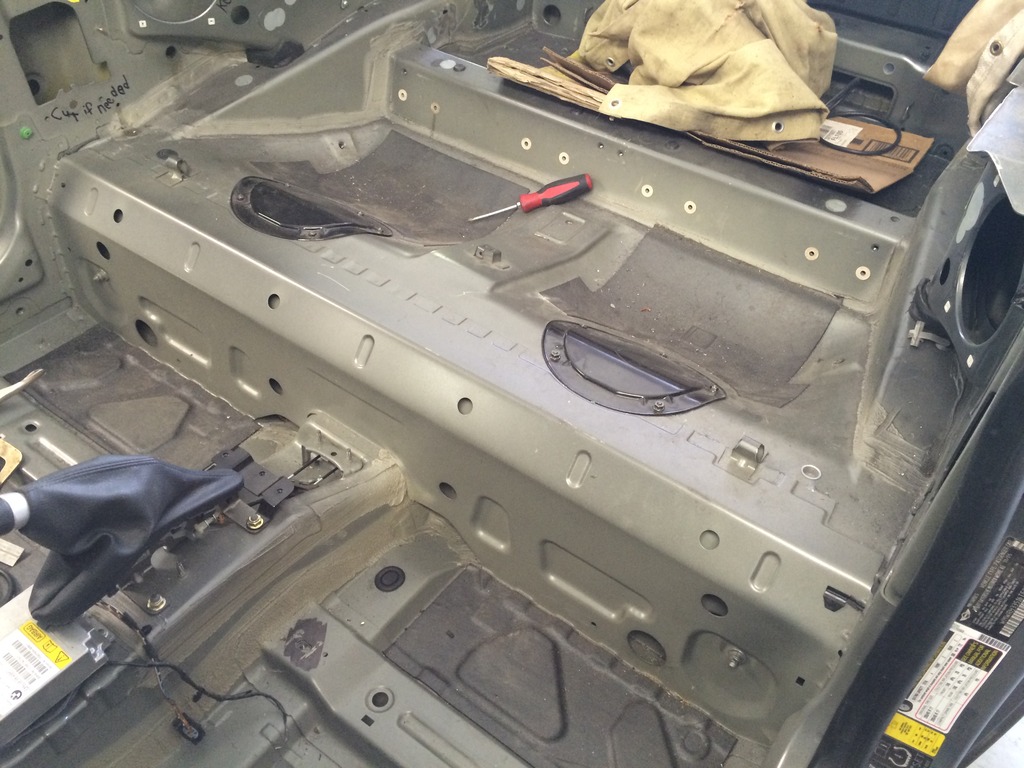
Also ordered Pure Silver paint for the roll cage and GP trim, and Chili Red paint for the mirror caps today. I’ll paint all that stuff myself.
I bought a new hood over the phone from my local MINI dealer yesterday, need to go pick that up, maybe tomorrow.
I’m going to work hard this weekend to get the wreck stripped. And hopefully will get it rolled out and get the GP back on the lift, to finish it up. I’d like to get both of them out of here before the caged shell comes back., if possible.
Wife: UPS left you another big box while you were out.
Me: Huh? I don’t know of anything that should be coming today???
Well, Santa arrived, and was good to me. ERMAGERD
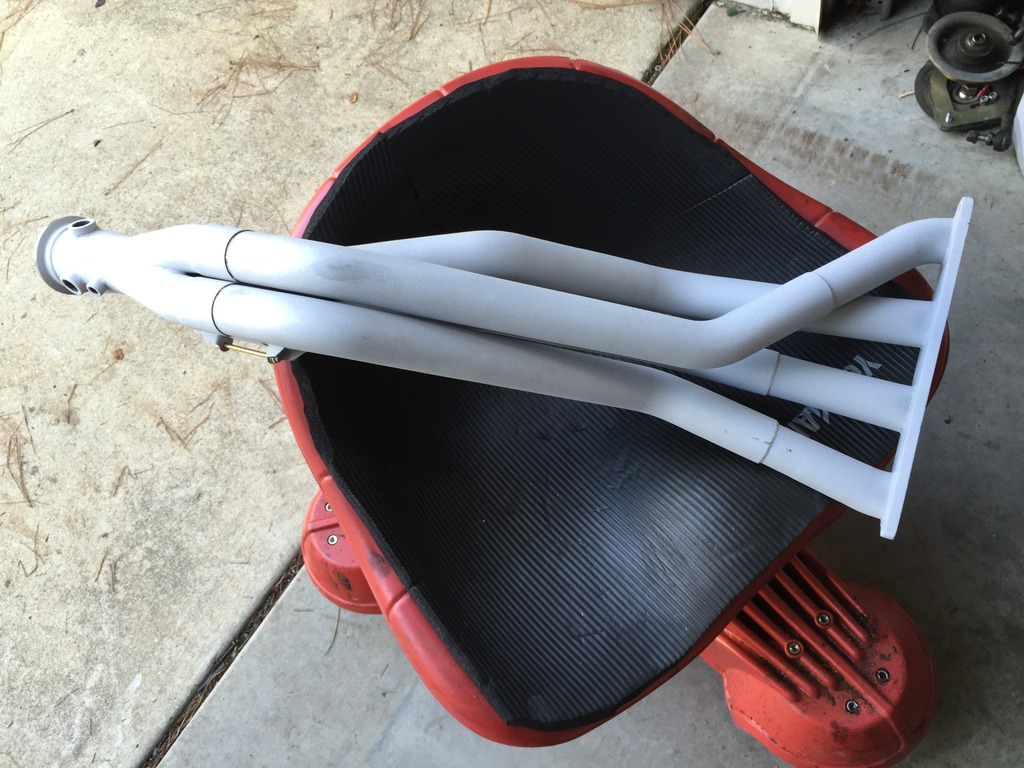
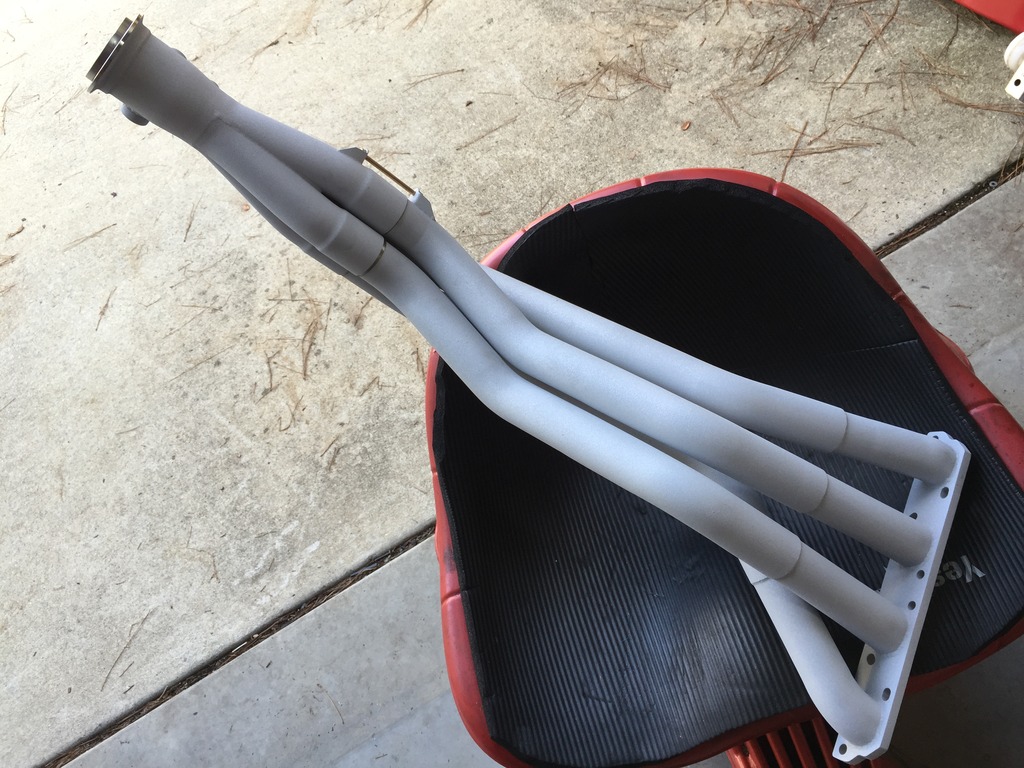
RMW race header back from Swain Tech with the White Lightning coating. It is RIGHTEOUS.
They did a spectacular job. Masked all the right stuff, removed the collector and masked the primaries where they should, and didn’t lose the bolt. Not cheap… but really really good. This coating is so much nicer than the run-of-the-mill ceramic I could have had done locally. Glad I bit the bullet. Took a month from the time I shipped it, until it came back. So don’t be in a hurry…
I don’t know what you’re talking about. But this photo was pretty popular on Facebook…
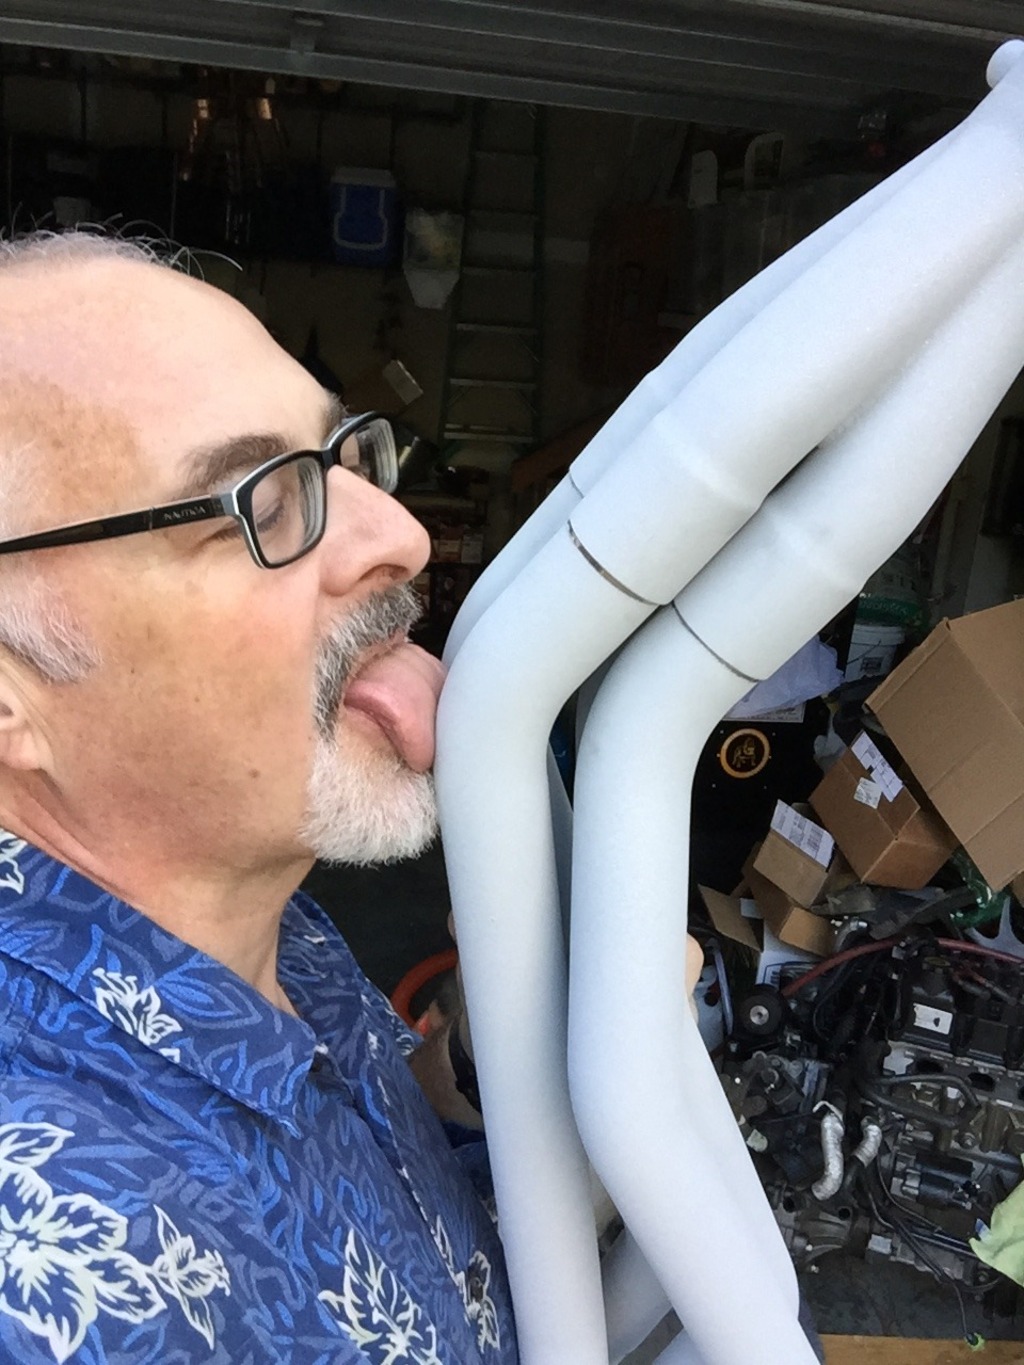
Swain Tech White Lightning coating is TASTY
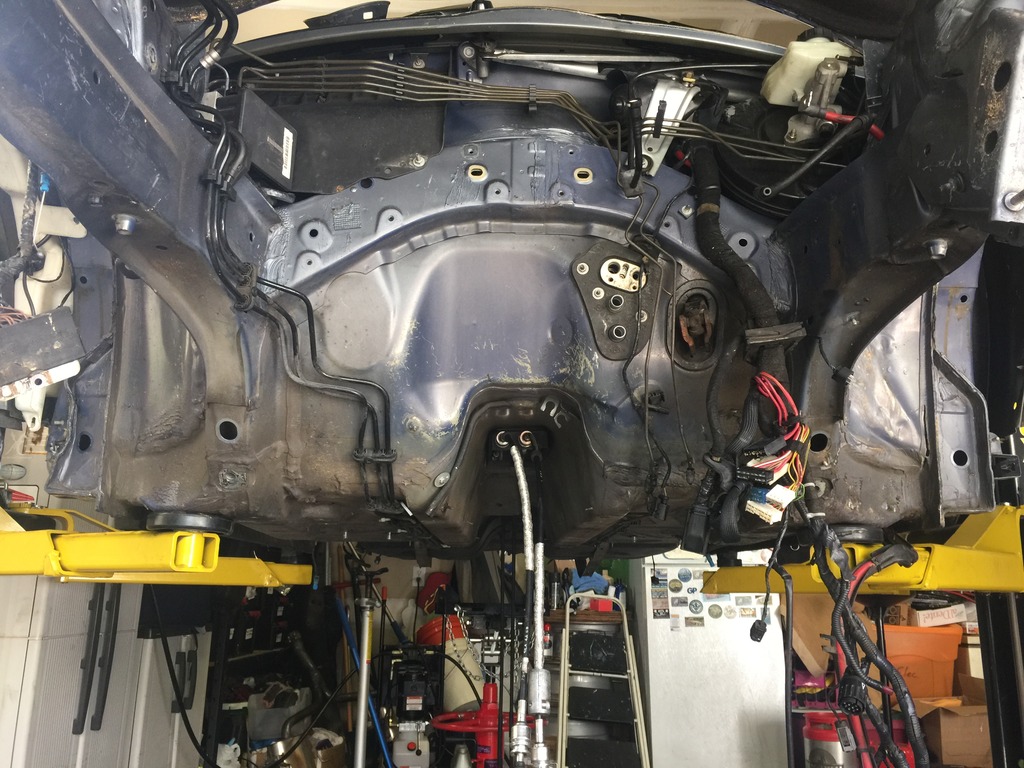
Today’s progress: Dropped and stripped subframes, stripped most of engine bay. Another hour or two, and engine bay and underside of car will be done.
Also, MOAR PARTS!!!!! From eMINIparts.com:
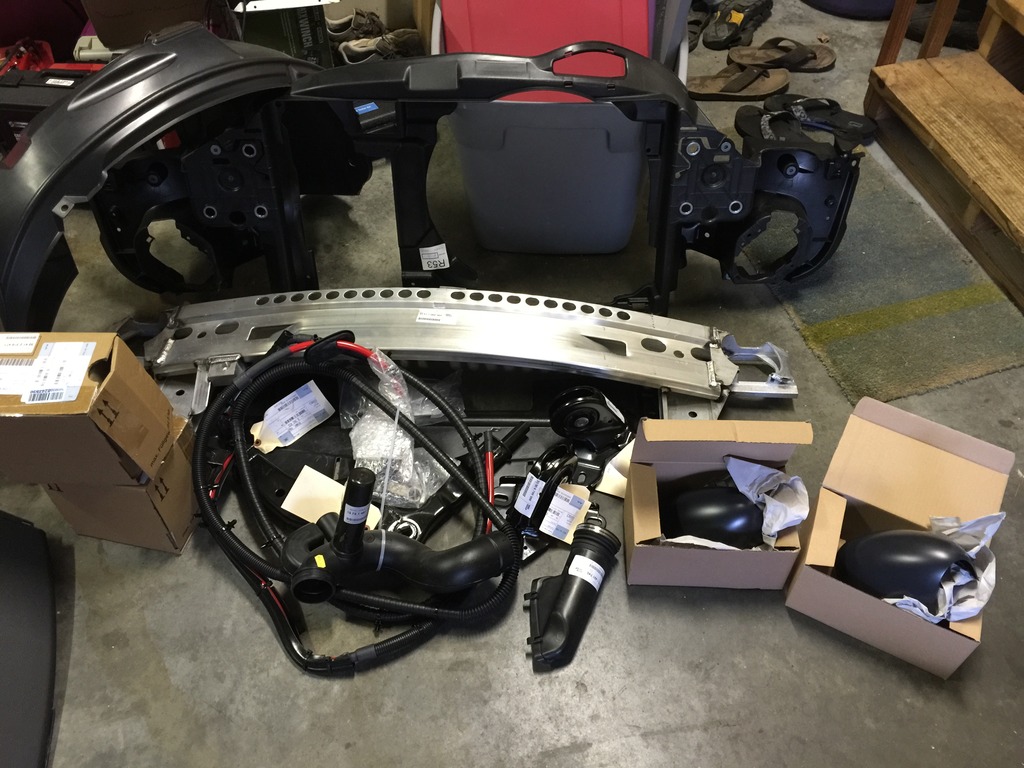
Front panel, underbody panel, bumper beam, wheel well liner, intake ducts, rear wheel bearings, mirror caps, right wishbone, rear trailing arm brackets, main battery cable, and some hardware. And Steven included some awesome swag!